
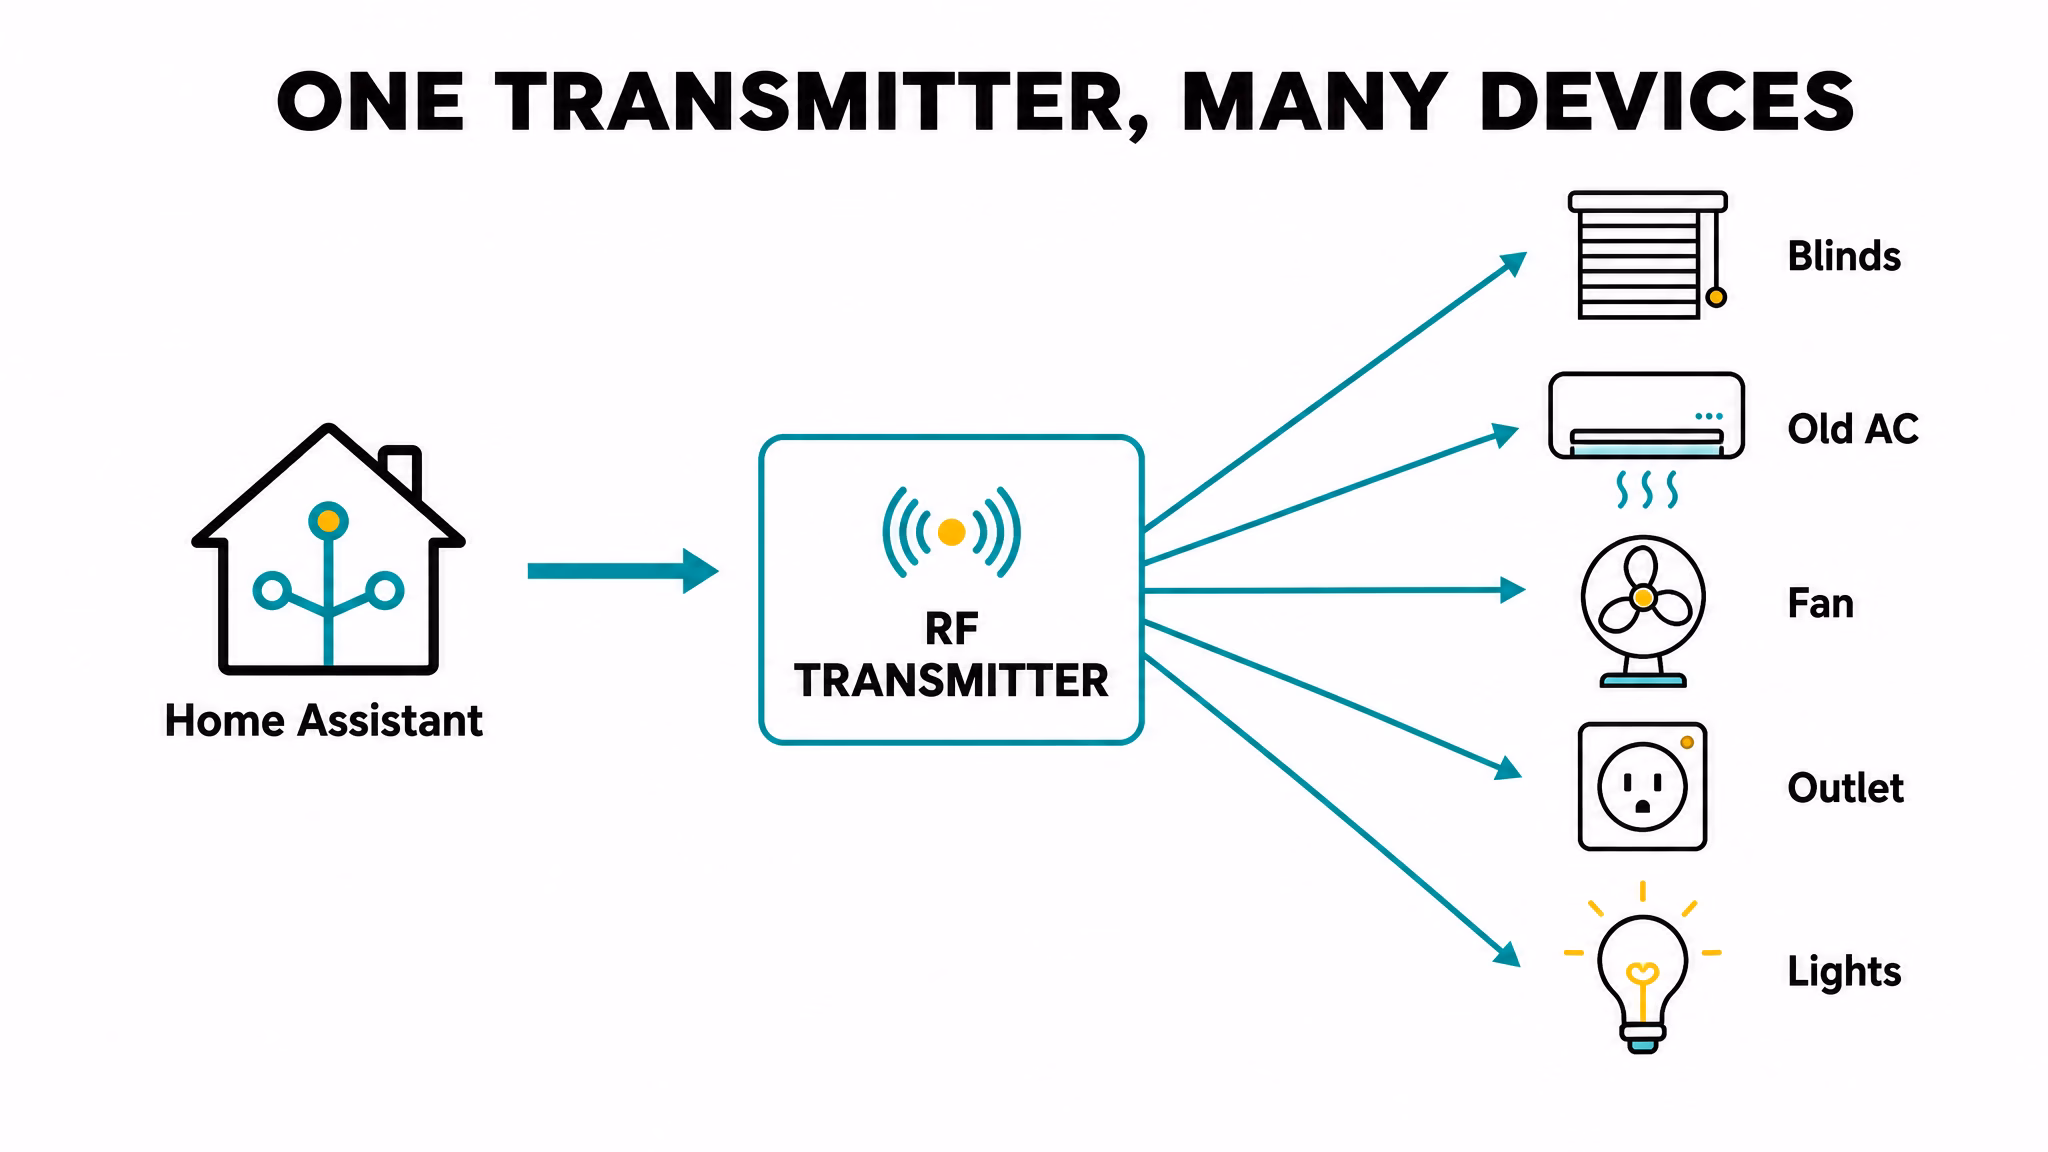
What is Home Assistant RF integration all about? I had a drawer full of old remotes for years. You probably know the drawer: random batteries, unknown cables, and remotes you don’t throw away because they still control something important. Mine had a blind remote, an old AC remote, a fan remote, and one tiny mystery remote that looked like it came from 2009.
For a long time, all those devices sat outside my smart home flow. My Zigbee and Wi-Fi gear worked great in Home Assistant, but RF devices stayed in their own world. They worked, but they were disconnected. Home Assistant RF integration in 2026.5+ finally gives this a cleaner path.
This is not a “magic supports everything overnight” update. But it is a strong foundation update, and I think many people will underestimate it at first.
Table of Contents
Get the free glossary PDF
If acronyms like Zigbee, RF, IR, Z-wave are feel not so clear for you, then get my PDF, type your name and e-mail. You will receive an e-mail from me to confirm you are not a robot, and the PDF will be sent to your inbox. You’ll also be subscribed to my newsletter where I share new content, updates, and my exclusive AI and HA challenge. It’s free and you can unsubscribe anytime with one click.
Get the free glossary PDF here.
Why this update matters in real homes
Most homes are mixed. You have some modern smart devices and some older devices that are still perfectly fine but controlled by RF remotes. Replacing all of them is expensive and often unnecessary.
- keep devices that already work
- connect them through supported RF transmitters
- automate them with normal Home Assistant logic
That means less e-waste, less money spent, and more control. For me, this is one of the best kinds of Home Assistant improvements. It doesn’t just add a shiny new gadget. It gives old hardware a second life.
Tired of reading?
Watch the video version here: https://youtu.be/UoP-b3UJV-E
How Home Assistant RF integration works (simple version)
Think of it in three layers: RF transmitter hardware layer, Home Assistant RF entity layer, and device integration layer.
In practice, that means you provide a compatible transmitter, Home Assistant exposes a radio-frequency entity, and supported integrations send commands through it.
The key difference is architectural: this is a shared platform model, not a one-off hack. So when more transmitters and more device integrations appear, they can plug into the same structure.
Keep expectations realistic: compatibility still matters
- supported frequency band (433 MHz, 868 MHz, 915 MHz, etc.)
- transmitter support for your region/device type
- whether a device integration exists for your target device
If these three pieces match, setup is usually smooth. If they don’t, you may still be stuck with manual remote control.
Small warning: once this works, you may spend 20 minutes pressing remote buttons like a lab scientist, just to watch Home Assistant logs update. I did that… for “testing purposes,” obviously.
Transmitter options people ask about most
Two common paths come up all the time: ESPHome + RF module (great for DIY flexibility), and Broadlink RM4 Pro (great if you already have one and your frequency/device combo is supported).
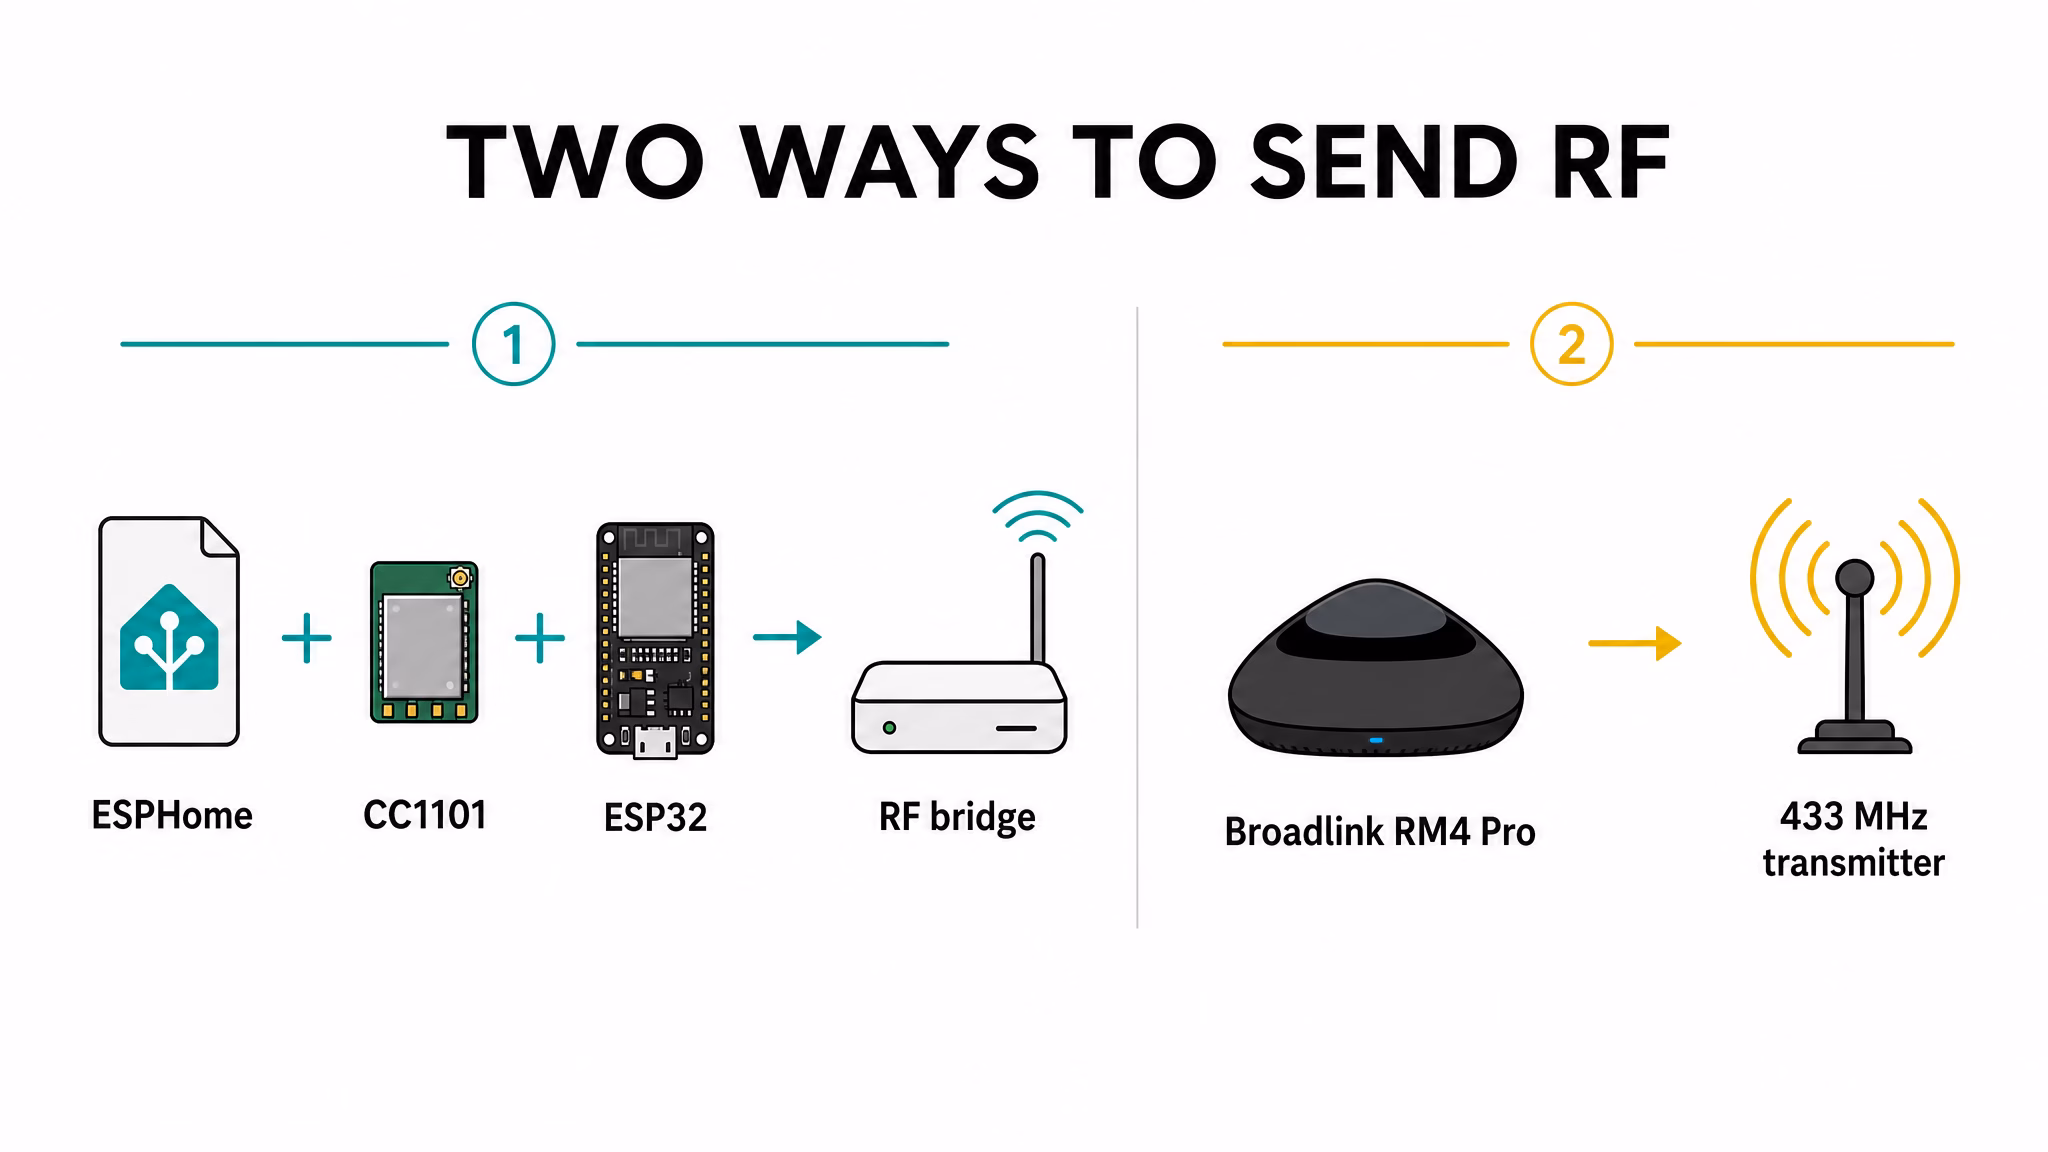
- Broadlink RM4 Pro Affiliate Link – Amazon | AliExpress
- Compatible ESP32 Affiliate Link – Amazon | AliExpress
- CC1101 Affiliate Link – Amazon | AliExpress
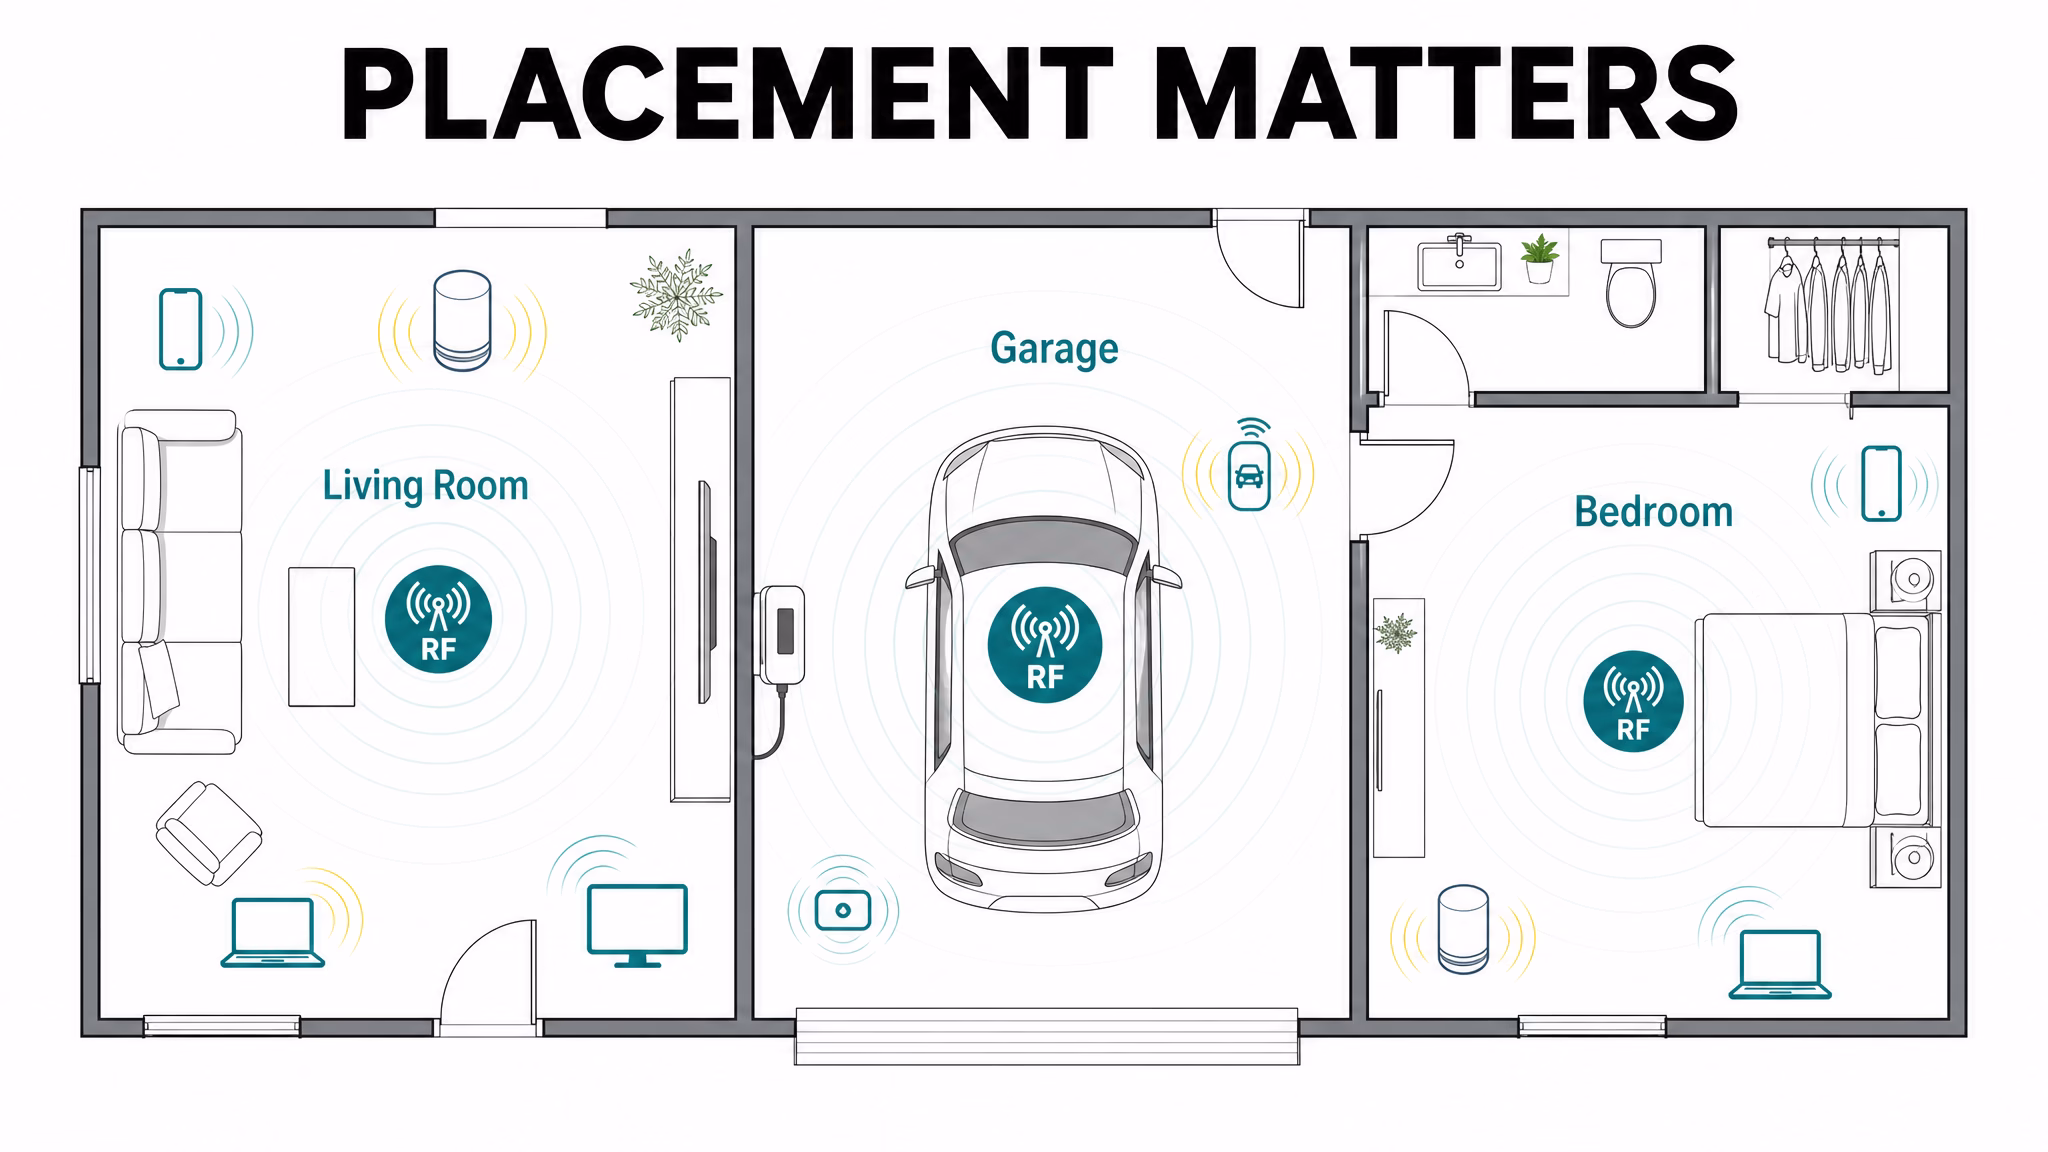
Why Placement Matters Before You Buy
In the video I explained this part because it saves time and money: RF is not only about having a supported device, it is also about where the transmitter sits in the home and whether the frequency/protocol match your device. A perfect-looking setup on paper can still fail if placement is bad, so test signal reliability in the real room before calling the job done.
Want More?
If this helped, check more related articles here: Home Assistant articles.
If you want source material directly from Home Assistant, start here: 2026.5 release notes and radio frequency integration docs. For RF background terminology: ITU RF spectrum reference.