I recently bought an ESP32-S3-Box-3, a not-so-cheap device with an “easy-to-remember” name. My goal is to use it as a local voice assistant for my Home Assistant, replacing my Alexa. I want to activate it with a wake word, give voice commands that it understands and executes locally, and receive voice responses, all without relying on cloud services.
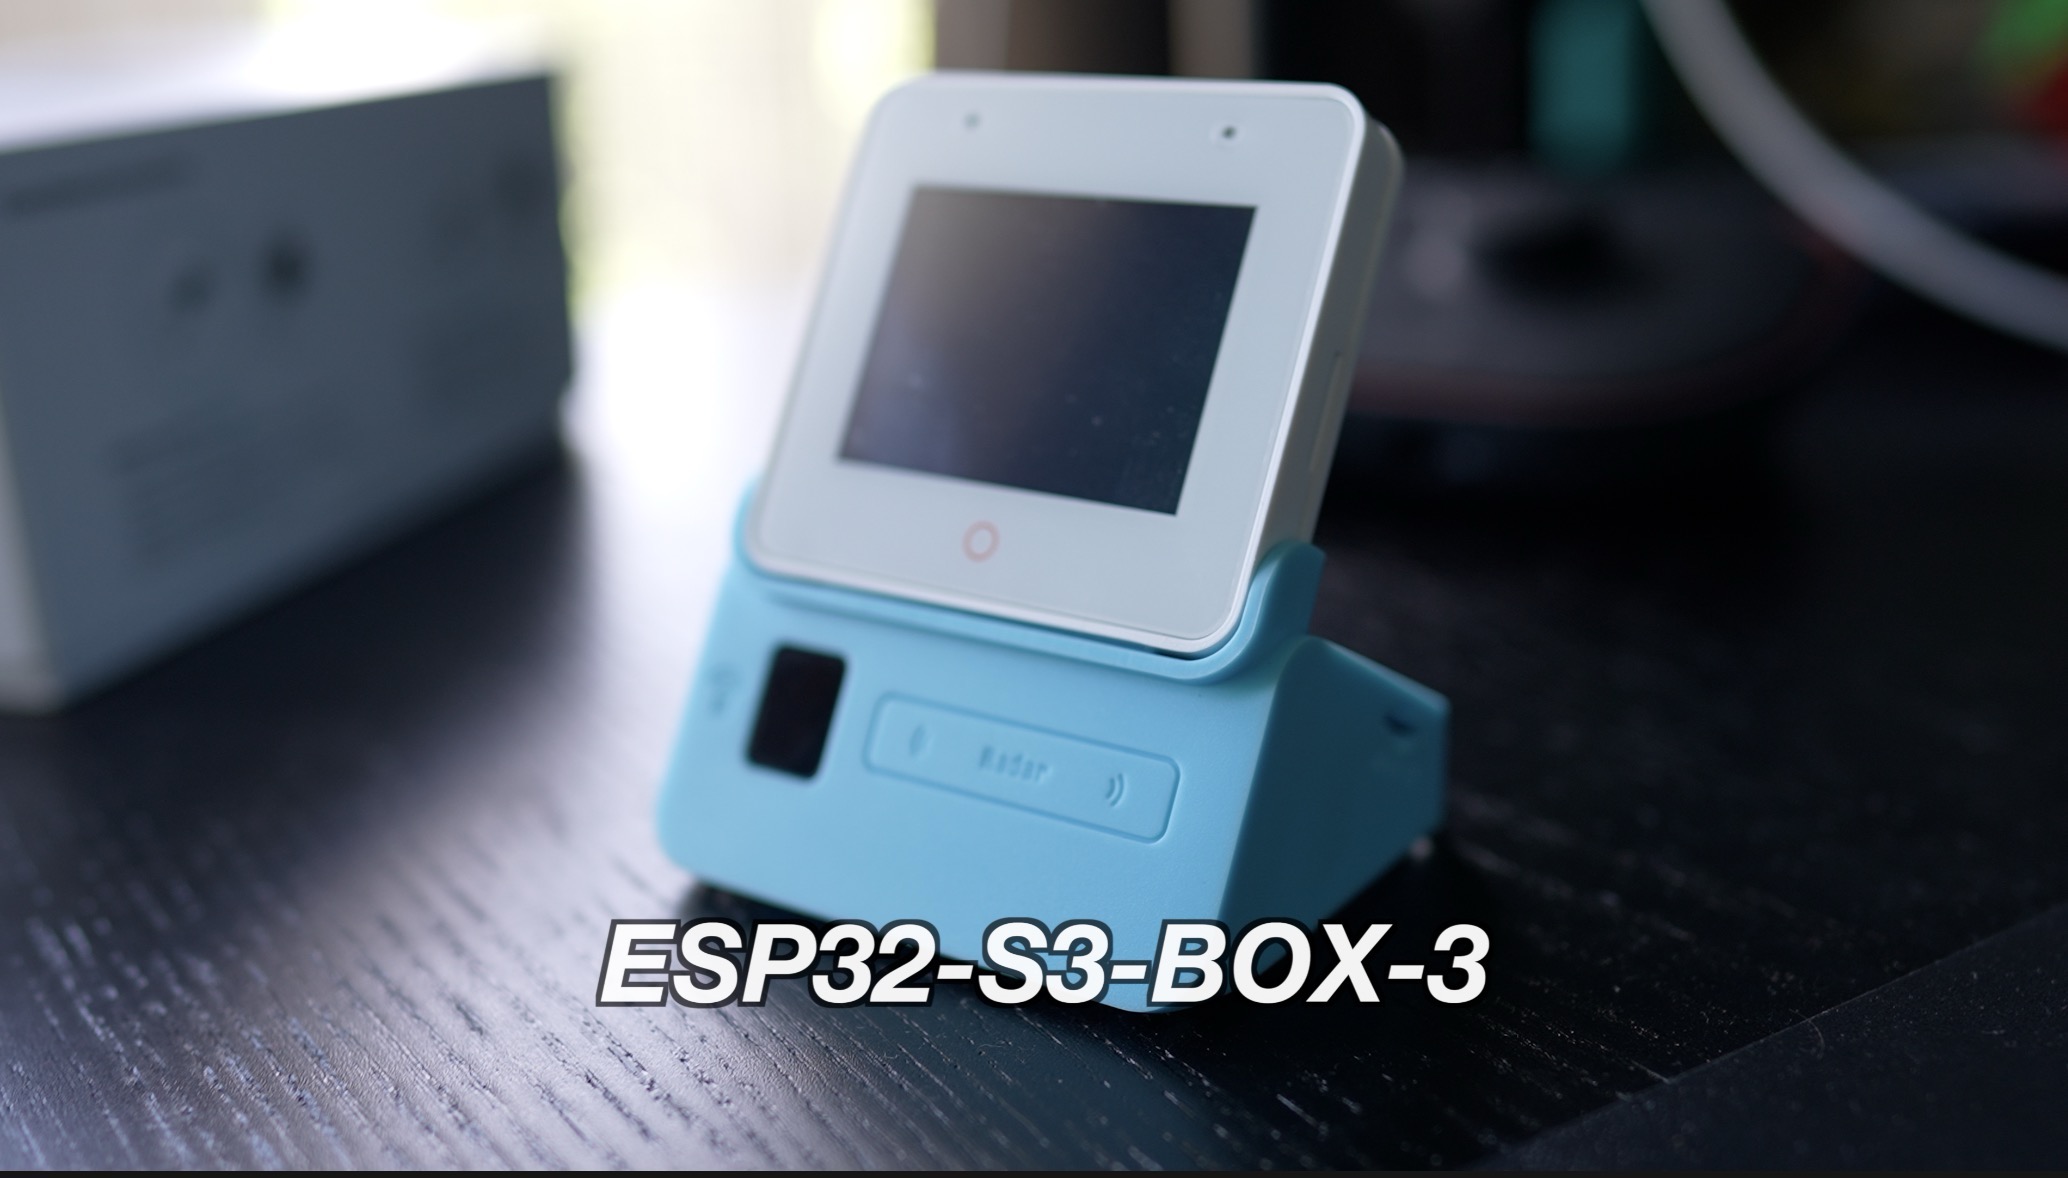
Table of Contents
Concerns and Hopes
My main concern is the local-only feature. Past attempts with similar devices like the M5 Atom Echo and a Raspberry Pi were slow and buggy. However, with the ESP32-S3-Box-3 and the new on-device wake word feature I hope everything to work better.
I said that this device is not cheap, but you can check it’s current prices in AliExpress below (these are affiliate links where I will receive a small commission from your purchases with no additional cost for you):
- ESP32-S3-BOX-3 Links:
Prefer Watching Over Reading?
If you prefer watching a tutorial, check out my video on the same topic! The video walks you through the entire setup process step-by-step, making it easier to follow along. The link to the video is below.
Getting Started
I’ll follow the official ESP32-S3-Box Voice Assistant guide from the home-assistant.io website. Here are the prerequisites:
- Home Assistant 2023.12 or later
- Home Assistant Cloud subscription from Nabu Casa or manually configured Assist Pipeline
- Wi-Fi password
- Chrome or Edge browser (I’ll use Chrome)
- One of the ESP32-S3-Box variants and a USB-C cable
Download Your Free Smart Home Glossary
Before we continue to the fun part, I’m excited to offer a free Smart Home Glossary, a not very small PDF file packed with the most common smart home words and acronyms, along with their simple but useful explanations. This glossary is perfect for both beginners and seasoned smart home enthusiasts.
Download your free Smart Home Glossary now!
Unboxing the ESP32-S3-Box-3
The box of ESP32-S-Box-3 includes:
- The ESP32-S3-Box-3 display with touch screen
- 4 different docking stations where you can mount the display (Dock, Sensor, Bread, Bracket)
- USB-C to USB-A cable (I also have a USB-C to USB-C cable)
- Jumper wires and a mini board
- Stickers
Setting Up
- Connecting the Device: I used Chrome to open the setup page. Safari didn’t work for this step. I connected the device to my laptop using a USB-C cable.
- Installing the Voice Assistant: I clicked the “Connect” button in Chrome, selected my device, and followed the prompts to install the voice assistant software. The device restarted, and I connected it to my Wi-Fi network.
- Adding to Home Assistant: I added the ESP32-S3-Box-3 to my Home Assistant. This involved specifying my Home Assistant IP and port. The device was successfully added and recognized.
Configuring Voice Assistant
I followed these steps available in details in my video and in the official creating a local pipeline instructions:
- Installing Add-Ons: I installed three Home Assistant add-ons:
- Whisper (speech-to-text) – LINK
- Piper (text-to-speech) – LINK
- openWakeWord (wake word detection) – LINK
- Setting Up Assist Pipeline: In Home Assistant, I created a new pipeline named “ESP32-S3-Box-3” (you can name it however you wish). I configured it to use Whisper for speech-to-text, Piper for text-to-speech, and Open Wake Word for wake word detection. I chose “Okay Nabu” as the wake word.
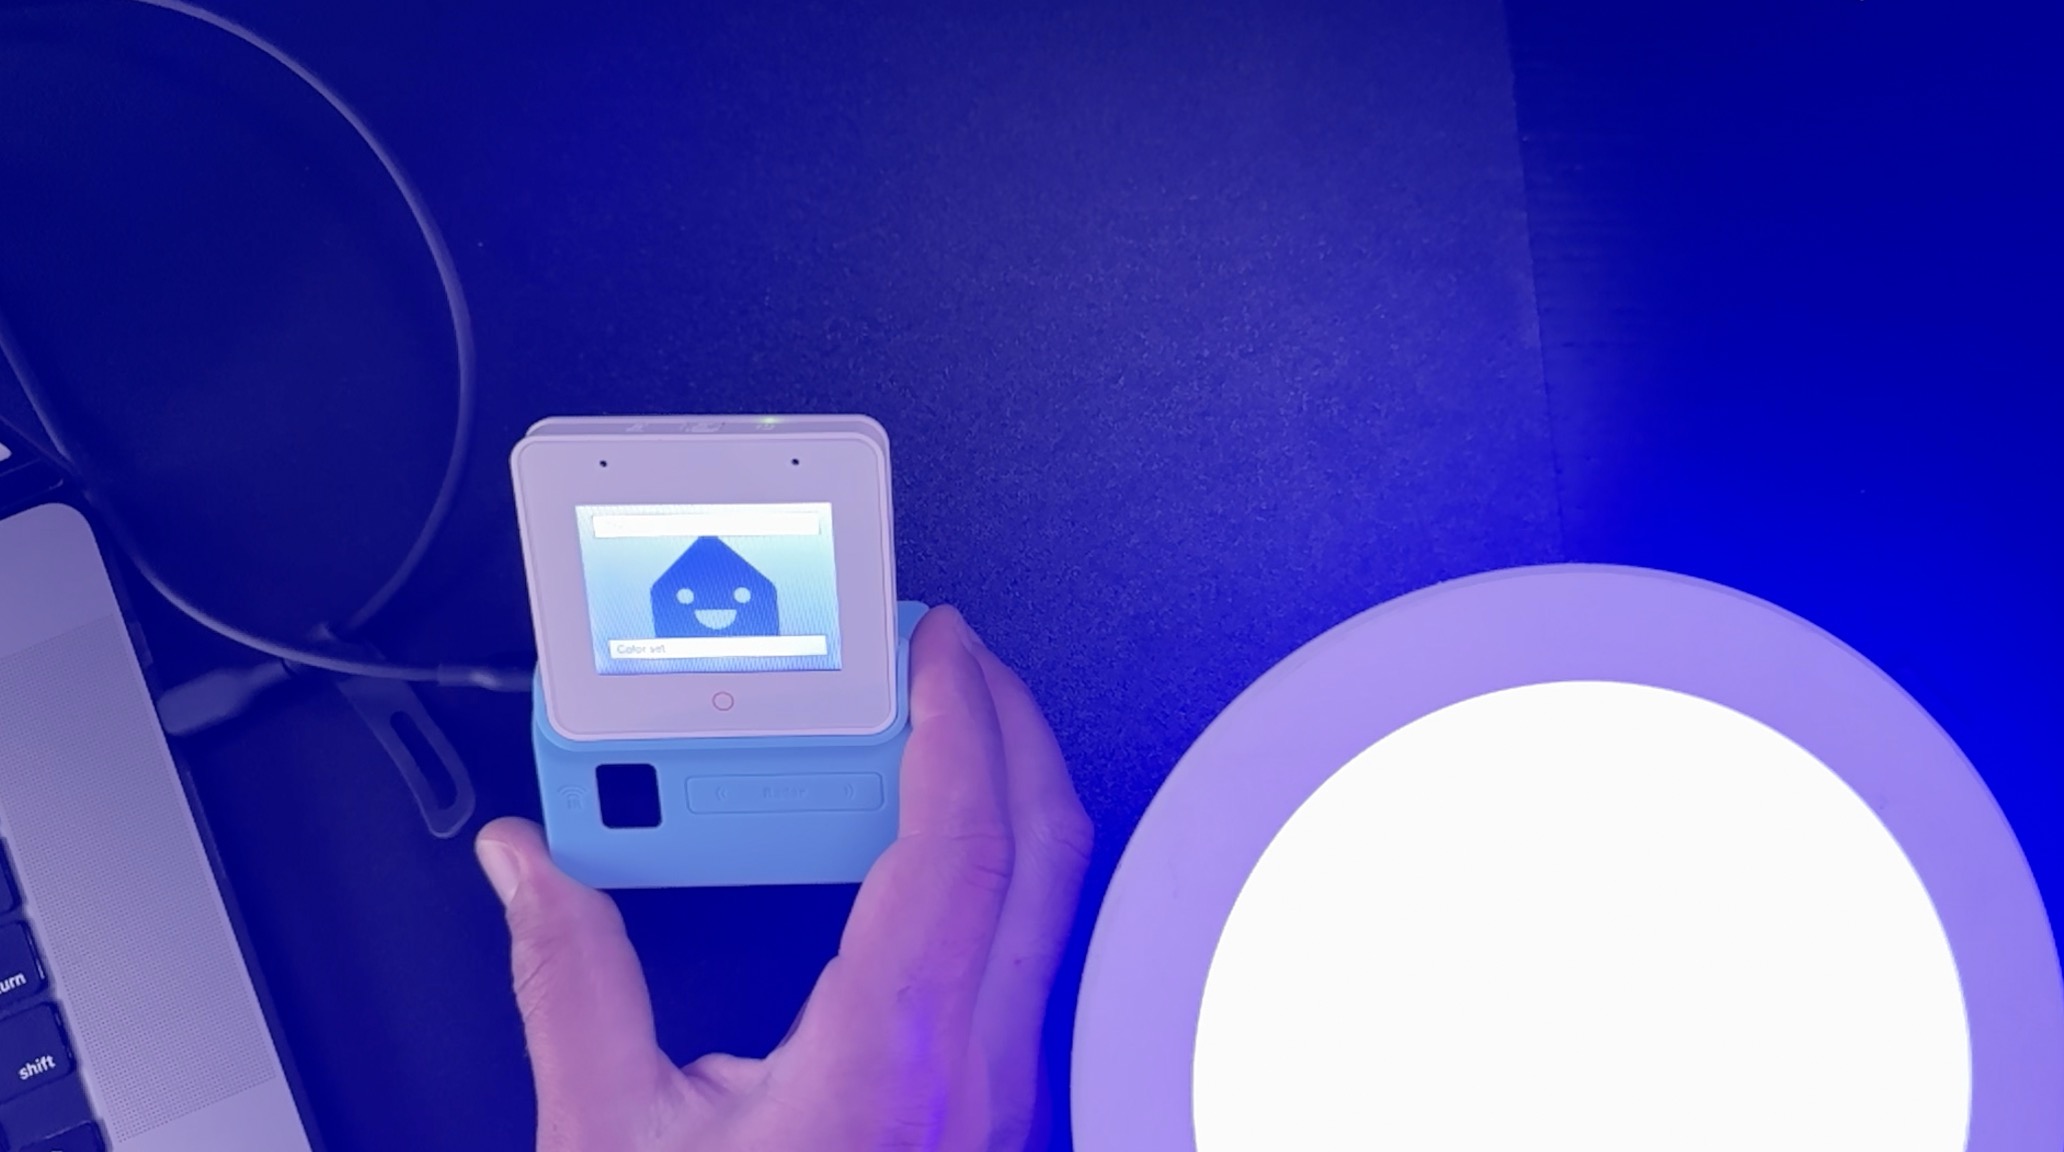
- Testing the Setup: I tested the wake word and basic commands. Initially, there were some issues, but after rebooting the device, it responded to commands like turning on a smart light and changing its color.
Free Home Assistant Webinar
Setting up the ESP32-S3-Box-3 as a local voice assistant took some effort, but it was rewarding. The device now responds (almost every time :-0 ) to commands and controls my smart home locally, just as I wanted. I believe this functionality will become better and better over time and this is a good start.
I’m also excited to announce a free Home Assistant webinar! In this webinar, we’ll cover the four official ways to install Home Assistant, discussing their pros and cons. Plus, I’ll show you a super simple way to get started with Home Assistant on a PC in under 5 minutes.
Join us for this free webinar to learn:
- The four official installation methods for Home Assistant
- The benefits and drawbacks of each method
- A secret & super quick and easy way to get Home Assistant running on your PC
Don’t miss out! Register now using this link. Whether you’re a beginner or looking to optimize your current setup, this webinar is for you. See you there!