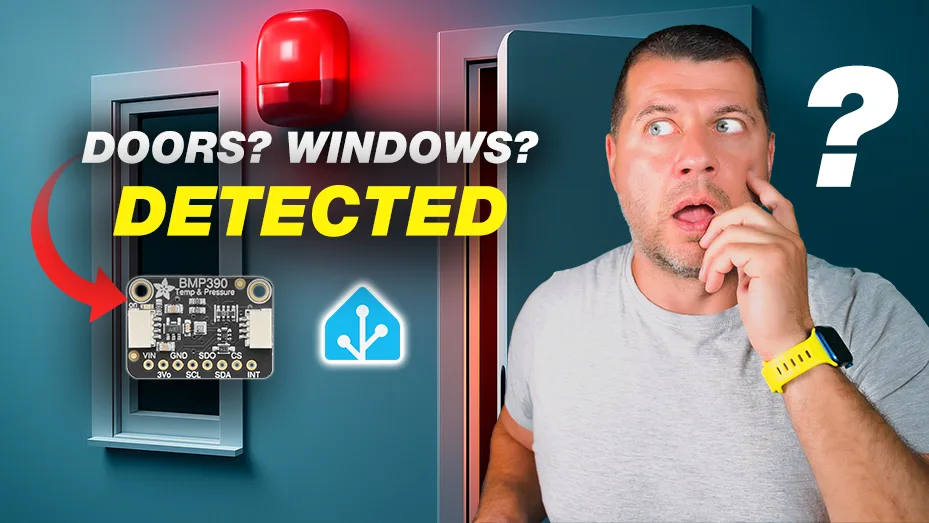
Do you know that you can detect whether a door or window was just opened—without ever placing a sensor on it? Sounds wild, right? Let’s DIY Pressure Sensor that can do that.
I recently started experimenting with a pressure sensor so precise that it can sense small air pressure changes inside a room. That means it might be able to detect an open or closed door just by sitting quietly somewhere in the room.
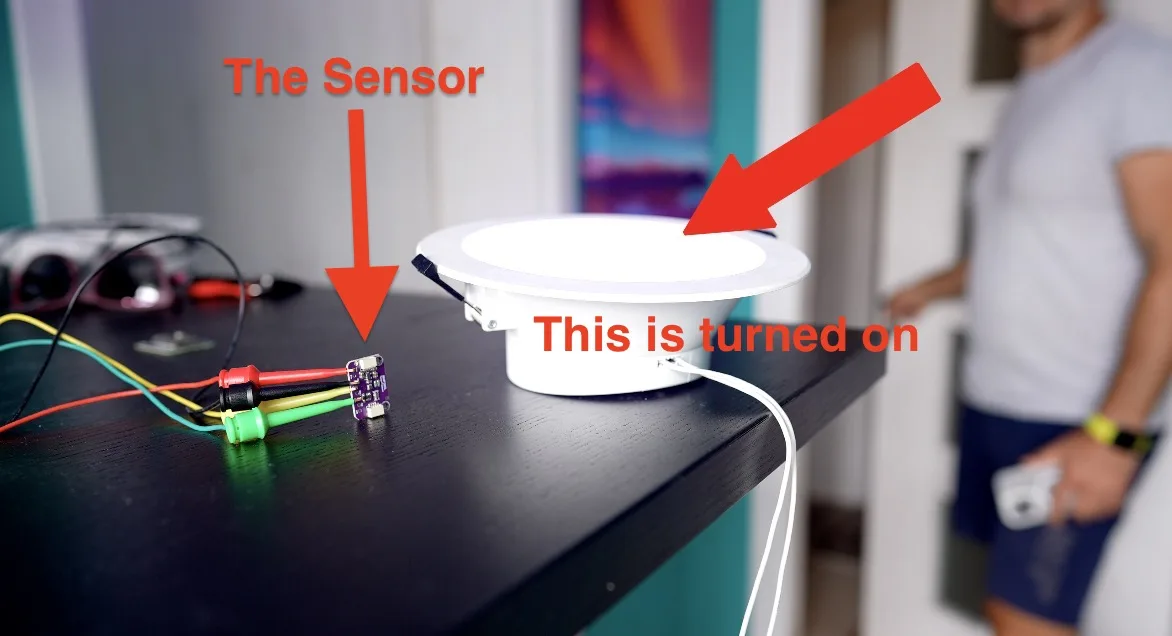
If this works well, I could finally toss out all those annoying door and window sensors and simplify my smart home setup with just one tiny device. But there’s a bit of a journey to get there. Let me walk you through the setup, the parts I used, and how you can build one yourself.
Want to skip the wiring details and get straight to the working setup?
Download my free PDF guide at automatelike.pro/pressure. Inside, you’ll find:
- Complete wiring diagrams
- Ready-to-use ESPHome code
- Home Assistant setup instructions
- Optional 3D printable case
And more!
Table of Contents
What I Used for the DIY Pressure Sensor for HA
To get this working, I needed just a few key parts:
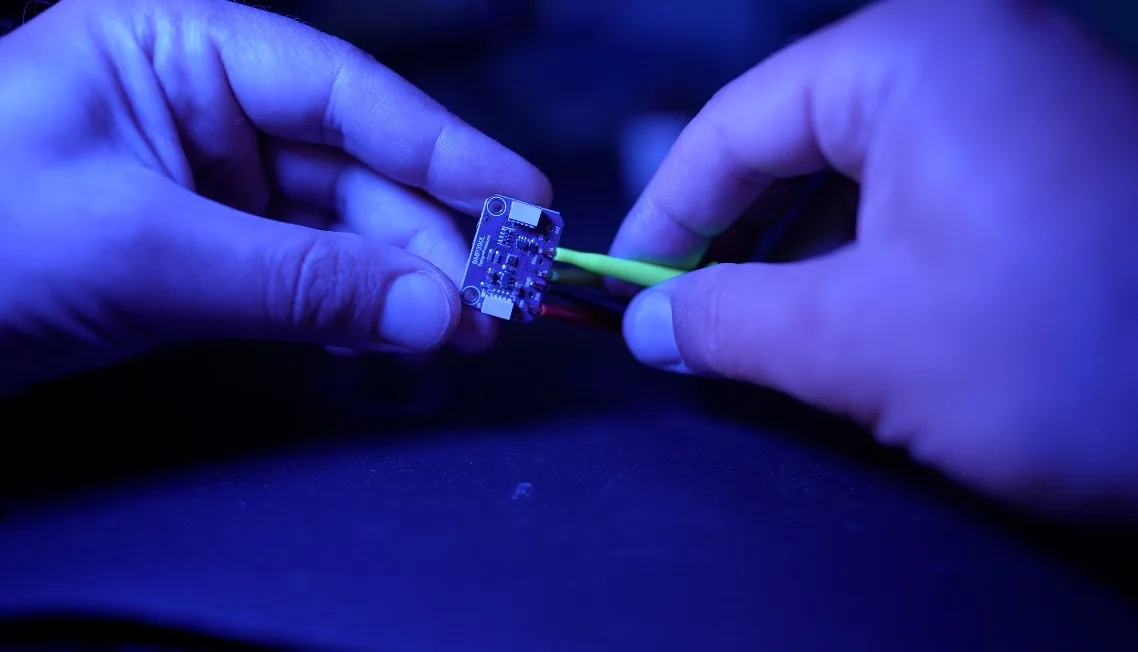
- BMP390 pressure sensor
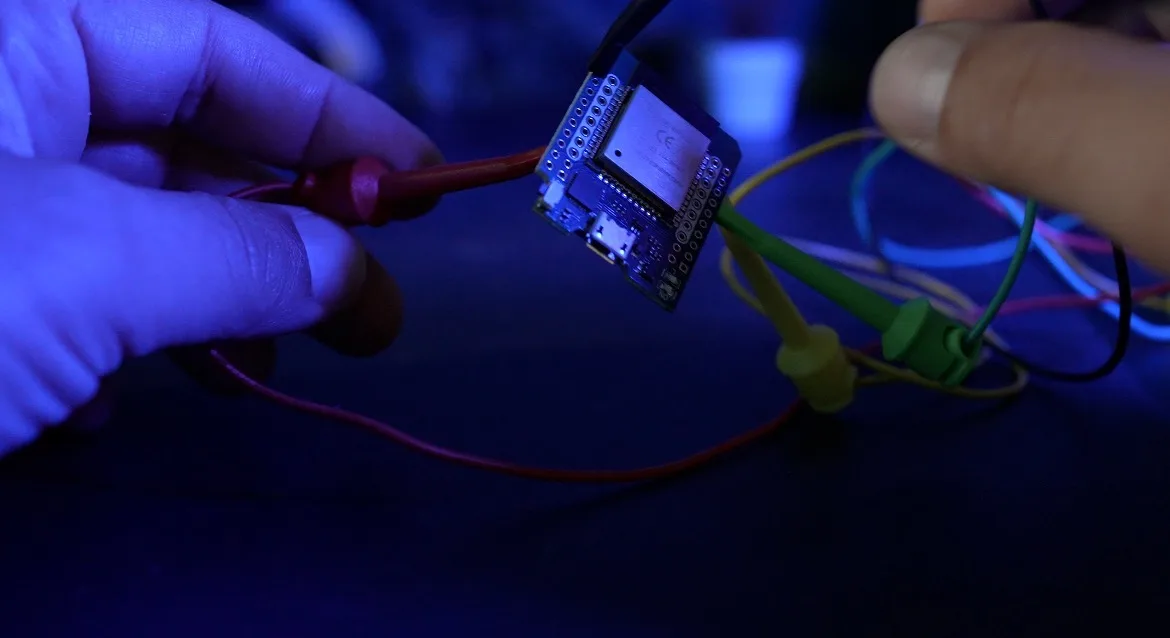
- D1 Mini ESP32 board
- A few test clips to connect things quickly
- Home Assistant + ESPHome
| ITEM | AliExpress Link 1 | AliExpress Link 2 | Amazon Link |
|---|---|---|---|
| BMP390 pressure sensor | https://s.click.aliexpress.com/e/_opMQUrZ | https://s.click.aliexpress.com/e/_oCz4Drd | https://amzn.to/4mctisH |
| D1 Mini ESP32 | https://s.click.aliexpress.com/e/_okZIxr9 | https://s.click.aliexpress.com/e/_ond1f1Z | https://amzn.to/45lTlYK |
| Test clips | https://s.click.aliexpress.com/e/_omVrhIE | https://s.click.aliexpress.com/e/_oC2Sc1y |
That’s it. You can get all of it for less than $10.
A Few Words About the BMP390 Sensor
The BMP390 is a high-resolution temperature and pressure sensor. It’s so sensitive it can detect subtle changes in air pressure caused by someone opening a window or door—even if it’s on the other side of the room.
Sounds powerful? It is. But it’s also sensitive to background noise like air conditioning, fans, or even people walking around. That’s why we’ll fine-tune its behavior using filters.
A Few Words About the D1 Mini ESP32
Why did I go with the D1 Mini ESP32? Two big reasons:
- Better I2C support than older boards
- It’s compact, affordable, and works perfectly with ESPHome
I used test clips to easily wire the sensor to the board, and within minutes I had a working DIY Pressure sensor prototype.
This is Where You Can Get All the Details
Instead of listing out every wire and line of code here, I made a complete, step-by-step guide in a free downloadable PDF.
Download it now at automatelike.pro/pressure
Here’s how the download works (Double Opt-In):
- Go to the link above
- Enter your name and email
- You’ll receive a confirmation email (check spam/junk folder if you don’t get it after 2mins) — click the link inside to verify you’re a human
- Boom! The PDF is delivered to your device and inbox
No spam, no tricks. Just quality DIY content. You’ll also be subscribed to my newsletter where I share free updates, tips, and project ideas, new content I produce (if you don’t like it – unsubscribe anytime with one click).
Prefer to Watch Instead of Read?
I’ve also made a full walkthrough video. You can watch it here on YouTube . Seeing the automation in action might help clarify things!
What the Home Assistant Automation Is Doing
The sensor reads pressure every 2 seconds. To avoid noisy readings, it uses something called an IIR filter—a smart way to smooth out the data and avoid false alerts.
Here’s what happens:
- The sensor compares the current pressure reading with the last one.
- If the difference is big enough, it assumes a door or window has been opened or closed.
- I’ve set up template sensors that track whether pressure is stable or changing.
- These sensors are then used to trigger automations in Home Assistant.
Example automation:
When the sensor detects a pressure spike, Home Assistant can:
- Turn on a light
- Send a persistent notification (Log the event for later review)
- text/call you
About the IIR Filter and Why It Matters
The IIR (Infinite Impulse Response) filter helps smooth out fluctuations in the sensor data. Think of it like noise-canceling headphones, but for pressure readings.
This is important because:
- Fans, HVACs, and even footsteps can create pressure noise
- The IIR filter helps ignore those small shifts
- You can adjust the filter level depending on how “noisy” your room is
For example:
- Quiet rooms (like bedrooms)? Use a low filter setting
- Busy rooms (like kitchens)? Use a higher setting to avoid false alarms
More filter tips are inside the PDF guide.
Final Thoughts – When to Use This DIY Pressure Sensor
Great Fit For:
- Bedrooms, offices, or other quiet spaces
- Detecting events (e.g. “the window just opened”)
Not Ideal For:
- Kitchens or living rooms with frequent air movement
- Use cases where you need to know the exact state (open or closed) at all times
That said, it’s a super fun and affordable DIY project—and it might just change how you do presence and security detection.
Join the #pressureowned Challenge!
If you try this and get this DIY Pressure Sensor for HA working, comment anywhere with #pressureowned and I’ll know you’ve joined the club. I’ll personally congratulate you!
By the way, if you want to dive deeper into building sensors for Home Assistant or even become one of my students, just download the PDF and I’ll send you more info.
Now Go Build Another! Read My Next DIY Article
Check out my next smart home tutorial: Build Your Own Smart Waterproof Ultrasonic Distance Sensor For Home Assistant
Thanks for reading! I’m Kiril, and I’ll see you in the next project.