
In this article I will show you 5 Raspberry Pi Tips & Tricks that are very quick and very easy. Some of them need the Raspberry Pi OS graphical interface, some of them require execution of simple Terminal commands and some of them can be used while you are preparing to burn an image on a SD card or USB drive.
These tips are just perfect for the upcoming Holidays. During your free time you may want to try multiple setups, different Operating Systems, headless IoT projects where you don’t need the graphical interface and so on and so forth. So, buckle your belts as we are starting with Raspberry Pi tip number 5 from my list.
Table of Contents
Raspberry Pi Tip #5
You may already know that there is a tool coming from Raspberry Pi organization called Raspberry Pi Imager (link to the official page).
This tool can be started on every major operating system and it can be of a great help if you want to burn an image for your Raspberry Pi. But did you know that this tool is having an Advanced menu that is accessible by pressing the Control + Shift + X buttons?
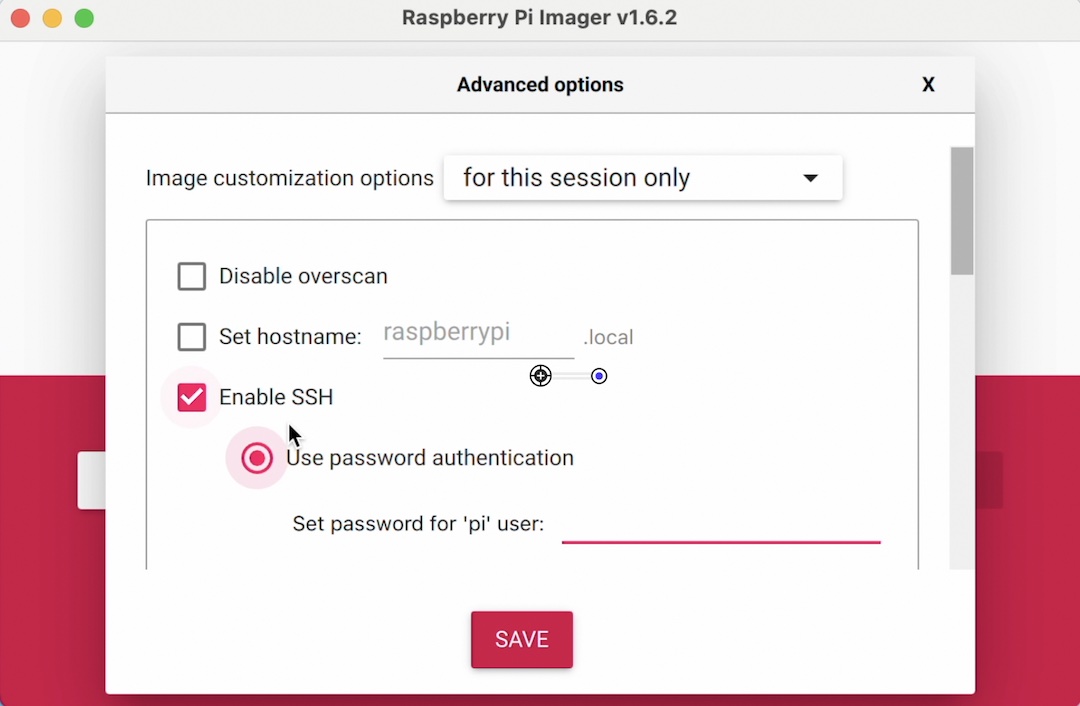
From this advanced menu you can set your hostname, you can enable SSH server for remote login and you can set a password or public key authentication, you can also configure your WiFi credentials. If you set all of these things in advance and when burning the Raspberry Pi Image is complete, all of the essentials will be preconfigured for you. You just have to plug the SD card or USB drive to your Raspberry Pi and to power it up.
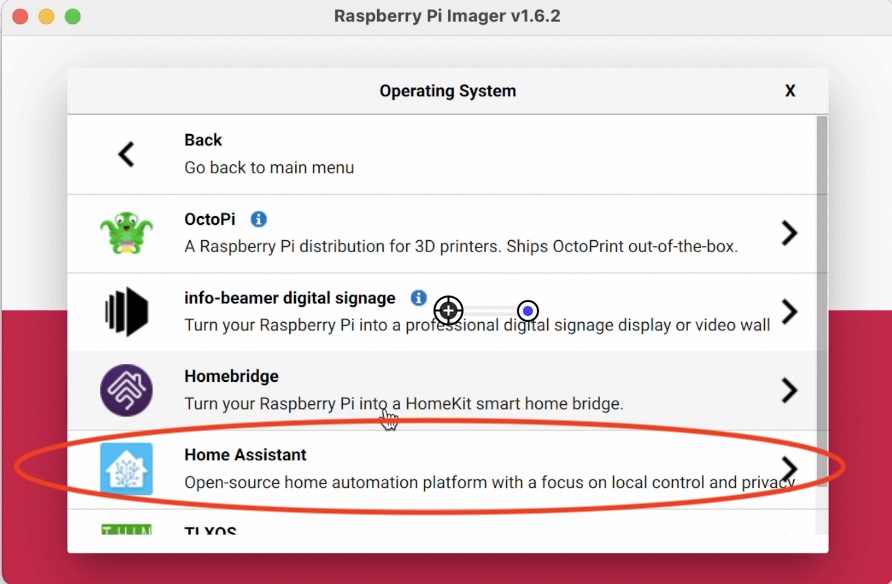
BONUS TIP! Did I also mention that form the comfort of the Choose OS > Other specific purpose OS you can select and burn Home Assistant OS. How cool is that?
Raspberry Pi Tip #4
Do you know from where the real power of Raspberry Pi OS (and basically any other Linux OS) is coming from? It is coming from this small black box icon/program called Terminal.
This is where you can run commands and scripts, but did you know that pressing the Ctrl+Alt+F1 to F6 buttons can open six different full-screen terminals.
This can be very handy if you are in the Zone of Bash scripting or vi editing. When you exit that Zone and you want to return back to the Graphical User Interface just press Ctrl+Alt+F7 and you will see the regular desktop as well as the next Raspberry Tip number 3.
Raspberry Pi Tip #3
Do you know that Raspberry PI OS reserves a certain amount of memory or RAM for the embedded graphical card or GPU?
That is totally fine, but what if you’re not using any graphical interface and you are running a headless smart home project or any other kind of project that requires terminal access only? What about just the opposite, maybe you want to boost a graphics-intensive application by giving it more memory.
Depending of the case you should change the allocated memory in the Preferences > Raspberry Pi Configuration under Performance or using the terminal sudo raspi-config tool and again Performance menu.
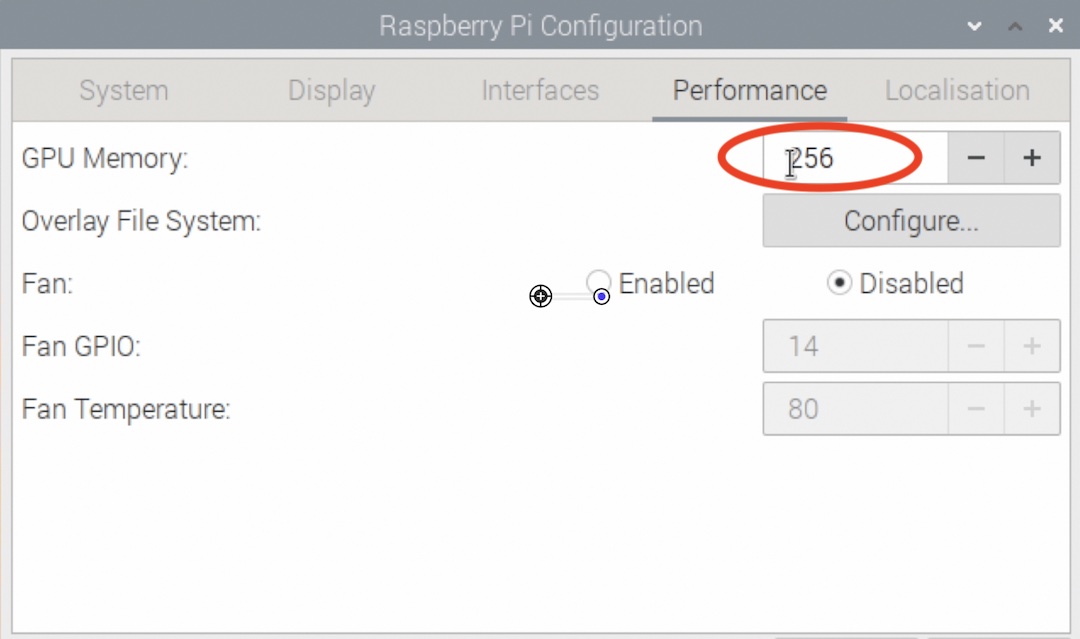
Changing GPU Memory GUI option 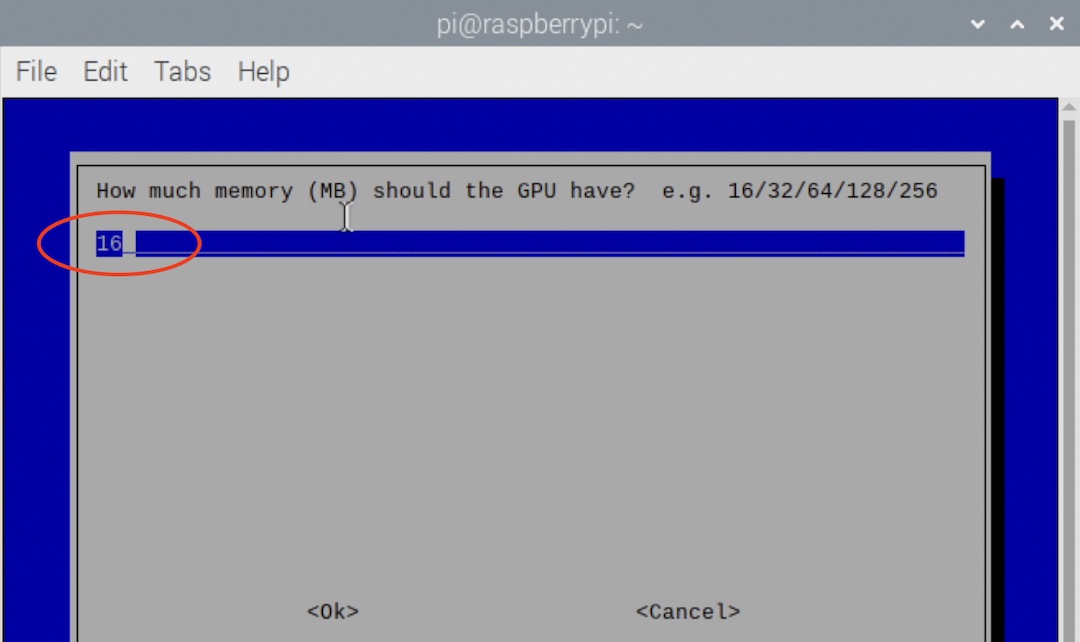
Changing GPU Memory Terminal option
You can also allocate the subscribe for my newsletter button if you want to receive notifications when I release new articles.
Raspberry Pi Tip #2
Now, lets allocate together the Raspberry Pi Tip number 2 from today’s Raspberry Pi Tips & Tricks list, which is how to print screen or how to take screenshots. This couldn’t be easier if you are inside the Raspberry Pi Graphical interface. Just press Print Screen button on your keyboard and a PNG image will be placed in your home folder.
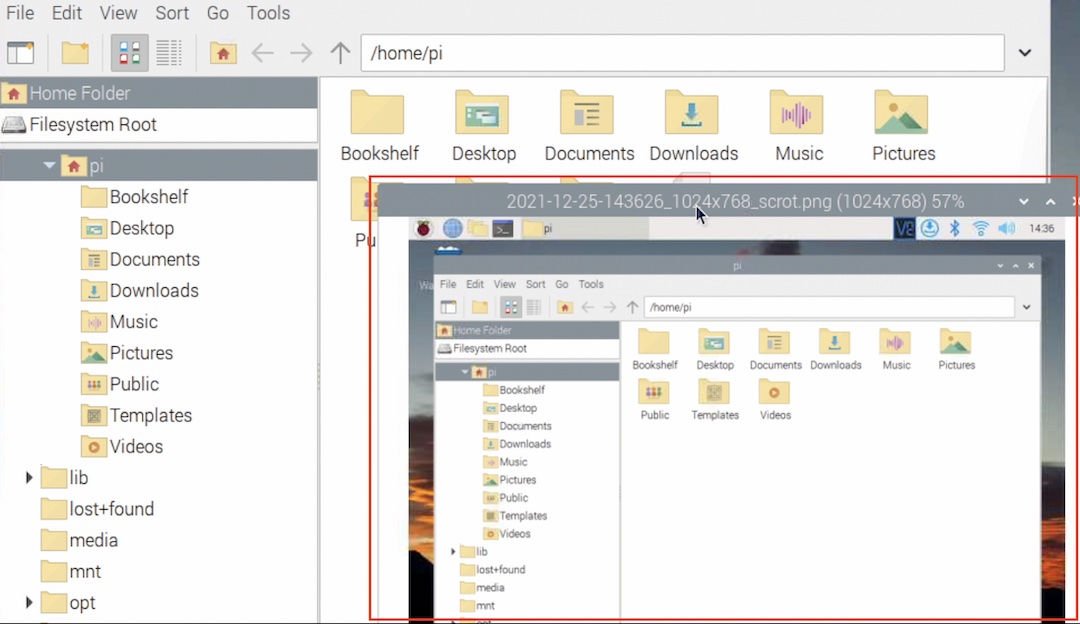
But what if you want to do the same from the Terminal? Or you are wondering how to take screenshot remotely over SSH? It is all possible and it is not hard at all, just use scrot tool from the command line. Here is an example:
Login to your raspberry pi using ssh:
ssh pi@YOUR_RASPBERRYPI_IPInstall scrot if you don’t have it already
sudo apt install scrotThen type the following command:
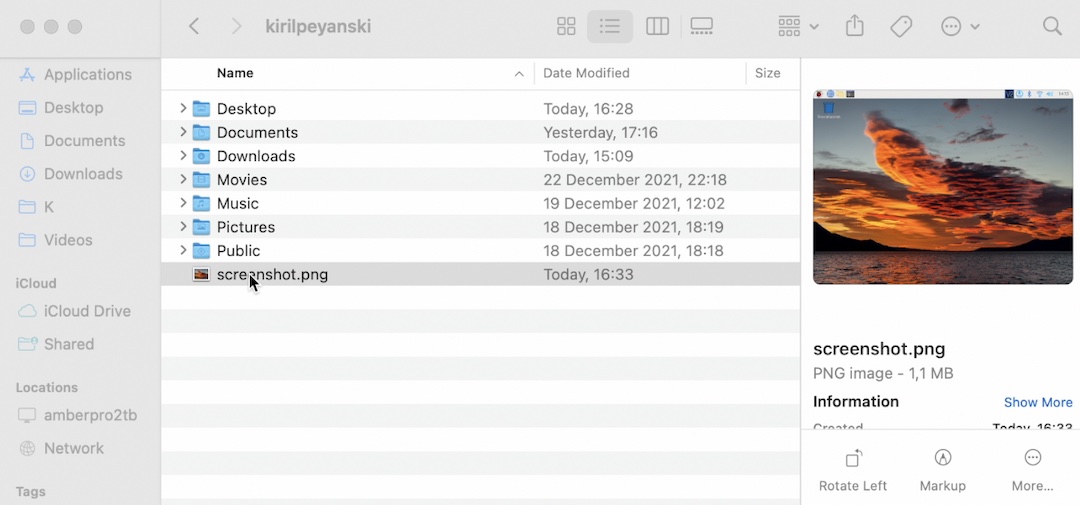
DISPLAY=:0 scrot screenshot.pngThis will make a file named screenshot.png in your current folder. You can transfer the screenshot back to your computer by using the scp command for example.
scp pi@YOUR_RASPBERRYPI_IP:~/screenshot.png .Any image viewer can open that screenshot.png file.
Raspberry Pi Tip #1
And I will open the Raspberry Pi tip number 1, which is temperature related. Do you know what is your Raspberry Pi CPU or GPU temperature? Here is how you can check that.
For the Graphical Card or GPU temperature, open a terminal and type:
vcgencmd measure_tempTo get the Raspberry Pi ARM CPU temperature type the following:
cat /sys/class/thermal/thermal_zone0/tempThen divide the result by 1000 for more human readable format.

Alternatively, you can use this little script which is doing the same for you:
cpu=$(</sys/class/thermal/thermal_zone0/temp) && echo "CPU T is: $((cpu/1000))C"

If you are in the graphical interface of the Raspberry Pi OS and you see half filled thermometer icon displayed on the screen, this means that the temperature of the core is between 80 – 85 degrees Celsius.

If the temperature is above 85 degrees a full thermometer will be shown. In these cases the CPU will be throttled back to reduce the core temperature and the overall performance will be reduced.
So, watch more carefully your Raspberry Pi temperature as well as my new article next week.
Follow me on Twitter and join my Discord server!
Happy Holidays! Bye!