
I’m excited to share 11 Home Assistant tips and tricks that I wish someone had told me when I started using HA over five years ago. These tips are numbered so we can chat about them in the comments. Without further ado, let’s dive in!
Table of Contents
1. Choose Your Products Wisely
Before buying any new smart home gadgets, make sure to check the integrations section on the Home Assistant website. If the device isn’t listed there, simply don’t buy it. Otherwise, you’ll end up with incompatible devices, a cluttered phone with different apps, and a messy setup that’s hard to automate. Trust me, you don’t want to manage multiple apps for different devices when they should all work seamlessly together.
When researching, aim for products with a “silver” quality scale or higher. This ensures they work well with Home Assistant (HA). Also, check the integration classifiers. The best are “local push” or “local polling” integrations, meaning the devices communicate directly with Home Assistant without needing an internet connection. This offers numerous advantages like improved speed, reliability, privacy, and security.
For example, if you’re looking at a new smart light bulb, check if it has a local push or poll communication. If it does, you can control it even if your internet goes down, and you can be sure your data isn’t being sent to some remote server.
If you don’t want to read check the video below
2. Start with HA OS
The easiest and most reliable way to get started with Home Assistant is by installing Home Assistant OS. I wish I knew this from the beginning! There are other ways to run Home Assistant, such as Home Assistant Container, Home Assistant Core, and Home Assistant Supervised, but they can be complex to install and update or they lack some features.
Home Assistant OS is the all-in-one solution that includes everything you need. It’s stable, supported, and includes features like add-ons and the add-on store, which are missing in most of the other installation methods. Starting with Home Assistant OS will save you time and headaches, especially if you’re not an IT or Linux professional.
For more info on the different installation types, check out my free Home Assistant webinar. It covers everything you need to know to make an informed decision. Register your seat at automatelike.pro/webinar
3. Start Slow
Once Home Assistant is up and running, don’t rush to integrate all your smart devices at once. It’s tempting to dive in and connect everything, but this can quickly become overwhelming. Start with small projects, like automating your lights, to avoid getting confused.
Pick your first project carefully. For instance, let’s say you want to automate your lighting. Choose and buy the right products with a good quality scale and preferably with local push or poll communication. Install the necessary integrations and create your dashboards or automations. Celebrate the small victories to keep yourself motivated. Regular backups are crucial at this stage. Make it a habit to back up your system before making changes or updates to avoid losing your progress.
4. Always Backup & Update Often
I mentioned backups earlier, and I’ll say it again because they’re super important. Home Assistant’s backup and restore process is quite straightforward, so there’s no excuse not to use it. Always back up before making changes or Home Assistant updates to avoid headaches. The Home Assistant backups are actually snapshots that save everything as is and will revert everything back to the exact same state if you restore that snapshot.
Updating Home Assistant is equally important. Until now, Home Assistant updates have never let me down as I never had any major issues after an update, which is impressive, don’t you think? Regular updates bring new features, improvements, and security fixes. However, always make a backup before updating to quickly revert if something goes wrong.
5. Avoid Cloud Dependency & AI (for Now)
Whenever possible, avoid cloud-dependent devices and stay away from AI integrations, at least for now. Cloud services can pose privacy, security, and reliability risks. If the company’s servers go down or they change their policies, you might lose control over your devices.
Some vendors have only Cloud Home Assistant integrations, and if you want their devices in your home, you will have no other choice but to use their Cloud. Doing so means relying on them and trusting them because the data will leave your local home network and be processed by the company’s cloud servers. If the company decides to stop their cloud servers or make it a paid subscription, you are out of luck.
If there is a security breach on the company’s cloud servers, someone from somewhere could potentially unlock your doors. None of these things happened to me so far, but there is no guarantee they won’t in the future, so be careful and avoid Cloud when possible.
Now, a few words about AI: it’s a buzzword lately everywhere, including in the Home Assistant field. Even though I have several AI articles on my site, I don’t recommend using any AI in your Home Assistant just yet. AI for smart homes is good only for playing and experimenting for now. I did just that in my article with OpenAI’s ChatGPT, Google Generative AI, and the local Ollama.
One day, when running local AI models on local machines is fast enough and when these local models are smart enough, I may start recommending this. But until then, Home Assistant and AI is a big NO, apart from playing with it in a test environment or something like a sandbox.
6. Leverage Community Resources
One of the best things about Home Assistant is its community. There are forums, YouTube channels, and blogs dedicated to helping you make the most of your smart home setup. Engage with the community. Share your experiences and learn from others. The more you share, the more you learn and the more you contribute to the Home Assistant ecosystem.
If you encounter a problem, chances are someone else has already solved it. Don’t hesitate to ask questions or seek advice. Also, consider sharing your solutions and tips. It’s a great way to give back and help others.
7. Explore Add-ons and Custom Integrations
Home Assistant’s add-ons can significantly enhance your setup. Add-ons are like one-click installable apps dedicated to your Home Assistant instance, providing additional functionality in a secure and easy way. Take the time to explore these add-ons and find the ones that suit your needs.
8. Automate with Scripts and Scenes & Automations
Home Assistant is all about home automation. Use automations, scripts, and scenes to create simple or complex home automations that make your home smarter and more efficient. Automations can be triggered automatically by specific events or actions once configured. Scripts are sequences of actions that can be triggered manually or through other automations. Scenes allow you to set multiple devices to a particular state with a single click or automatically.
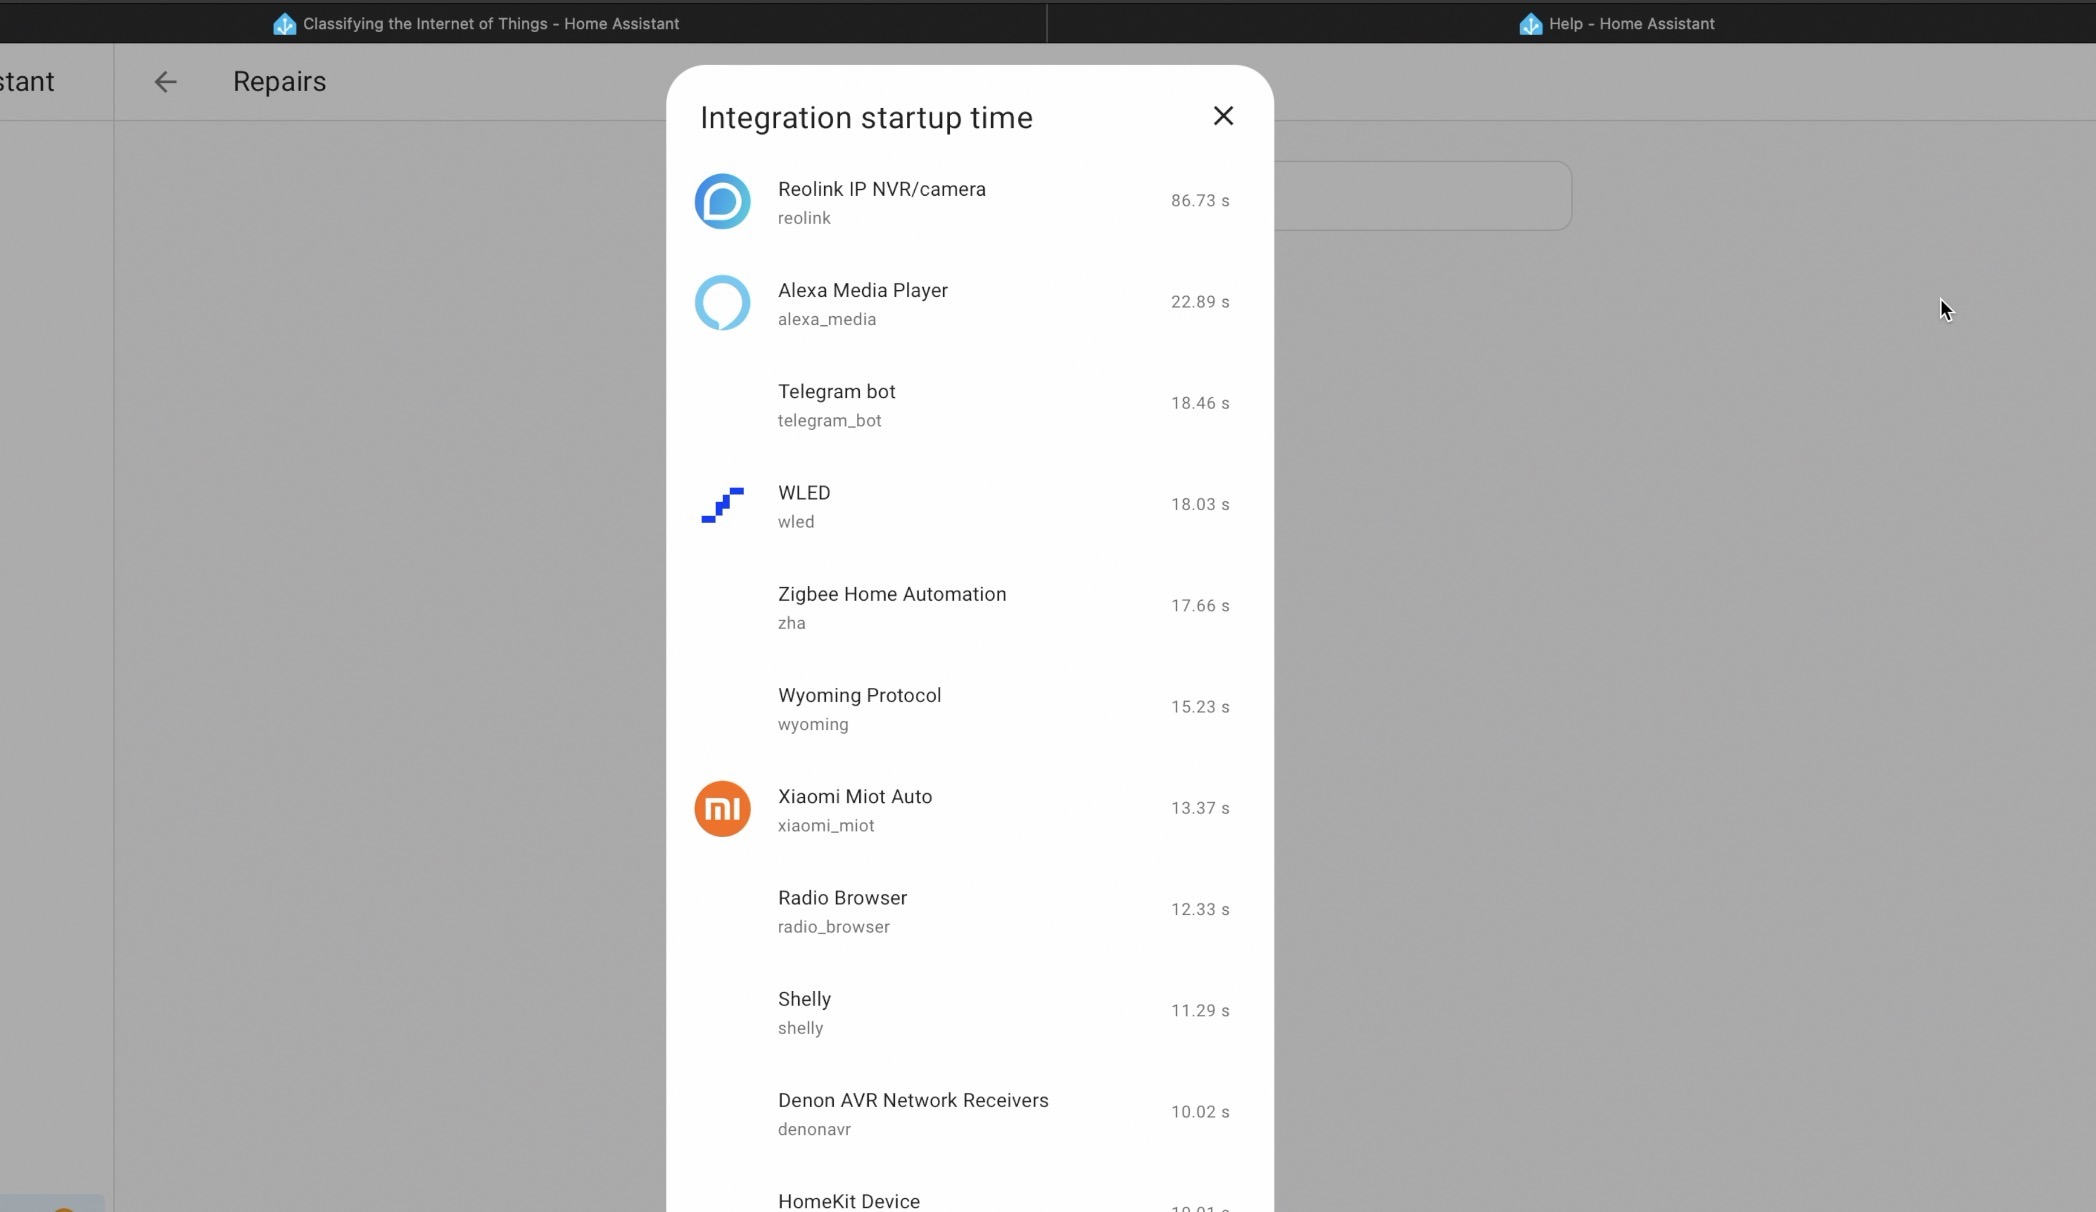
9. Monitor and Optimize Performance
As your HA setup grows, it’s essential to monitor and optimize its performance. Use the built-in tools to track system performance, check logs for errors, and ensure everything is running smoothly.
10. Secure Your Setup
Security should always be a priority. Use strong, unique passwords for your Home Assistant instance and any connected devices. Enable two-factor authentication (2FA) for an extra layer of security. Regularly update your system to ensure you have the latest security patches.
Consider setting up a VPN or secure remote access. Avoid exposing your Home Assistant instance directly to the internet without proper security measures. Always be cautious about sharing your setup and configurations publicly.
11. Have Fun and Experiment
Finally, remember that Home Assistant is a powerful tool that allows for endless customization and creativity. Don’t be afraid to experiment and try new things. Whether it’s integrating a new device, creating a new automation, or exploring advanced features, have fun with it.
Home automation should make your life easier and more enjoyable. Celebrate your successes, learn from your mistakes, and keep exploring. The possibilities are endless, and the journey is just as exciting as the destination.
Don’t walk away without grabbing my new and improved Smart Home Glossary. You will get some simple but useful explanations of the most common smart home words and abbreviations. It’s free and you can download it right now on automatelike.pro/glossary
If this article is well received, I’ll make a part two with more tips. Meanwhile, feel free to share your own tips in the comments, and I may include yours in the next one. Thanks for reading. I’m Kiril. Bye!
Feel free to share your thoughts and experiences in the comments. Let’s learn and grow together! Happy automating!
Hello Kirill
You have presented a very interesting and useful article. Really correct and accurate. I have understood 8 items exactly and of course I have not done the other two things at all. Your content on Home Assistant has been very helpful to me and I hope it continues.
With best regards.
Hello,
Thank you so much for your kind words! I’m glad to hear that you found the article interesting and useful. I appreciate your feedback as it gives me fuel to continue and I do my best to continue providing valuable information.
Cheers,
Kiril