
Home Assistant external data disk is possible as the Home Assistant Operating System allows you to store most of its data on an external fast storage such as SSD Drive or USB flash drive. That means for example with a Raspberry Pi – the boot and main operating system partitions can stay on a SD card as usual, but the Home Assistant Core, Supervisor, Logs & Аdd-ons can go on a fast SSD storage.
Table of Contents
Is this Hybrid supported?
This hybrid scenario is fully supported by Home Assistant and some say it is even more reliable than booting the Home Assistant from USB entirely. Of course, it can be much faster than staying with SD card only. In other words you are getting the best of both worlds and everything is official and supported.
On top, you can convert your already running Home Assistant installation without losing any data. The procedure that I’m about to show you is very easy and will move your existing data to an external data disk automatically.
Let’s begin.
What is needed for the Home Assistant External Data Disk?
The things that you will need are the following:
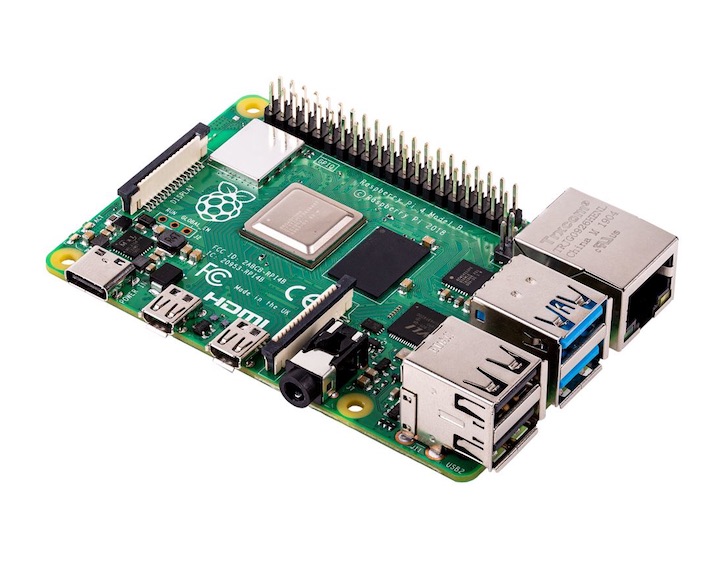
- A device like Raspberry Pi 4 (Amazon Store link), running Home Assistant OS installed on a SD card, which is the most typical scenario. Other devices that are booting from SD card can also be used as long as they are supported by Home Assistant.
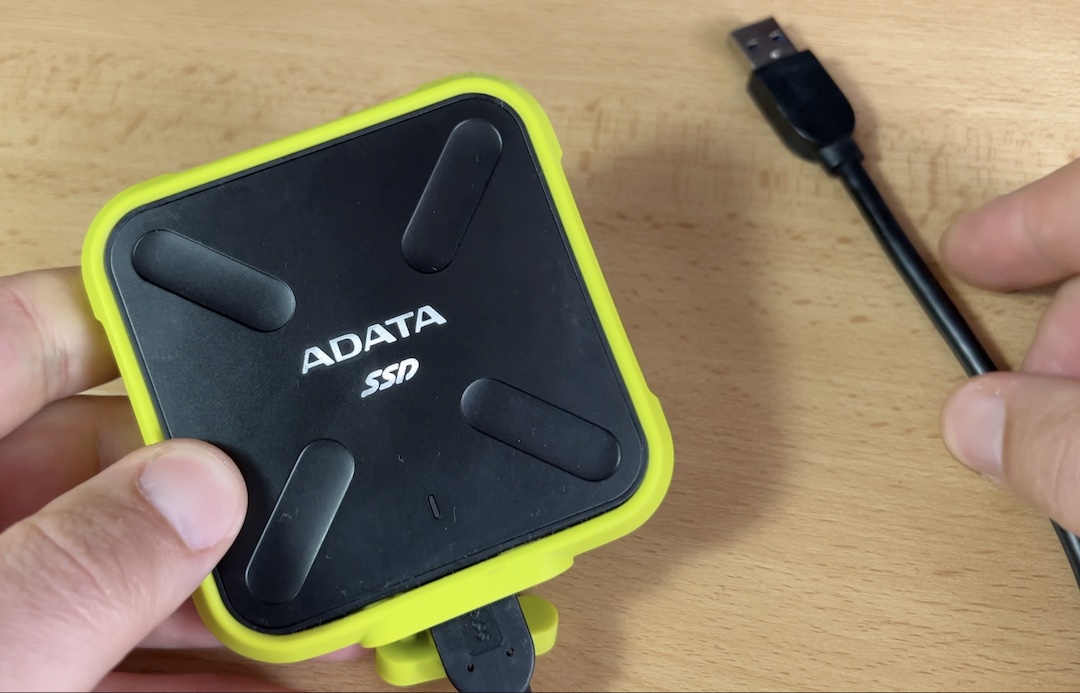
- You will also need a fast USB SSD drive that is bigger in size than the SD card, not physically, but in terms of Gigabytes. I’m using this ADATA SSD drive which is working perfectly. You can check the current price of it in Amazon here – LINK
Backup first!
Have in mind that the data inside this disk will be overwritten and the whole disk will be erased. If you have something valuable inside the USB disk – backup it first. Same is valid for the Home Assistant.
It is highly recommend to create a full Backup and to actually download this backup somewhere safe, before you continue further.

Using UI to move the Home Assistant external data disk
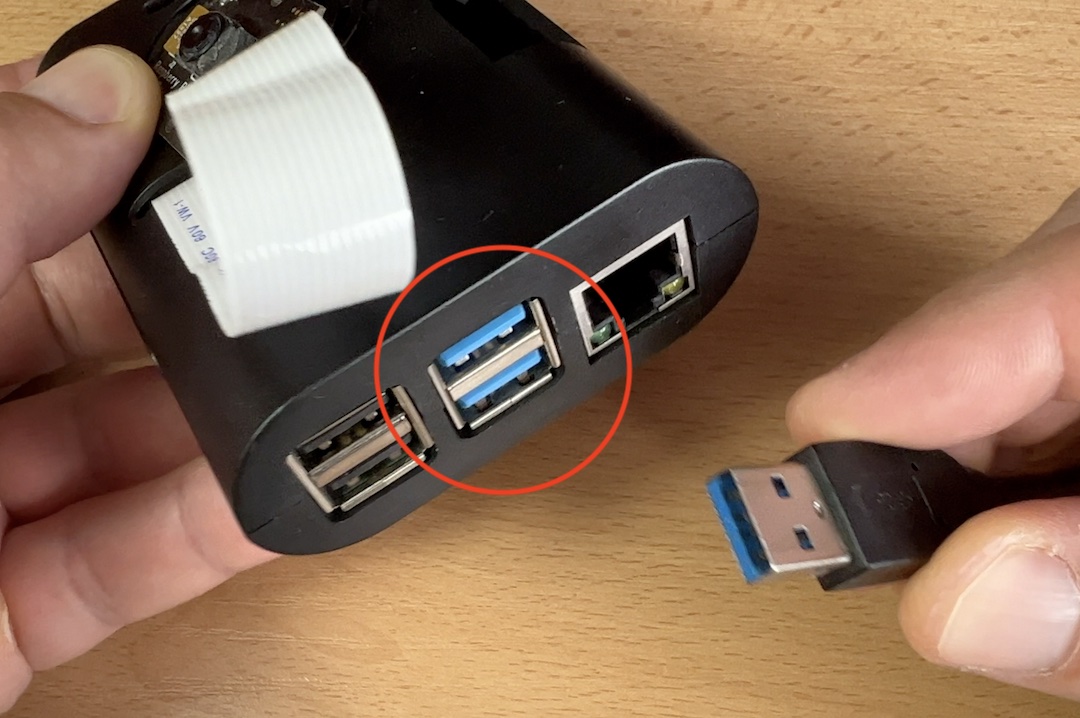
When you are ready with the backups, boot your Home Assistant OS form the SD card as usual and connect the SSD drive to any of the blue USB ports (USB 3.0) on your device, as they are faster.
Open your Home Assistant web interface and go to:
Settings > System > Storage > Three Dots Menu (upper right corner) > then select Move datadisk.

You should see a warning/dialog saying the following:
- You are currently using /dev/mmcblkXXXX (this is the representation of the SD card in Linux) as data disk.
- Moving data disk will reboot your device and it is estimated to take 10 minutes.
- Your Home Assistant installation will not be accessible during this period.
- Do not disconnect the power during the move.
To continue, select your SSD drive from the dropdown list and click on the move button.

Look how easy the whole process is! The complexity of this procedure is hidden under the hood, so you can enjoy your time freely and do something useful while you are waiting.
The system will prepare the Home Assistant external data disk and will reboot the whole procedure will take 10, 15 or even more minutes. The speed of your new data disk will affect that time, but in any case please be patient and do not shut down or reboot the device until it is all finished.
When your Home Assistant boot up again, you should have your boot and main operating system partitions on your SD card as usual, but the Home Assistant Core, Supervisor, Logs & Add-ons will be on the fast SSD storage. Making your system faster and more reliable.
Using CLI to move the Home Assistant external data disk
Alternatively, you can use the Command Line Interface (CLI) to create your Home Assistant external data disk. This is only needed if for some reason you don’t want to use the UI method that we just saw. Use this Command Line Interface method only if the previous graphical method is not working for you or you don’t like it for some reason.
To access the Command Line Interface you either have to attach a monitor and a keyboard to your device or you can install Terminal & SSH add-on from the Home Assistant Add-on store.
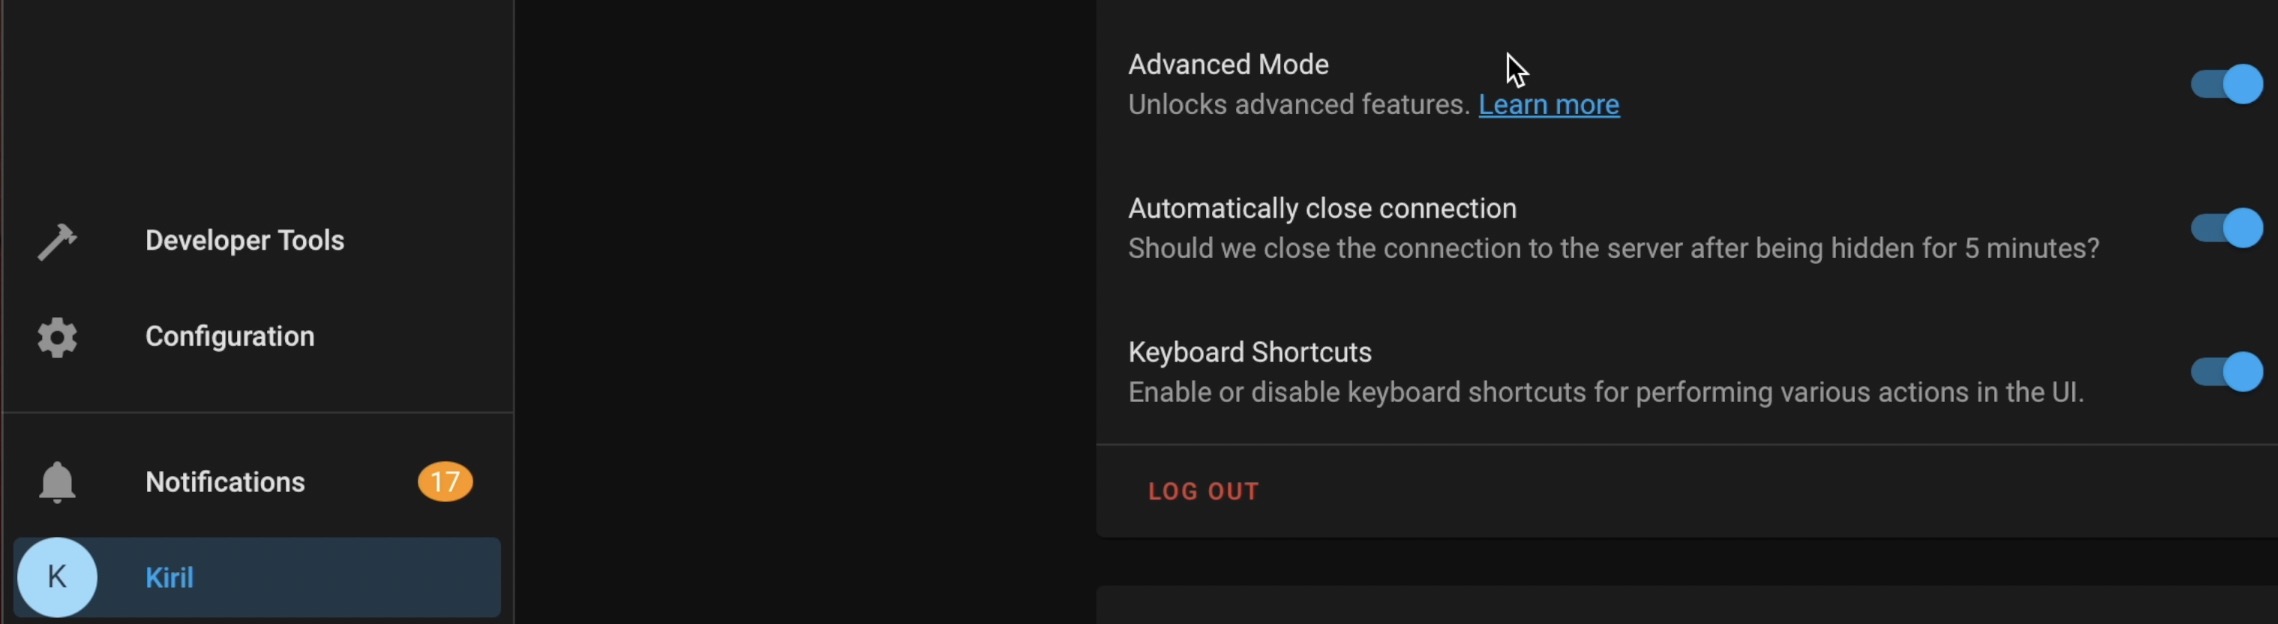
To install this add-on, go to your Home Assistant username and make sure that Advanced mode is enabled.
Then go to:
- Configuration > Add-ons, Backups & Supervisor > Add-on store.
- Find and install the Terminal & SSH add-on. Alternatively, click on the My Home Assistant button below.

- When the installation of the add-on is completed click on the Start button.
- Wait for few seconds for the add-on to start and then click on the OPEN WEB UI button.
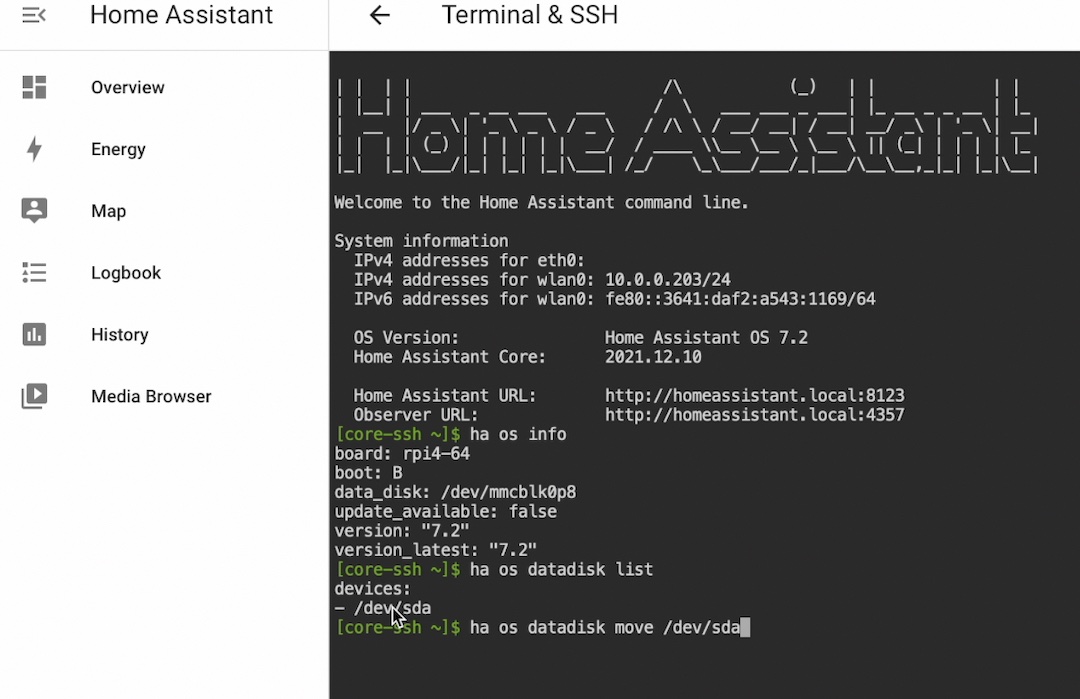
- In the opened terminal type:
ha os info- From one of the lines in the result, you can see that the current data disk is /dev/mmcblkXYZ. That means currently our data disk is located on the SD card.
- Connect your USB drive and type:
ha os datadisk list- As a result you should see something like /dev/sdX (in my case it was /dev/sda). This is the USB drive that I want to use as Home Assistant external data disk.
- The next and the final command that I have to type is:
ha os datadisk move /dev/sda- Replace the /dev/sda with your device if it is different and hit enter.
- the same procedure will follow: restart with 10 to 20 minutes of moving the data disk from the SD card to the USB drive.
Not enough power?
If you have issues with the USB attached SSD drive one possible reason can be not enough power for the device and the ssd drive. The quick fix for that is to use a powered USB hub like this one – LINK. You have to connect the powered hub to your device and plug the SSD drive in the powered hub.
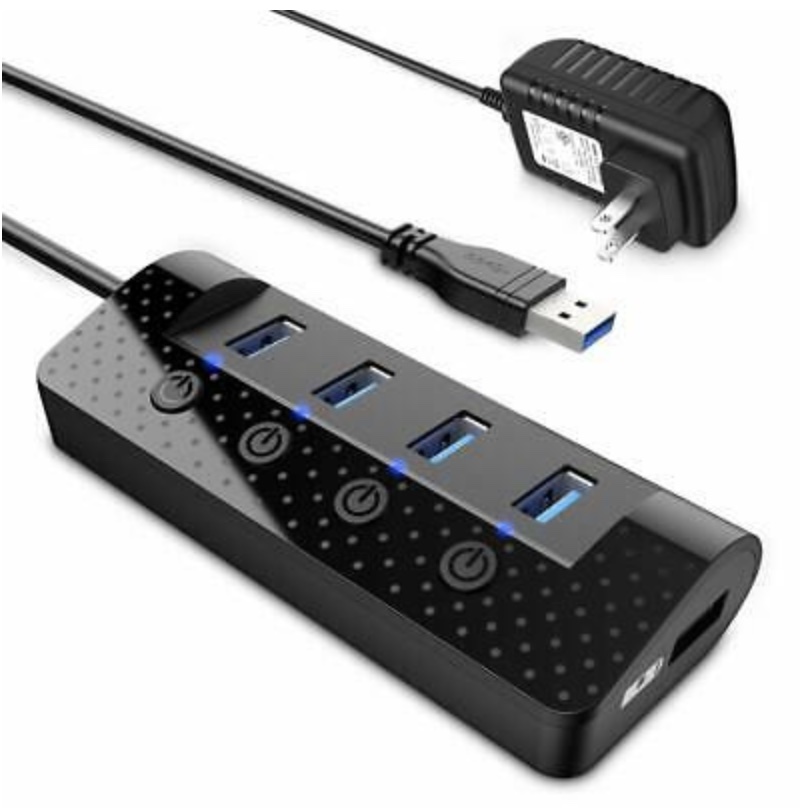
That way the power supply of the hub will power the SSD drive just nicely.
Alternatively, you can omit the hub and try with more powerful power supply if you happen to have one.
Outro
Don’t forget to subscribe for my newsletter if you haven’t done that already that way you’ll be notified when i release a new article.
I’m Kiril and i’m done writing. Bye!
Is this method valid for home Assistant Supervised in Docker?
Thanks for the great instruction.
I tried the method of transferring data to SSD. Unfortunately, the procedure did not end (even after 2 hours), so I interrupted it.
Could the problem be if RPi 4 is set to boot from SSD?
Did you ever get a response for this?
I had the same issue, but it was resolved by moving the SSD to a black USB2 port instead of the blue USB3 ports on the Raspberry Pi.
Great toturial! thank you very much and keep on making toturials and videos like this 😉
small correction: you should remove the [SPACE] between “data” and “disk”
“ha os data disk list” -> “ha os datadisk list”
“ha os data disk move /dev/sda” -> “ha os datadisk move /dev/sda”
Thanks Ricardo for the comment and for the correction. I will fix it right away, I guess it is a autocorrector issue 🙂
How do I move back from an external disk to the SD card again?
ha os datadisk move /dev/mmcblk0
Error: ‘DataDisk.migrate_disk’ blocked from execution, no Home Assistant OS avai lable
I have an x86 based Home Assistant system currently loaded on an ,M2 128GB SSD. My computer also has a 1TB SATA SSD drive that is currently empty. As the .M2 is faster than the SATA, I would like to keep the home assistant bootstrap there. But I really would like to locate just the Media directory on the 1TB SATA drive. (The new Music Assistant integration looks to be great for local media files and I have more than the 128GB will hold). Is there a way to do that? Moving the data disk would work, but it would slow down the system.
fj
hi, interesting guide.
But I do not find information.
I have a question that worries me, in case of ssd problems you can go back to the SD card with datadisk.
In theory if SSD fails the HA will still be able to boot as the booting part of the remain on the SD card. So, just make regular backups and you should be fine.
It looks like in the web interface this have now moved to under Settings > System > Storage then the three dots has the Move Datadisk option
Yes, thanks I have to update the path in the article!
Great tutorial!
After moving the datadisk to the external SSD, does the standard backup function still do a complete backup of the SSD and the external datadisk, and can that backup file be used as a restore in case of a complete hardware failure?
Thanks!
Migrate from SD to SSD worked. But does anyone know how to migrate an existing SSD datadisk to another (fresh) HA OS installation? So: how do I configure HA to use a datadisk without overwriting the datadisk?