
Imagine a local NVR designed for Home Assistant with AI object detection. Imagine no more as there is one. It is called Frigate and I’m going to demonstrate how to setup it and how Home Assistant Frigate integration is working.
Table of Contents
What is Frigate?
Frigate is an Open Source software that is using OpenCV and Tensorflow to perform realtime object detection for your IP cameras locally. You can have Frigate as a Docker container or as Home Assistant add-on. You can use hardware acceleration (like Google Coral) or your CPU and you can use the native custom component for the Home Assistant integration.
Don’t worry if anything I said seems complicated I will guide you step-by-step trough the whole process starting right-now.
Install Frigate as Home Assistant Add-on
I will use the Frigate Home Assistant add-on for this article and this is how you can install it.
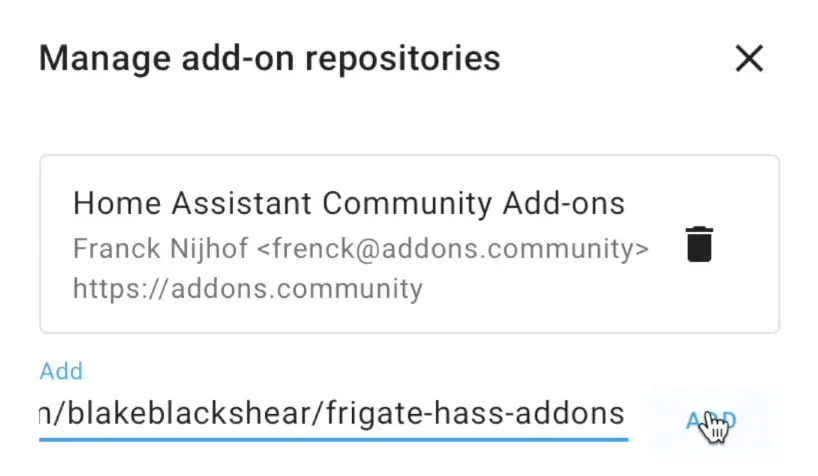
Go to Home Assistant > Supervisor > Add-on Store > three dots menu (upper right) > Repositories > paste the URL from below and click Add.
https://github.com/blakeblackshear/frigate-hass-addonsAlternatively you can use the My Home Assistant link below to achieve the same:

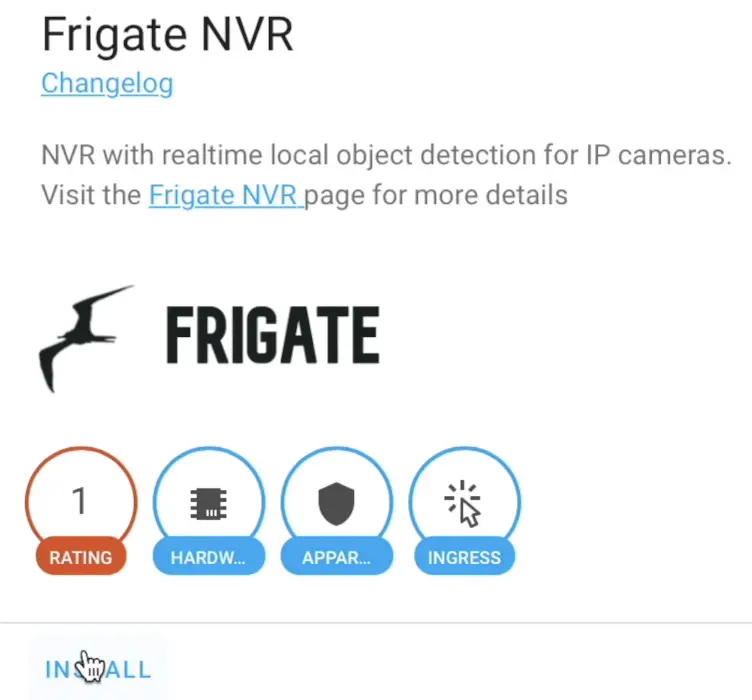
Easiest method to get Frigate is to use Home Assistant Frigate Add-on
You can now search for Frigate in the Home Assistant Add-on Store. Find it, click on it and hit the Install button.
MQTT server installation for Frigate
You will need a MQTT server and again you can have this as Home Assistant Add-on here is how:
Go to Supervisor > Add-on Store > Search for Mosquitto > Click on it and hit Install.
Go to Configuration tab and add a username and password. Alternatively you can use your existing Home Assistant username and password without changing the Mosquitto config at all.
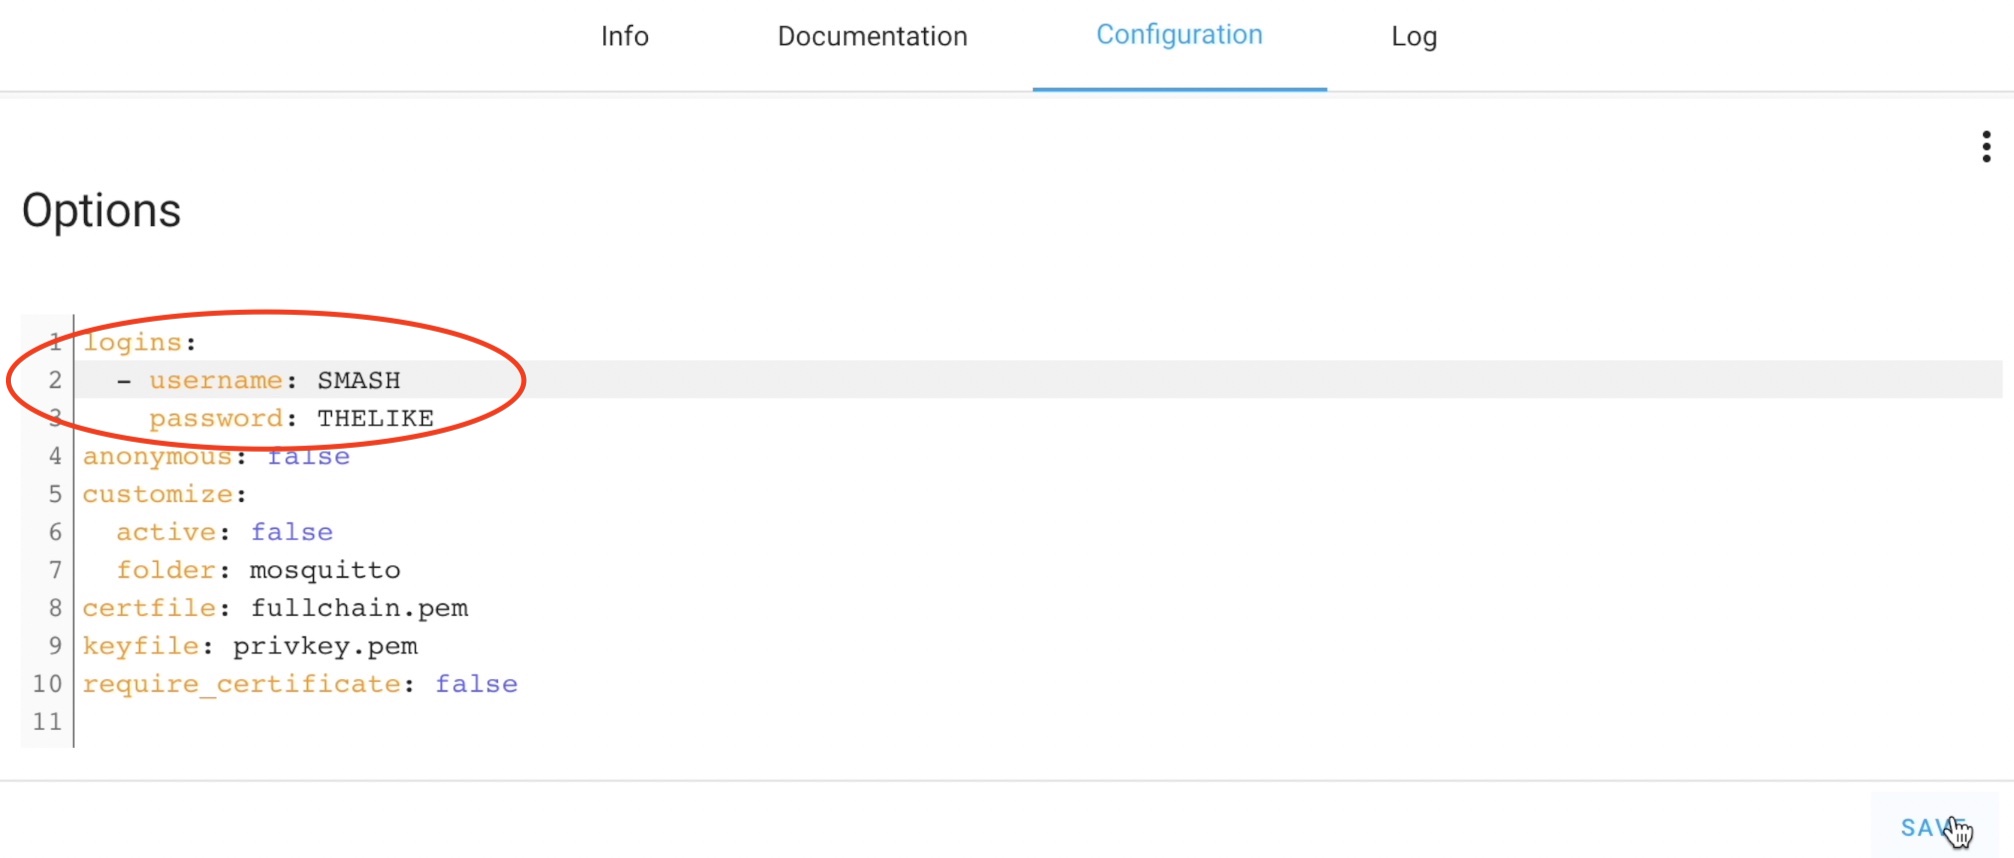
Don’t forget to Save the changes and to start the Mosquitto from Info tab.
How to configure Frigate?
Before starting the Home Assistant Frigate add-on we have to create one file called frigate.yml in the config folder of Home Assistant and to add some YAML code inside.
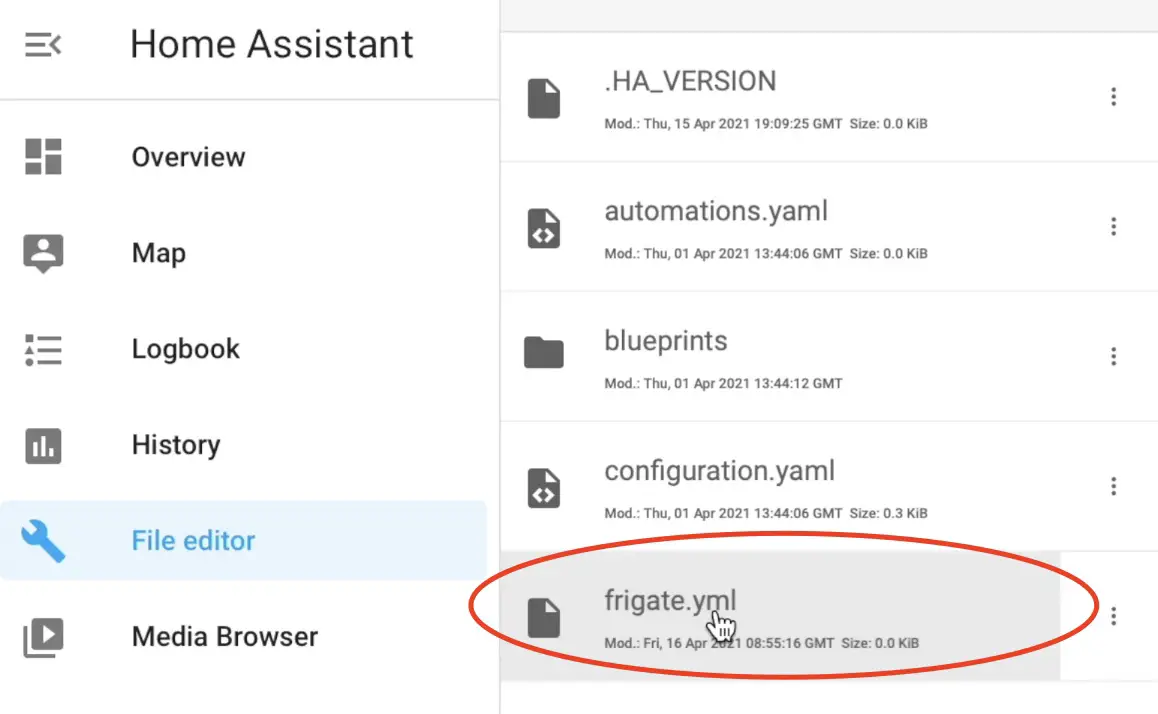
You can use another Home Assistant Add-on called File Editor to create and edit the frigate.yml file or any other method you wish.
This is how my Frigate configuration (frigate.yml) looks like for a Raspberry Pi 4 without any hardware acceleration (only the CPU) and with 64-bit OS.
# frigate.yml
detectors:
  cpu1:
    type: cpu
mqtt:
  # Required: host name
  host: 10.0.0.250
  # Optional: port (default: shown below)
  port: 1883
  # Optional: topic prefix (default: shown below)
  # WARNING: must be unique if you are running multiple instances
  topic_prefix: frigate
  # Optional: client id (default: shown below)
  # WARNING: must be unique if you are running multiple instances
  client_id: frigate
  # Optional: user
  user: SMASH
  # Optional: password
  # NOTE: Environment variables that begin with 'FRIGATE_' may be referenced in {}.
  #       eg. password: '{FRIGATE_MQTT_PASSWORD}'
  password: THELIKE
  # Optional: interval in seconds for publishing stats (default: shown below)
  stats_interval: 60
cameras:
  # Name of your camera
  front_door:
    ffmpeg:
      hwaccel_args:
        - -c:v
        - h264_v4l2m2m
      inputs:
        - path: rtsp://user:pass10.0.0.87:554/h264Preview_01_sub
          roles:
            - detect
            - rtmp
    objects:
      track:
        - person
        - car
        - truck
        - bicycle
        - motorcycle
        - dog
        - cat
        # Optional: save clips configuration
    width: 640
    height: 352
    fps: 5
The goal here is to see your camera image in Frigate with minimal configuration as possible. Then you can try to add some complications like clips and snapshots sections.
What if you have Google Coral?
If you are going to use Google coral you have to change few lines in your frigate.yml file and that is all. You can check this YouTube video of digiblurDIY 👉 LINK
He explain the Coral configuration in details.
If you want to buy Google Coral USB Accelerator you can find it here (AliExpress Affiliate) 👉 LINK

Start Frigate
After you are ready with your frigate.yml file you can start the Frigate Home Assistant add-on.
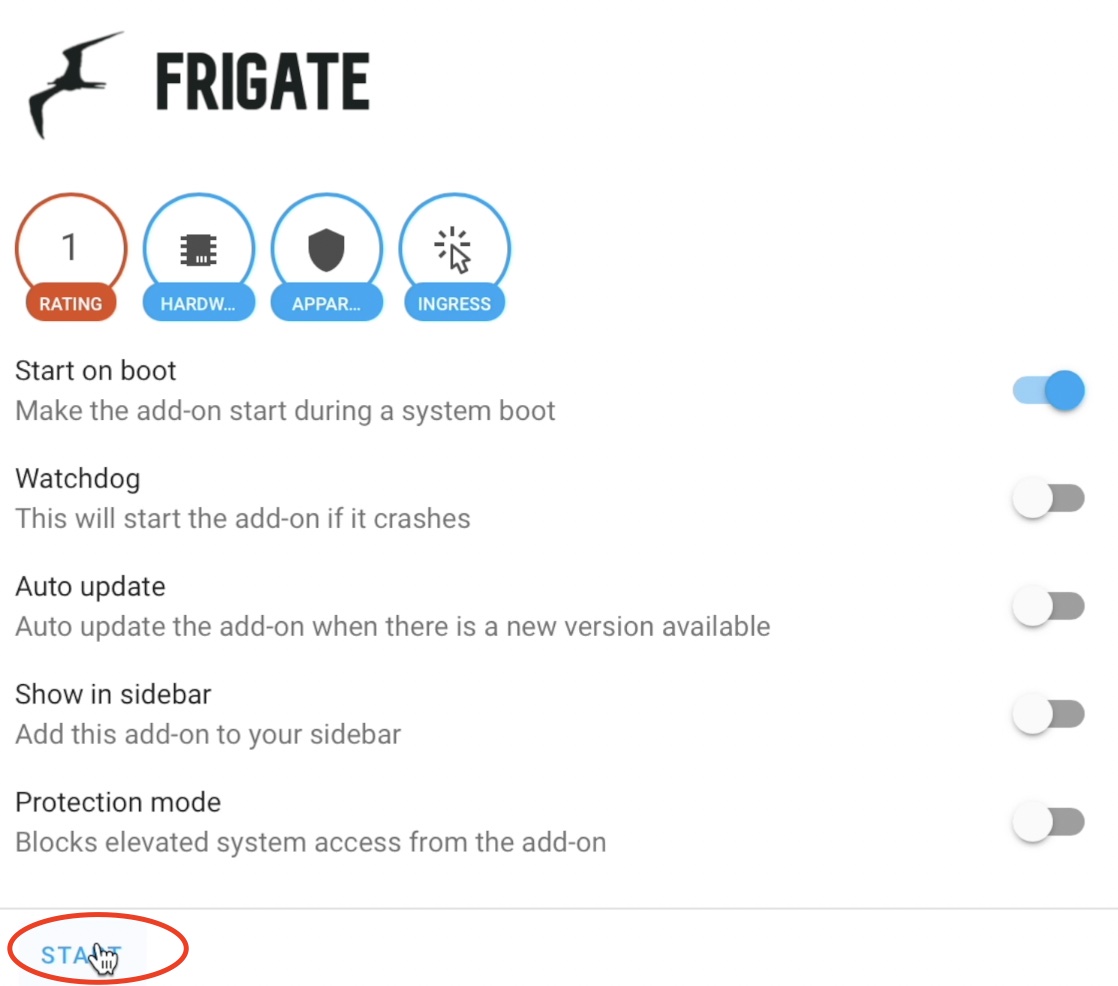
After you start the Frigate add-on check the Logs tab for errors
To check if everything is fine – open the Frigate web interface by click on the Open Web UI button under the Frigate add-on.
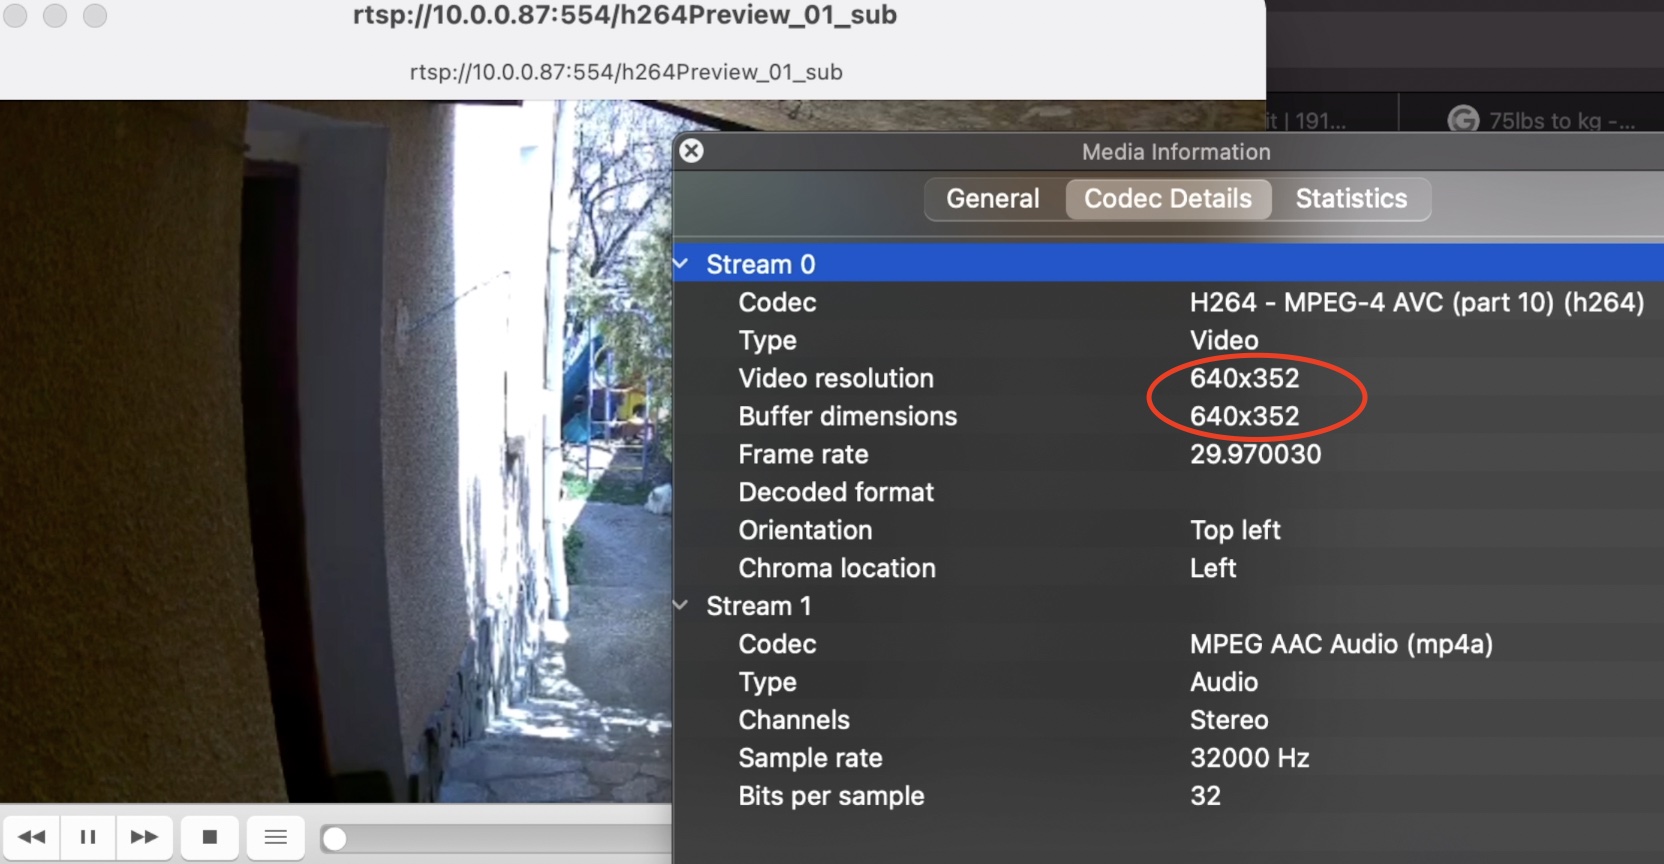
If you see strange green images in Web UI – confirm your camera resolution by open your RTSP link in VLC player and check the Window > Media Information.
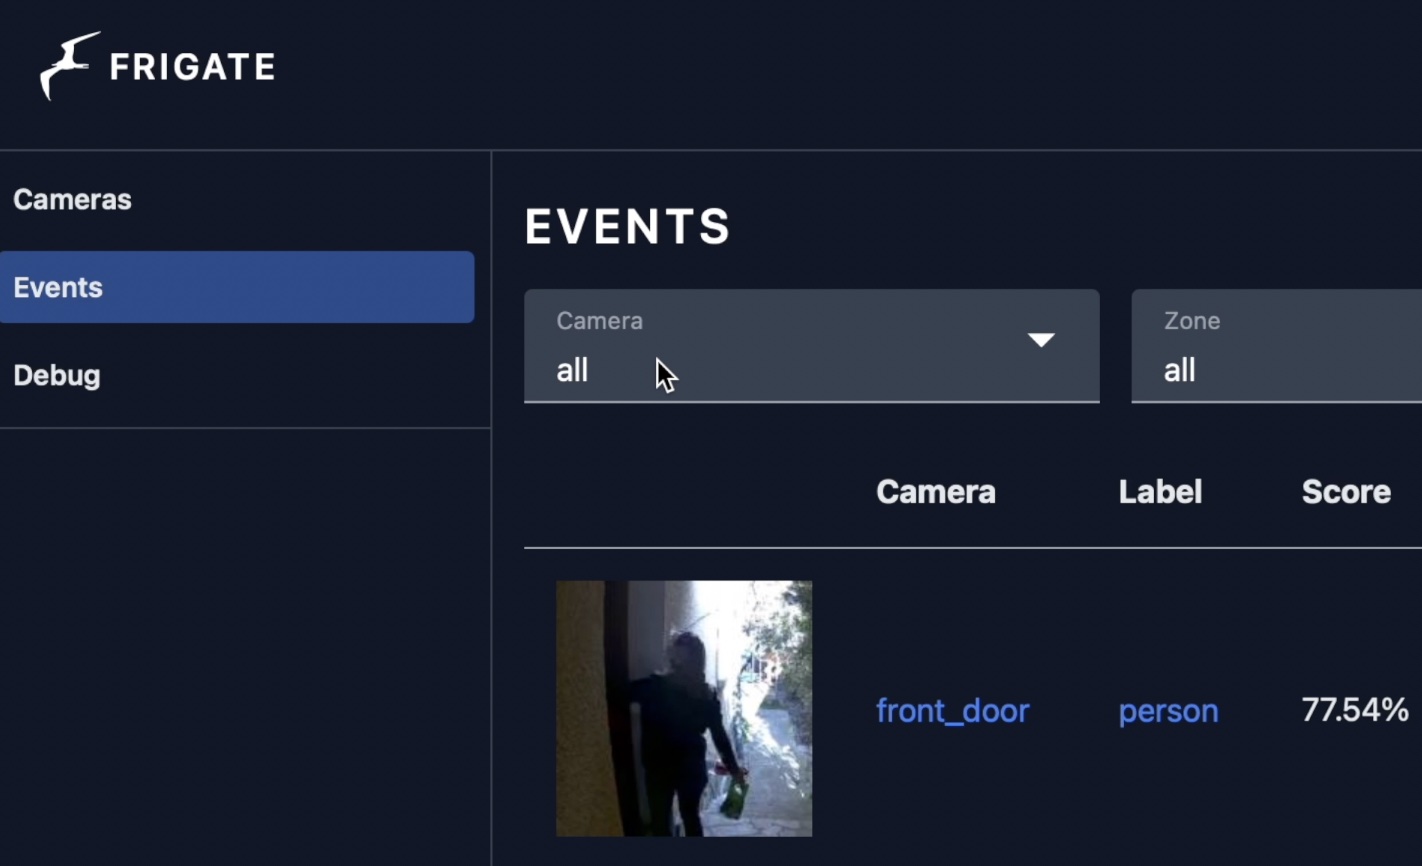
If everything is fine – Frigate will start collecting events this is where you can find them:
Everything is working so far? If yes, you can continue to the official Home Assistant Frigate integration that will help you mange & monitor your Frigate installation. But more importantly will open the possibility for endless Smart Home automations.
Before adding the Home Assistant Frigate Integration
Before we add the official Home Assistant Frigate integration it is a good idea to test if MQTT messages are received correctly. You can use the free MQTT Explorer tool for that.
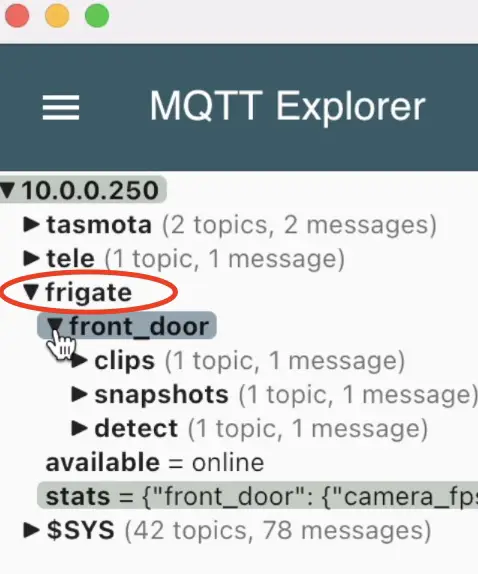
If you see a MQTT topic called frigate with several sub-topics underneath – you are perfect!
Home Assistant Frigate Integration
We need to transfer the Home Assistant Frigate integration files to Home Assistant config folder and there are several ways to do that. I used Samba Home Assistant add-on 👉 LINK
Installation of the Samba add-on is very easy – check my video if you need more info.
Of course you can use other methods to transfer these files and here are the steps that you need to perform, no matter the chosen method.
- Download the files from the official Frigate Integration GitHub repo as ZIP file👉 LINK
- Extract the archive and copy and paste the custom_components folder and all of its content to your Home Assistant config folder.
- You have to have /config/custom_components/frigate structure in your Home Assistant. And inside frigate folder you should have multiple .py files.
- After you are ready with the above restart your Home Assistant.
- Go to Configuration > Integrations > Add integration > Search for frigate and click on it.
- A dialog asking for Frigate host will appear with auto populated host. Click Submit and then Finish buttons.
- You can find the new Frigate integration in Home Assistant under Configuration > Integrations menu.
By clicking on the X device link under Frigate integration you can add the found entities in your Home Assistant Lovelace.
The Home Assistant Frigate integration will give you device(s) and entities to play with. And we are going to do exactly that in the next section.
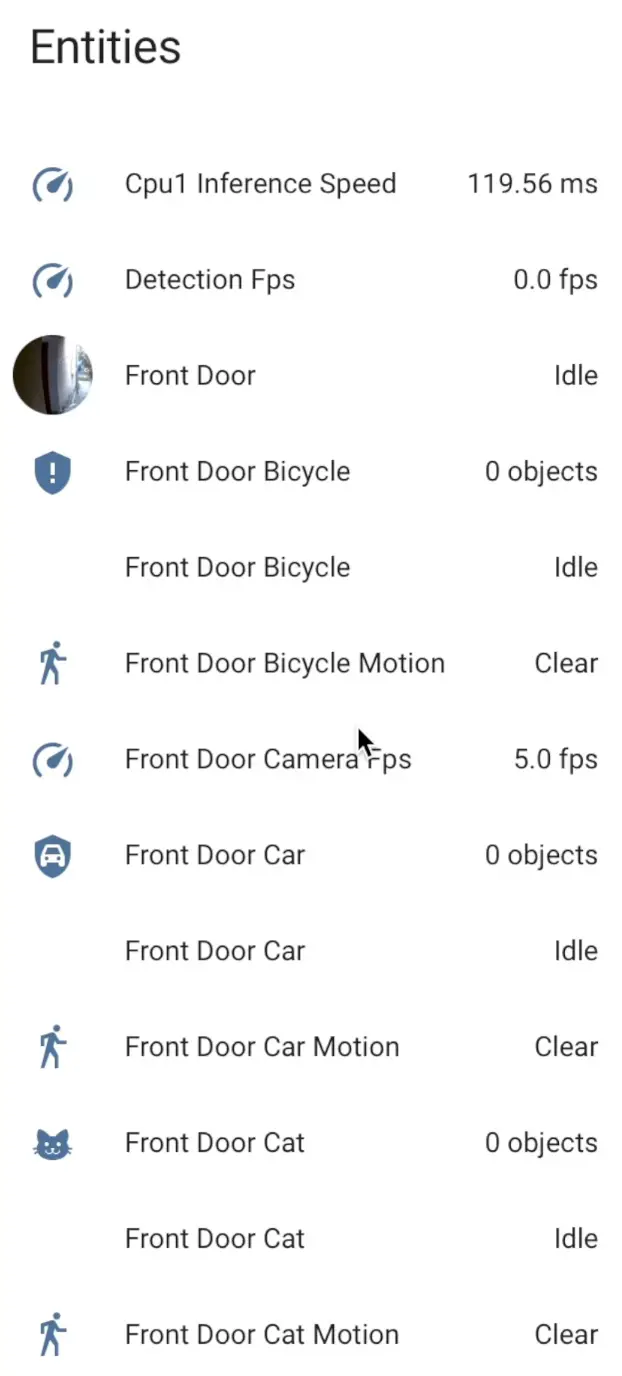
This is part of the entities that I now have. Yours will probably be slightly different.
Keep in touch?
Look, I will be very straightforward & honest! If you are still reading this, then you probably like it to some degree. That automatically means that I like you as well (who doesn’t like the people that spend time with their nonsense writings). So why don’t we keep in touch?
The best ways for that are:
If you do all four – let me know somehow! I will be happy to know who you are 🤣
Home Assistant Frigate Automation with Telegram
Now what’s better than finish everything with one useful Home Assistant Frigate automation that involves Telegram messenger notifications? After we finish with the automation we will have the following:
- When person or any other object of interest is detected by Frigate on the camera image
- Home Assistant will send a Telegram message with the text of what is detected and a snapshot.
And when we are talking about snapshots you may wish to add a snapshot section to your frigate.yml. I used the snapshot section from Frigate documentation without any modifications in my config and it worked 🙂
After that I copy/paste the example automation in my automations.yaml file in my Home Assistant configuration folder.
# automations.yaml entry
- alias: Notify of events
trigger:
platform: mqtt
topic: frigate/events
action:
- service: notify.telegram
data_template:
message: 'A {{trigger.payload_json["after"]["label"]}} was detected.'
data:
photo:
# this url should work for addon users
- url: 'http://ccab4aaf-frigate:5000/api/events/{{trigger.payload_json["after"]["id"]}}/thumbnail.jpg'
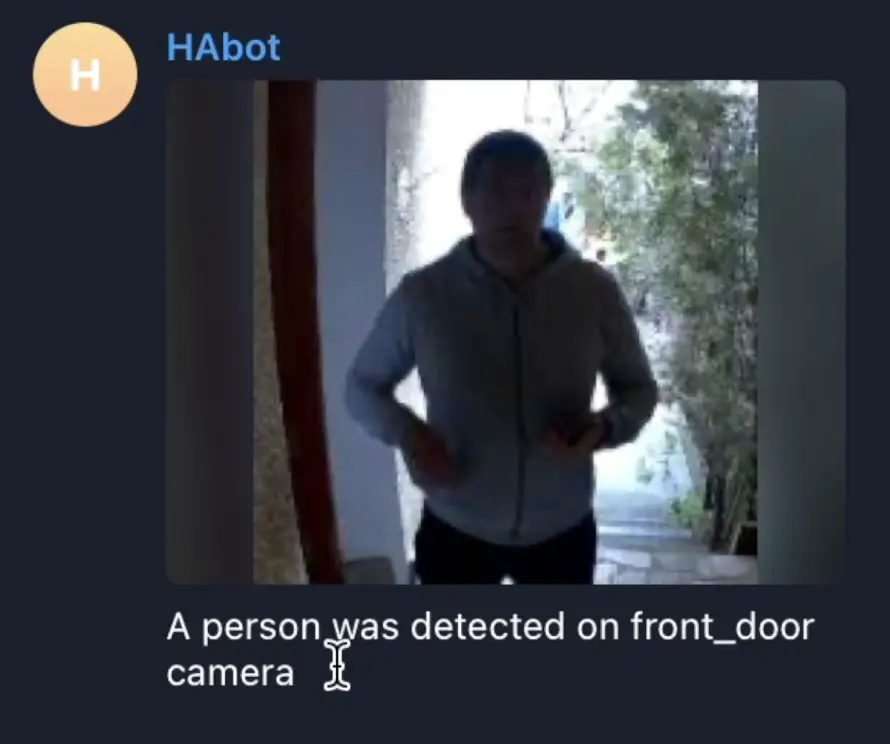
caption: 'A {{trigger.payload_json["after"]["label"]}} was detected on {{ trigger.payload_json["after"]["camera"] }} camera'To make this working, you will need notify.telegram service in your Home Assistant. Don’t worry if you don’t have it – I have a video tutorial for that 👉 LINK
Don’t forget to save the automations.yaml file and to reload the automations from Configuration > Server Controls.
And this is the end result in my case! A non smart person is detected on the camera and the snapshot is sent to my Telegram.
Support my Work!
If you want to secure this site existence you can become one of Patreons or you can check my support page.
Stay Safe and don’t forget – Home Smart, but not hard!
i want to use mobile phone as ip camera,how do it
i want to mobile phone as ip camera when use frigate ,how do it ?