
I have several Home Assistant installations bookmarked, which sounds organized until I need to open one that is not on the list. Then my brain starts guessing the Home Assistant port 8123, Ollama on 11434, or some other service on 8080. I try one address, get the wrong page, and briefly wonder if I still understand my own network.
Home Assistant 2026.8 removes one of those tiny memory tests for new Home Assistant OS installations. A fresh installation can open at http://homeassistant.local without typing :8123. Existing installations keep working as they do now, and nobody needs to rush into changing a good setup.
This needs a little context. The port still exists. Existing systems stay put. If you change the setting and cannot reconnect, Home Assistant can roll it back.
Table of Contents
Get the free Home Assistant port guide
If you want the steps beside you while you make the change, I created a free Home Assistant port 8123 PDF guide. It covers the clean-address idea, the safe change, the five-minute rollback, the checks afterward, troubleshooting, and a short quiz.
The PDF that goes with this article – https://automatelike.pro/ha-port
To get the PDF, type your name and e-mail. You will receive an e-mail from me to confirm you are not a robot, and the PDF will be sent to your inbox. You will also be subscribed to my newsletter where I share new content, updates, and my exclusive AI and Home Assistant challenge. It is free, and you can unsubscribe anytime with one click.
Tired of reading?
Watch my Home Assistant port 8123 video here for the short demo and the part where I once again confuse Home Assistant with Ollama. Apparently every smart service needs a number, and my brain has storage for about two of them.
The video shows the visible difference between the old and new address, the interface route, and the confirmation flow without turning this into a networking degree.
What changes with Home Assistant 2026.8
There are three cases.
- A new Home Assistant OS installation can use the normal local address without a visible port number.
- An existing installation keeps its current Home Assistant port 8123 or any other port already configured.
- An existing user can change the server port from the interface when there is a good reason to do it.
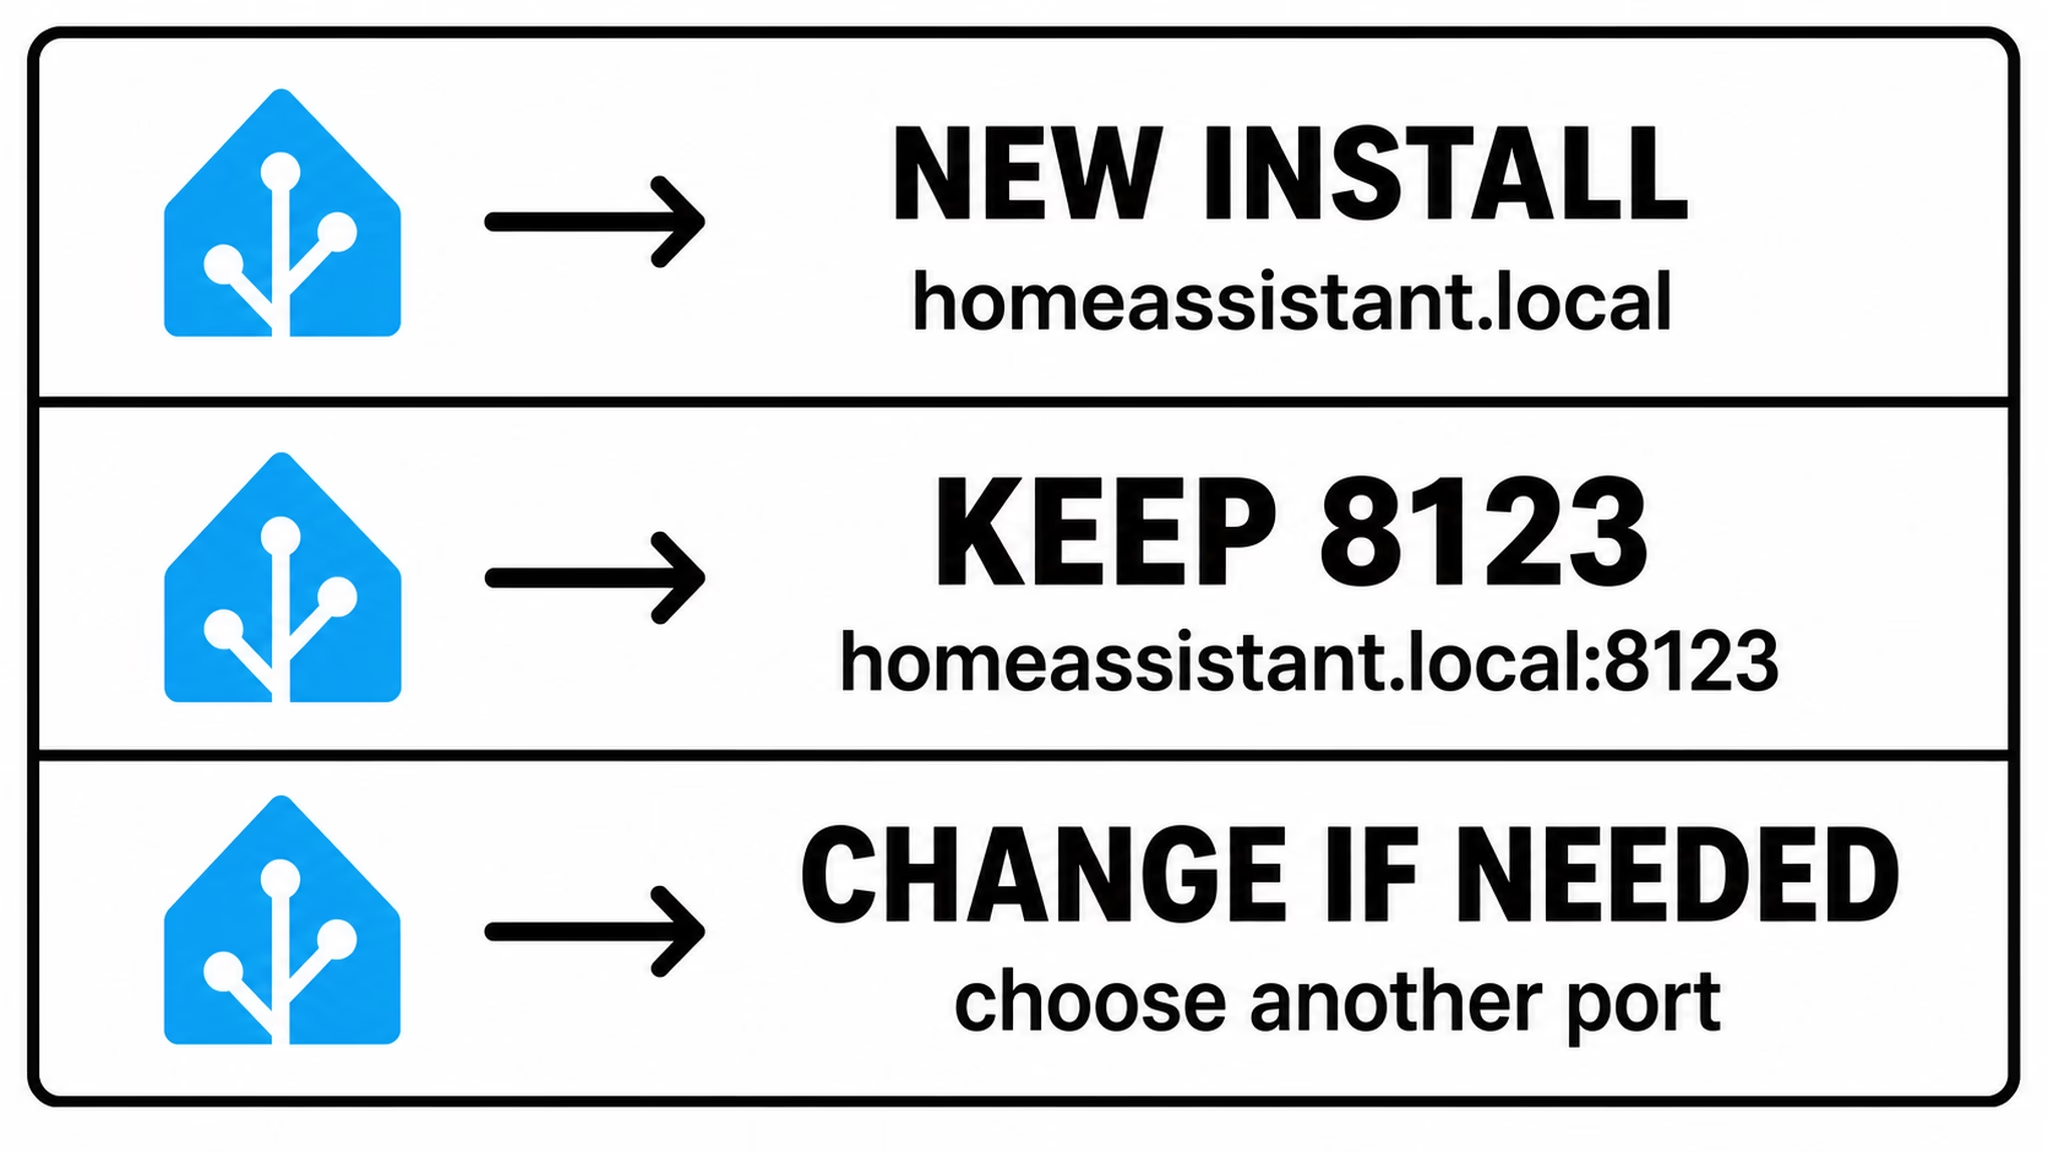
The second point matters most. Updating Home Assistant does not silently move your existing installation to another port. Your old URL remains the same. If http://homeassistant.local:8123 works today, you can keep using it.
The Home Assistant 2026.8 documentation recommends leaving a working existing setup alone. I agree. Five fewer characters are nice, but not nice enough to reconfigure a pile of connected tools on a Saturday for no reason.
The port is still there
A port is a bit like a door on a building. The hostname or IP address tells your browser which building to visit. The port tells it which door to use.
Home Assistant has traditionally listened on door 8123. Normal HTTP traffic uses port 80, and browsers already assume that door when you do not type a number. If Home Assistant listens on port 80, the browser can open http://homeassistant.local without you adding :80.
Nothing magical happened to networking. The number is hidden because the browser already knows the usual HTTP port. If you choose a custom port such as 8080, you still need to type :8080 in the address.
The official Home Assistant HTTP integration documentation explains the wider HTTP settings. For this Home Assistant port 8123 change, the important part is simple. Port 80 gives you the clean local HTTP address. A custom port remains visible.
When an existing installation is worth changing
My rule is boring on purpose. I will use the clean address on new Home Assistant OS installations. I will keep the Home Assistant port 8123 on old systems until I have a real reason to change it.
A clean address is easier to remember and nicer to type. The cost is easy to miss. Your bookmarks and mobile apps may still point to the old URL. The same goes for dashboards, scripts, and connected services. Home Assistant cannot update every external tool for you.
If you rarely type the full address because everything is bookmarked, changing the port may save almost no time. If you regularly open several local systems and keep mixing up their numbers, the clean address may be worth it. This is a choice, not a required migration.
How to change the Home Assistant port 8123 safely
Before touching the setting, write down where the old address is used. Check your browser bookmark, the Home Assistant mobile app, and any service or tool that connects to Home Assistant. Search automations, scripts, and configuration files if you have ever typed the complete URL into them.
A fresh backup is also a sensible habit before changing network settings. If you need a refresher, my Home Assistant backups guide explains the backup system in plain language.
- Open Home Assistant and go to Settings → System → Network.
- For a faster route, press Ctrl + K on Windows or Linux, or Command + K on macOS. Type
networkand open the Network page. - Find the HTTP server card. The server port on an existing setup should show its current value, often 8123.
- Change the Home Assistant port 8123 to
80if you want the normal local HTTP address without a visible number. - Press Save. Home Assistant restarts with the new web server setting.
- Open the new address and make sure your real dashboards load. Confirm the change only after you know the new URL works.
Do not press Confirm from muscle memory. Opening the login page is a good start, but opening one of your real dashboards is better proof that you reached the correct Home Assistant installation.
The five-minute rollback is the useful part
Changing a web server port used to feel like the sort of job where one typo could turn into an evening of recovery work. Home Assistant now adds a safety loop around the change.
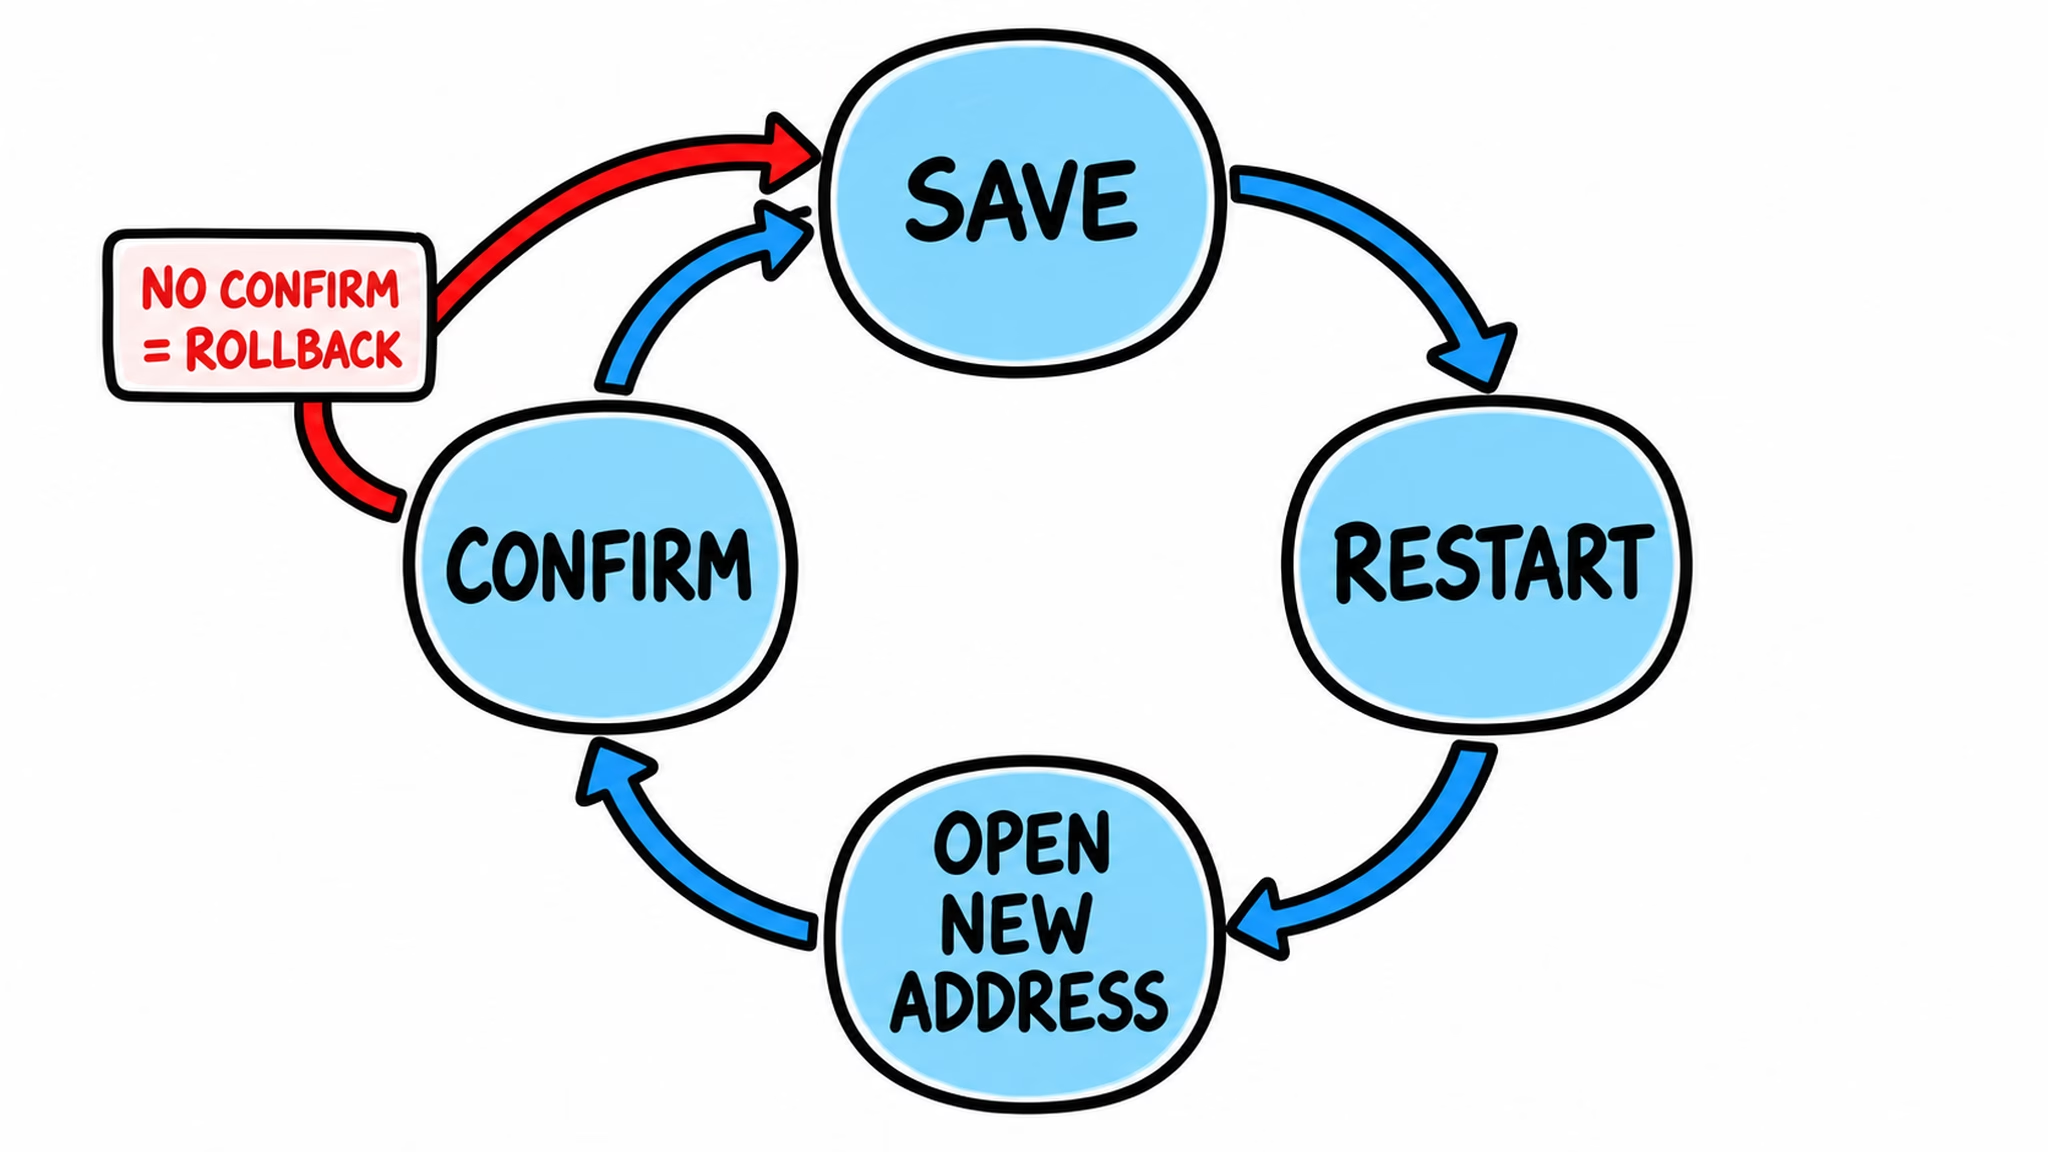
After you save, Home Assistant restarts and asks you to confirm that the new web server settings work. If the setting cannot be applied, it falls back immediately. If you cannot reconnect within five minutes, Home Assistant restores the previous settings and restarts.
That does not mean you should click without thinking. It means a wrong Home Assistant port 8123 change should become a short wait instead of a weekend project. Keep the old URL nearby, test the new one carefully, and let the rollback do its job if something went wrong.
What to update after the port change
Once the new address works, replace the old URL anywhere you still use it. Start with the places you touch every day, then check the quieter tools that are easy to forget.
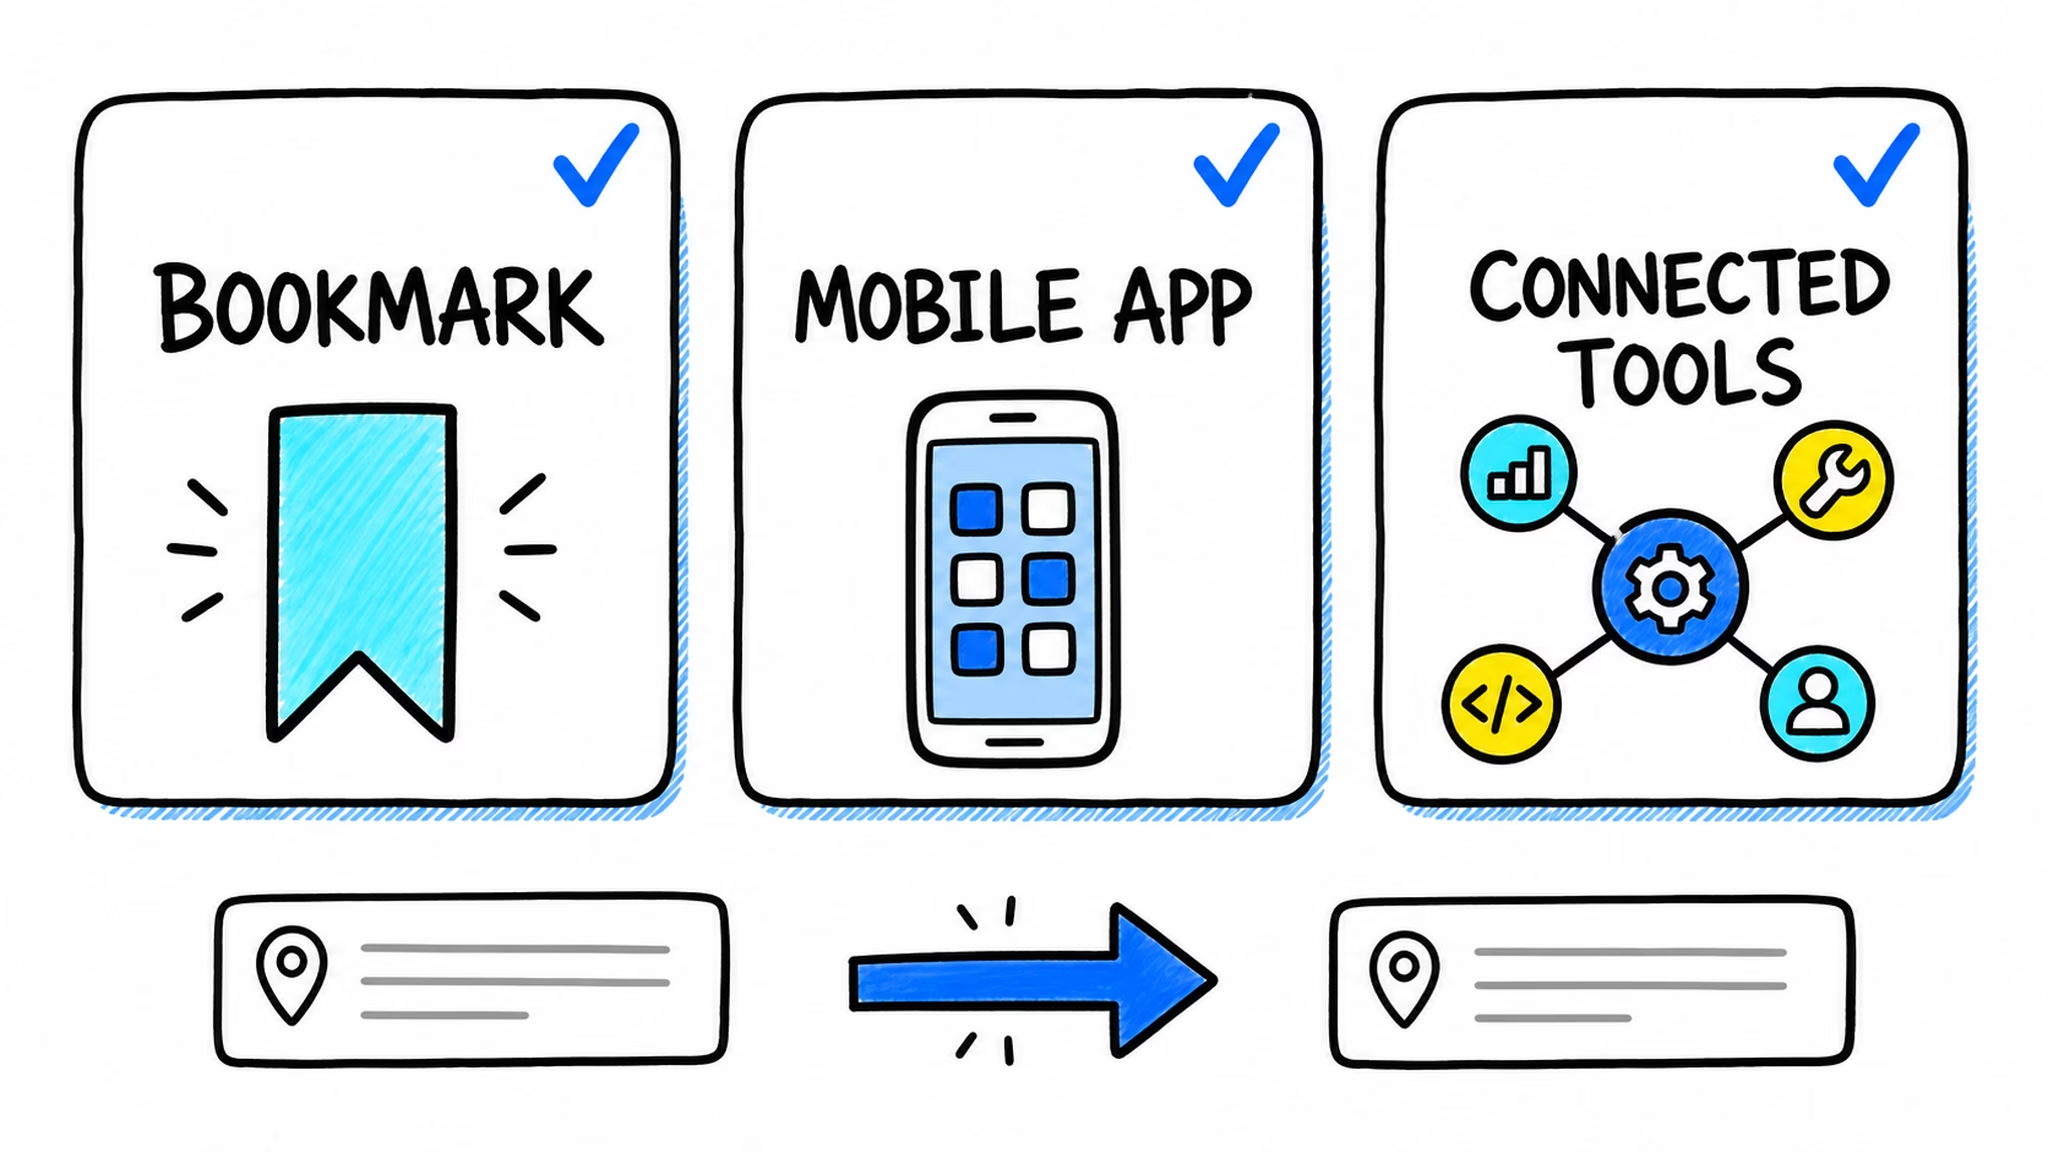
- Update browser bookmarks that include
:8123. - Check the server address in the Home Assistant mobile app.
- Update connected services, tools, scripts, and shortcuts that use the complete old URL.
- Look for hard-coded addresses in anything you built yourself.
The Home Assistant port 8123 change only affects clients that use the old address. Devices and integrations do not suddenly forget Home Assistant just because the browser URL looks cleaner. The likely trouble spots are external tools where the complete URL was entered manually.
Custom ports and YAML setups
Port 80 is optional. You can keep port 8123, or choose another port when your network setup needs one. A custom value such as 8080 remains part of the address because the browser does not assume it.
If your HTTP server settings are currently in YAML, do not delete them before updating. The Home Assistant 2026.8 documentation says those settings are imported into the interface on the first start after the update. You may then see a repair that points to the old YAML in case you want to clean it up. Future changes are made in the interface.
Existing YAML users do not have to rebuild the same HTTP settings by hand after the update. The import moves those settings into the interface, where future changes are managed.
One small habit before changing network settings
Take a screenshot of the old setting and keep the old address in a text file until every important tool works. It takes less than a minute and saves the classic problem of remembering that something was different without remembering what the difference was.
You can find more small improvements like this in my Home Assistant tips and tricks guide. Some save time every day. Others save you from staring at a broken dashboard while pretending this was all part of the plan.
If you want more Home Assistant guides
Browse my Home Assistant articles for practical automations, backups, dashboards, networking ideas, and new features explained without unnecessary theory.
For this change, remember the simple rule: new Home Assistant OS installation, enjoy the clean address. Existing Home Assistant port 8123 setup, leave it alone unless the cleaner URL is worth updating the tools that depend on it.