
So, you’re thinking about getting Smart Roller Shades like SwitchBot Roller Shade? Awesome! They look super cool, and the idea of smart shades that can open and close on their own is pretty tempting. But, let me tell you, while these shades are fantastic, the installation journey can be a bit…interesting. I wanted to share my experience so you can be prepared and hopefully avoid some of the headaches I had.
I’m going to break down what I learned, from the initial setup to getting them working with my smart home. Let’s dive in!
Table of Contents
Not in a reading mood?
Prefer a visual guide? I’m breaking down the entire SwitchBot Roller Shade installation process in a video! It’s a faster way to get the key insights and see the steps in action.
Watch the Video:
Installation: It’s a Learning Curve
SwitchBot promises a quick and easy installation. They have a really good 10-minute video that looks straightforward. When I watched it, I thought, “No problem, I’m in and out in under half an hour!” Reality, however, hit me pretty hard. It took me over 3 hours! Ouch.
Here’s what I wish I’d known upfront.
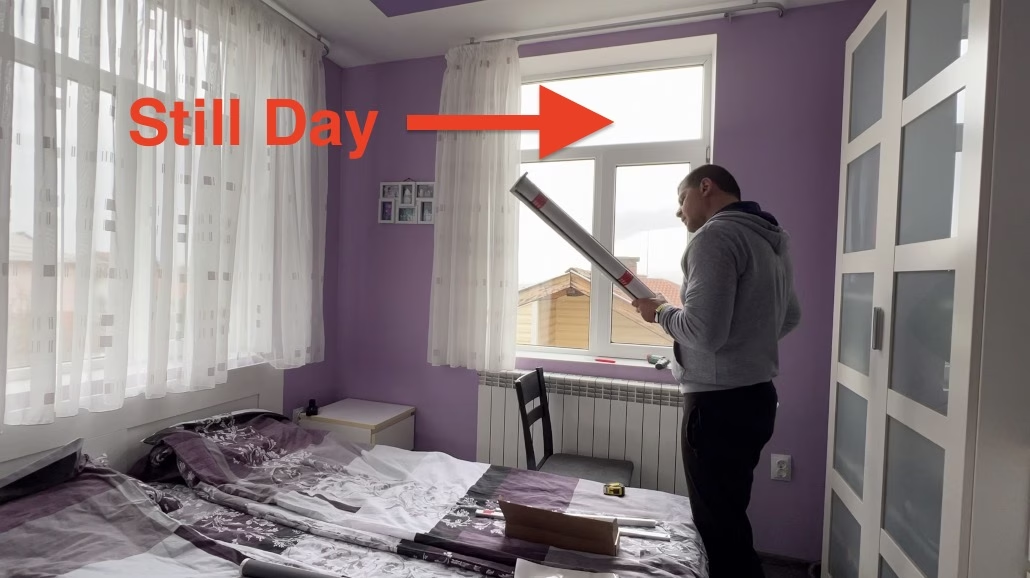
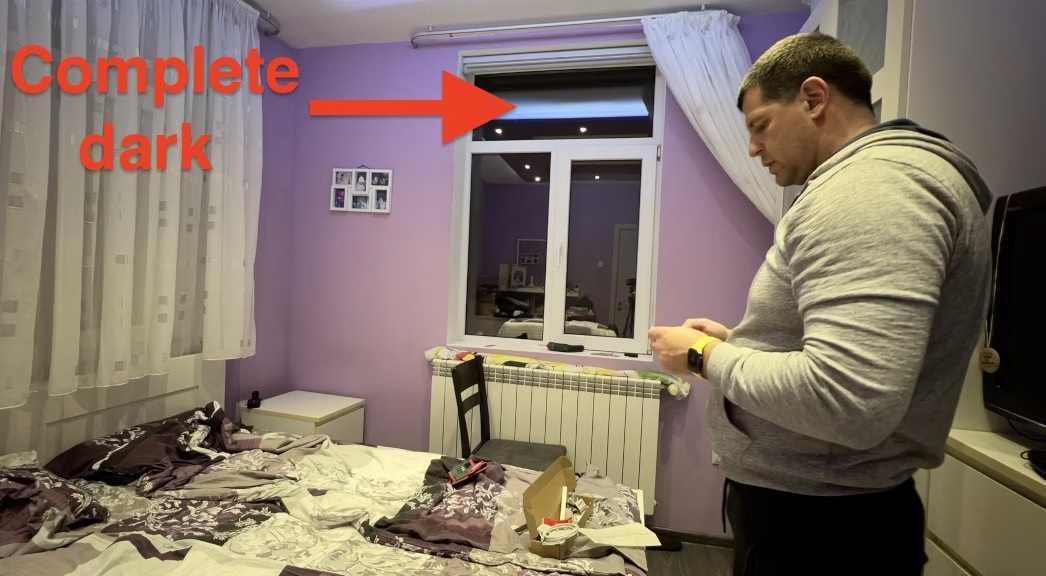
1. Inside vs. Outside: Blocking the Sun is Key
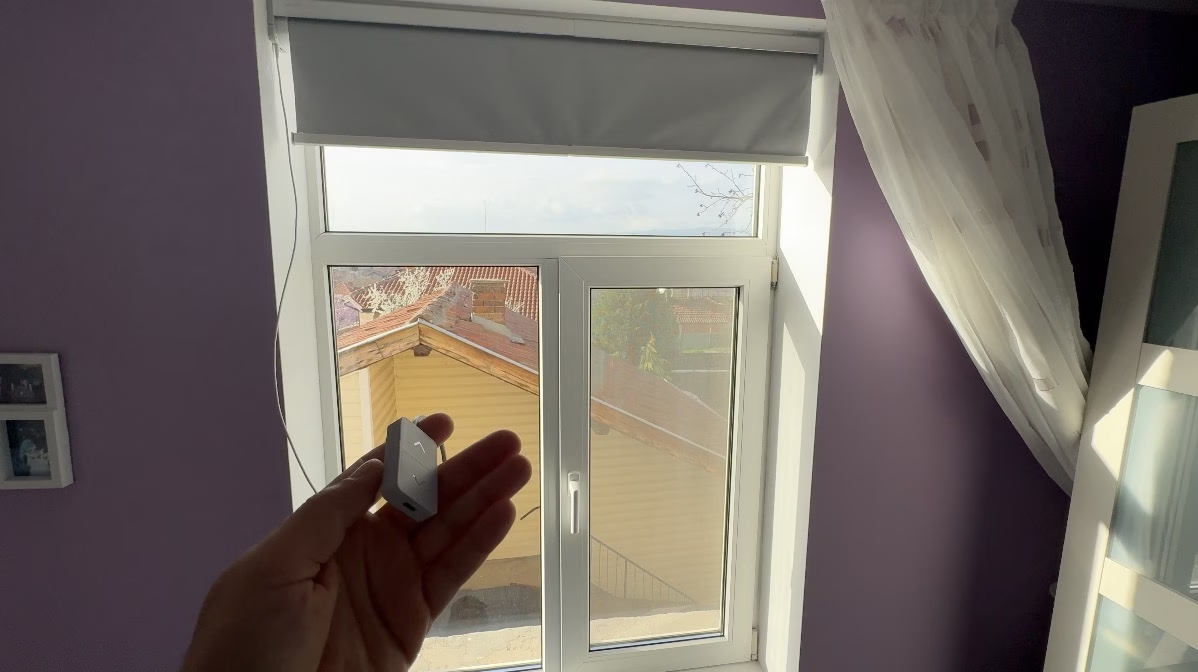
This was my biggest mistake. If you’re after real blackout capabilities – meaning you really want to block out sunlight – you needto mount the shades outside of your window frame. I installed mine inside, thinking I was being clever, and the light still crept in. It wasn’t the complete darkness I was hoping for.
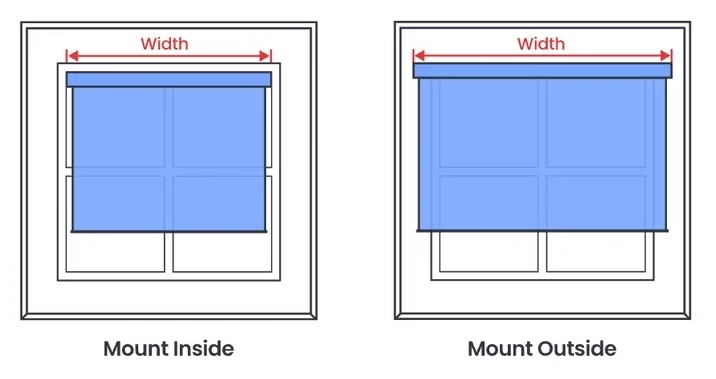
My recommendation? Mount them outside whenever possible. It’s a good rule of thumb for any roller shade, regardless of the brand.
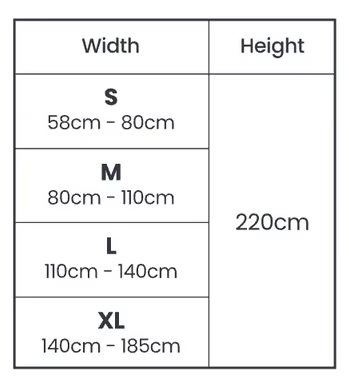
2. Size Matters (and Adjustments Can Wait)
The SwitchBot shades come in four sizes (S to XL). Take the time to measure your window accurately! If you’re confident in the size, you can install them as-is. However, if you’re feeling ambitious and want to fine-tune the fit, be prepared for a bit more work. It’s often easier to get the basic installation right and then adjust later if needed.
3. The Tricky Part: The Cutting Tool & The Cutter
The cutter is doing a great job here, but there is one part in the plastic tube that it is not cut at all, and you should either try to break it or try to cut it with a hacksaw or knife.
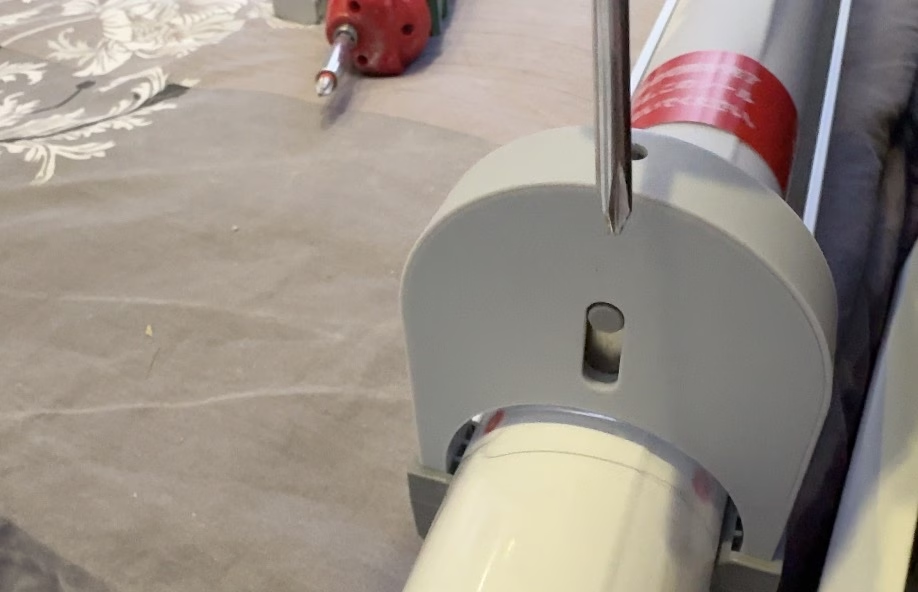
And here I had some issues because the remaining part of the tube, or part B as it is labeled in the manual that I had to use, was too short around 2-3cm in length, and once I tried to take it apart, I broke it entirely.
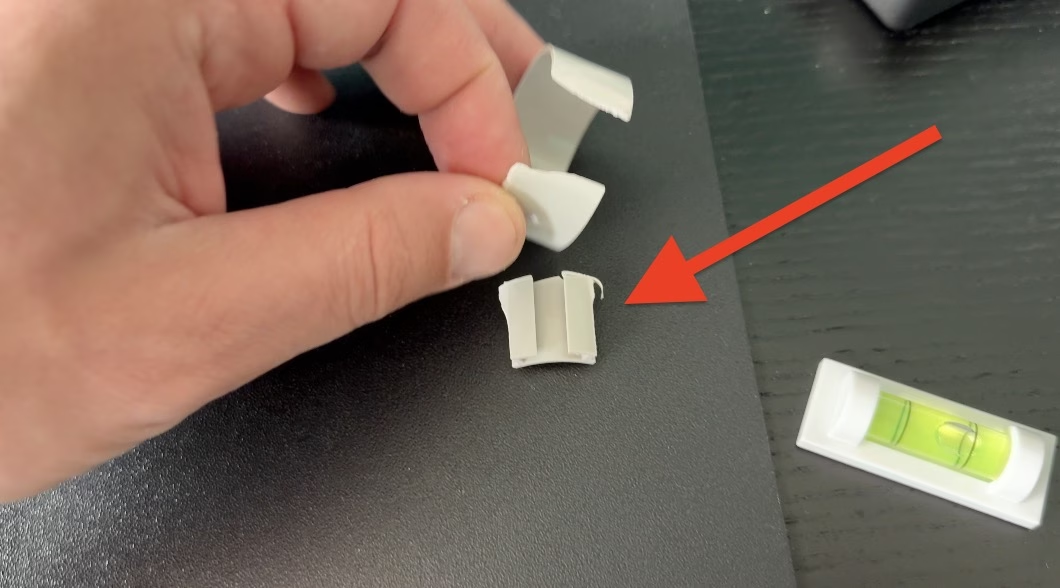
After I realized that I needed exactly that broken part, I initially thought I totally failed and I either had to try to glue it or I had to throw everything in the trash and get a new roller shade, but then I remembered that I can use the healthy part or part A as in the manual that usually is not needed, and I can cut a new piece with a hacksaw.
If someone from SwitchBot is reading this:
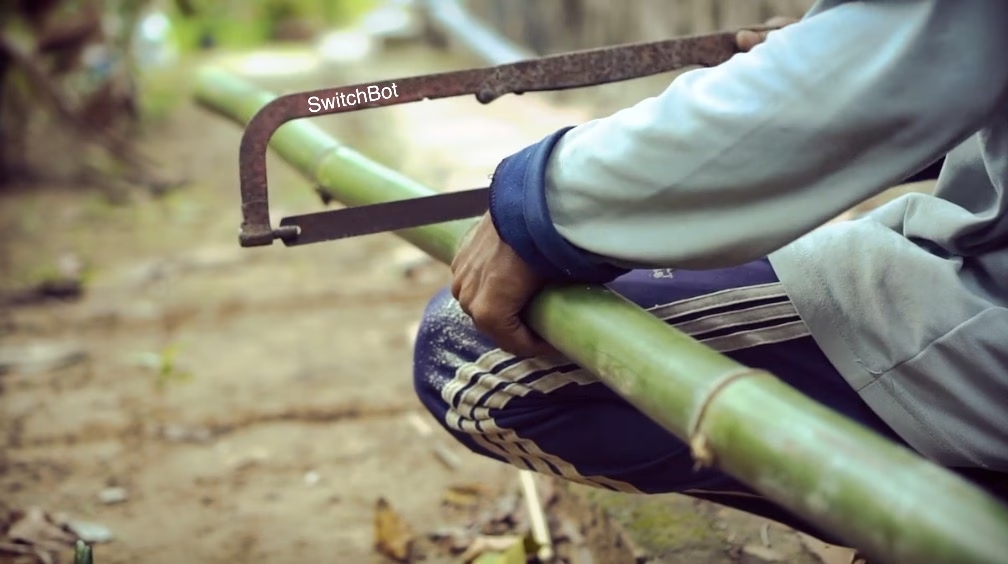
So, please SwitchBot, either fix your cutter to cut also the inner part of the plastic tube or include a hacksaw in the package. You already added everything else, including a stapler, so a mini hacksaw with a SwitchBot label on it will be a great addition.
Joking aside, that thankfully fixable issue was the main thing that made my installation so long and not just several minutes.
Smart Home Integration: Bringing it all Together
Once the shades were physically installed, connecting them to my smart home system (Home Assistant) was the next step. You’ve gotta have a SwitchBot Hub for this to work, and if you’ve got other SwitchBot devices, it’s worth getting. I highly recommend the SwitchBot Hub 2, it’s packed with extra features.
Just for info: the SwitchBot Roller Shade also support the Amazon Alexa, Google Assistant, Siri Shortcuts, SmartThings, Homey, IFTTT, and Matter are supported.
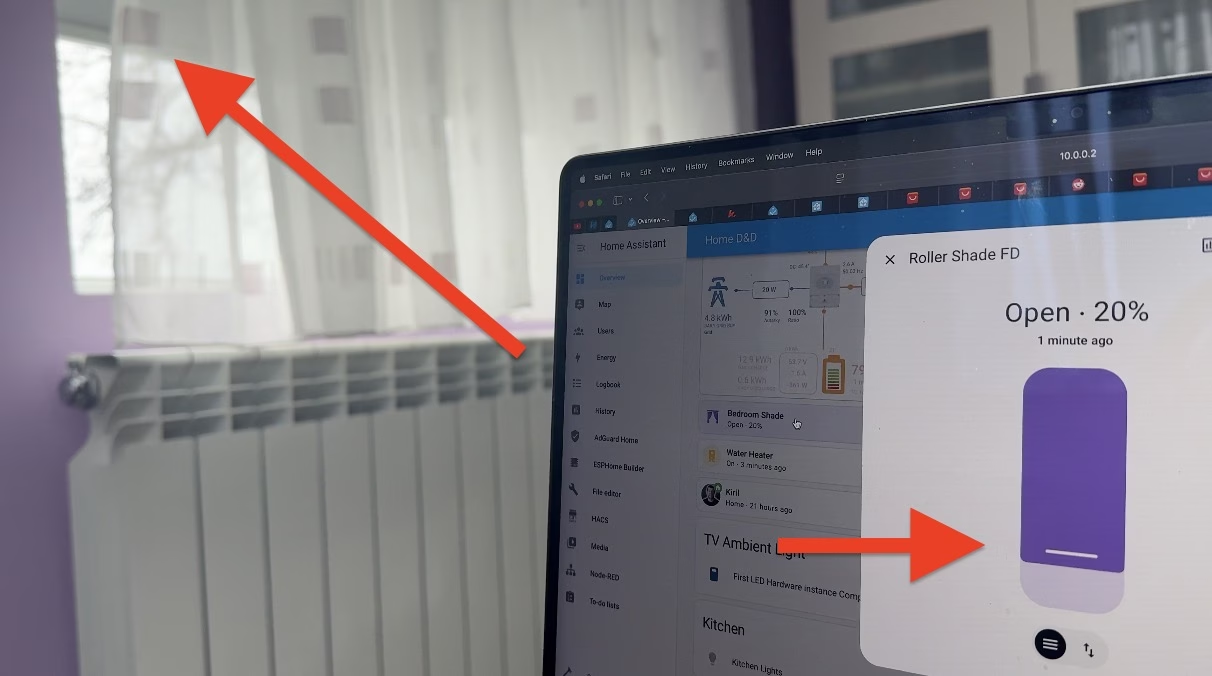
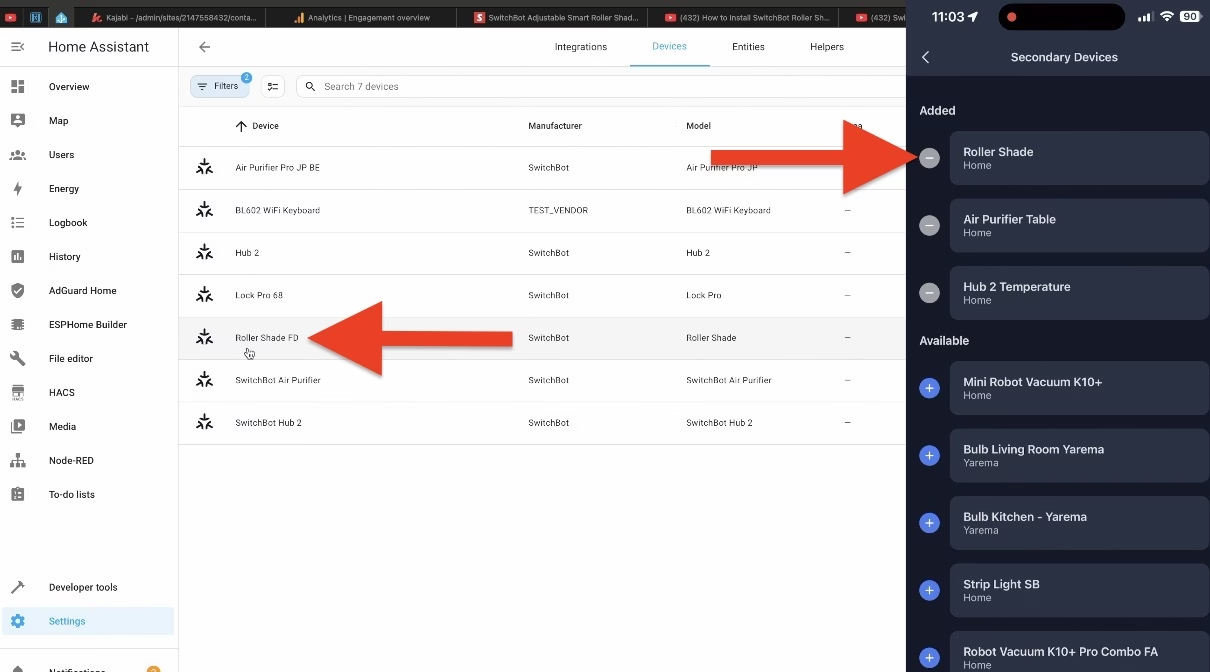
Setting up the shades in Home Assistant involved adding the Hub as a Matter device and then exposing the shades themselves. It’s a little technical, but the SwitchBot app guides you through it. The end result? Total control over my shades from my phone or voice commands!
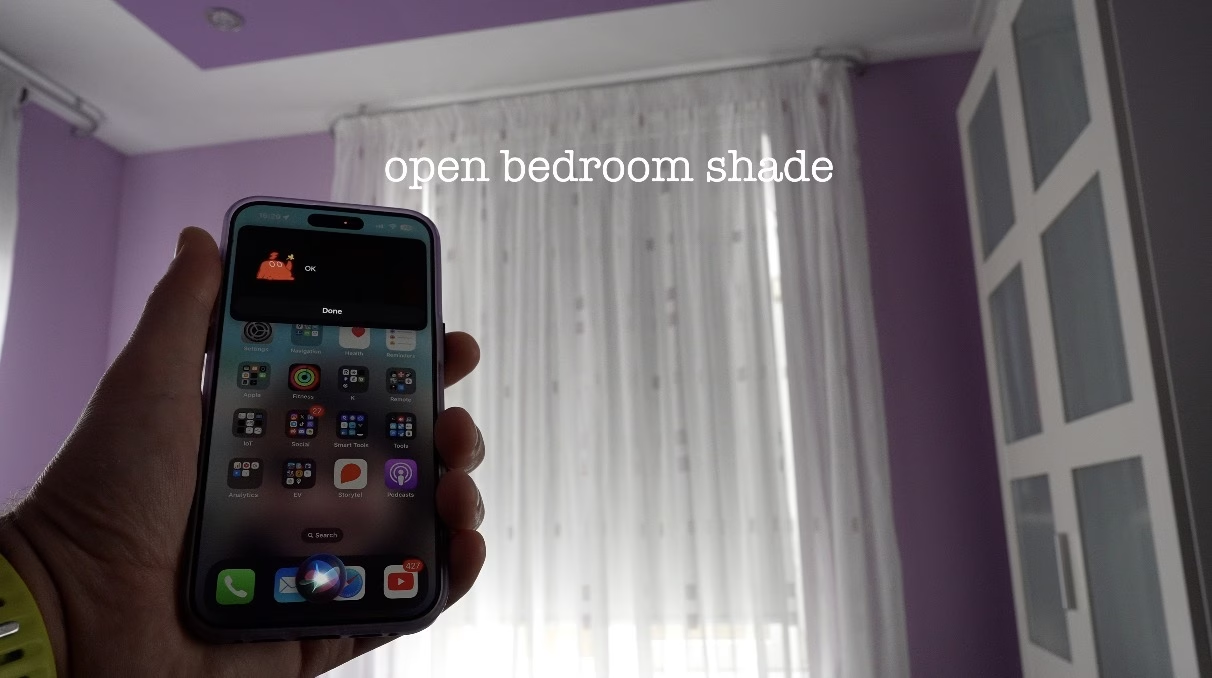
Siri Shortcuts work too, though they’re limited to just opening and closing – no in-between settings yet.
Are They Worth It? The Price is Right!
Honestly, SwitchBot Roller Shades are a fantastic value. They’re considerably cheaper than other smart shade brands on the market.
And as example: The S-sized model is just $199 without the discount, whereas the same size with the same functionalities in one other popular brand costs $320. On top of that, there is a 45% off coupon right now for the SwitchBot roller shade that will make the final price just $110, which is almost 3 times cheaper than a similar shade from another brand.
Check the current price now here – https://bit.ly/3DUSSC0
If you’re looking for a budget-friendly way to automate your window coverings, these are a great choice.
My Verdict: A Little Effort, a Lot of Reward
The installation wasn’t a walk in the park, and I made a few mistakes along the way. But honestly, once I got them working, the convenience and cool factor made it all worthwhile. Would I do it again? Absolutely! And I’ve learned a lot from the experience.
If you want to get one or several SwitchBot Roller Shades, please use the affiliate links in the video description; that way, you will help this channel with no additional cost for you.
Want to try them out yourself? [Affiliate Link to SwitchBot Roller Shades – See Notes Above!]
There is a 45% OFF Coupon: 3.25th – 3.31st
Stay Tuned! Check out my SwitchBot category for more articles like this:
Thanks for reading! – Kiril