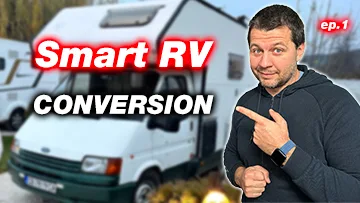
I bought an old RV and I’ll convert it into a smart RV. I plan to add a smart home hub inside based on Home Assistant and to that Home Assistant I’ll add monitoring of:
- Gas, Water and Electricity consumption,
- Light automations,
- Door and windows sensors,
- Smoke and LPG detectors
and many, many more.
I have a lot of ideas and I’ll try to put them in a series here on my website and in my YouTube channel, so if you are not subscribed yet now is the best time to do so.
Table of Contents
What is the Goal with this project?
My goal is to have fun and make whatever I can Smart. Meanwhile, to document everything in a form of a videos and articles in hope that this will help someone.
In this first part of the series I’ll show you the current state of the RV or the camper as we say it here, as well as what I want to change or add.
I’ll try to be as transparent as possible and I’ll share how much it cost me later in the article and all the future expenses in the next articles.
What RV I bought?
The exact model of the RV is a Rimor Katamarano. It’s based on Ford Transit 2.5 di manufactured back in 1989. And I think it is around 71hp or something.
I told you that this thing is old, but everything is still working and it is in acceptable condition, as you’ll see later.
Challenge for You!
I have a quick challenge for you:
if you are older than the camper like me press the thumb up button under my YT video:
if you are younger than the RV press the thumbs down.
I don’t care about the YouTube algorithm and if this challenge will hurt the video ranking, but I think it’s going to be fun, so join my challenge now and let’s move forward.
Current State of the RV
Let’s start with the Driver & Passengers cabin:
The Driver Cabin
This is how the cabin looks like, nothing fancy:
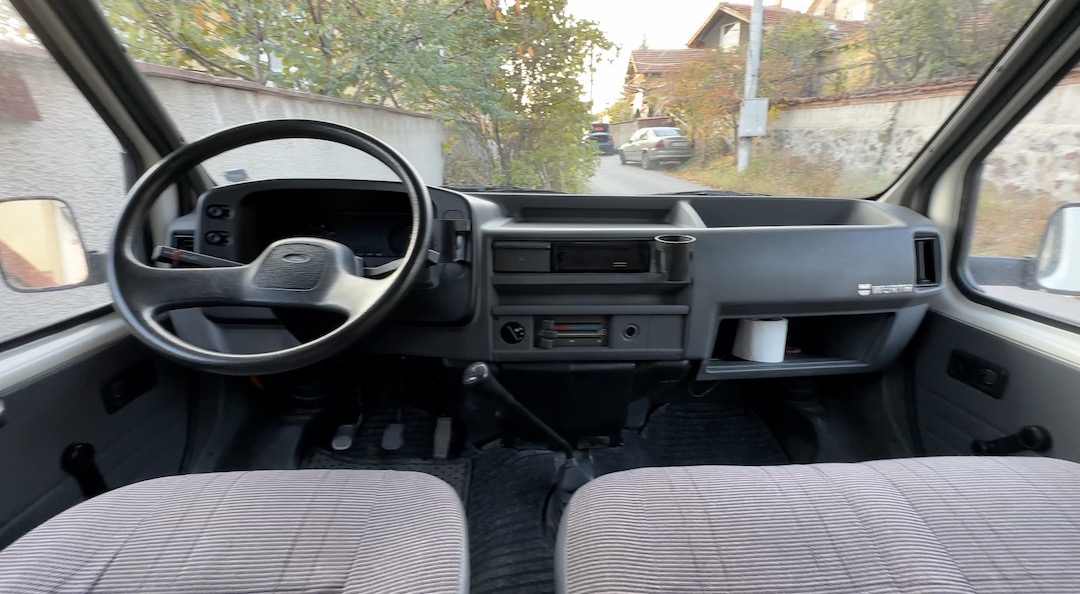

I have no AC, but I have three seats 🙂
I have no Central Locking System, but I’m looking for a way to change that. Adding an car alarm with central locking system will probably solve that, but only for the Driver’s Cabin part.
What I really want is to have the possibility to lock & unlock the living room part of the RV, as well, which is challenging, as on the back side I just have a mechanical lock that cannot be easily automated.
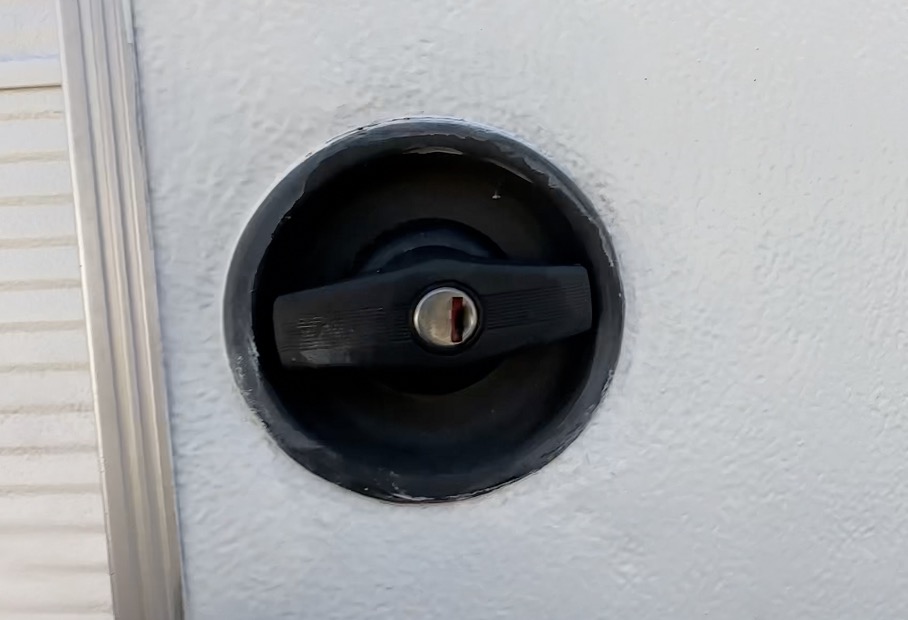
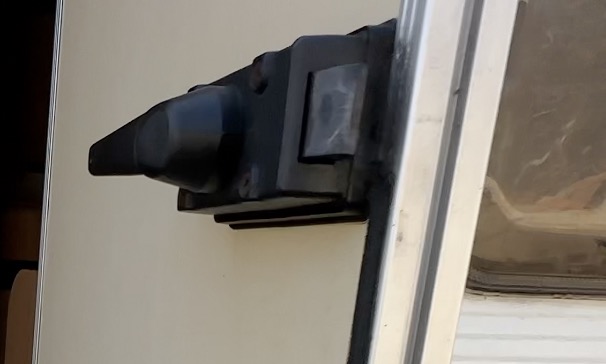
The best thing that I manage to find so far for the problem above is to use another lock similar to the one below.
https://s.click.aliexpress.com/e/_DDvZVoF
But buying the above lock, means that I’ll have another remote instead of a key. On top, I cannot easily add that lock to Home Assistant. So I’ll continue my research.
If you have some ideas here – please, please, please share them in the comments.
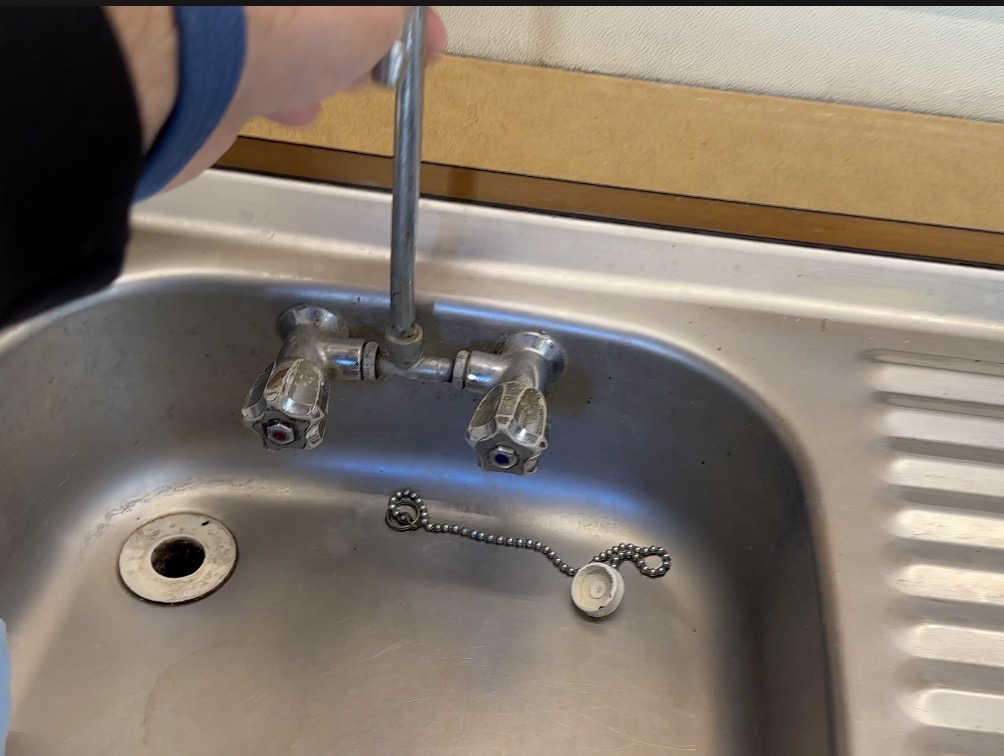
Water Tanks
The camper have two water tanks:
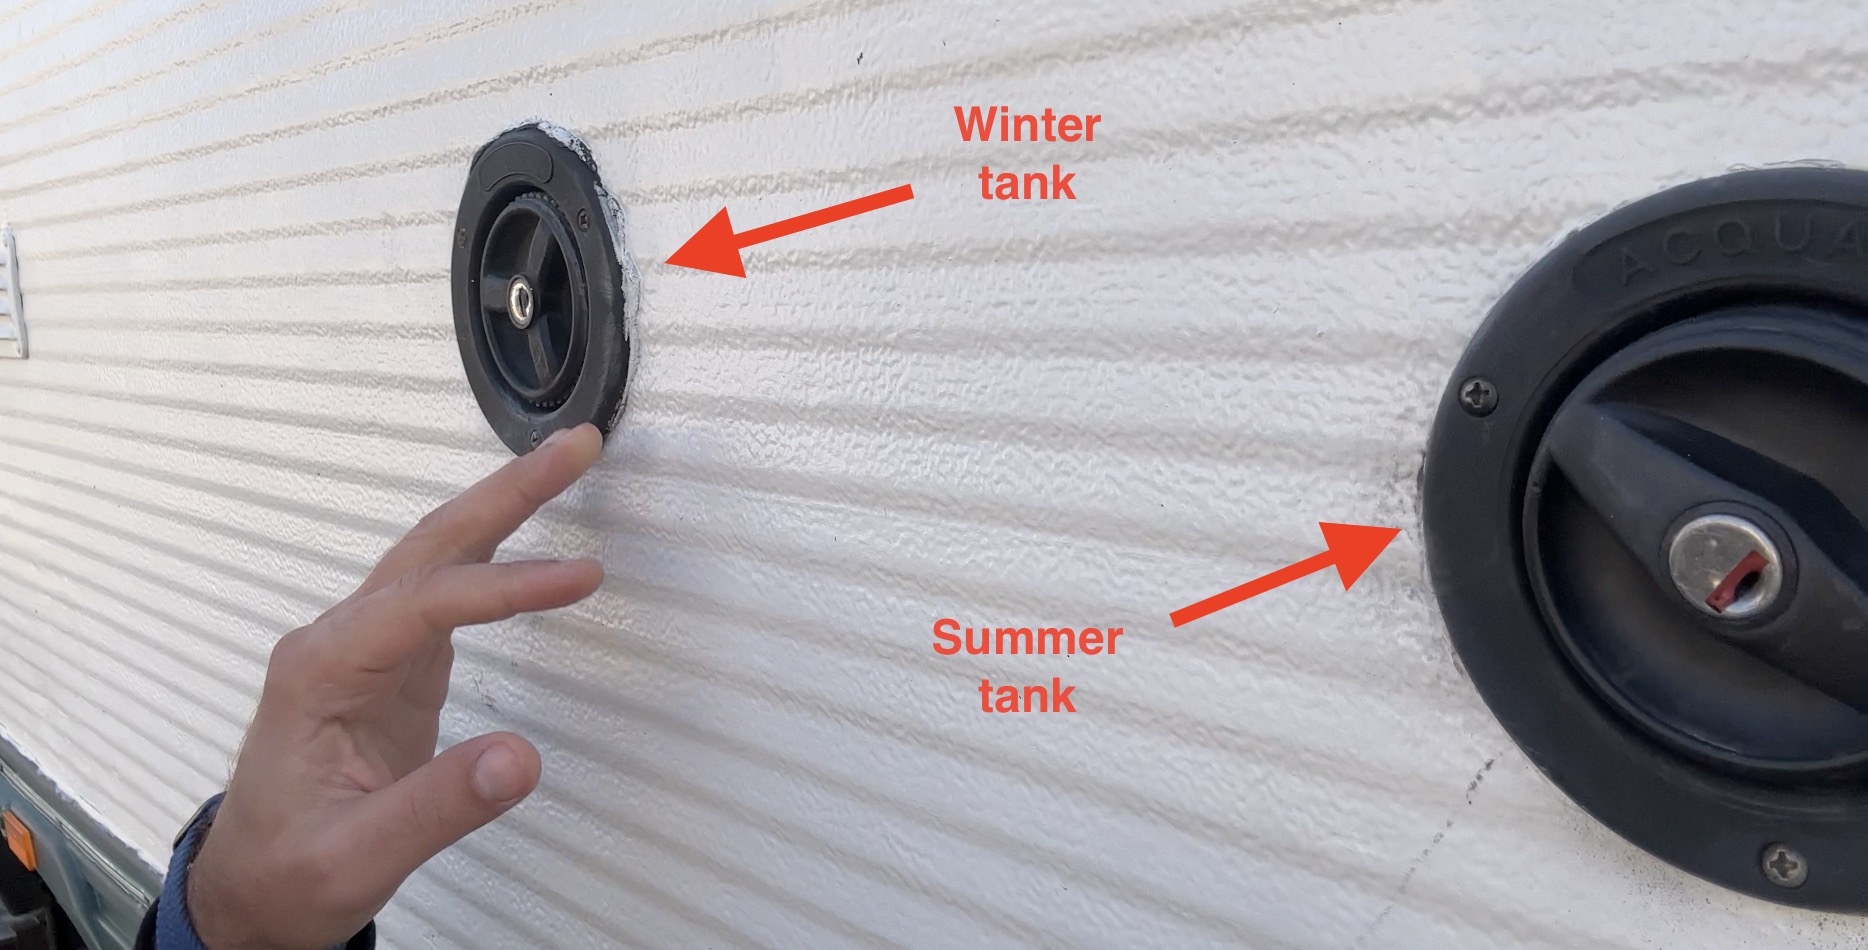
A winter water tank it is inside the living area and next to the tank there are heating pipes that should prevent freezing of the waterand summer water tank is outside below the RV.
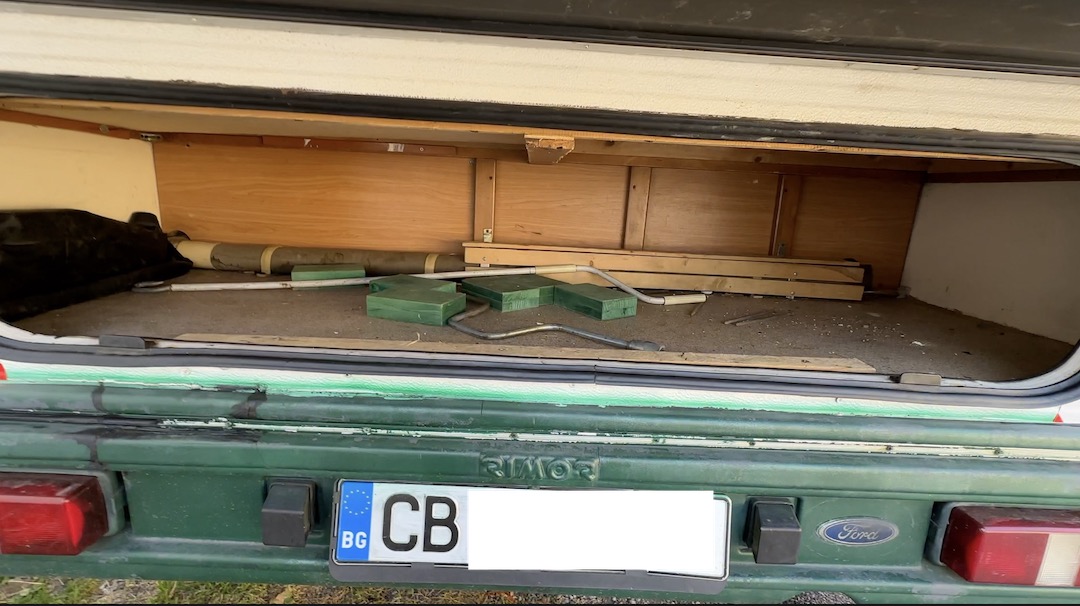
The trunk and the bikes mount
I have a bicycle mount for three bikes on the back of the camper.
And I have a trunk that I can access from the inside as well.
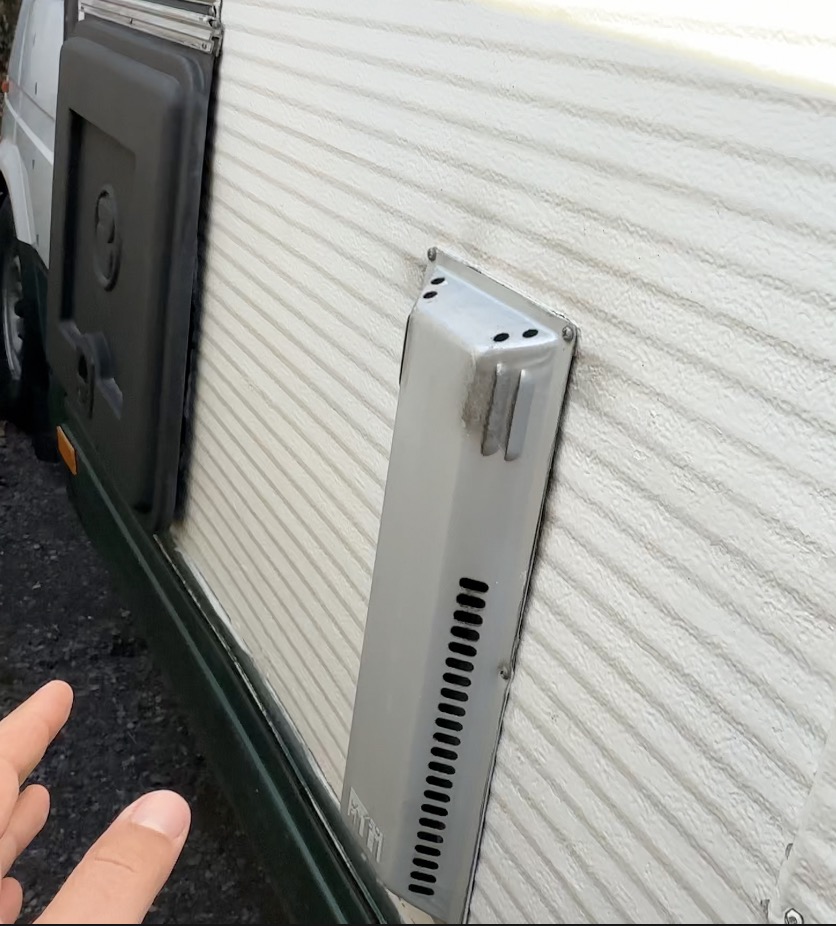
The Right Side of the RV
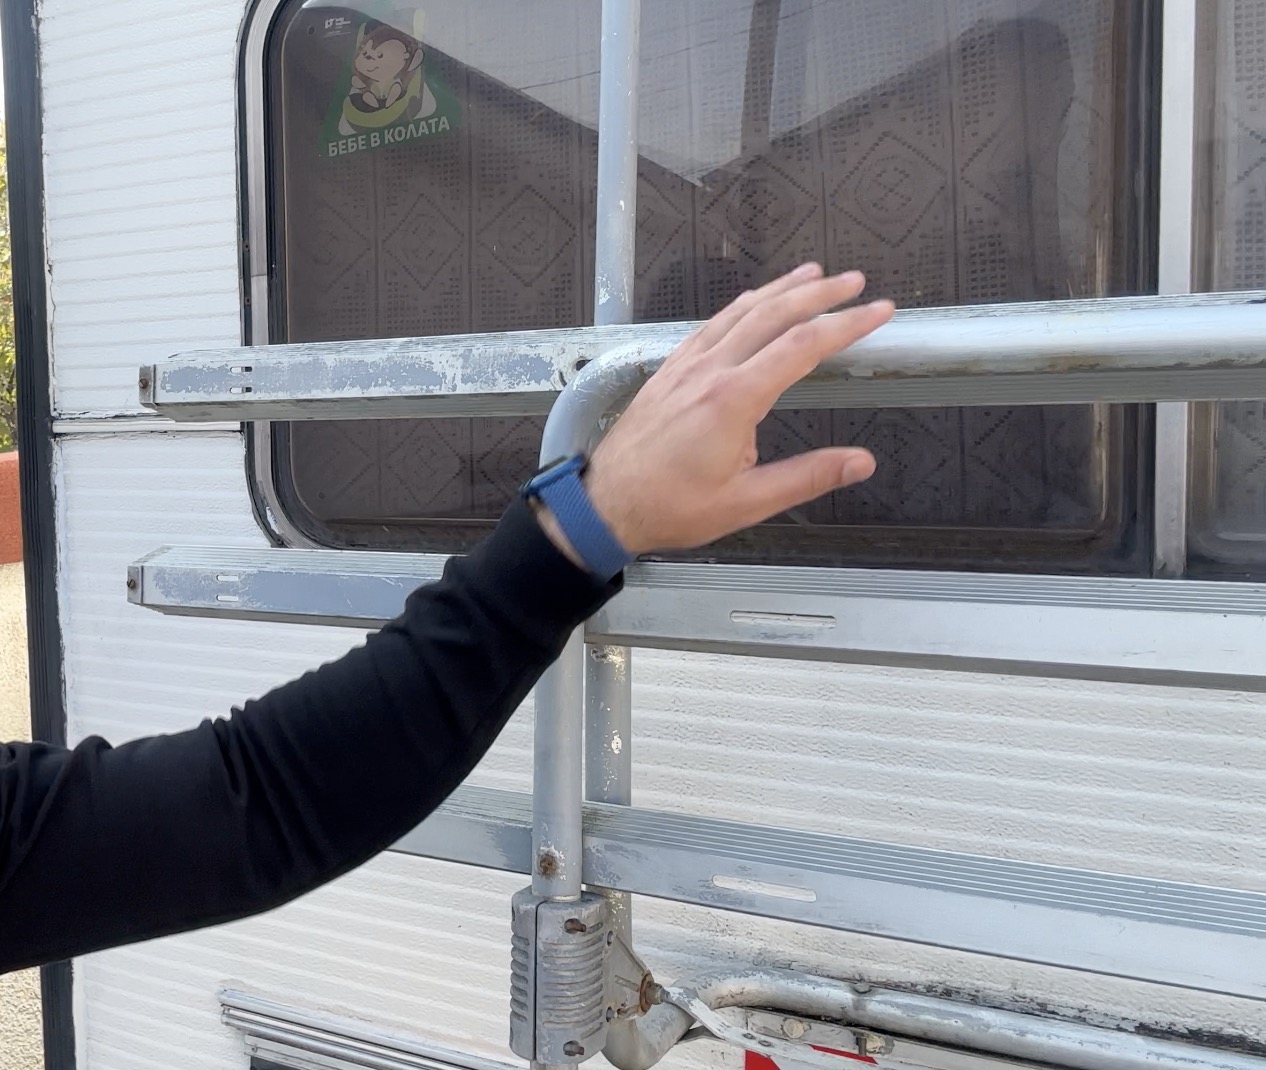
On the right side of the RV I have a window with the mosquito net and a blind:

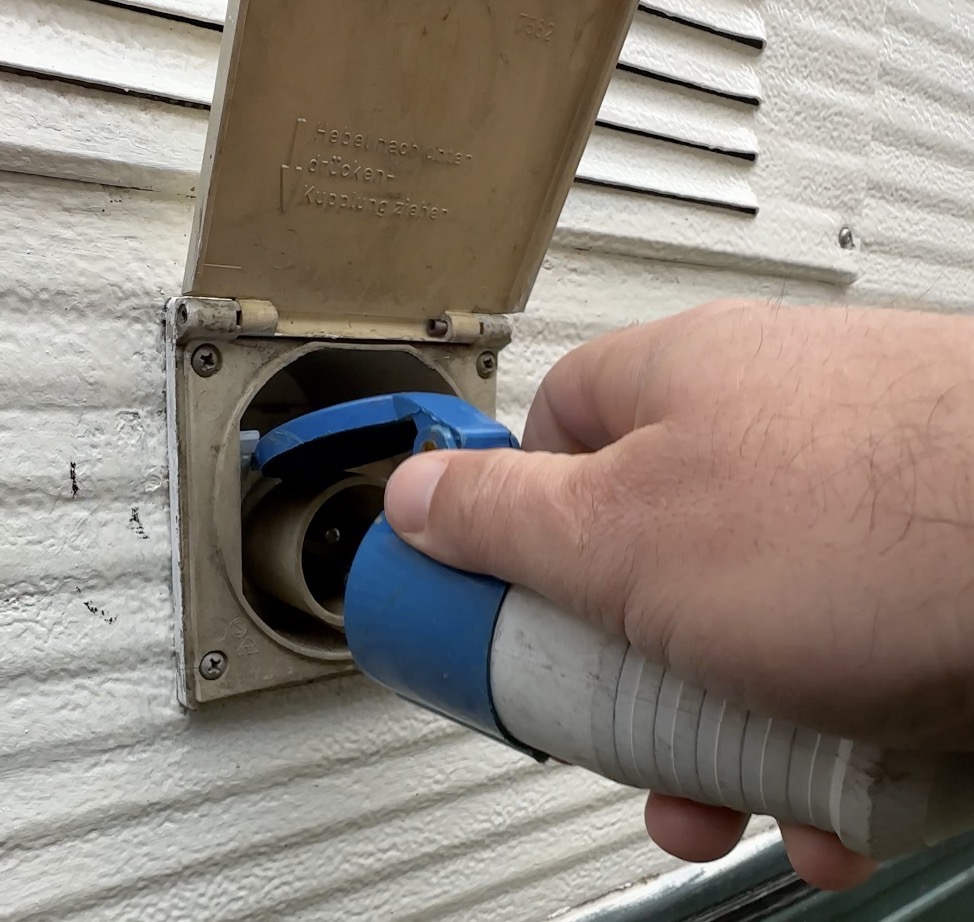
I have an AC socket here on this side for the electricity.
I have chimneys that I think they are for the heater and for the water heater
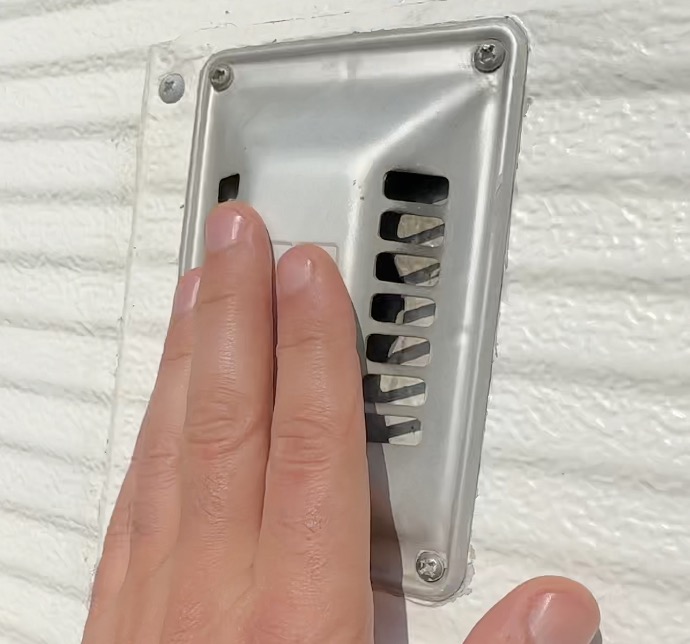
Inside in this black plastic box below I have a gas bottle.
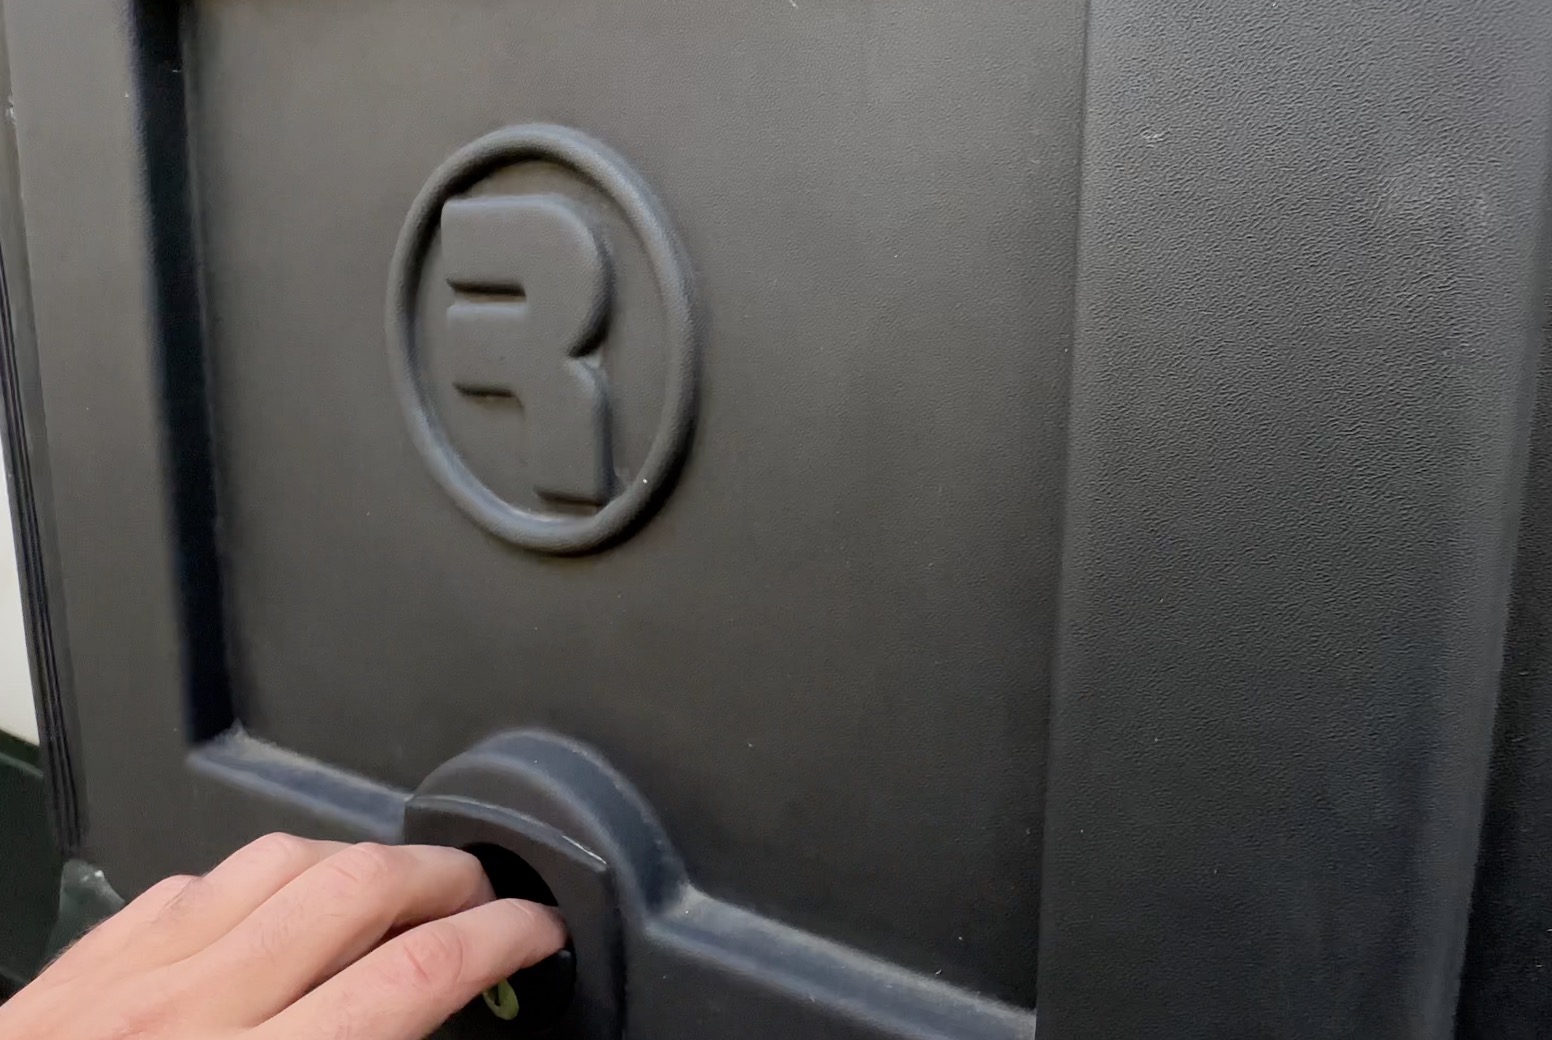
BTW, everything in this RV have a different key, because the RV is old.
This is how the RV bottle looks like from the inside:
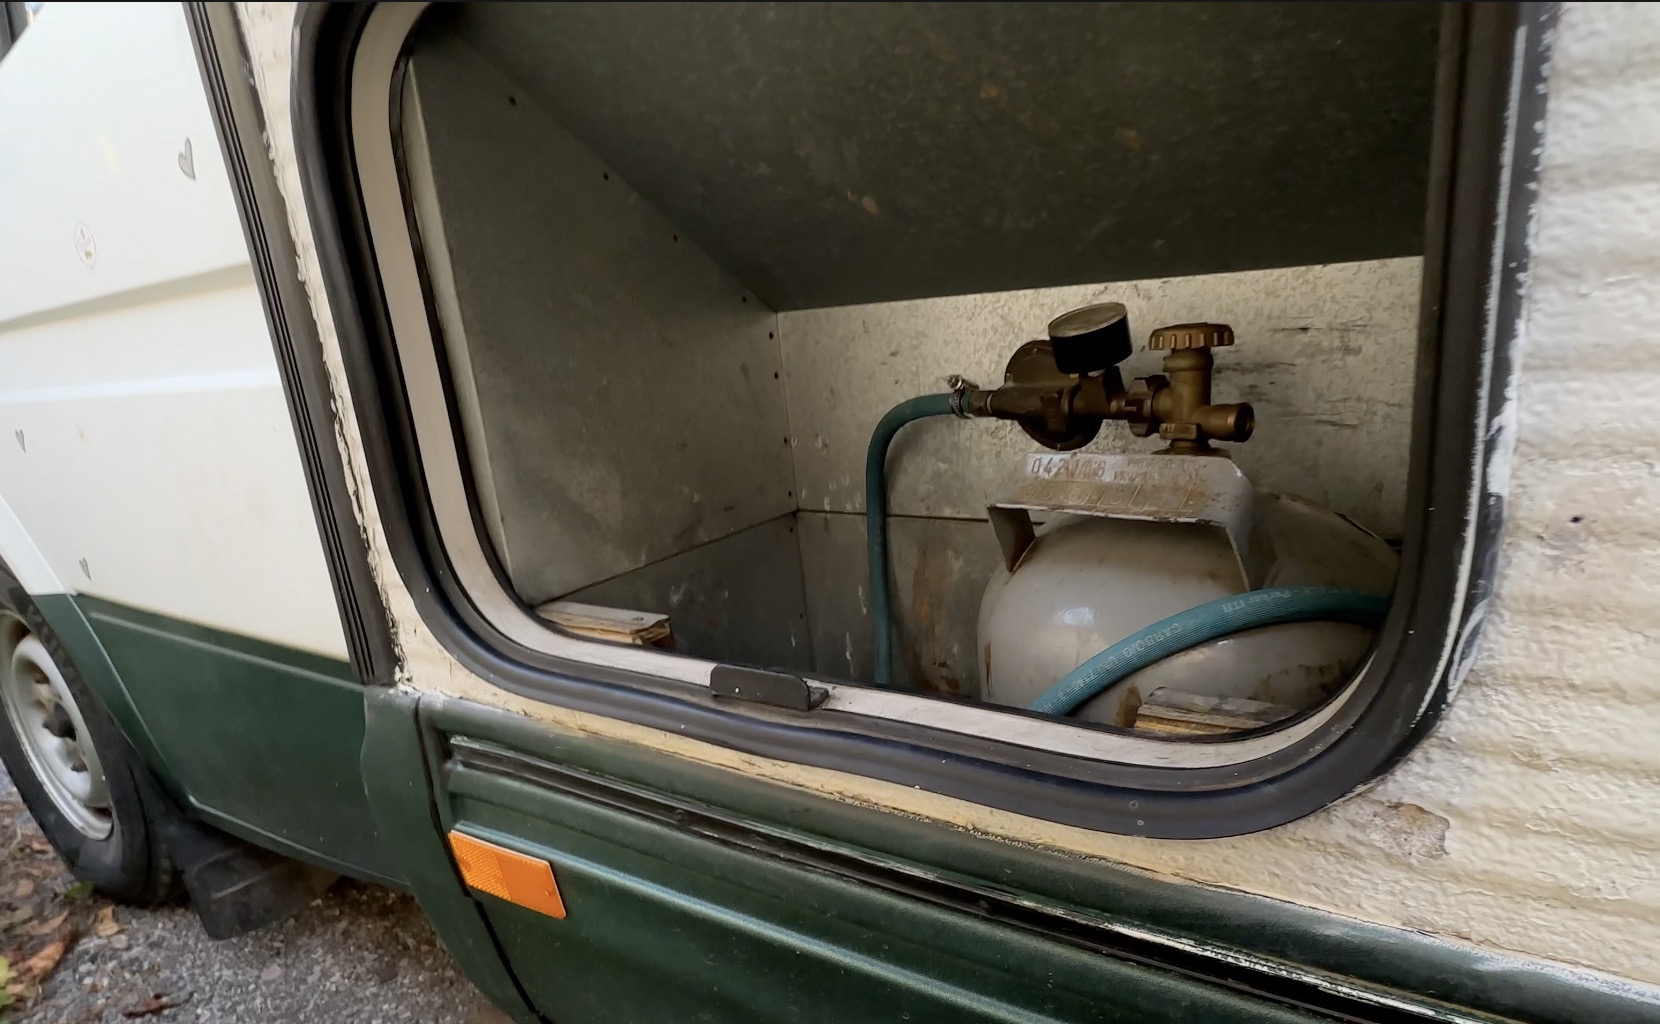
I want to add another one, the same bottle as this (five kilos) and a double bottle system that will manage the gas consumption.
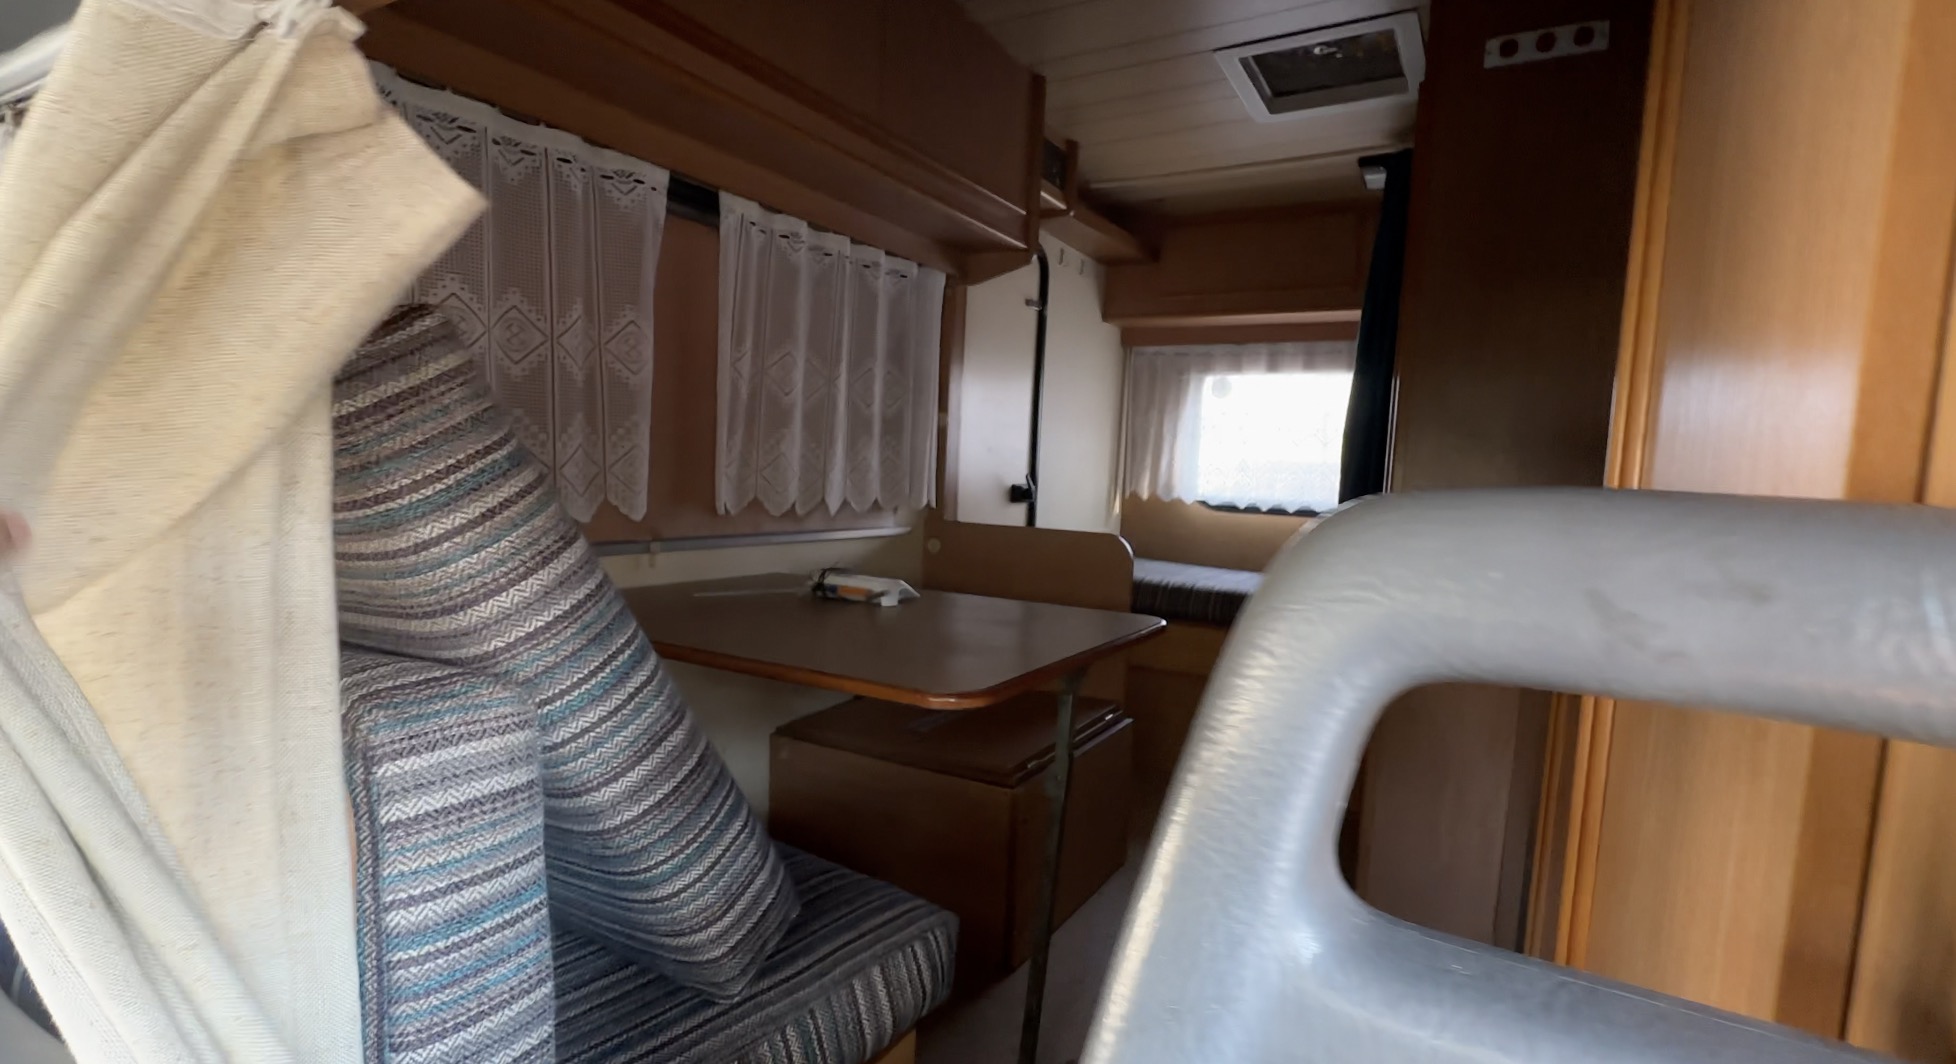
The living part of the RV
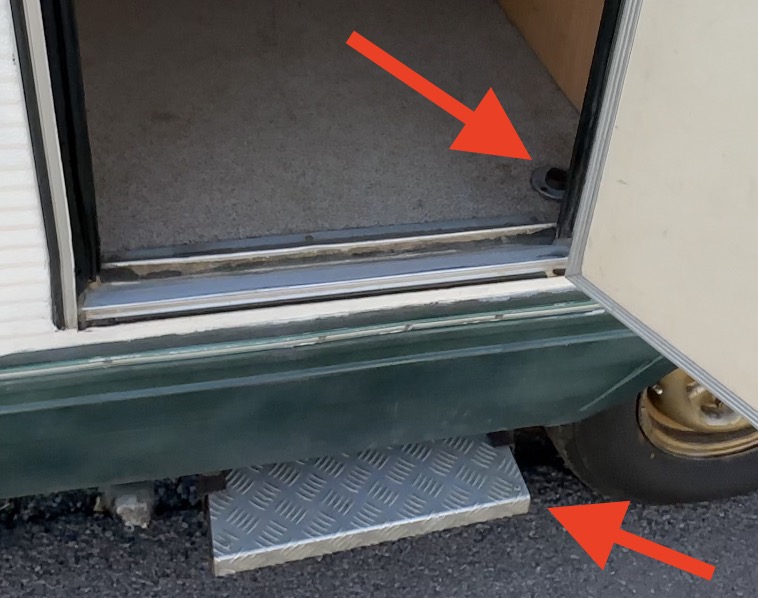
To access the living part of the RV I can use the drivers cabin, but it’s not very easy as it is very tight or I can use the back door.
I have a step before the back door. To use it, I I have to press a button and then to pull it out, so I can enter inside more easily.
Okay, welcome home! This is the camper from the inside.
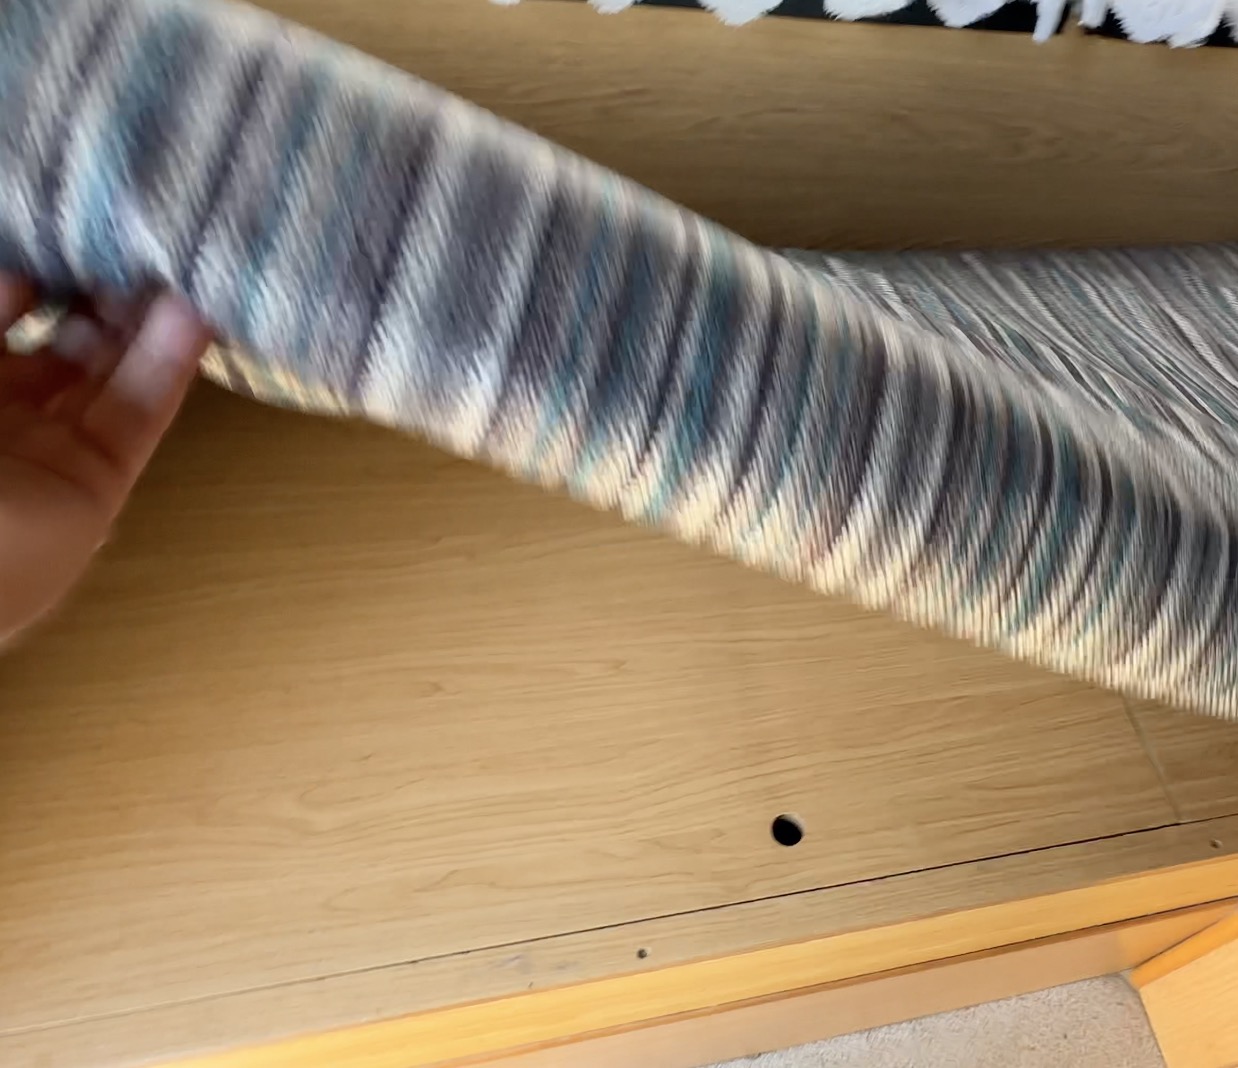
The first bed
I’ll show you around this is the first bed I have some cabinets above the bed, as well as a reading light.

The bed is with normal size for one person and below the bed I have a trunk. The same trunk that you saw from the outside.
The control panel
To turn the lights and electricity on, I first have to turn the light button from my control panel, where I also I have some fuses, I can check the water levels of the tanks and I can turn on the water pump.
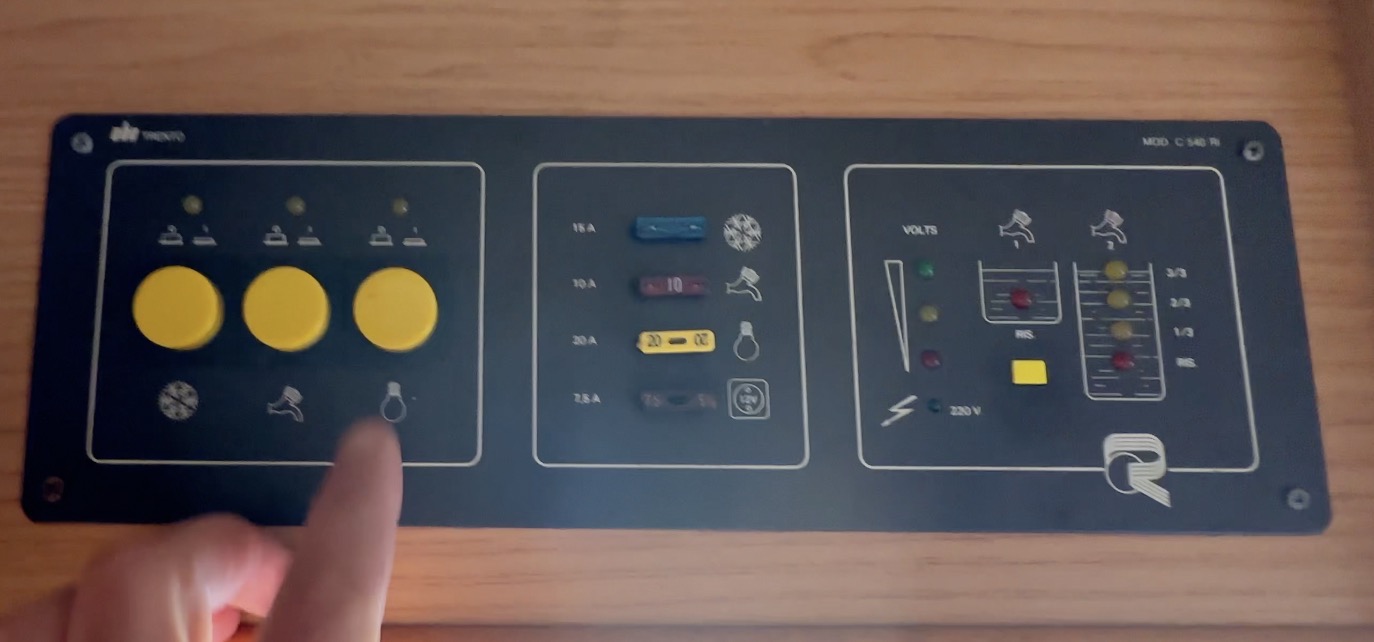
The button on the far left with the snowflake is actually not working. I think it is a preparation for an AC, but I’m not sure. I’m looking around and I’m checking what are the options to add an AC, but they are quite expensive and I’m not sure If adding one is possible at all.
The Batteries & Solar Panel System of the future Smart RV
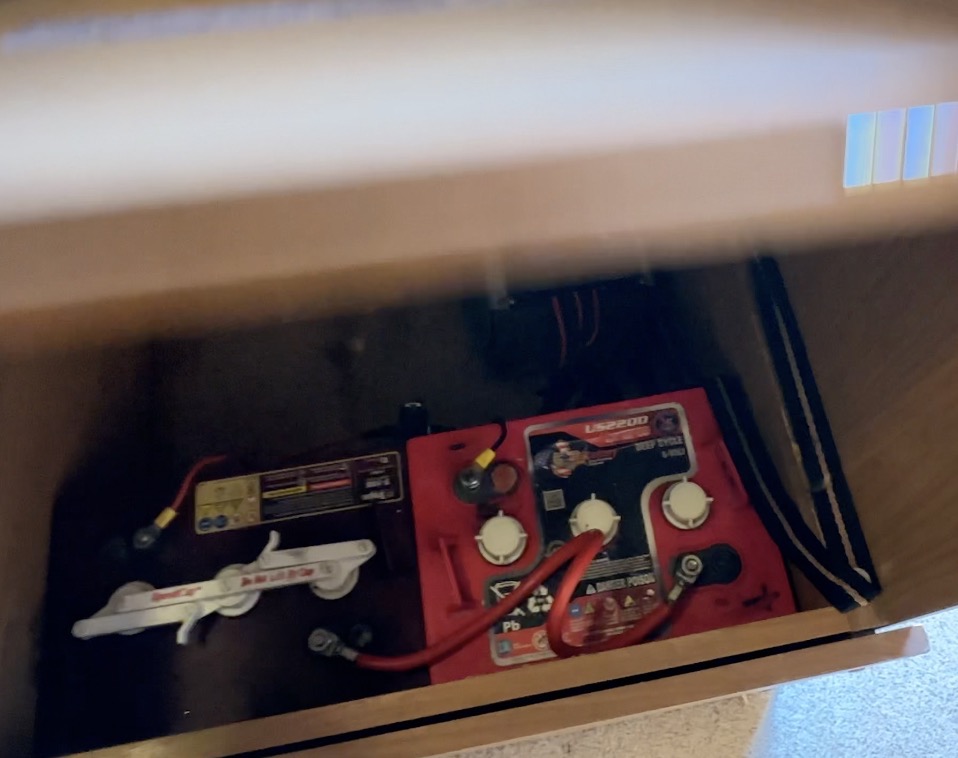
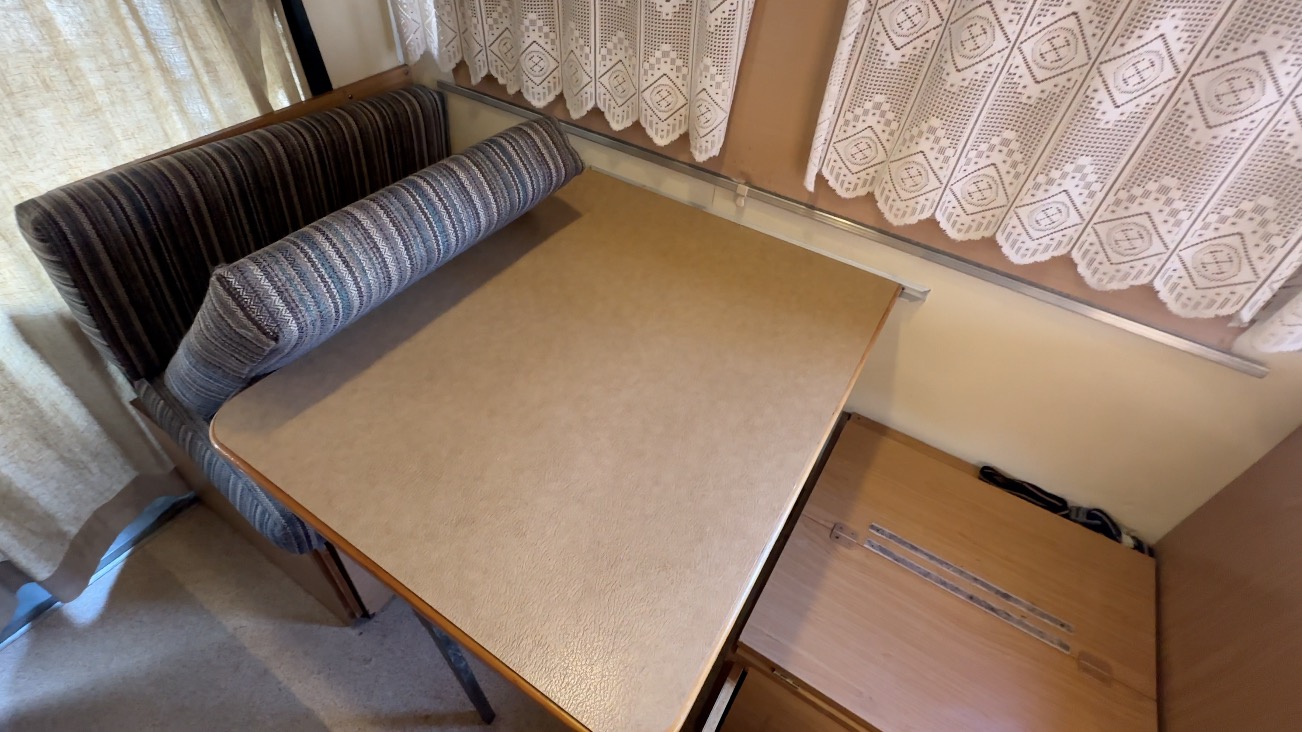
In the middle of the RV there is a table with four seats. Below one of the seats is the winter water tank & water pump and below the other seat I have two batteries.
Also there I have a Solar Charge controller.
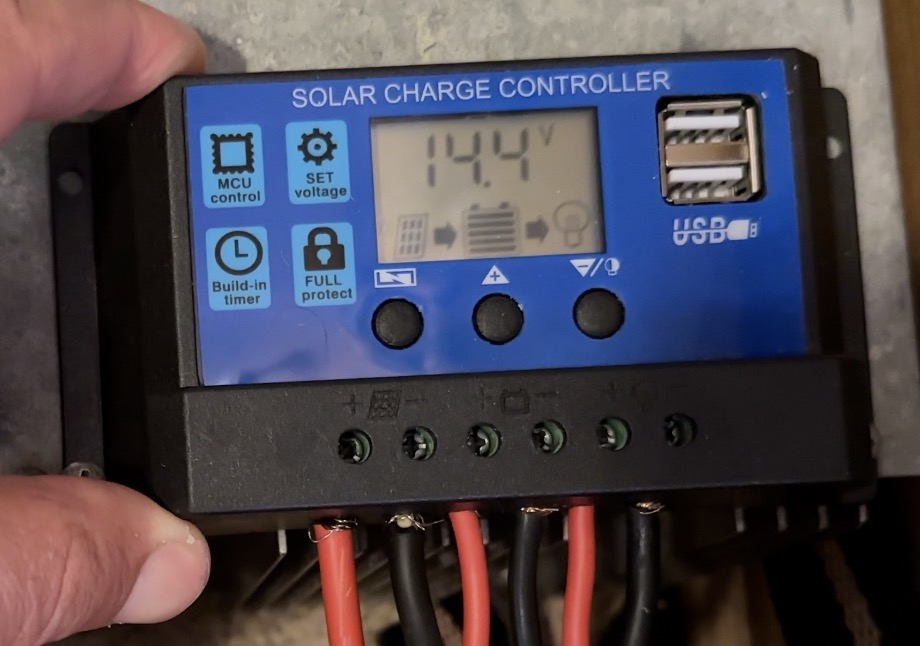
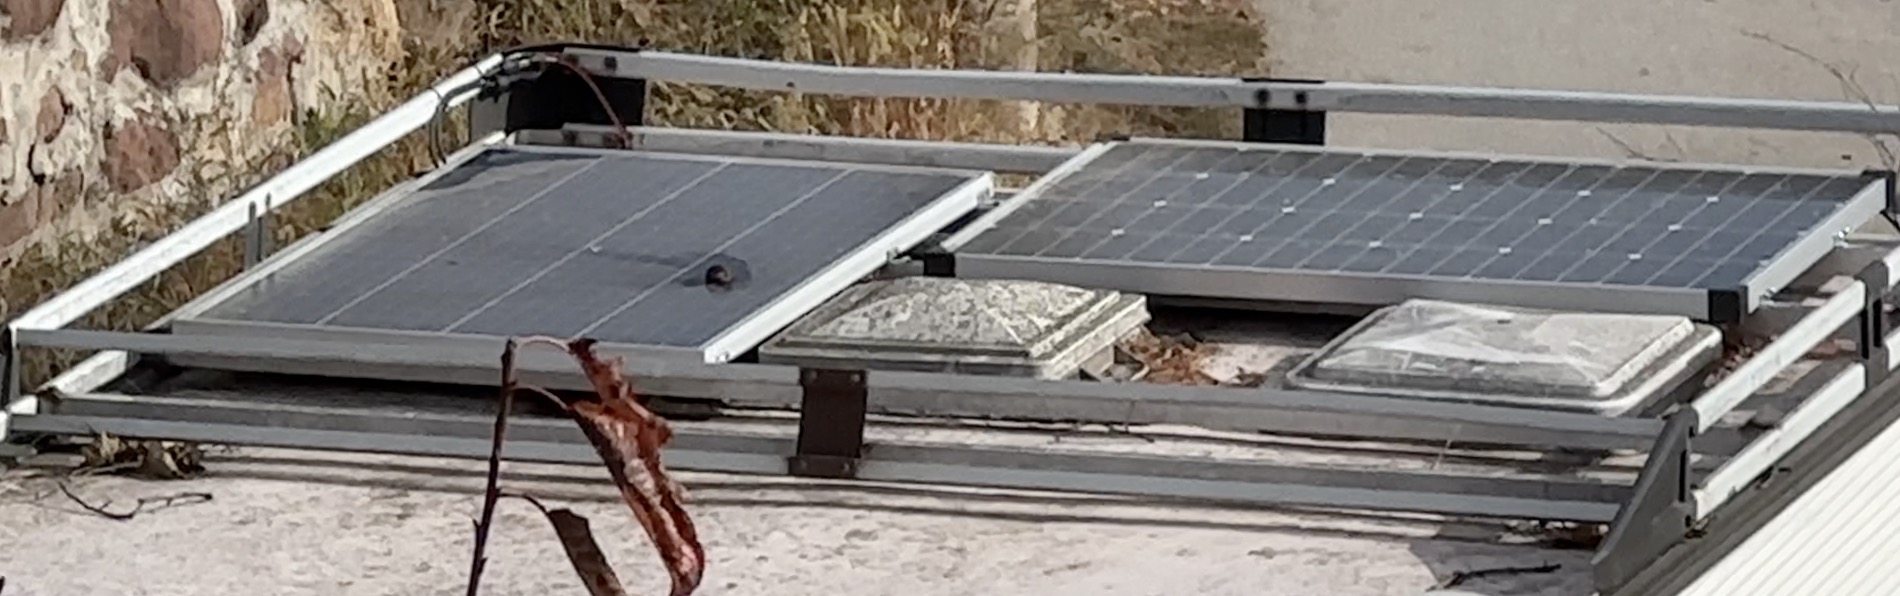
This controller is connected to two solar panels and every panel is 110 watts. You can also see the current solar charge that I received from the solar panels. As a bonus I have two USB ports.
Where I will put the Home Assistant and the Router?
I forgot to tell you that in the same space where the batteries are, I want to put my Raspberry Pi where Home Assistant will be installed, as well as my wireless router and everything else that requires electricity, because I can easily get some electricity.

The Second bed
The table in the middle can be converted to a bed, as you can see below.
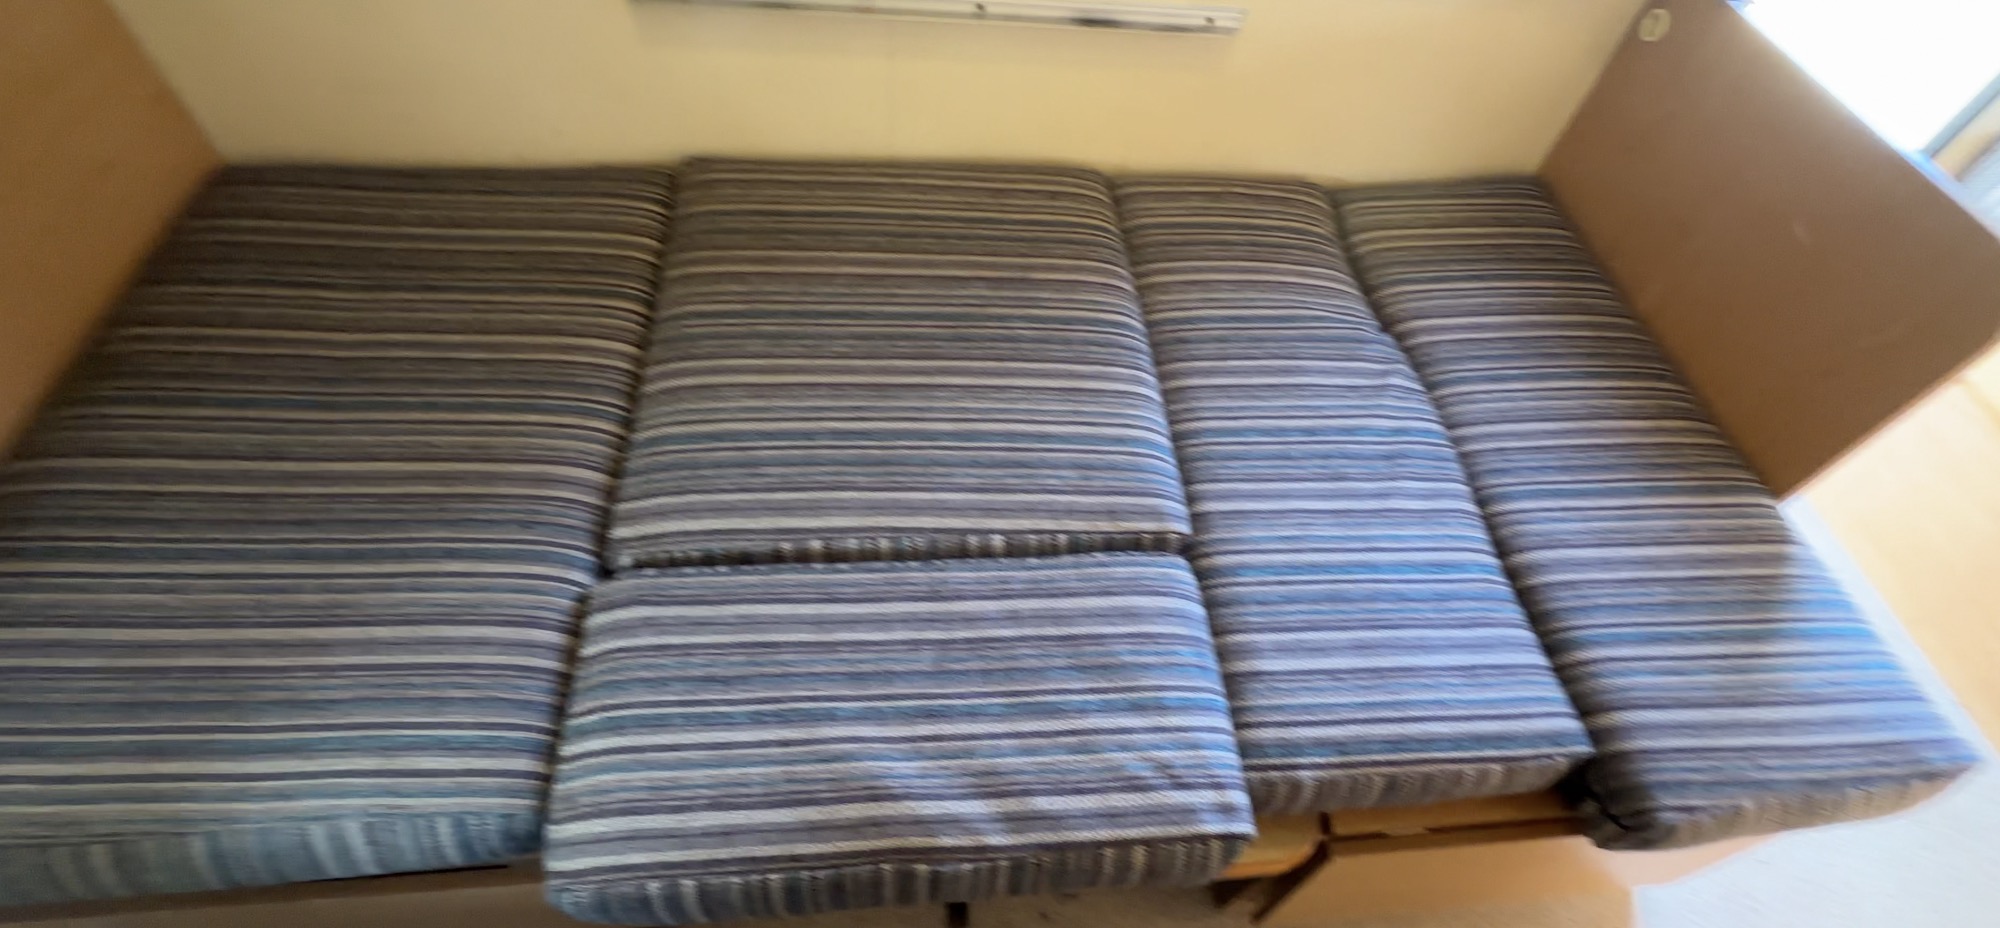
And this is it a bed ready to be used.
The master bedroom
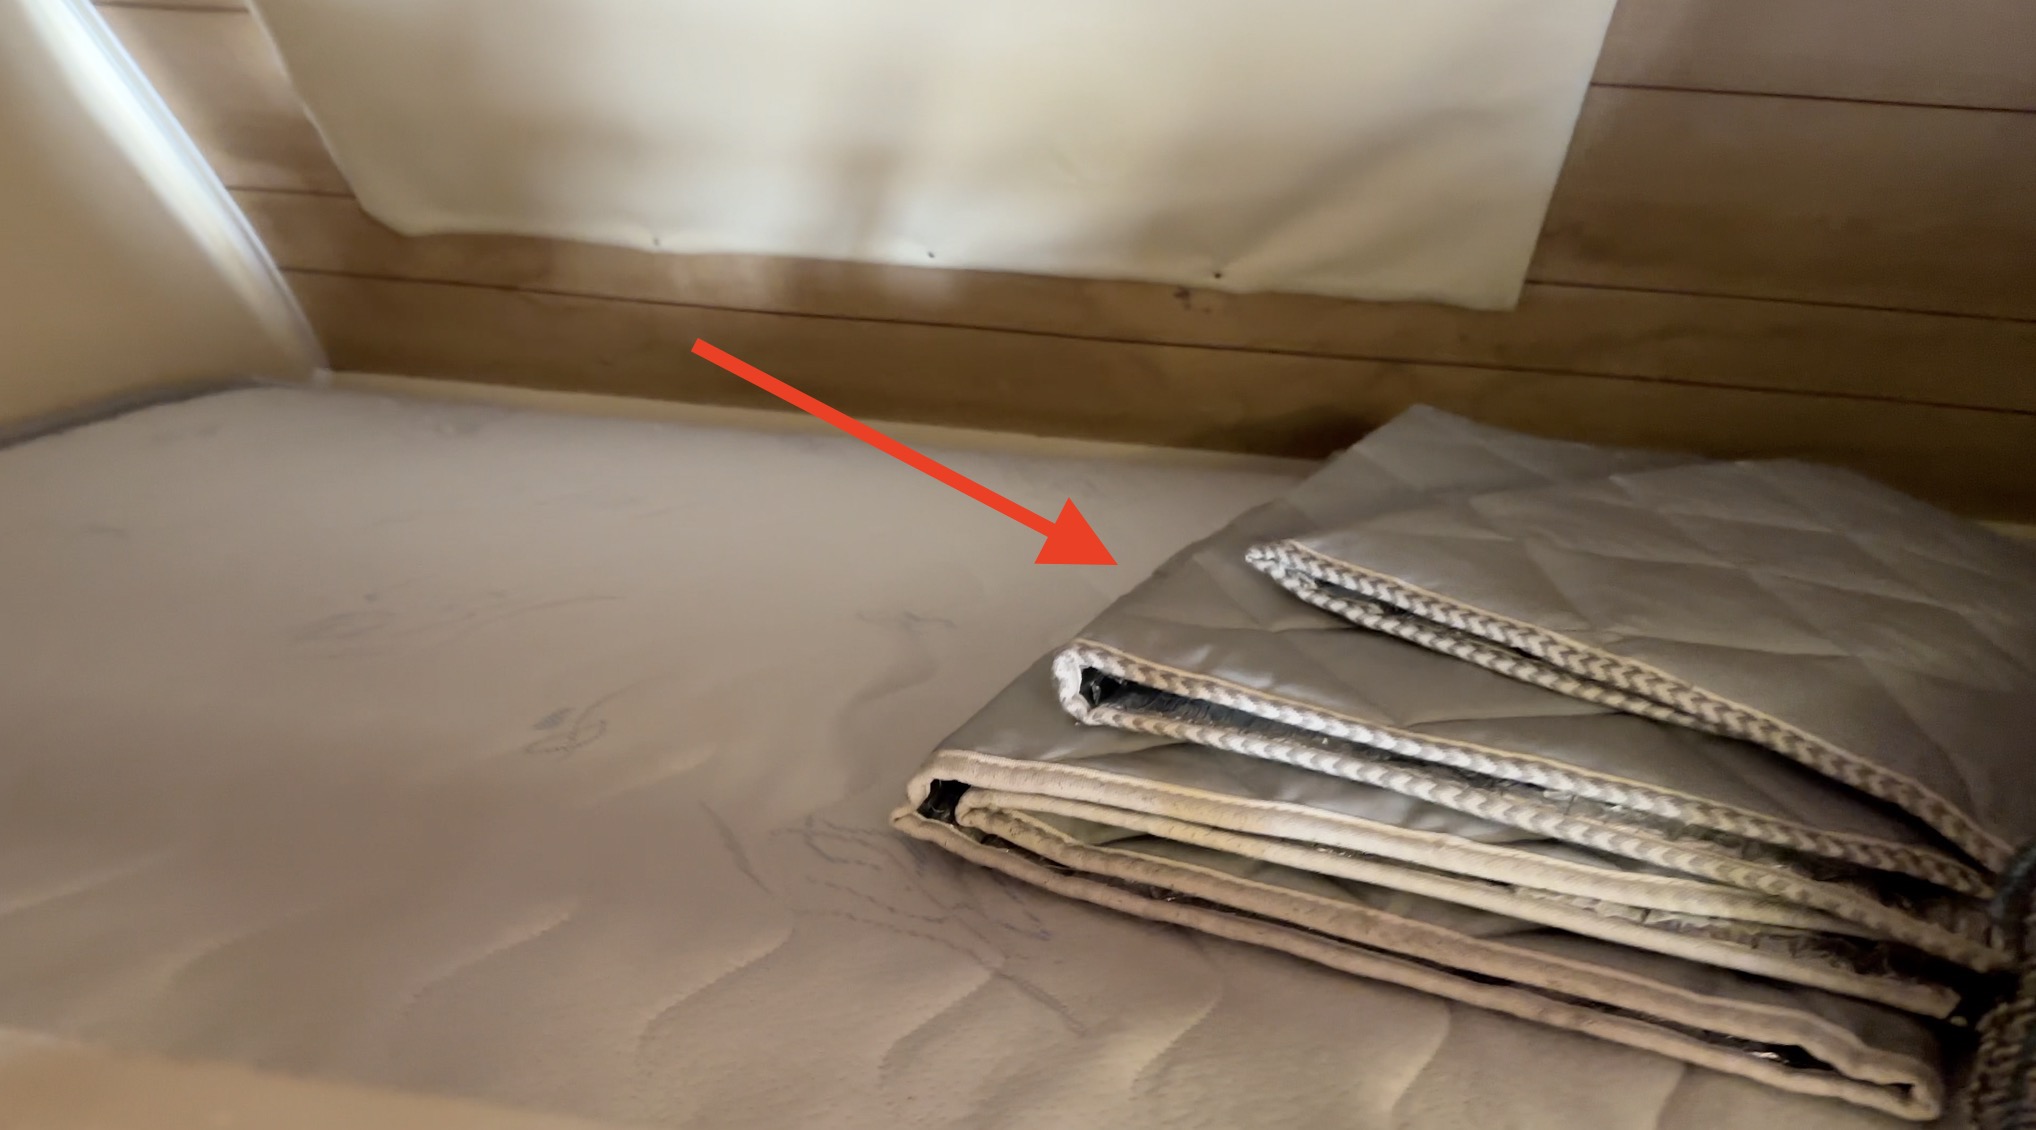
This is the master bedroom, it’s supposed to fit two persons and at the moment I keep the front windows insulation there that can be used during the winter or during the summer.
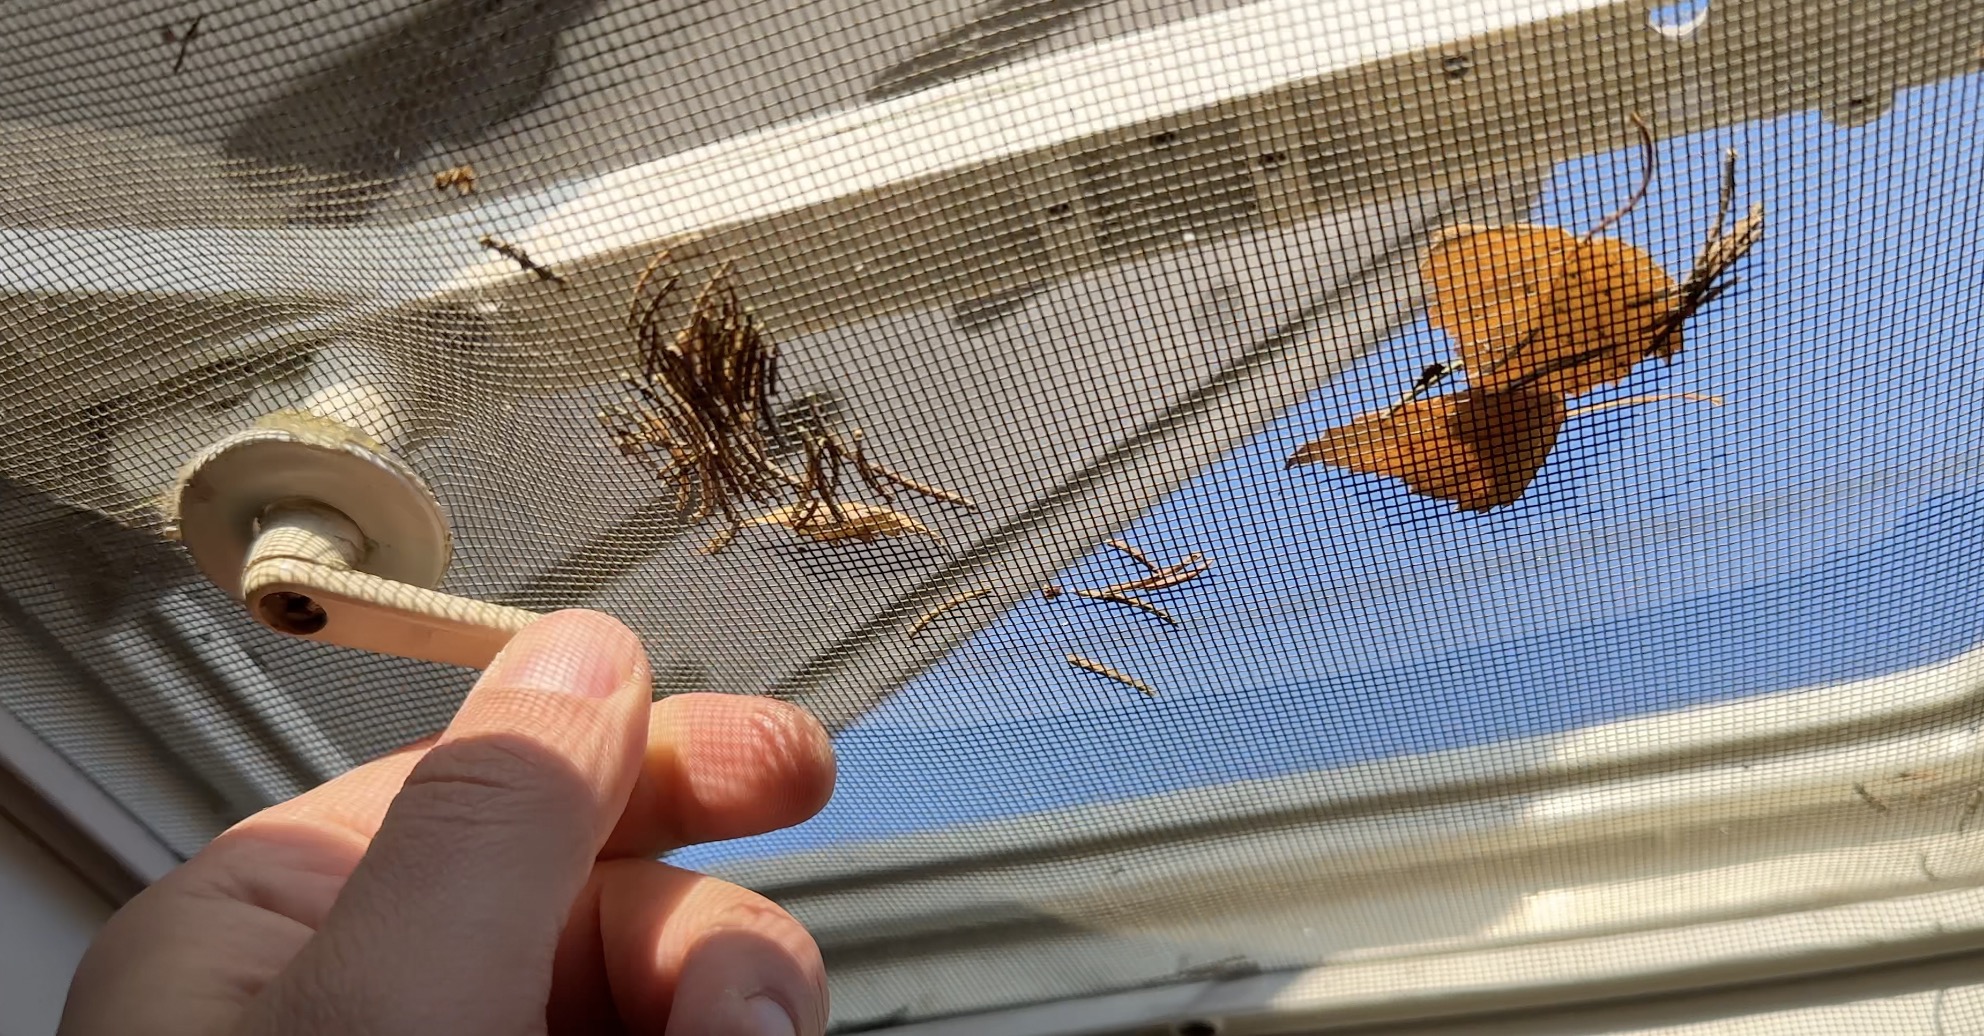
The Roof Windows
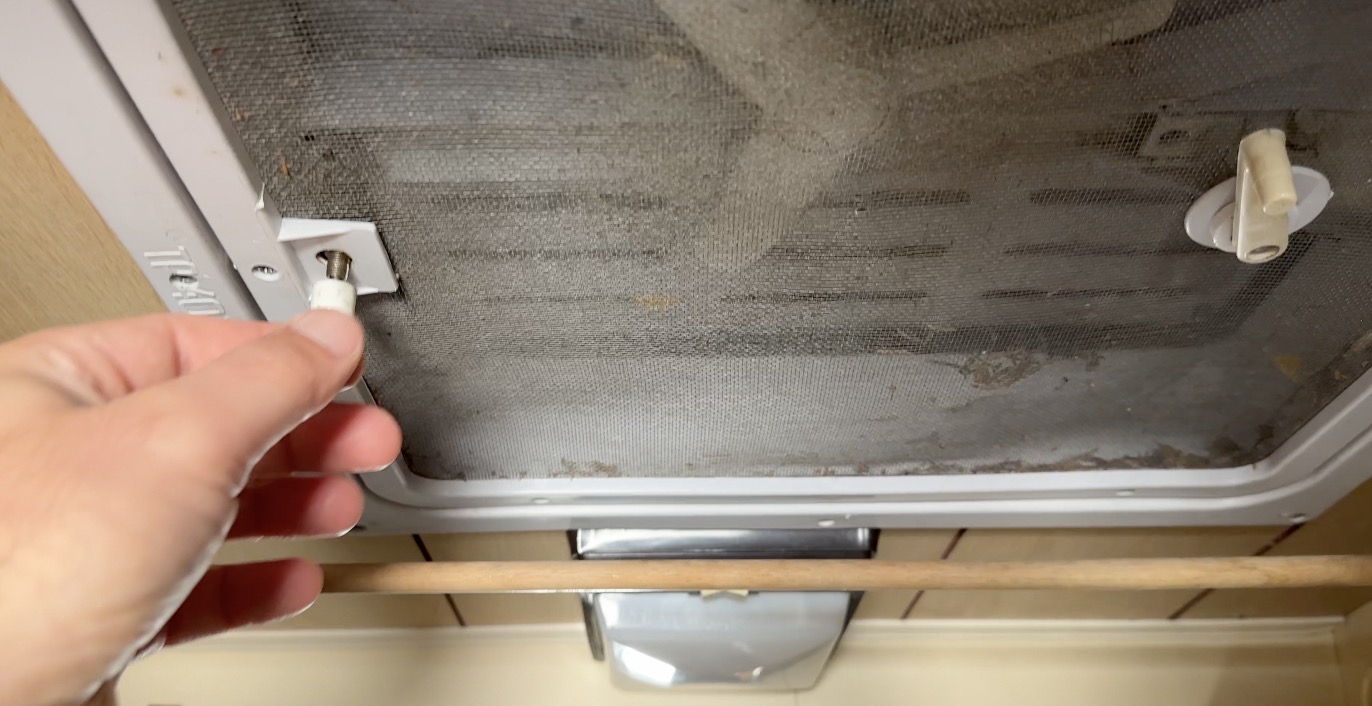
I have some roof windows in the RV that I can open, I have some leaves on them and I have mosquito nets.
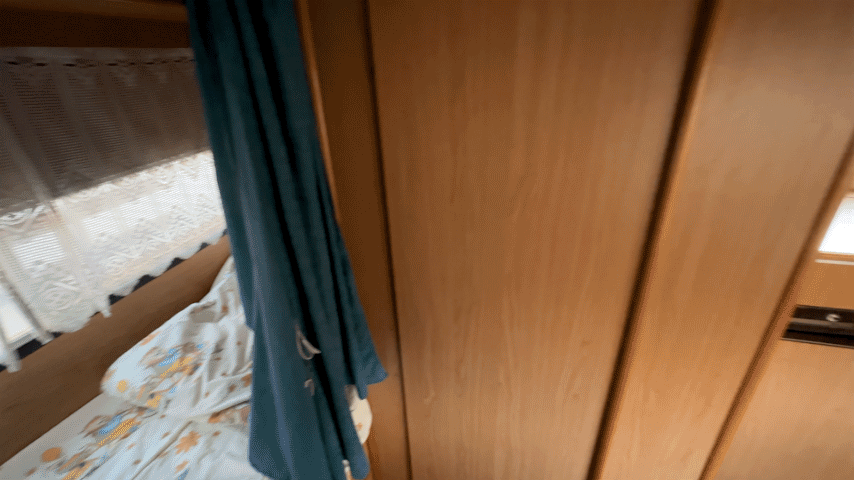
The Gas Heater, the water Heater and the Wardrobe
I have an Trumatic Gas Heater that is working perfectly and wardrobe above it.
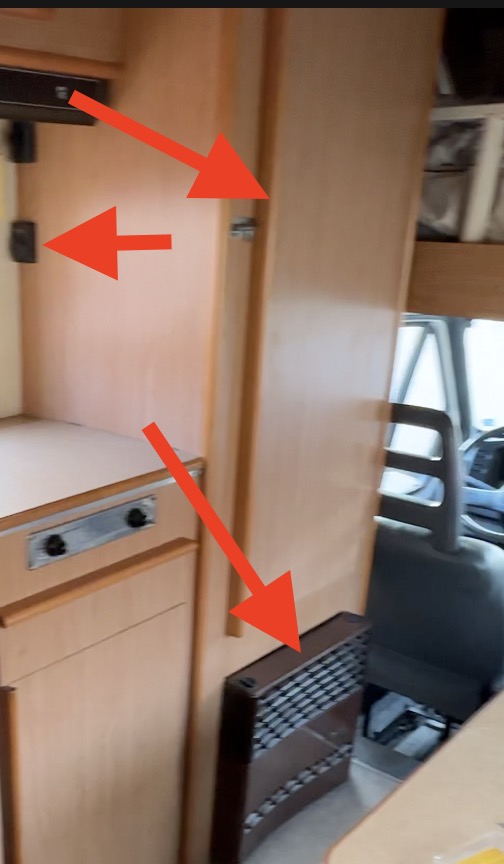
Inside the wardrobe I have a heater pipe here that can warm the wardrobe.
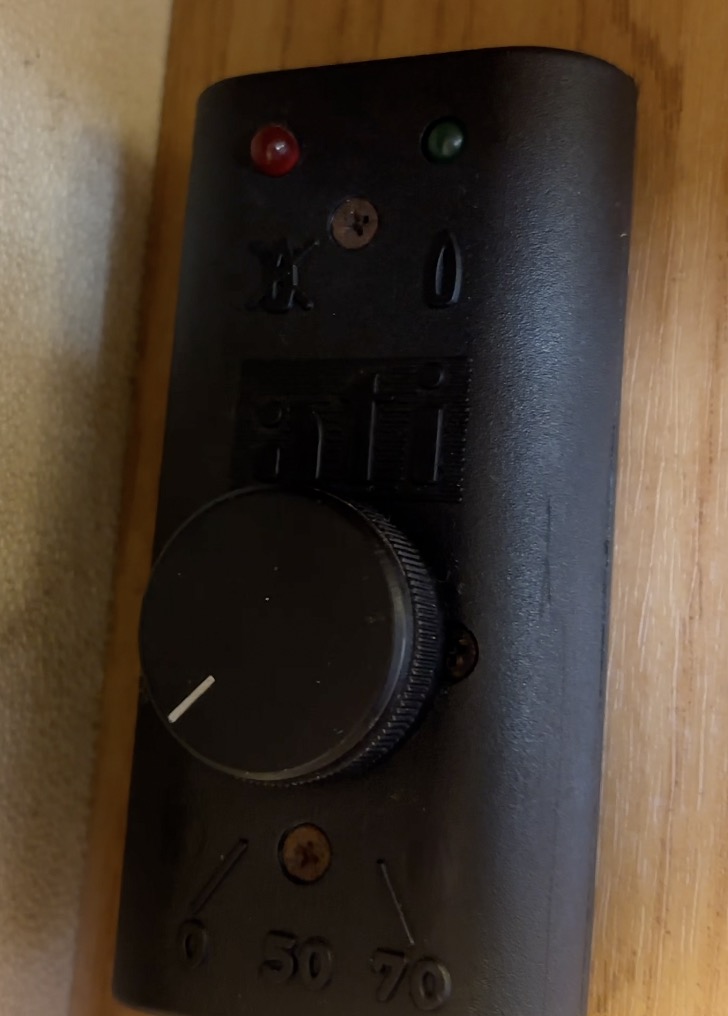
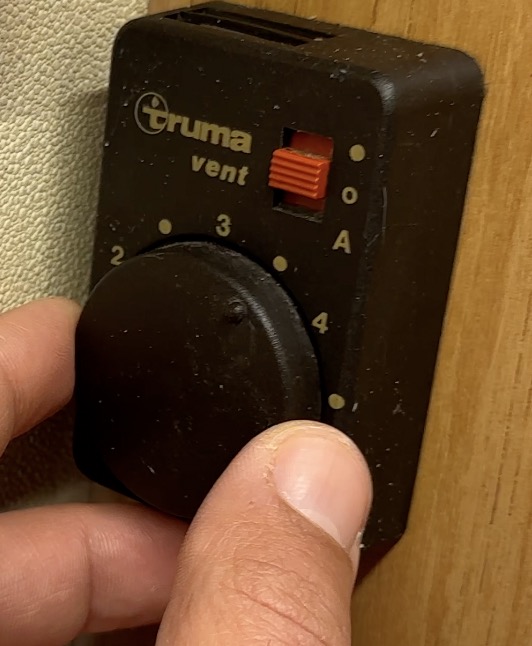
I can control my water heater and the heater vent from these panels below:
The Kitchen
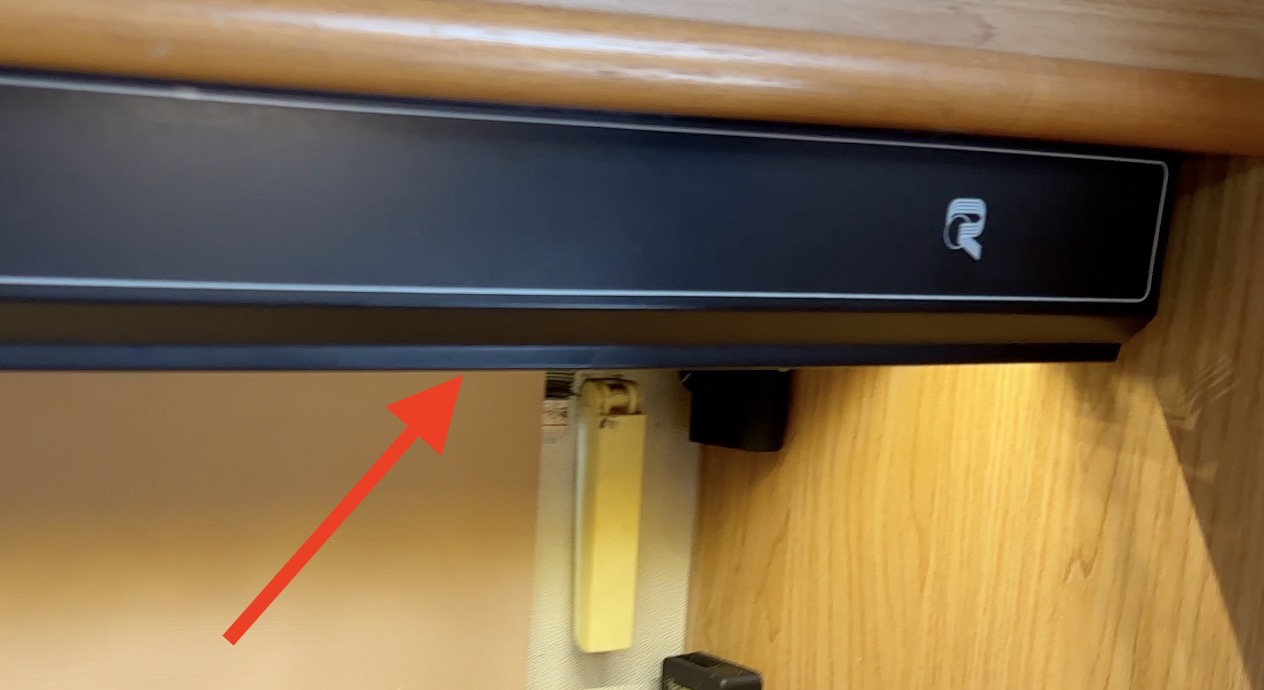
I have a kitchen inside the RV and Inside the kitchen I have an absorber with a light that is over the stoves and the sink.
These are the gas stoves, I already tested them and they are working pretty good. I bought a portable Omnia oven (Amazon link – https://amzn.to/3twJ48z) and I’m happy with the results so far.

Below you can see the sink. The pipe is movable so I can close the top cover when the sink is not in use. Very clever solution from Rimor, I think.
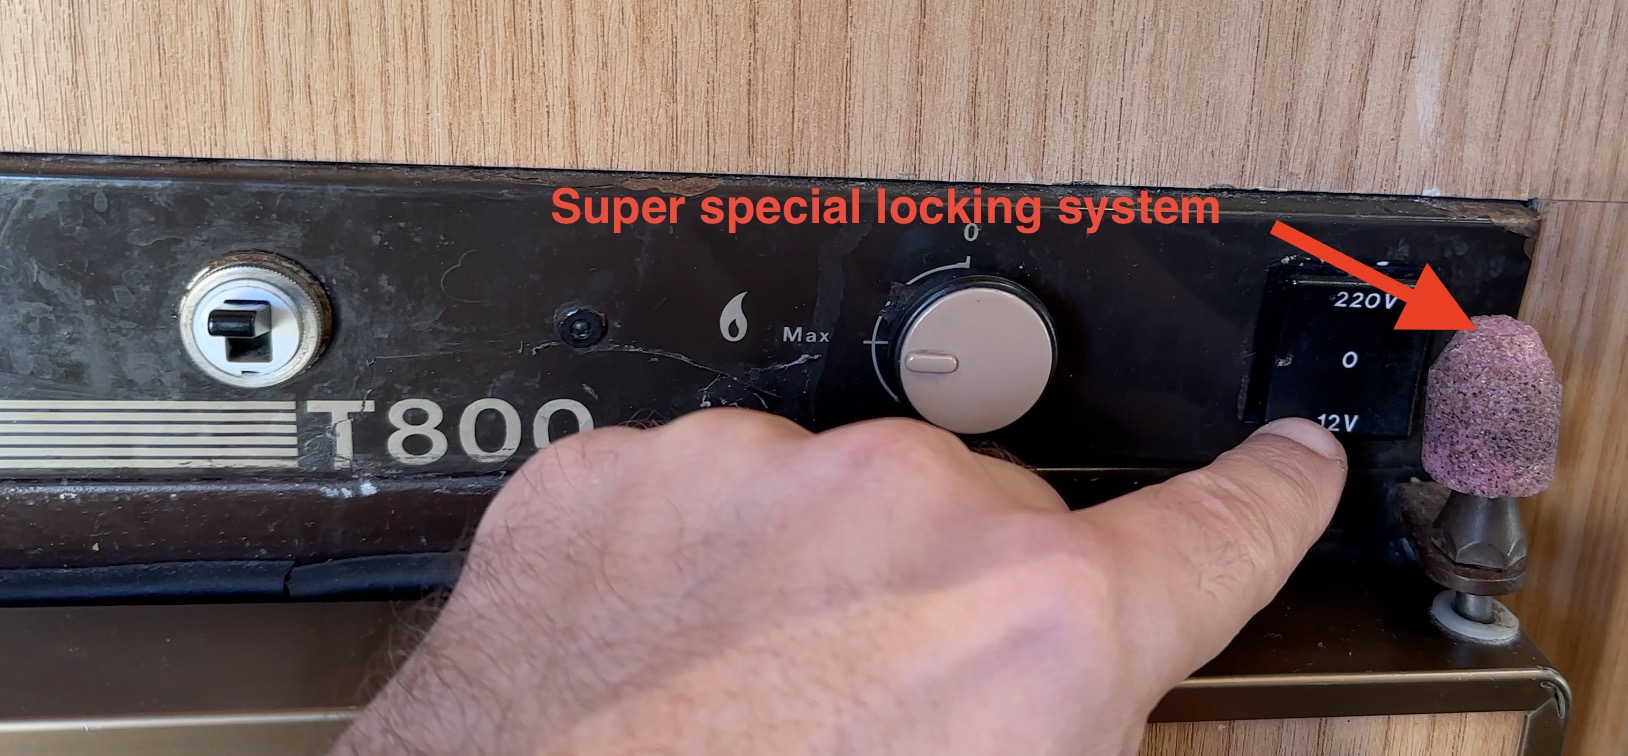
The fridge of the RV can work on 12 volts, 220 volts as well as on gas. On 220V it is working very well, on 12 volts everything seems OK, and on Gas I only saw that it is working, but I didn’t test it for long.
The Bathroom
In the bathroom I have a chemical toilet with a separate tank for the dirty water and it is a tank not a chemical cassette. I also have a sink with a shower and a mirror.
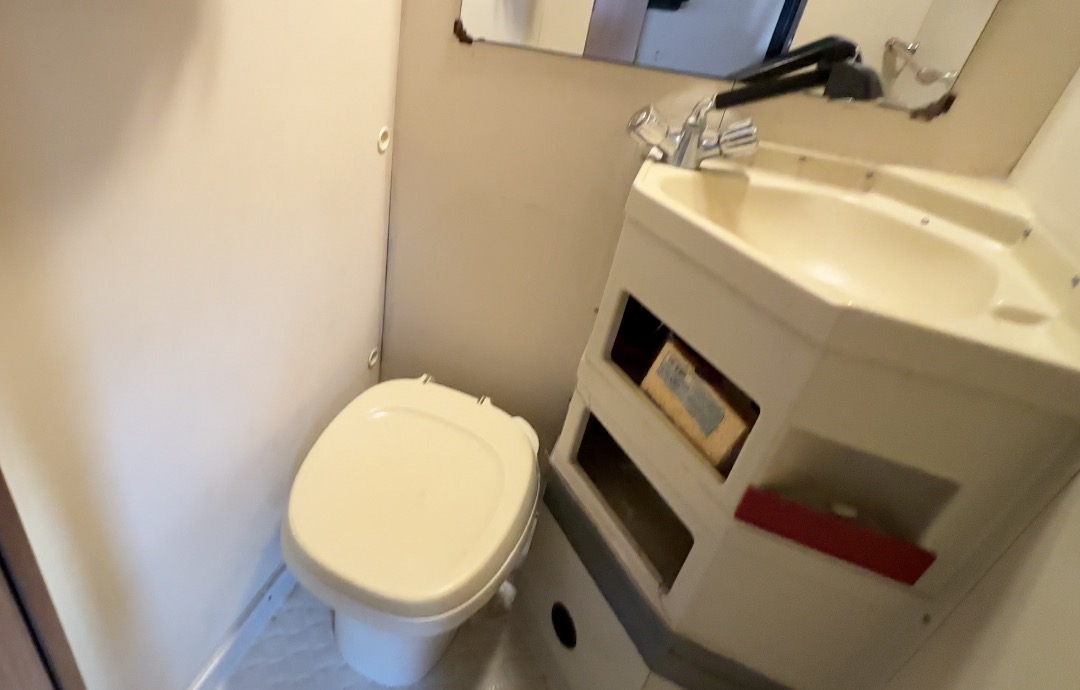
I want to renovate the bathroom on a budget. That means – painting as everything is working good and I don’t want to change it if that is possible.
The walls are made of some kind of a plastic and I’m not sure what paint I have to use for that plastic, so not to peel or something. If you happen to know that – please share that knowledge in the comments.
I also have a roof window in the bathroom and a a fan that can suck or push the air.
Outro
I promise to tell you how much this RV cost me. I bought this camper for €7 250 and I already bought some parts for around €1 000 more that you are about to see in the next parts.
I managed to test the RV already on one camping around two hours drive from where I live and everything was excellent. The driving experience was good, the fridge is working okay, as well as the stoves and the heater, so I’m pretty happy with the camper so far.
In the next part, I am planning to add the Home Assistant inside the camper as well as the wireless router and probably a backup camera.
Subscribe for my newsletter, so you won’t miss the next parts of this project.
Thank you for reading. Bye!
Kiril
Hi Kiril,
I’m doing the same for a conversion van.
Current Setup
===========
Pi 4 8GB: Running Home Assistant OS.
Pi Zero WH: Raspbian Bullseye. I have an Enviro+ Sensor attached for Light, Temperature, Pressure and Air Quality. GPSD with an attached USB GPS antenna. Due to the container on Home Assistant OS not being able to read access the USB Serial Device
Pi 3B Running Solar Assistant. It’s connected directly to my MPP Solar Combination Inverter/Charge Controller
BroadLink RM4 Mini IR Universal Remote Control for controlling my Maxxair Fan. It also has a temperature and humidity sensor in its usb cable.
Amazon Fire HD 10 inch tablet mounted to the wall. It’s running Fully Kiosk.
Security: It’s a secret!
I’m still working on getting my Hao Deng Bluetooth Mesh lights working with Home Assistant but the zennge python-bluepy integration is broken with the latest version of python.
Wow Noah,
thanks for this comment. What hardware are you using for the GPSD and how you intent to connect it to the HA after all? Also what brand and model are your Inverter/Charge Controller? Are you happy with them?
Sorry, I missed your reply.
The GPS is a VK-162 GPS. I have it plugged into the Pi Zero WH with a USB 2.0 Micro USB Male to USB Female OTG Adapter. I send all the GPS info via MQTT to Home Assistant. I have an automation to update my home location for Weather Radar, Weather Forecasts. I wished that Home Assistant OS supported the gps devices natively. The OS can see the adapter but for some reason there are some limitations with it accessing the virtual serial ports. I have issues with this on Home assistant OS but not on Raspberry Pi OS or Debian with Homeassistant with a Home Assistant Core or a Containter.
The Inverter/Charge Controller is a MPP Solar PIP-2724LV-MR
Great Noah, thank you! I will check this out in details as it seems a very good solution.