
Last Christmas I spent three and a half hours live on YouTube trying to put an AI model inside Home Assistant on one mini computer. The first version worked, but only in the way that a prototype works when you are tired and pretending logs are entertainment. Now the same idea is much easier. Ollama in Home Assistant can run on the same machine as Home Assistant, connect through the official Ollama integration, and become useful in automations without turning the setup into a second job.
This article is the slower version of the video. I will not dump every click, YAML line, and model command here because that would make the post almost as long as the original livestream. The full step-by-step PDF is here: download the Ollama-HA Home Assistant PDF. It has the install flow, model notes, troubleshooting, and the parts that are better kept next to you while you click around in Home Assistant.
Table of Contents
My free + shipping book
If you want more ideas and complete recipes around AI and Home Assistant, I also have my free + shipping paper book here: Home Assistant AI Recipes book. The book is for the bigger picture: how to think about AI automations, where they help and how to make everything as easy as possible
What changed since the messy first version
The old problem was not the idea. The problem was making Home Assistant, Ollama, containers, AI models, and my own optimism cooperate at the same time. That is where most smart home projects become funny after the fact and not funny while you are doing them.
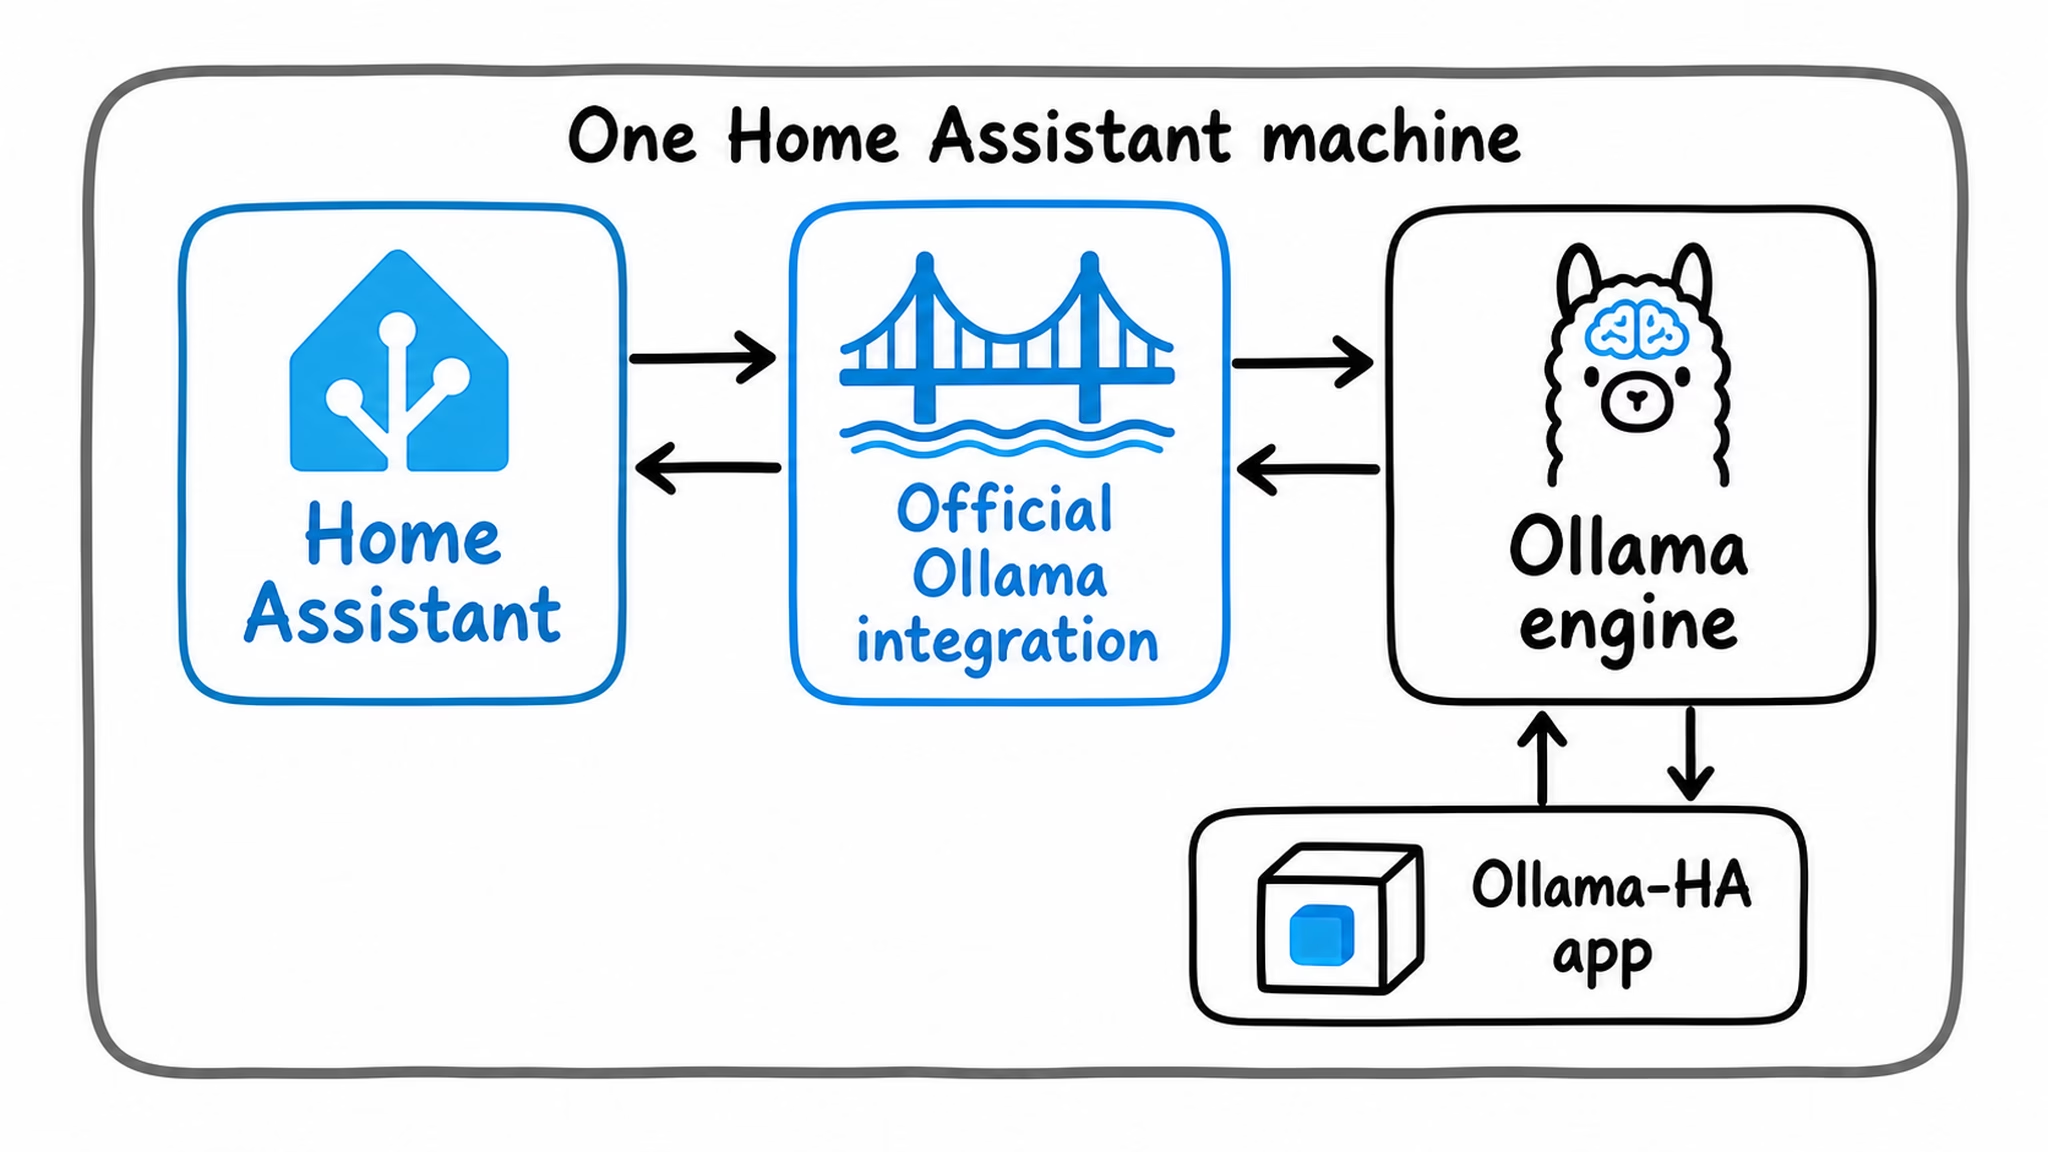
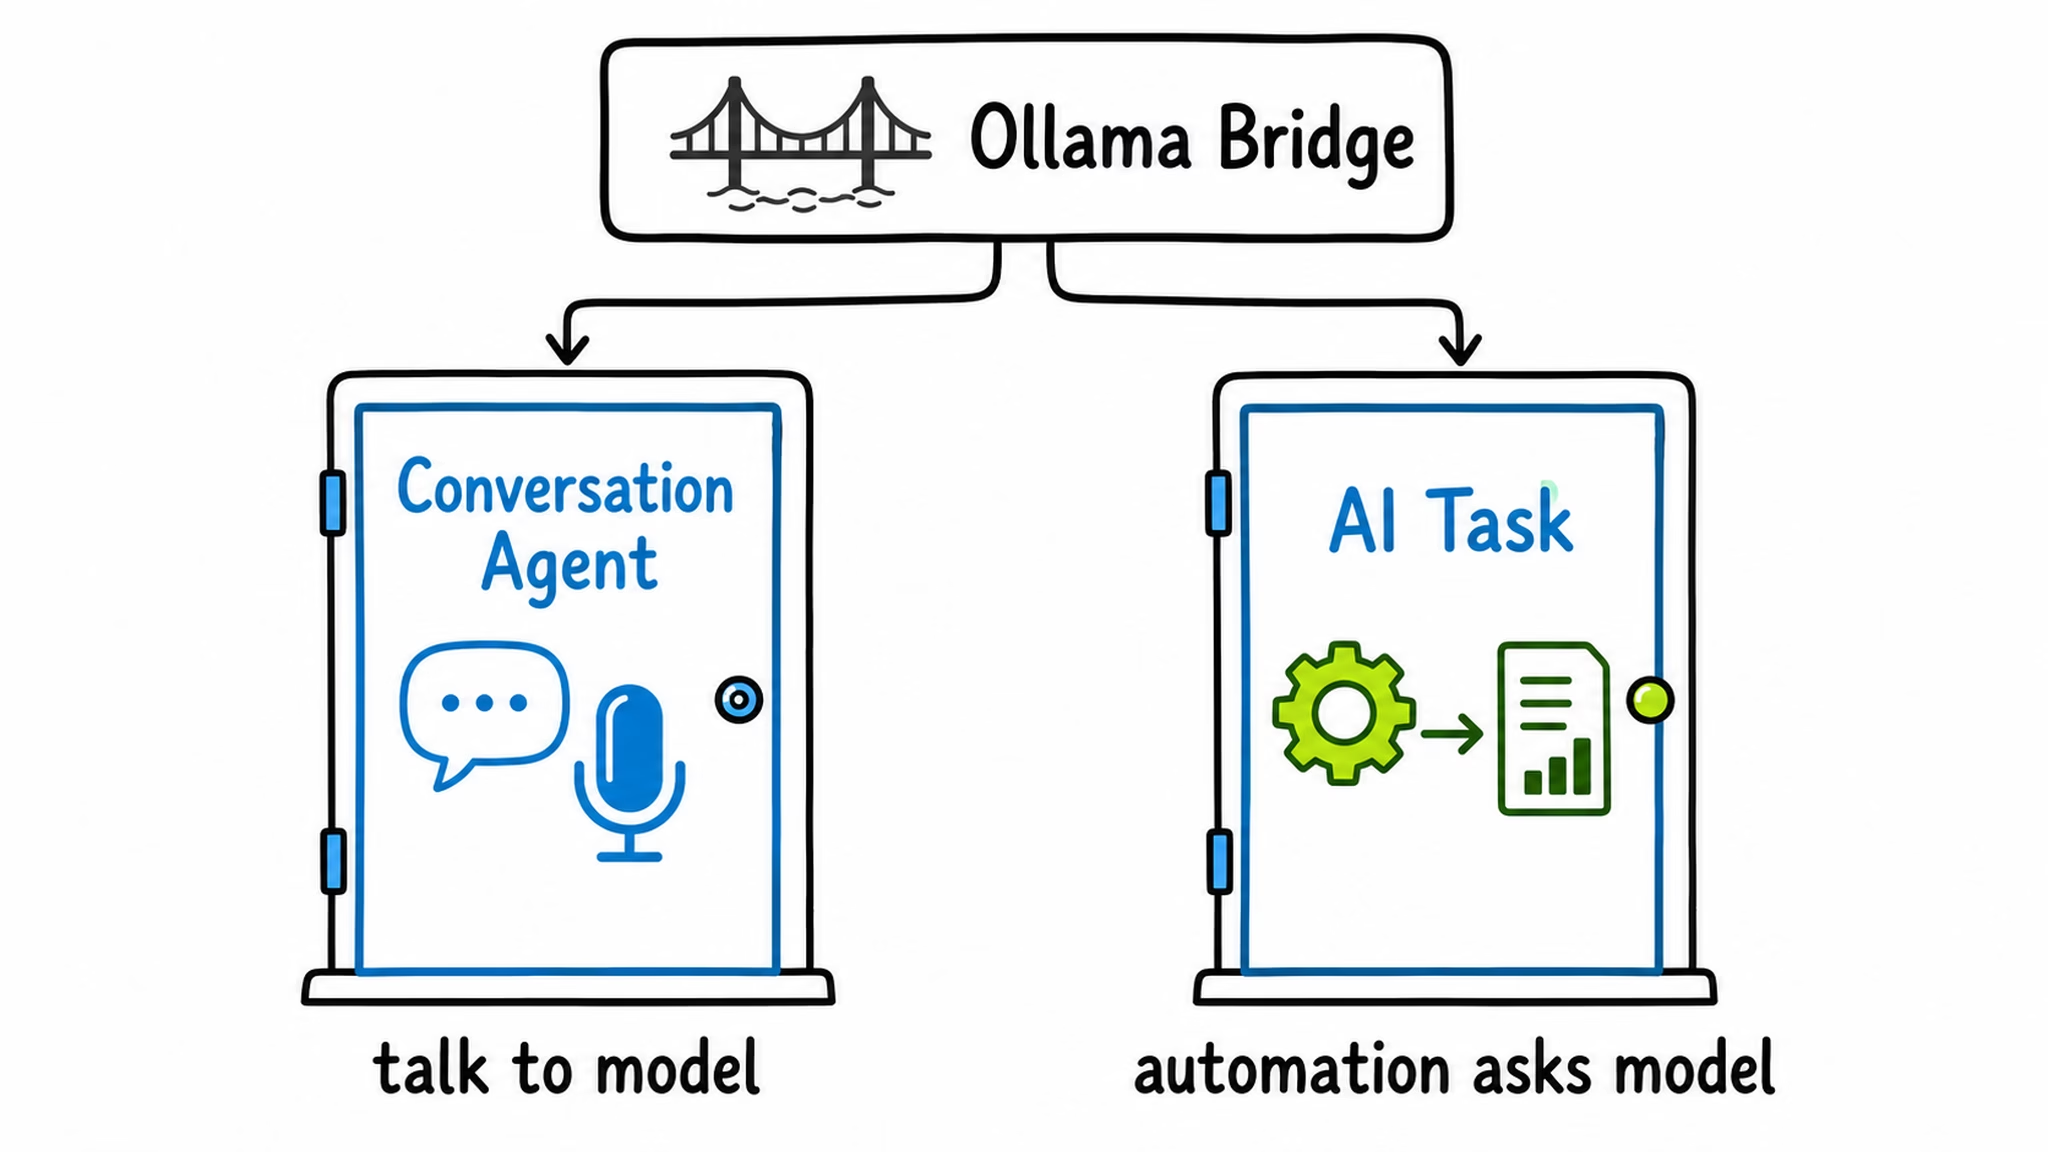
The current Ollama-HA setup is more practical. The app can run Ollama from inside Home Assistant OS, the official Home Assistant Ollama integration can connect to it, and then you can use the model in two useful places: Conversation Agents and AI Tasks. One is for talking to the model through Assist. The other is for automations and scripts where Home Assistant sends some data to an AI model and uses the answer.
The simple picture
Home Assistant is the house manager. Ollama is the AI engine. Ollama-HA is the Home Assistant app that puts that engine on the same machine where Home Assistant is running. The official Home Assistant Ollama integration is the bridge between them.
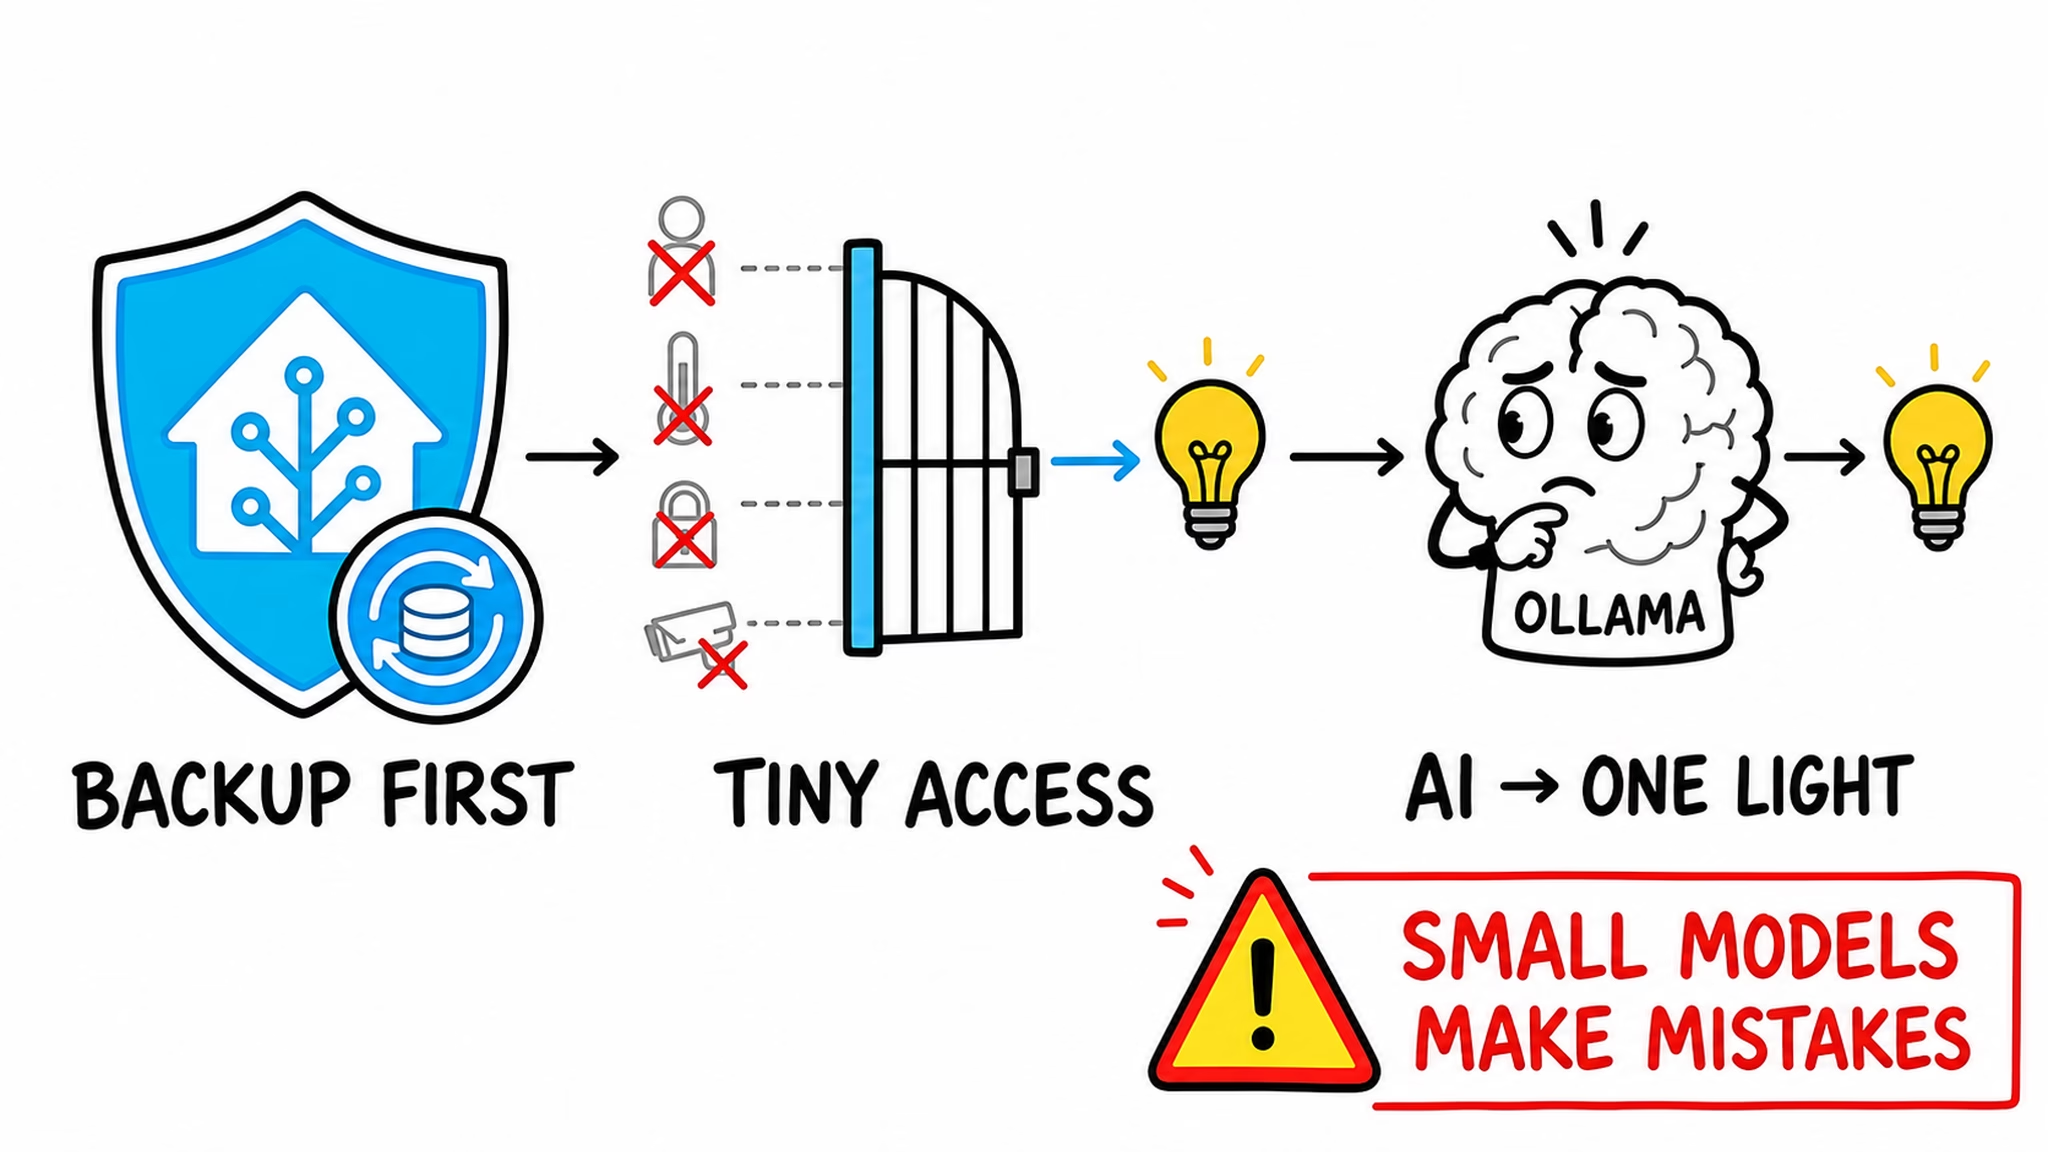
Once the bridge is connected, Home Assistant can ask an AI model questions. If the model supports tools and you configure Assist carefully, it can also help with exposed Home Assistant entities. I say carefully because this is still AI. Start with read-only questions or one harmless light. Do not expose half the house to a tiny confused model and then act surprised when the living room becomes a disco.
Tired of reading?
If you prefer watching the setup and examples, the video version is here: Ollama in Home Assistant Is Ridiculously Easy Now. Use the video for the flow and the PDF for the exact steps. That combination is easier than pausing the video every five seconds while Home Assistant is waiting for you to paste one URL correctly.
Local model or cloud model?
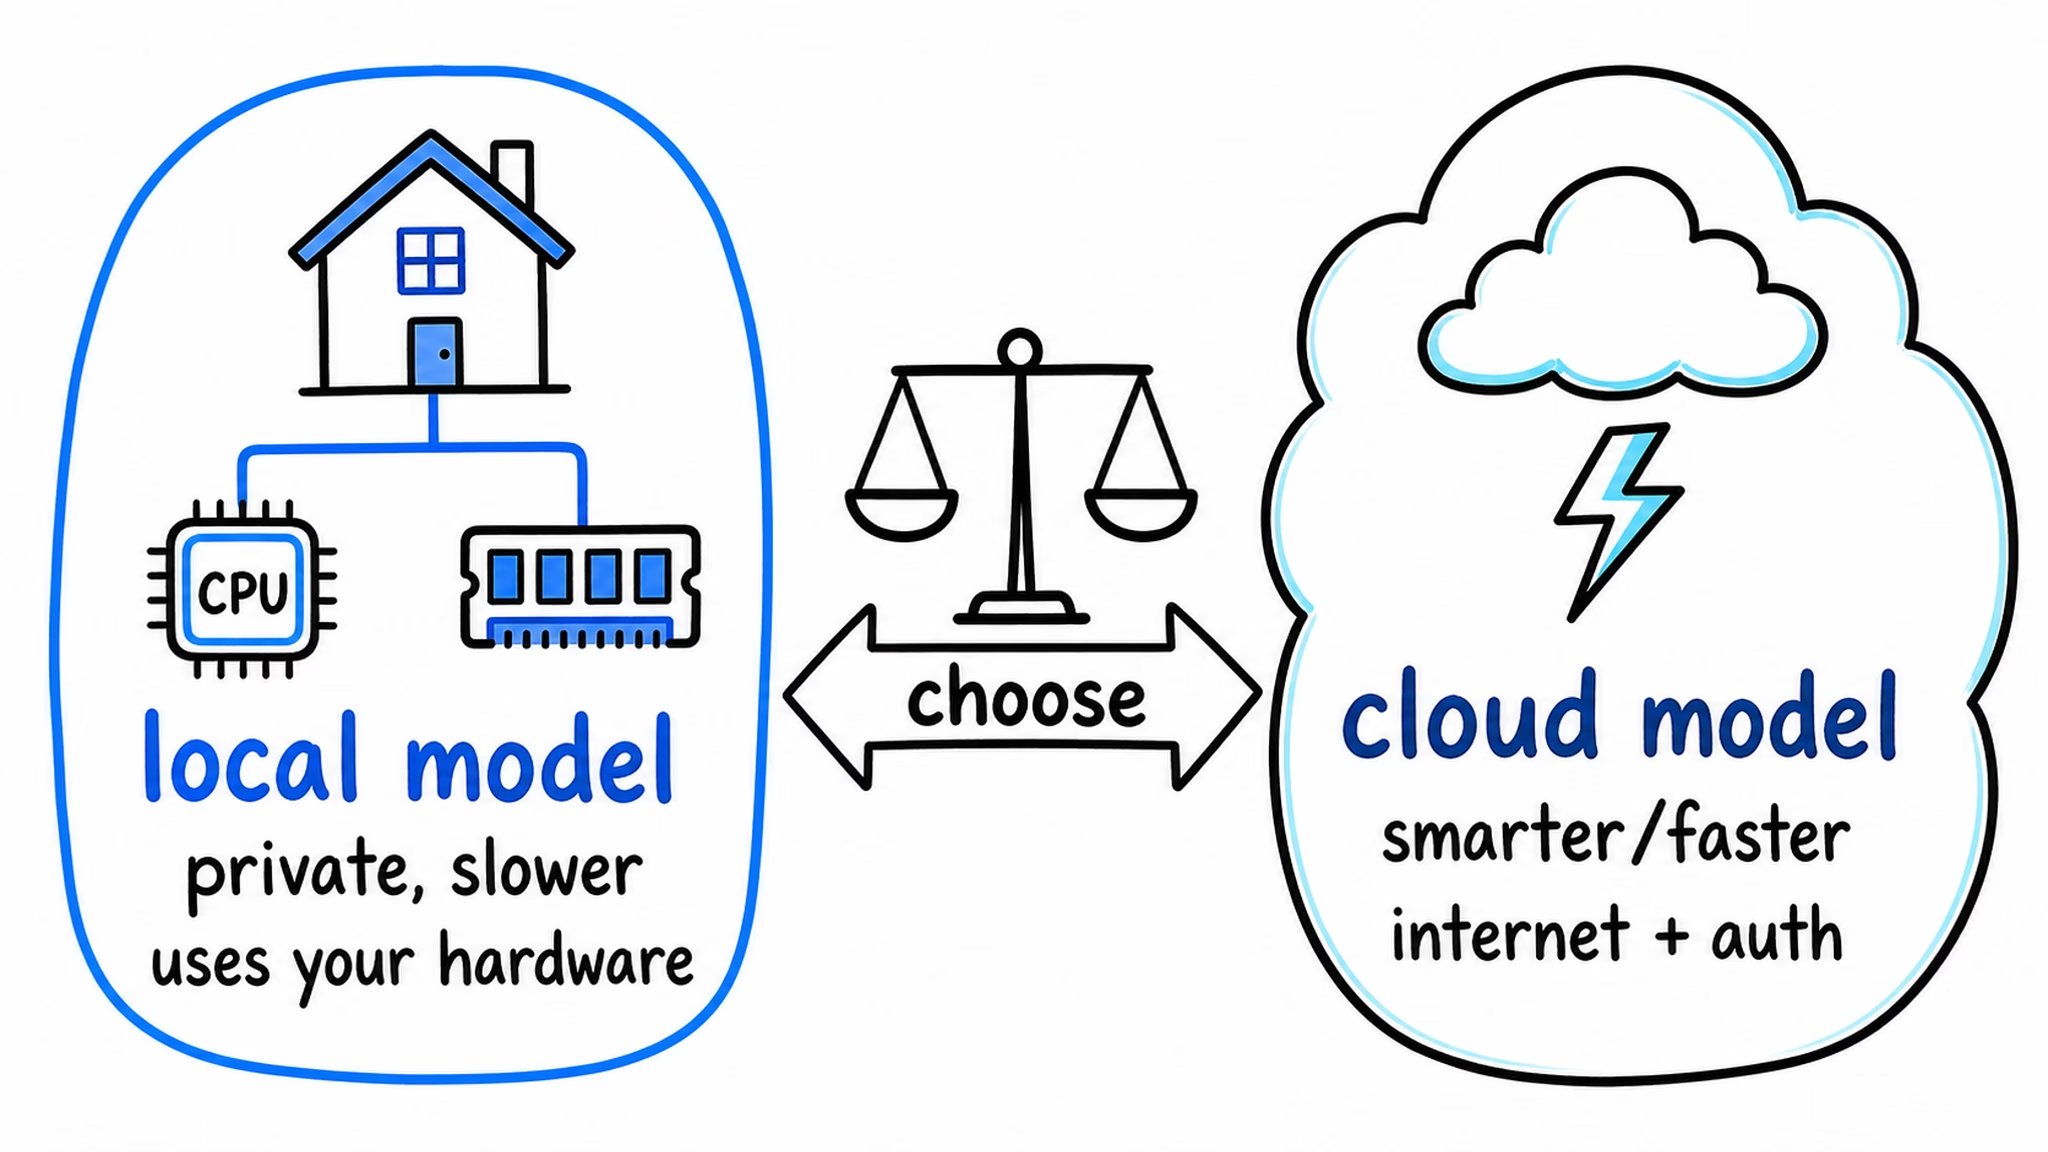
This is the first real choice with Ollama in Home Assistant. A local model runs on your own hardware. Your prompt stays in your local network, but the model uses your CPU, RAM, storage, and maybe GPU. Small models are good for testing the pipe. Bigger local models can make a weak machine cry.
A cloud model runs on Ollama’s servers. It is usually much faster and smarter when your Home Assistant machine is a Raspberry Pi or an older mini PC. The trade-off is simple: your prompt travels over the internet and you need authentication. That does not make cloud models bad. It just means you should not send private camera snapshots, secrets, alarm codes, or anything sensitive unless you are comfortable with that data leaving your network.
For a boring first local test, a tiny model like qwen2.5:0.5b makes sense because it proves the connection works. It is not a genius. That is fine. For a practical cloud test, Kiril uses gpt-oss:120b-cloud for many things at home. Before you use any model for Assist control or camera analysis, check its capabilities on Ollama’s model search page. Some models can think, some can see images, and only tool-capable models can control Home Assistant through Assist.
How the install works
The install flow is not complicated, but there are a few small details that matter. You add the Ollama-HA repository to the Home Assistant App Store, install the app, start it, and then connect the official Ollama integration to http://127.0.0.1:11434. The http:// part matters. The :11434 part matters too. Home Assistant is very literal, which is sometimes annoying and usually safer.
One warning before you click Install: the current repository notes that the app image is over 3.7 GB and installation can take 25 to 30 minutes or more on a Raspberry Pi 5. Older numbers floating around may be smaller. Trust the current repository. Make sure you have enough free disk space, click Install once, and let the machine work. Re-clicking the button every few seconds is not acceleration. It is panic with a mouse.
What I actually use it for
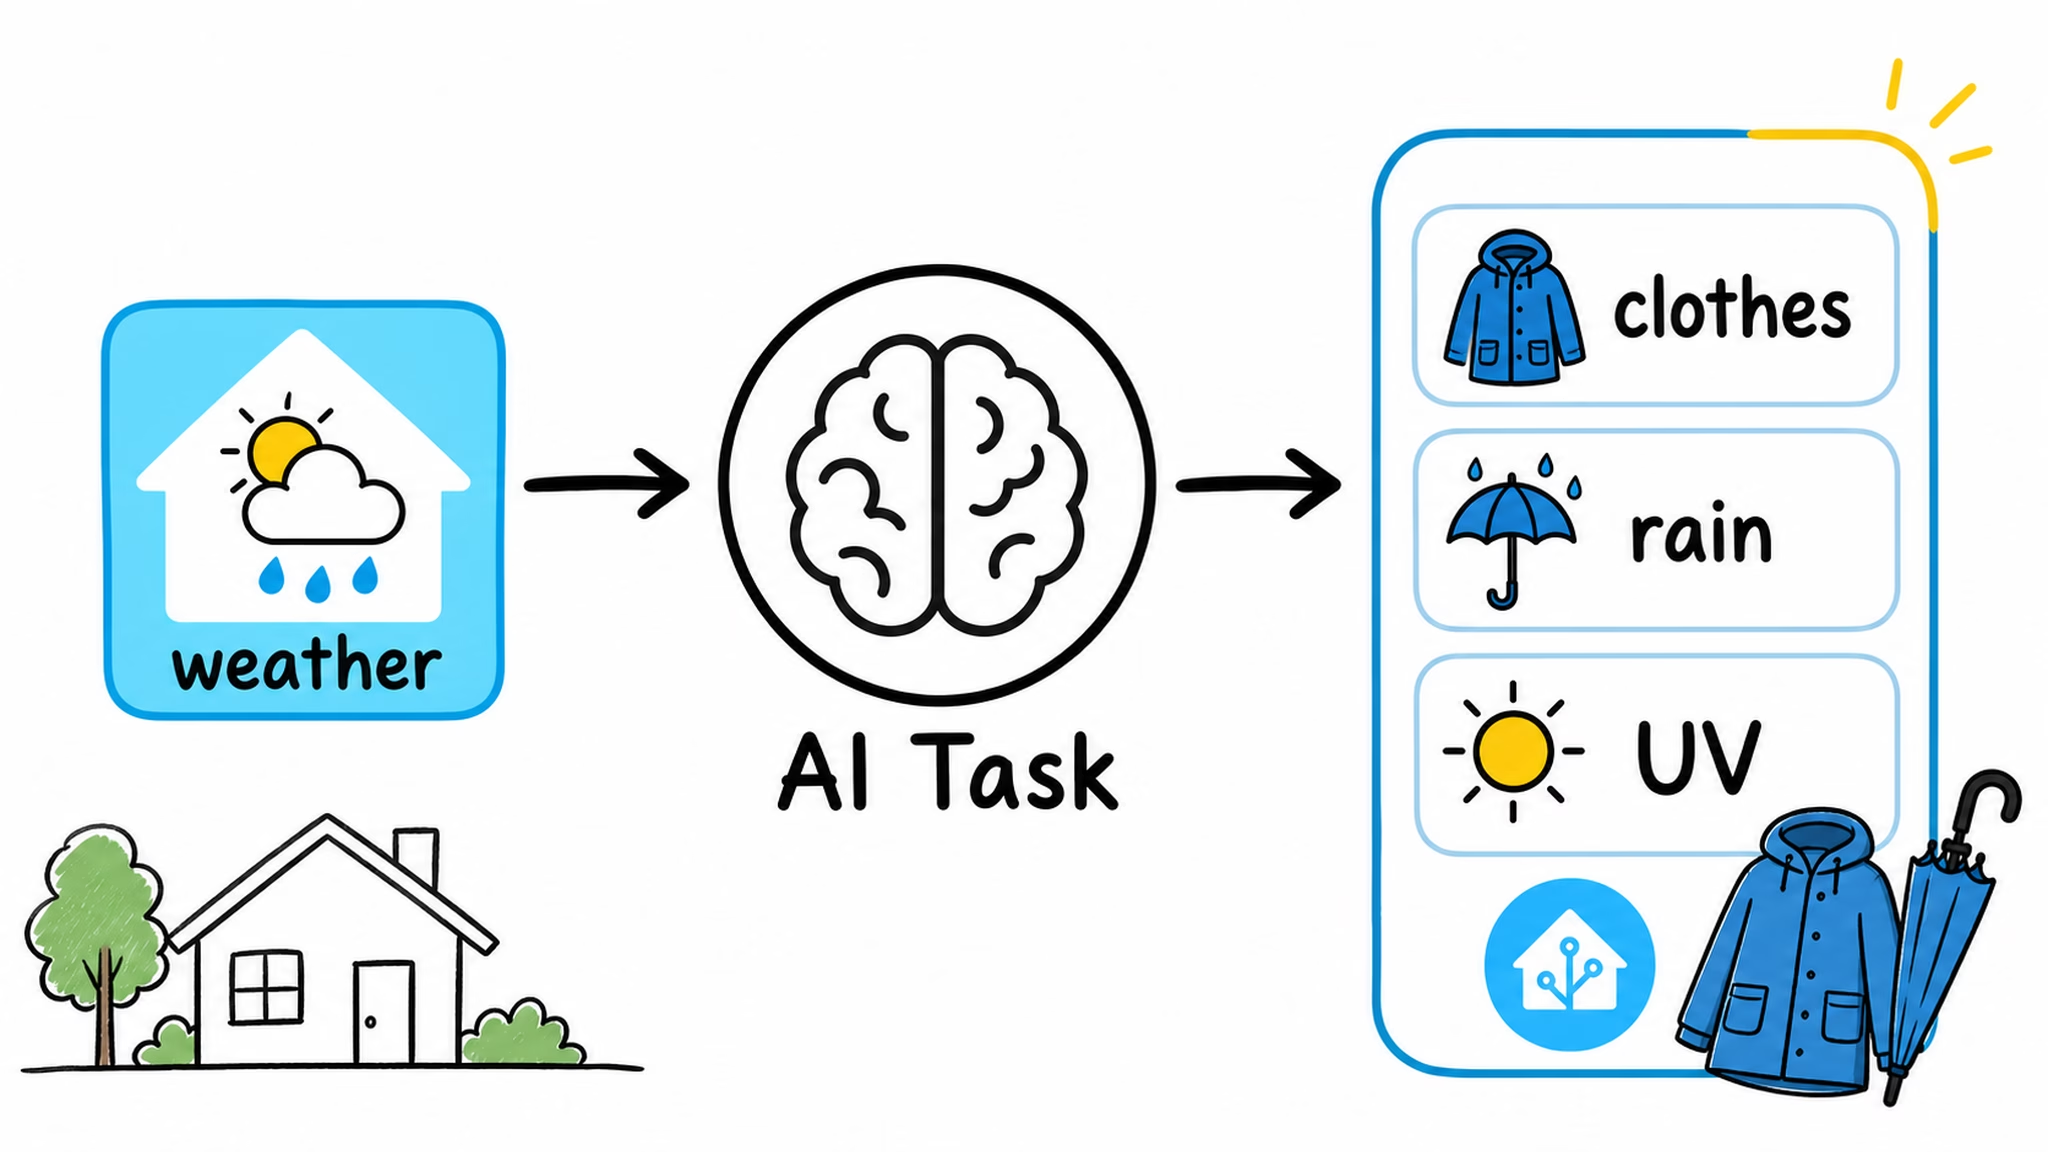
The first useful example is weather. Home Assistant already knows the forecast, but a temperature number is not always helpful. With an AI Task, Home Assistant can send the hourly forecast to the model and ask for a normal answer: what clothes make sense today, when rain is likely, whether UV matters, and anything else that should be in the morning notification.
A slightly modified version of this is something I use daily. My family likes it because the message is written like a person, not like a sensor state table wearing a tiny hat. The important part is that Home Assistant still does the normal automation work. The AI only turns structured data into a more useful explanation.
The second useful example is camera analysis. A motion sensor triggers the automation, Home Assistant gets a camera snapshot, a vision-capable model describes what is visible, and the result becomes a notification. Instead of only “motion detected,” you can get a sentence about a person, car, package, animal, or something unusual.
This is useful, but do not turn it into your only security layer. AI vision can be confidently wrong. Keep your normal motion, door, alarm, and camera logic in place. Treat the AI result as an extra signal, not the boss of the house.
Get the full PDF guide
If you want the click-by-click version, get the free PDF here: automatelike.pro/ollama-ha. It covers the repository, app configuration, local versus cloud models, the Home Assistant connection, Conversation Agents, AI Tasks, model management commands, examples, and troubleshooting.
To get the PDF, type your name and e-mail. You will receive an e-mail from me to confirm you are not a robot, and the PDF will be sent to your inbox. You will also be subscribed to my newsletter where I share new content, updates, and my exclusive AI and HA challenge. It is free, and you can unsubscribe anytime with one click.
If you want more
If you like this kind of practical Home Assistant AI project, check more articles in the AI category on peyanski.com and the Home Assistant category. I will keep using and improving Ollama-HA because it keeps the whole setup simple: Home Assistant sends a job, the Ollama-HA app handles the AI part, and the automation continues. Everything on one machine, without making the smart home feel like it needs a PhD and three coffees to turn on a light.