
Today, I’m going to walk you through the installation of a MPPT solar panel charge controller from Victron, along with a 2500W EDECOA inverter, in my Camper Van. And that is another episode of my Smart RV conversion series that is available here in my website and in my YouTube channel.
Table of Contents
Anything Smart here?
If you are wondering what is so Smart here? You are just adding a solar charge controller and DC to AC inverter which is standard and typical task. I’ll just stay, I plan to add the Victron MPPT solar charge controller in Home Assistant, so I can get all the important readings in real-time.
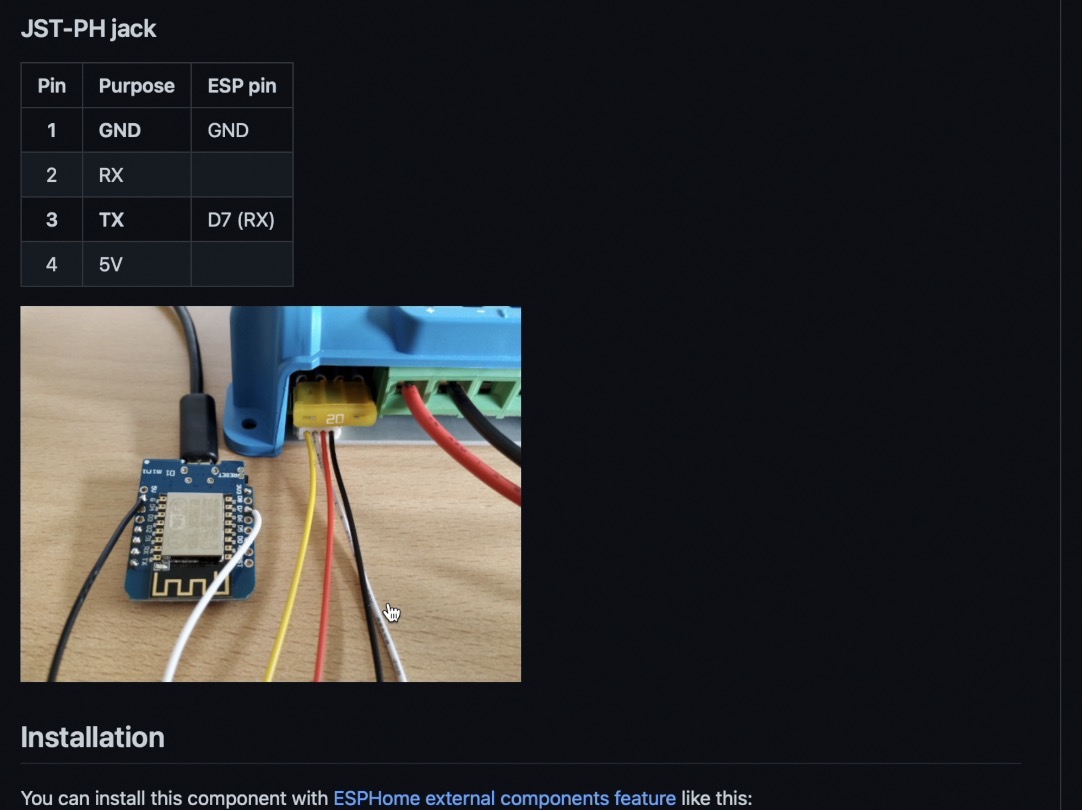
The GItHub project that I’m planing to use in the next episode –https://github.com/KinDR007/VictronMPPT-ESPHOME
Quick Story & Current state
Here is a quick background story and additional explanation, before I begin:
My goal is to explore some new places with the Motor Home this season and I wanted to make sure that my camper van had a reliable source of power. And what better way to do that than by harnessing the power of the sun? With solar panels, a charge controller, and an inverter, I can have a self-sufficient power source that could keep my appliances and electronics running no matter where my adventures took me.

Just to be clear, I already have two solar panels, two batteries (around 440A) and a cheap PWM charge controller installed and they are working fine.
What is PWM Solar Charge Controller?
The PWM or Pulse-Width Modulation solar charge controller that I currently have charges the batteries in pulses, where the pulse duration is determined by the current battery charge. As the battery becomes more fully charged, the pulse duration decreases.
In general, PWM controllers are cheaper and simpler and not that effective compared to the MPPT controllers.
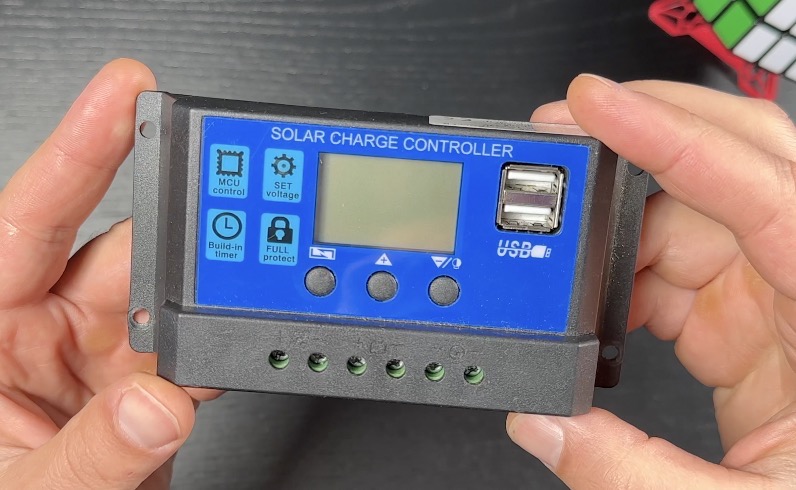
- My old PWM Solar Charge Controller (AliExpress)- https://s.click.aliexpress.com/e/_DeI3s3L
What is MPPT Solar Charge Controller?
On the other hand, Maximum Power Point Tracker or MPPT controllers for short are a more advanced type of solar charge controllers.
They can convert the voltage of the solar panels to match the voltage of the battery, which allows them to extract maximum power from the solar panels, even in less-than-optimal conditions.
MPPT controllers can also be more efficient in converting solar power to battery power, which can result in more energy being stored in the battery.
The only cons is that the MPPT controllers are far more expensive than PWM controllers.
What MPPT I used for my Smart RV?
With that being said it turns out that my current Camper Van Solar setup is far from optimal. To get the max of it, I have to change my existing PWM controller with MPPT, which will guarantee me better performance and up to 40% gain especially, during cloudy or rainy conditions, or where shading of the panels might occur.
That is why I bought the Victron SmartSolar MPPT charge controller, which is a very popular choice among solar installers, due to its high efficiency, advanced features and reliability.
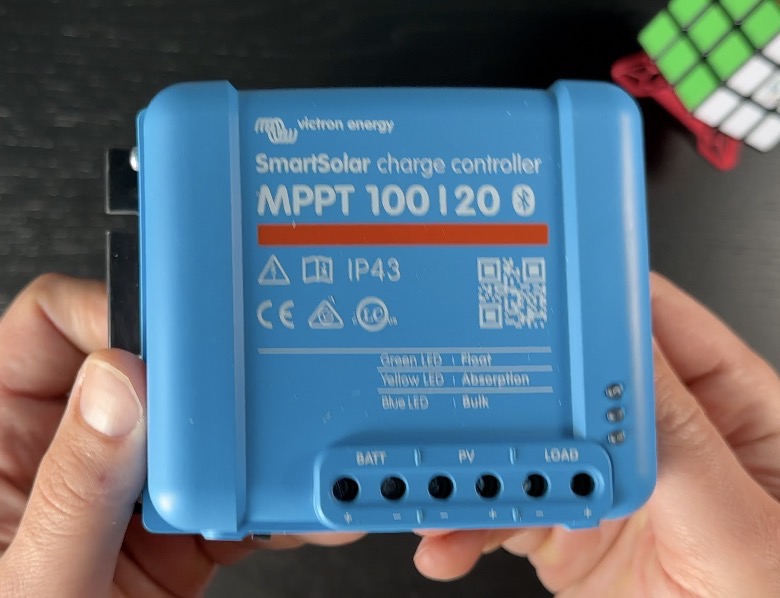
Have in mind that there are two main versions of the Victron MPPTs. These are:
- Victron MPPT SmartSolar 100 | 20 (Amazon) – https://amzn.to/400AFbU
- Victron MPPT BlueSolar 75 | 15 (Amazon) – https://amzn.to/40kgPbu
The first models that are the SmartSolar are slightly more expensive and they have a built-in Bluetooth support.
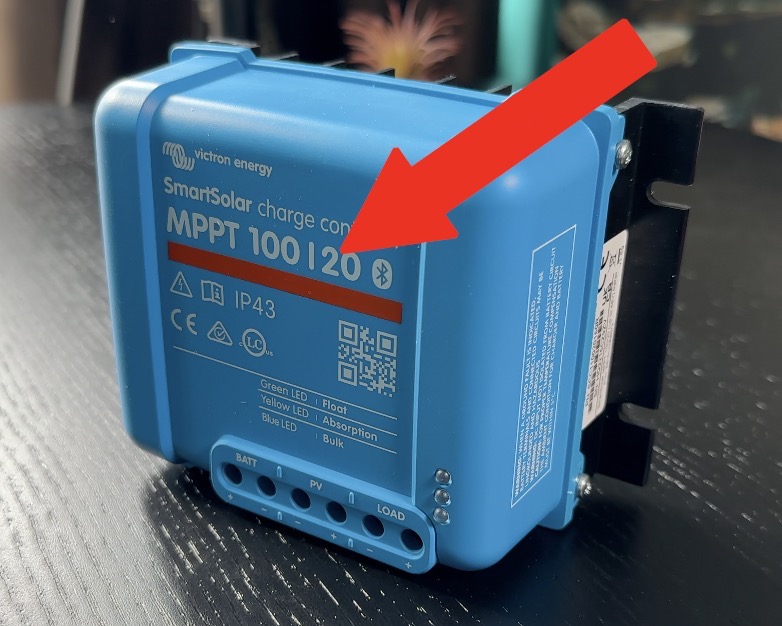
What the MPPT digits mean?
Another important element when choosing a MPPT solar charge controllers are the digits on them. Let me break it down for you.
First off, the numbers you’re seeing on the MPPT are typically displayed in a format like this: 100 | 20 or 75 | 15 or something similar.
The first number, in my case 100, represents the Max. PV open circuit voltage. This is known as the “maximum power point,” or MPP for short.
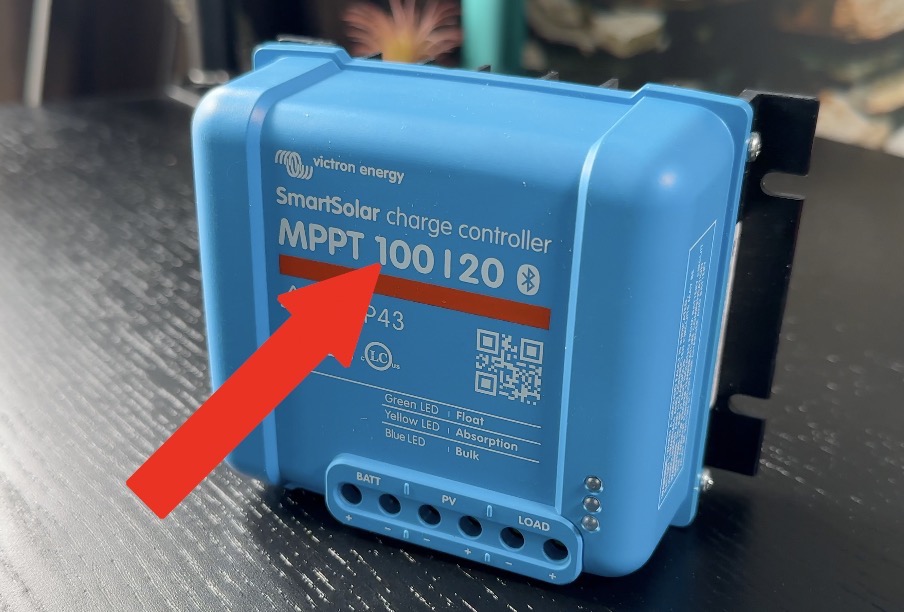
The MPP is determined by a number of factors, including the temperature and intensity of the sun, the size and efficiency of your panels, and the angle and orientation of your array.
The second number, in this case 20, represents the Rated charge current. This information is important because it allows you to size correctly your Solar system elements.
This information is important, because it allows you to size correctly your Solar system elements.
You can use the link below to the official MPPT sizing calculator where you can select your voltage, modules and preferences and you will get as a result what exact MPPT model is needed for your solar setup.
Victron MPPT Calculator – https://www.victronenergy.com/mppt-calculator
Next episode?
As I said, I plan to add the Victron MPPT in Home Assistant in some of my next Smart RV conversion series, so if you don’t want to miss that make sure that you are subscribed for my newsletter
Home Assistant Webinar?
And if you don’t know what Home Assistant is and how it can help Smarten your RV or Home, then please be invited to my upcoming Webinar.
You can reserve your spot on my other website – https://automatelike.pro/webinar
It is absolutely free.
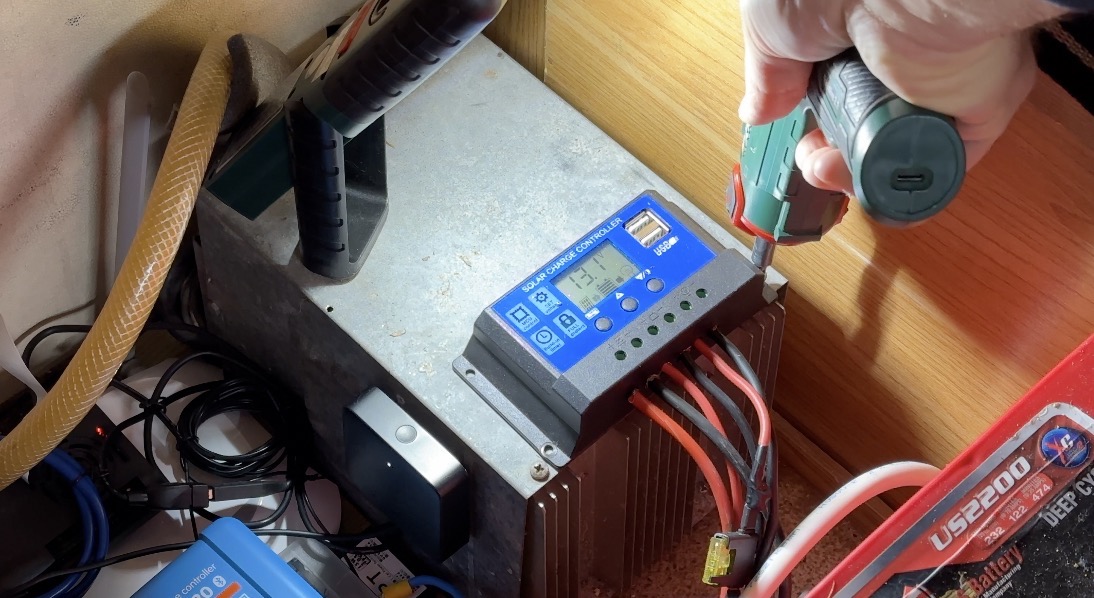
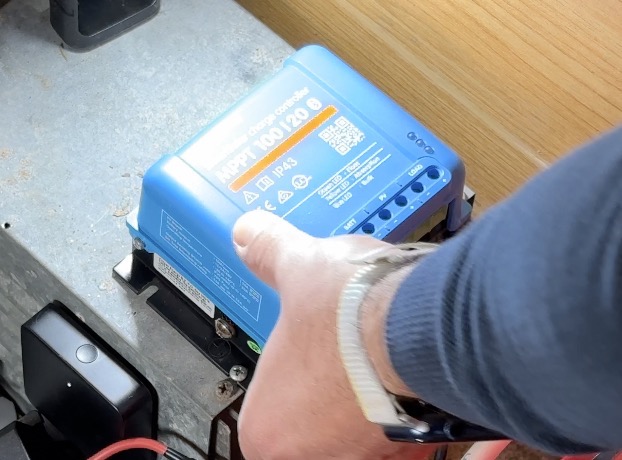
Starting the Victron MPPT installation
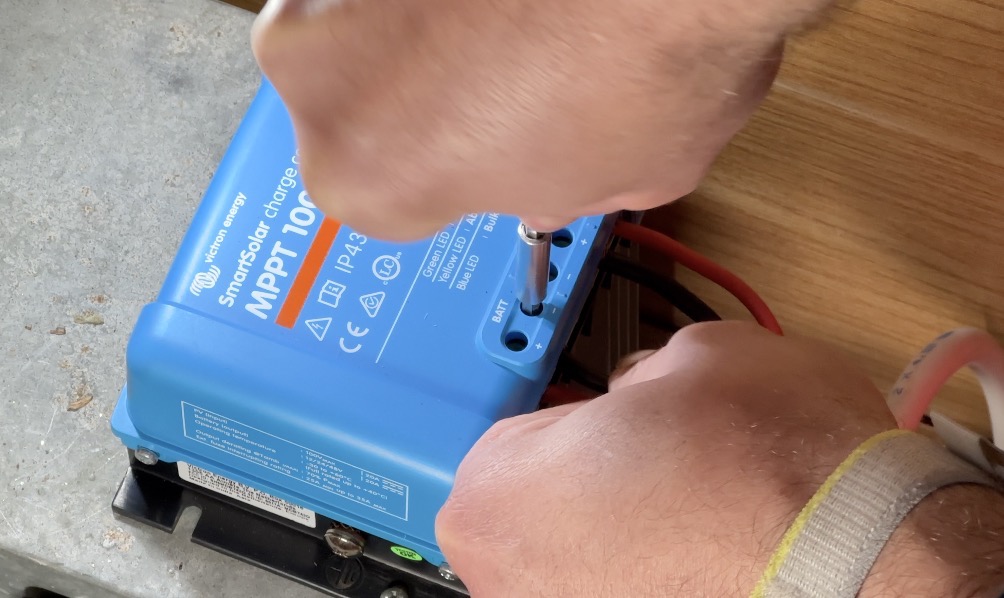
To start the Victron MPPT installation, I needed to find a suitable location, since space is at a premium in my camper van. I decided to mount the Victron MPPT controller on the place where the old PWM controller was mounted or just inside the the battery compartment. I used some screws to secure the controller in place.
I switched off all of the Camper existing DC load by removing the fuse and I connected these wires to the LOAD terminals of the Victron MPPT
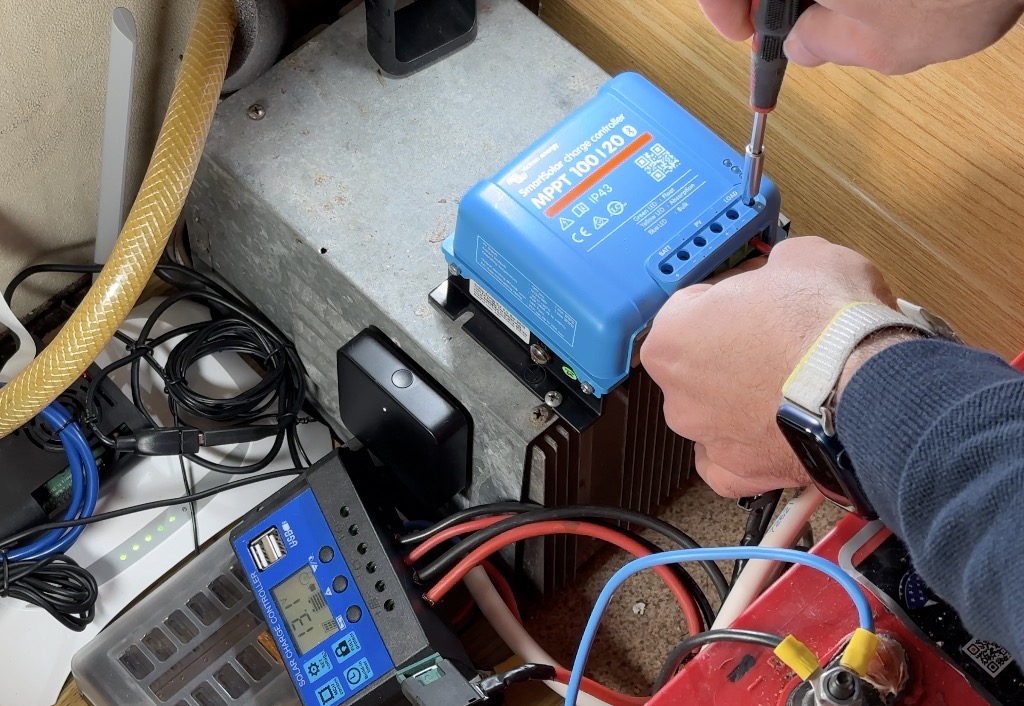
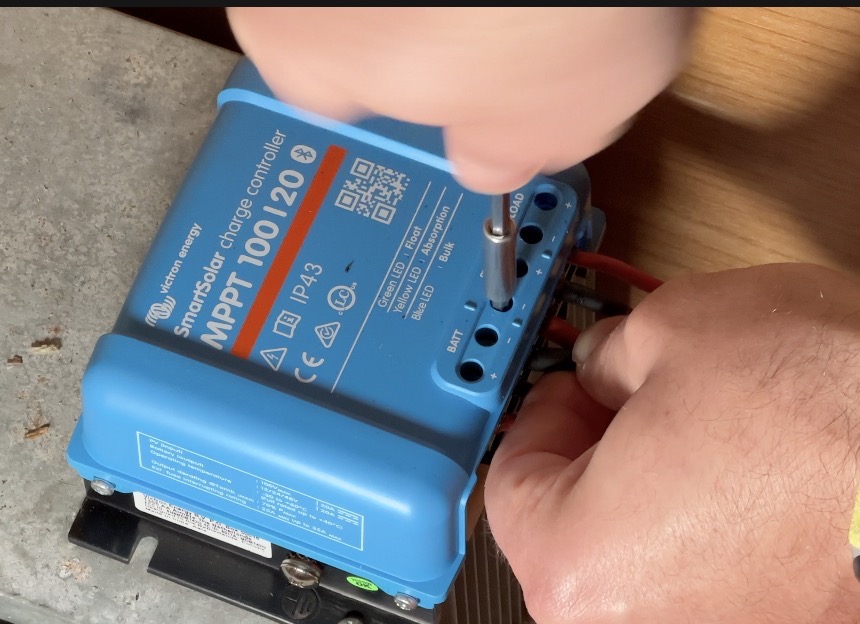
Next, I needed to connect the positive and negative cables from the battery bank to the output terminals of the controller. This was also a straightforward process.
Once the batteries cables were in place, I connected the positive and negative cables from the solar panels to the PV input terminals of the controller. This was a simple process, as the controller has clearly labeled input terminals that make it easy to connect the cables.
Installing the EDECOA inverter
Now, let’s move on to the inverter.
Initially, I also wanted to buy a Victron Inverter, so that I have a uniform system, but Victron Inverters are freaking expensive. If I had to buy a 2500-3000VA unit from Victron I have to pay 6 or even 7 times more than the price I paid for my Chinese EDECOA inverter.
Check for yourself the current prices of the Victron Inverters in Amazon – https://amzn.to/3JTSljR
The EDECOA inverter, actually cost me around $270 US dollars including the shipping. I bought it from AliExpress and the seller there had a store in Germany, so the inverter was delivered to my door in just 4 days and I had to pay zero dollars for taxes and fees.
The exact link can be found below if you want to buy the same.
EDECOA 1500W 2500W pure sine wave power inverter – https://s.click.aliexpress.com/e/_DCxSPoZ
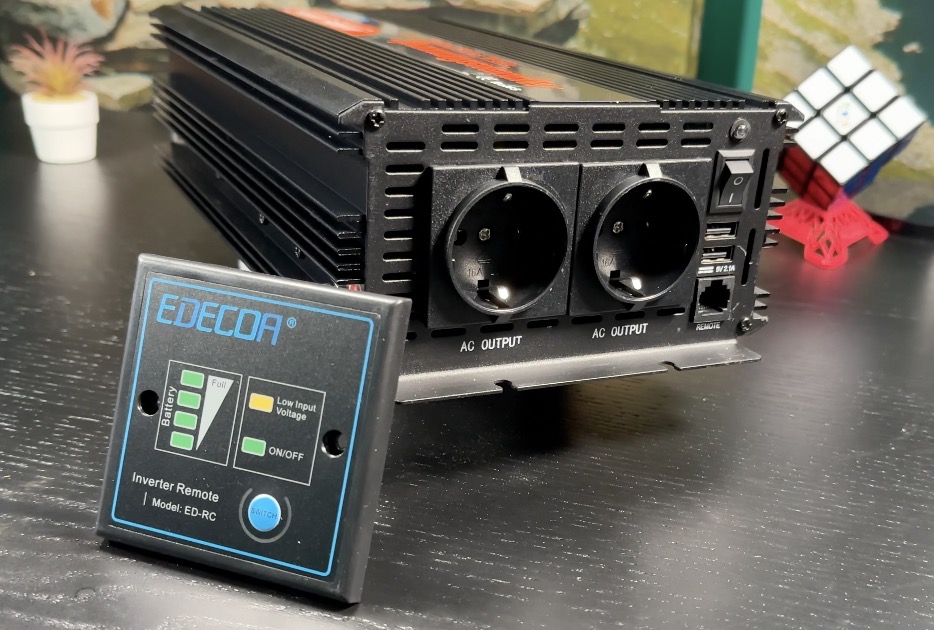
The EDECOA 2500W inverter is a pure sine wave inverter, which is ideal for powering sensitive electronics and appliances. Since I wanted to be able to power my laptop, camera some other electronics and most importantly my hair dryer while on the road, I decided to go with this particular model.
It also have some very good parameters on paper and on picture, so I decided to ditch the Victron Inverter and to save some money which I will wisely invest in gambling!
Kidding here 🙂
The savings, that is the difference between the Victron and EDECOA inverter will be invested in Camper trips and hopefully in good memories.

Anyways, to install the inverter, I also needed to find a suitable location, because again, the space was at a premium. I decided to mount the inverter as close as possible to the battery bank and that was a genius decision, because the cables I got in the inverter package are not very long.
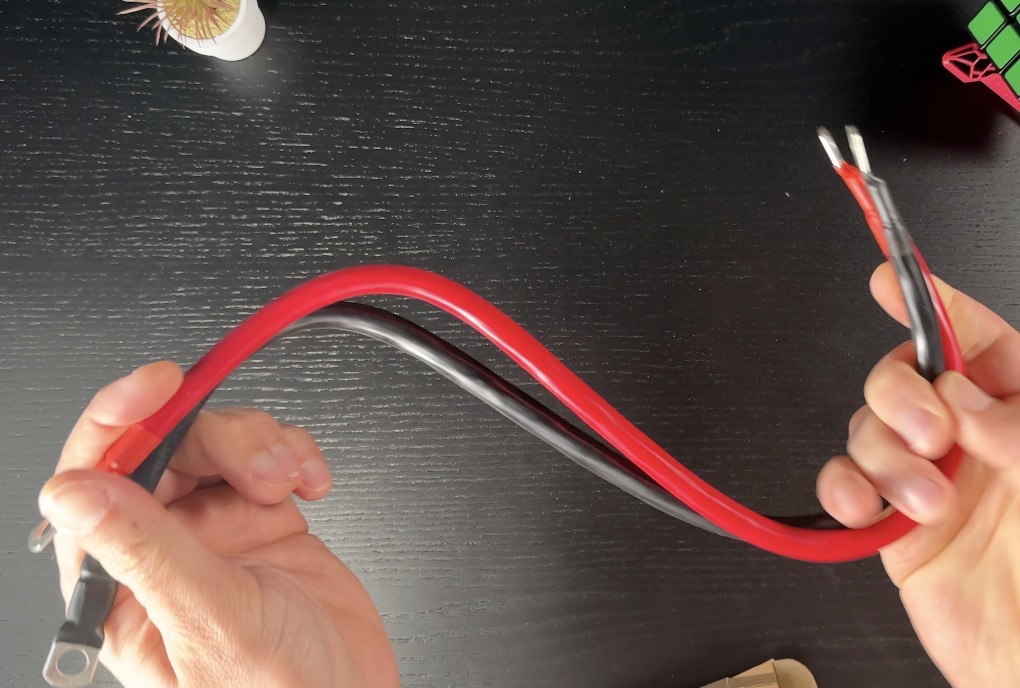
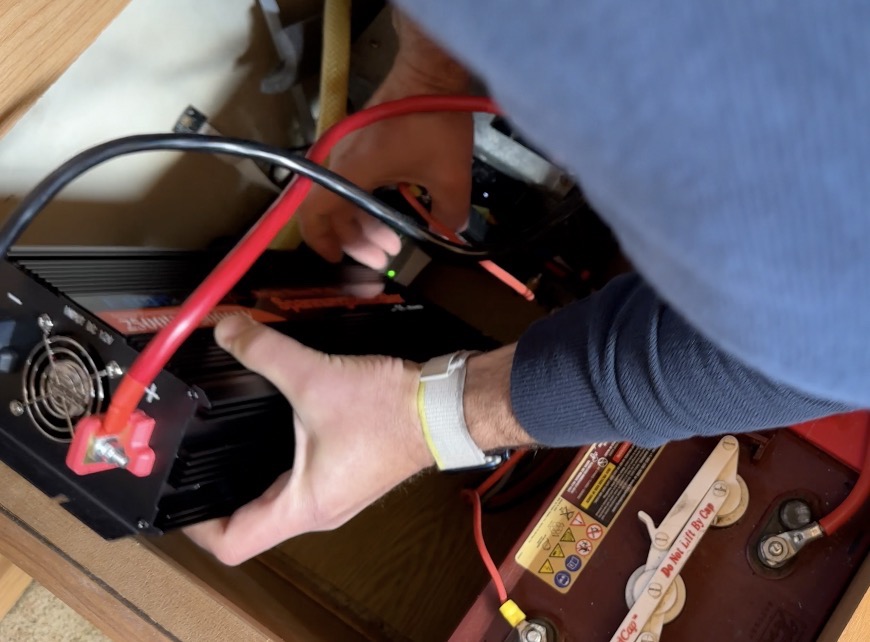
Next, I connected the positive and negative cables from the battery bank to the input terminals of the inverter.
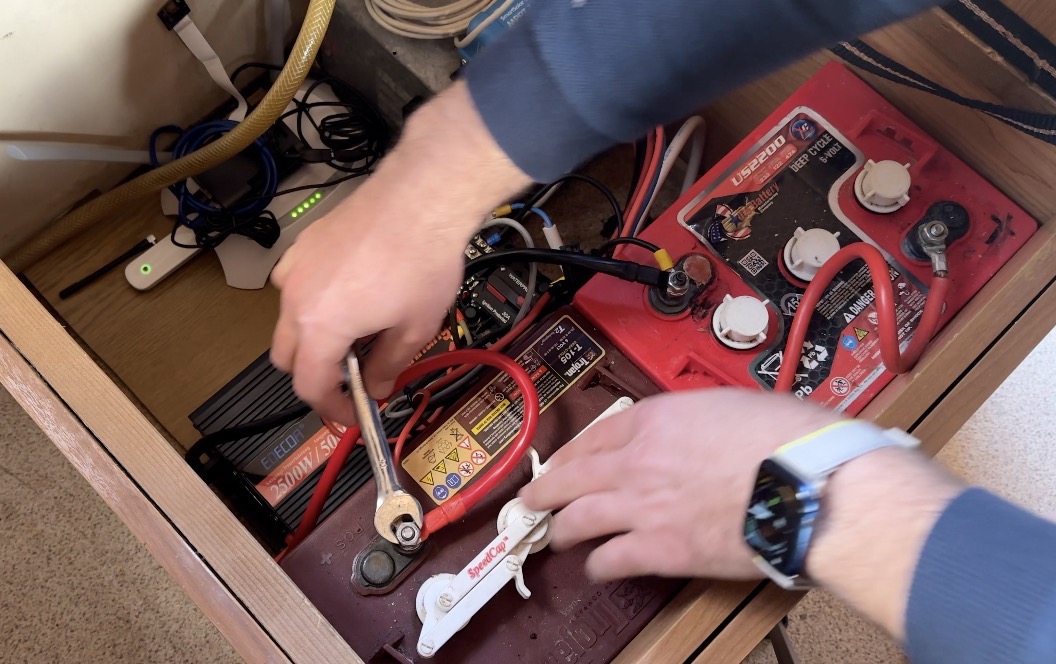
It’s important the correct gauge of wire to be used for the current draw of the inverter to avoid any potential safety hazards, so I made sure to double-check this before making the connections. Thankfully, the EDECOA included a good and solid pair of cables in the package.
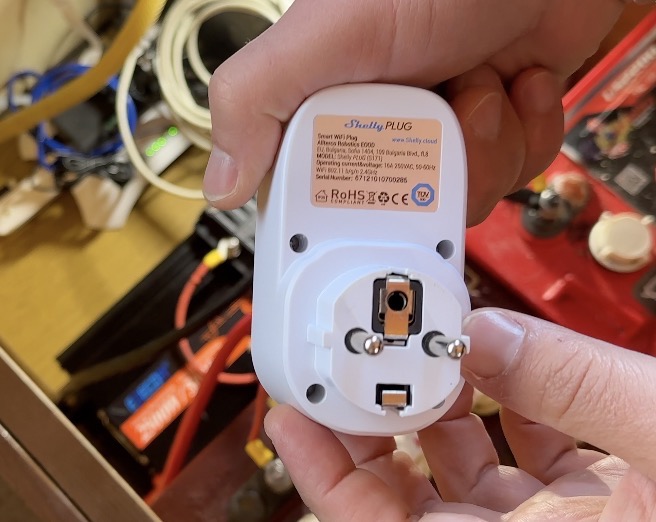
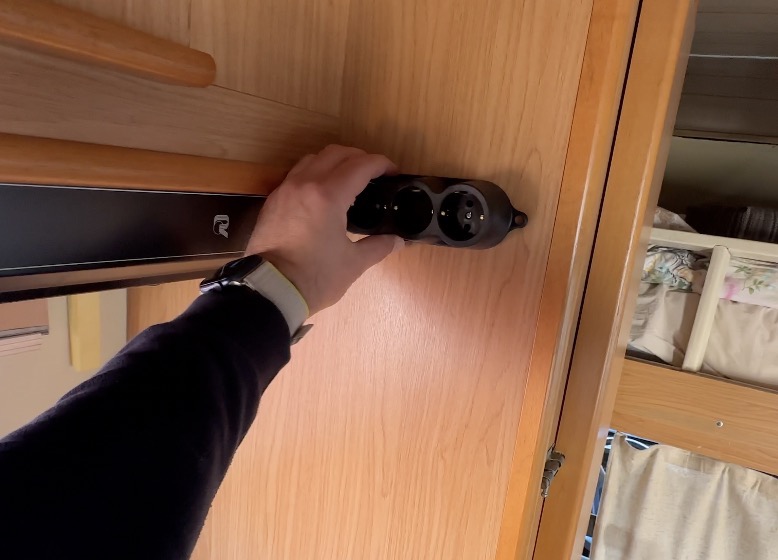
As next steps, I plan to insert 2 smart plugs into the EDECOA inverter that is to monitor the consumption in Home Assistant and to run a hidden cable to the Camper kitchen with a power strip.
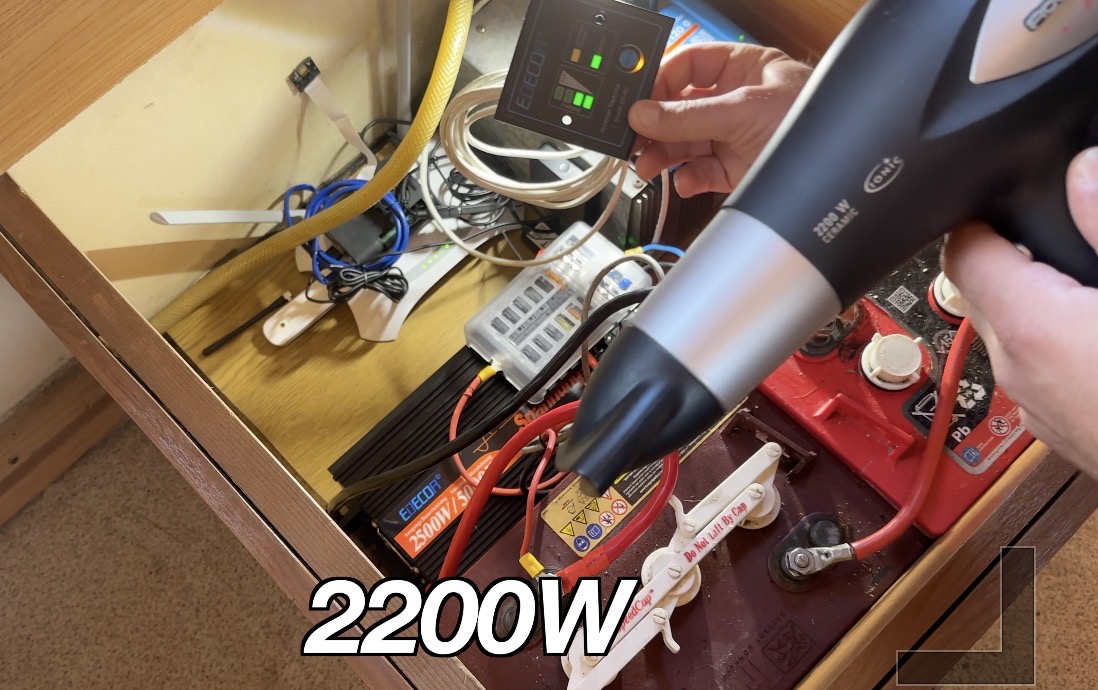
Testing the Victron MPPT and EDECOA Inverter
With the Victron MPPT charge controller and the EDECOA 2500W inverter installed, I now have a reliable source of power for my camper van. I can charge my devices, power my appliances, and even run my hair dryer without having to rely on an external power source.
If you’re interested in installing such modules in your own camper van or RV or boat or whatever, I can highly recommend the Victron MPPT charge controller and the EDECOA 2500W inverter, as one of the best price/quality combo. These products seems reliable enough, efficient, and easy to install, making them a great choice for anyone looking to go off-grid and enjoy the freedom of having a motor home with solar power system.
And if you do decide to purchase these products, make sure to use the affiliate links below. By using these links, you’ll support my channel and will help me continue creating informative and helpful content, all of that without any additional cost for you.
- Victron MPPT SmartSolar 100 | 20 (Amazon) – https://amzn.to/400AFbU
- EDECOA 1500W 2500W (AliExpress) – https://s.click.aliexpress.com/e/_DCxSPoZ
- Victron MPPT BlueSolar 75 | 15 (Amazon) – https://amzn.to/40kgPbu
- Victron Phoenix Inverter 3000VA – https://amzn.to/3JTSljR
Thanks for tuning in, I’m Kiril and I’ll see you next week. Bye!