Probably you already know about Home Assistant Actionable Notifications or you never heard about them. Maybe you are using Home Assistant Companion App or you never ever seen it before. I will say it doesn’t matter. I will try to cover all these cases in this article.
Table of Contents
What means Home Assistant Actionable Notifications?
For those of you still wondering what means Home Assistant Actionable Notifications?
The answer is: Notifications sent to mobile device that allows adding one or more buttons to it. And when you click on these buttons the event is sent back to Home Assistant and you can use these events for automation triggers.
I can’t wait to show you the Home Assistant Actionable Notifications, because they are great and they can help you a lot in your Smart Home.
Home Assistant Pushed Notifications
Except the Actionable Notifications there are also pushed notifications available with custom sounds, attachments, and even dynamic attachments that can contain your camera stream.
But before we go further I just want to say big thank you to my sponsor today called smash the subscribe button for my newsletter.
I’m kidding there is no sponsor, but this is a pretty big topic to cover and if you wouldn’t mind just hitting that subscribe button it will greatly help me and you stay in touch. I will send you personalised message weekly.
Now let’s start this article.
If you just getting started with Smart Home stuff
If Home Assistant Actionable Notifications are far far away from your current understandings and needs I have an offer for you!
It is actually a guide that will cost you a little, but it will give you back a lot more by saving you time and money.
Check it out here ⬇️
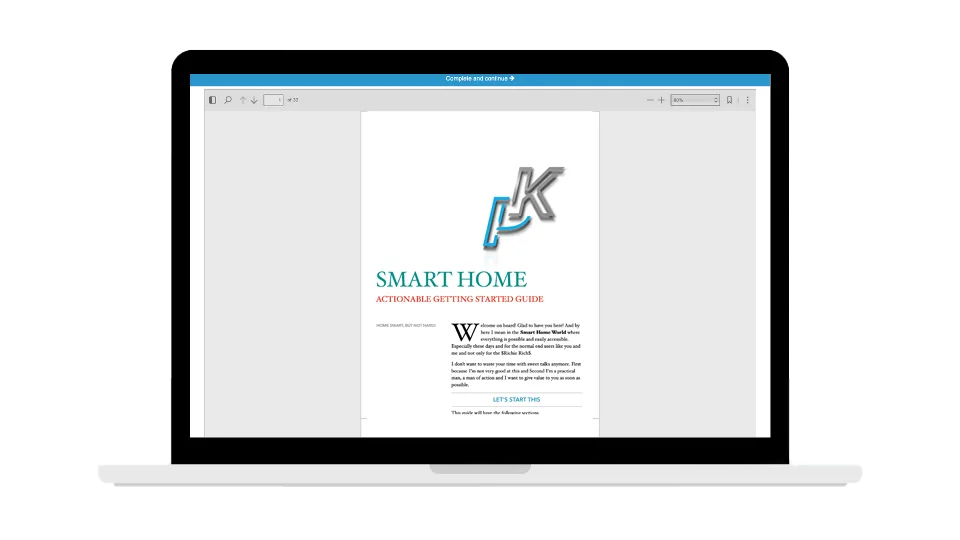
SMART HOME Getting Started Actionable Guide
28 unique printable pages in a Smart Home Getting Started Actionable Guide designed to help you make the best decisions and your Home Smart right away!
Home Assistant Companion App
Go to your iOS app store or google play and search and destroy, I meant search and download the Home Assistant app.
Have in mind that you need IOS 10 or greater or Android 5 or greater to run the Home Assistant companion app.
Home Assistant SSL Remote Access
During the companion app setup you will need a SSL enabled URL to your Home Assistant to proceed further.
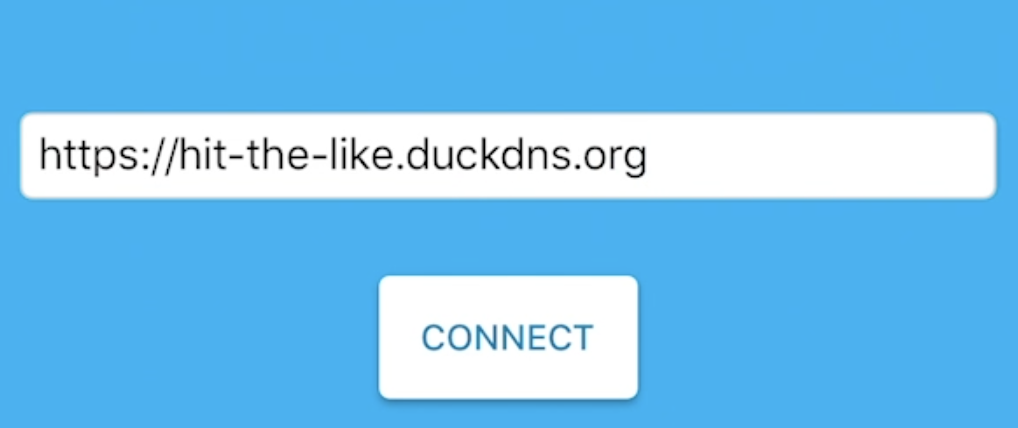
You can have that either by:
- Paying for the Home Assistant cloud service called Nabu Casa.
- Or you can get it for free by following my tutorial about Home Assistant Remote Access.
So go implement one of the above and come back right here.
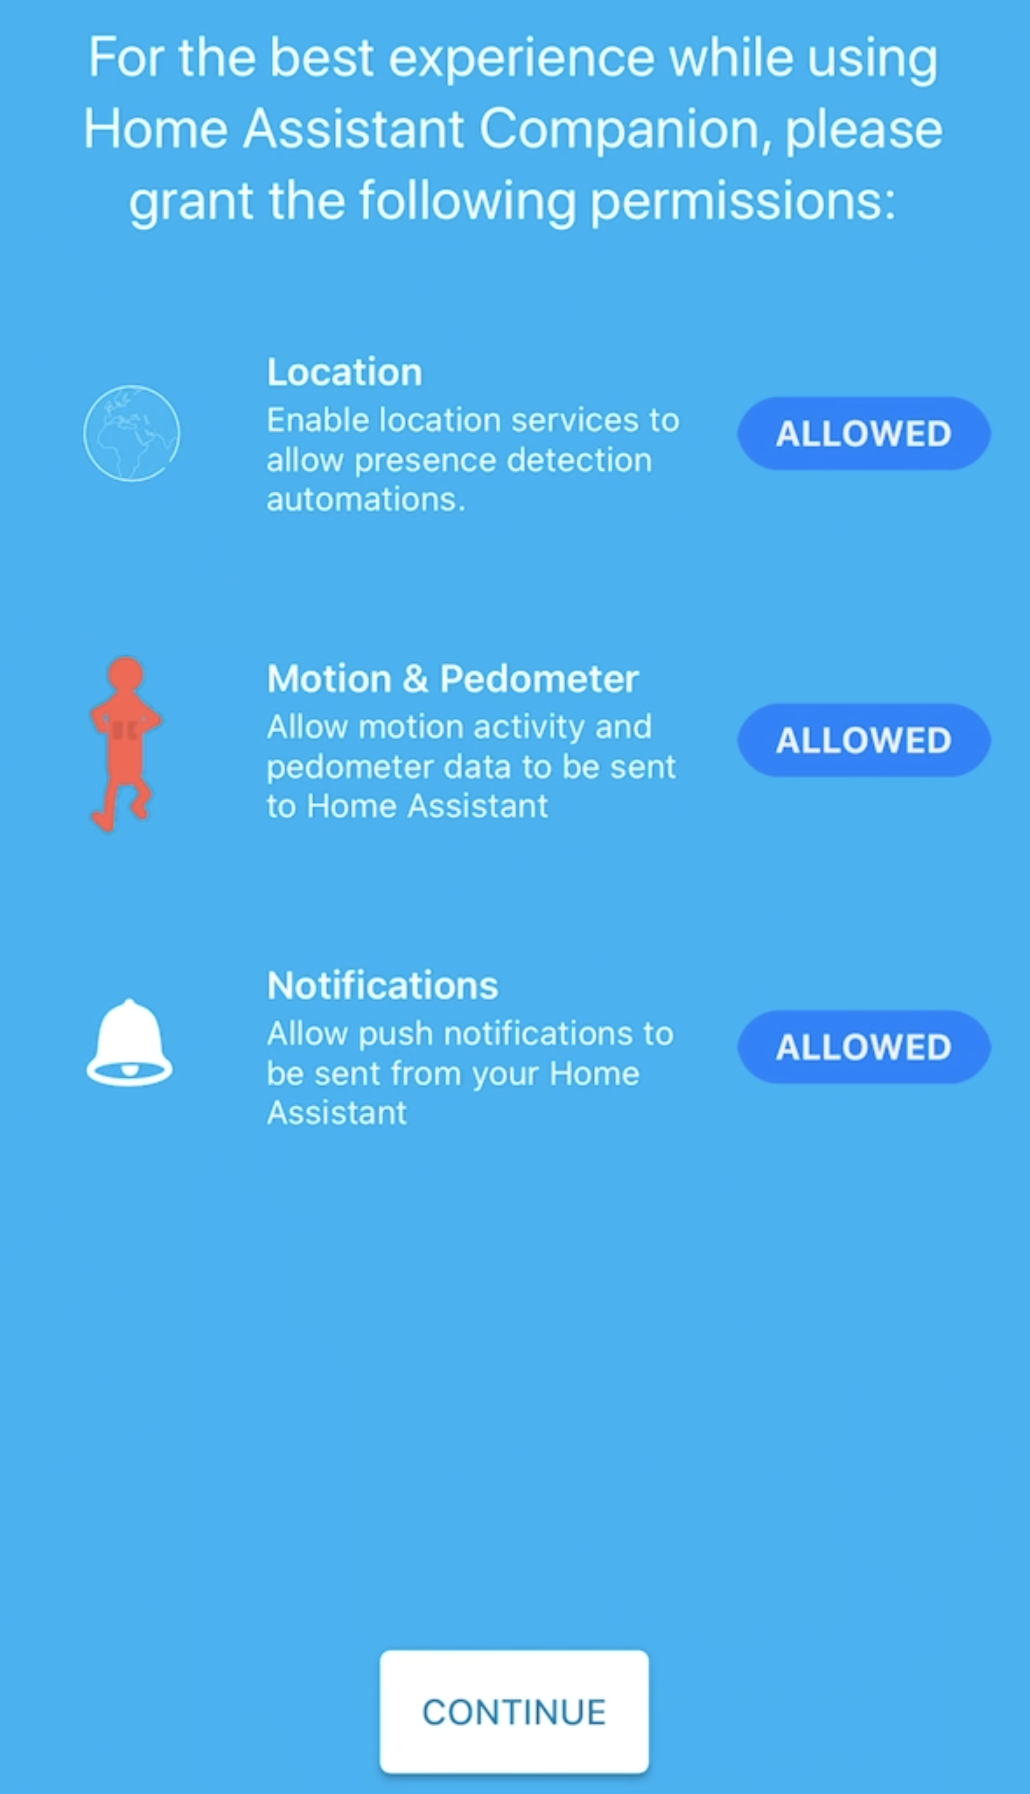
Enable everything here! I have to say that this is the only app on my phone with such rights.
I somehow deeply trust the Home Assistant crew.
Good job guys! Keep on crushing it.
Editing the Home Assistant configuration
Now go check in your Home Assistant configuration.yaml file if these lines are available. If not then just add them. They are needed for the Home Assistant Companion App to work:
default_config:it is possible not to have the default_config: line, but instead of it these two lines to be added in your configuration.yaml file.
As summary add only default_config: or mobile_app: and discovery: (on separate lines) in your configuration.yaml, save the file and restart your Home Assistant.
Test if notifications are working
Before we proceed further let’s quickly test if notifications can be sent using the Home Assistant Developer Tools.
And that is a lot of fun I promise.
Go to the Developer Tools > Services
Choose your device as Service. It’s usually the notify.mobile_app_<YOUR_DEVICE_NAME>
Where YOUR_DEVICE_NAME is the name of your device specified in the General > About in the iOS settings app or under About > Phone in Android settings.
And in the Service Data (YAML, optional) field add the following for example:
message: 'I like this!'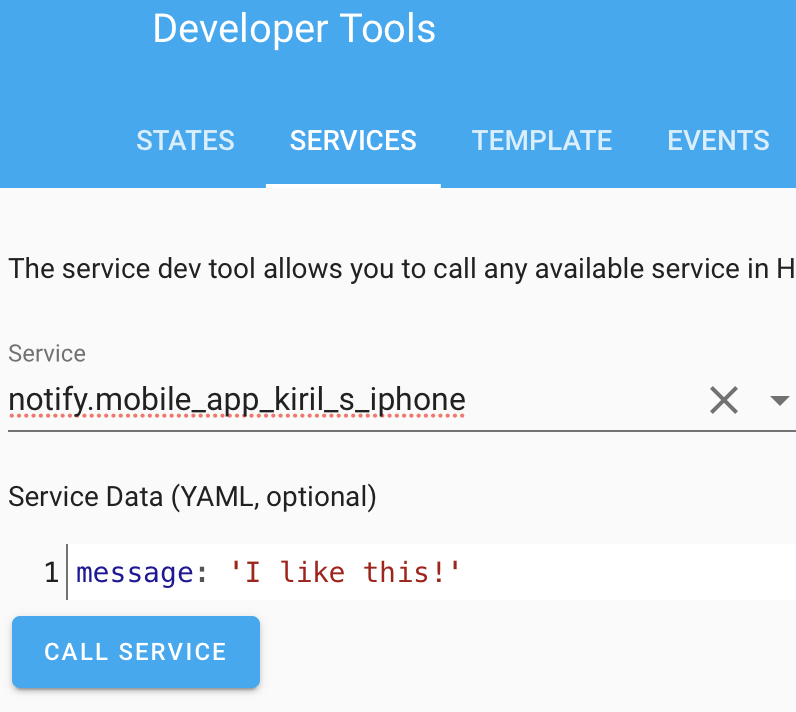
Hit CALL SERVICE and you should receive a notification.
You can also quickly see how beautiful and powerful these notifications are with the following examples.
Just replace Service Data with the yaml below to see the results.
NB! I can confirm that these are working on iOS device and probably won’t work on Android.
This notification will open my website URL when you click on it.
 title: "Open my website"
 message: "URL"
 data:
   url: https://peyanski.com
The example below will send a silent notification, no matter how loud your sound settings are at the moment.
message: "Ding-dong"
data:
  push:
  sound: none
Next example will send you a pre-installed notification with the voice of Morgan Freeman. You can find more of these in this link. How cool is this?
message: “Actionable Notifications starting in a bit”
data:
  push:
    sound: "US-EN-Morgan-Freeman-Starting-Party-Mode.wav"
You can also send attachments like this picture
message: "My Logo"
data:
  attachment:
    url: "https://peyanski.com/wp-content/uploads/2019/11/My_Way_Logo-KP-shadow_metal-K-150x150.png"
    content-type: png
    hide-thumbnail: false
And of course the best part for last – dynamic attachments where you can send your camera stream as pushed notifications. You just have to type you camera entity and to replace mine in the example below to see this in action.
message: Motion Detected in the Yard
data:
  attachment:
    content-type: jpeg
  push:
    category: camera
  entity_id: camera.reolink410w_1_front_door
As you can see in the last example the category key is used to tell the device what kind of content extension to use.
NB! Currently, you are allowed to send 300 push notifications per day per device. Which is pretty reasonable number.
You can use category identifiers to add custom actions in your notifications. And this is where the Actionable Notifications are coming in.
Home Assistant Actionable Notifications
You may say these are no actionable notifications that you are showing until now, don’t worry they are coming up.
You can create category identifiers either by editing the configuration.yaml file or by using the Home Assistant Companion App.
You can try using the app if you wish – just go to the Notifications page of the App Configuration Menu (accessed from the sidebar menu).
For good or for bad using the app is not so intuitive for me as adding some YAML, so I will show you that in details.
Let’s create an actionable notification by creating custom category and then some home Assistant automations to demonstrate you the end to end process.
Open you configuration.yaml file with your favourite text editor or add-on and add the following YAML code inside it.
ios:
  push:
    categories:
      - name: Alarm
        identifier: 'alarm'
        actions:
          - identifier: 'SOUND_ALARM'
            title: 'Sound Alarm'
            activationMode: 'background'
            authenticationRequired: true
            destructive: true
            behavior: 'default'
          - identifier: 'SILENCE_ALARM'
            title: 'Silence Alarm'
            activationMode: 'background'
            authenticationRequired: true
            destructive: false
            behavior: 'textInput'
            textInputButtonTitle: 'Silencio!'
            textInputPlaceholder: 'Placeholder'
      - name: Camera With Actions
        identifier: 'camera'
        actions:
          - identifier: 'TURN_ON_LIGHTS'
            title: 'Turn On Lights'
            activationMode: 'background'
            authenticationRequired: false
            destructive: no
          - identifier: 'SOUND_ALARM'
            title: 'Sound Alarm'
            activationMode: 'background'
            authenticationRequired: true
            destructive: false
          - identifier: 'DISMISS'
            title: 'DISMISS'
            activationMode: 'background'
            authenticationRequired: false
            destructive: true
this will create two Categories with unique identifiers called ‘alarm’ and ‘camera’ and several actions related to them.
We will actually use only the second category (camera). And I’m leaving the first one just to demo how to add more than one categories and of course you can remove it or you can play with it later if you wish.
Question for YOU
Quick question for you. Do you have Home Assistant Companion app installed?
Say simple yes or no in the comments below.
Create some Home Assistant automations
Let’s create the automations now. We will need two of them. Open your automations.yaml file and paste them inside:
The first one will send an actionable notification with several buttons.
# automations.yaml entry
- alias: Notify when Kiril goes to work using Actionable Notification Mobile app
  trigger:
  - platform: state
    entity_id: device_tracker.kiril_s_iphone
    to: 'work'
  action:
    service: notify.mobile_app_kiril_s_iphone
    data:
      title: "Yard camera!"
      message: "Here is what is happening!"
      data:
        push:
          category: camera
        entity_id: camera.reolink410w_1_front_door
The second automation will listen for the events that are coming from the pressed buttons.
# automations.yaml entry
- alias: Turn on the lights from actionable notification.
  trigger:
    platform: event
    event_type: ios.notification_action_fired
    event_data:
      actionName: TURN_ON_LIGHTS
  action:
  - data:
      entity_id: light.kitchen_lights
    service: light.turn_on
What will actually happen with these two automations is the following:
When the entity device_tracker.kiril_s_iphone change its state to ‘work’ (that means my phone goes to the predefined by my work zone) send an actionable notification that contains my yard camera stream and a button that will turn on my kitchen lights if pressed.
To test these automations in your Home Assistant you should replace some of the things with yours. Namely all of the entity_id: and service: notify.mobile_app_kiril_s_iphone with your device name.
Then you have to reload your automations from the configuration menu.
To test the Home Assistant actionable notifications with the automations above I will use the Home Assistant Developer Tools to change the state of the device_tracker.kiril_s_iphone entity to ‘work’
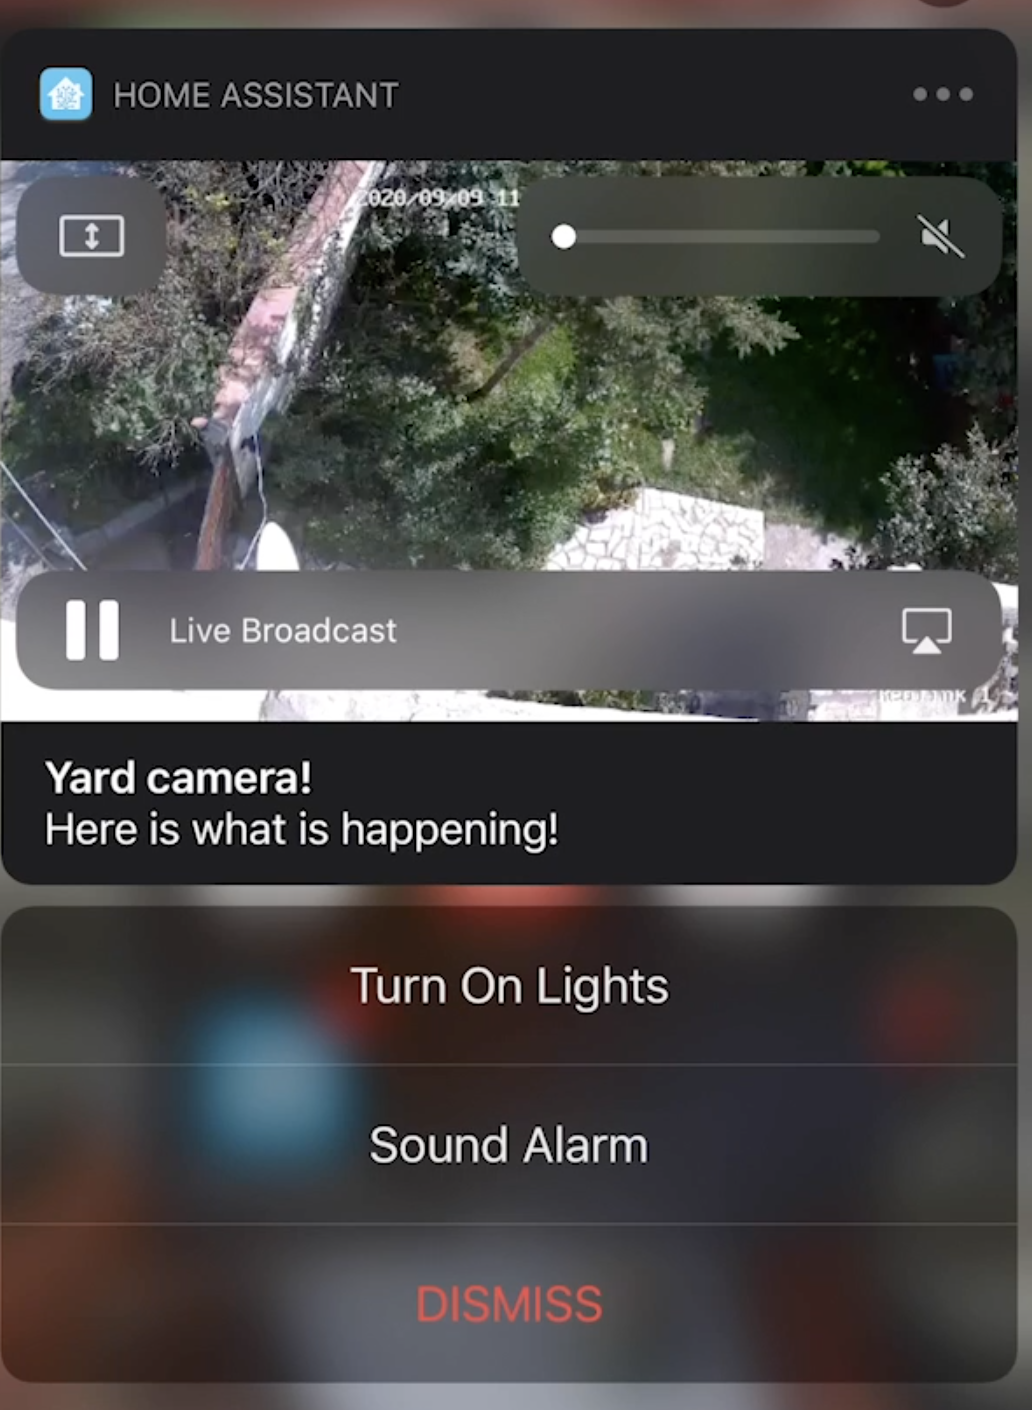
If everything is ok you should receive similar Home Assistant Actionable Notifications:

And if I force touch/hold the notification it will expand to the actionable notification with buttons underneath and my live camera stream broadcasted.
Of course you can customize the above automations and categories in your setup to make the best use of the Home Assistant Actionable Notifications.
It will be great if you share them in the comments below. I promise that I will approve them all!
Support my Work!
Any other sort of engagement on this site and my YouTube channel does really help out a lot with the Google & YouTube algorithms, so make sure you hit the subscribe, as well as the Like and Bell buttons.
Also feel free to add me on Twitter by searching for @KPeyanski. You can find me on my Discord server as well.
I really hope that you find this information useful and you now know how to make Home Assistant actionable notifications and how to use the Home Assistant companion app.
Stay safe and don’t forget – Home Smart, But Not Hard!
Thank you for reading, I will see you in the next article.
Thanks Kiril! Somehow I never got around to doing this until now. I made use of the `choose:` method introduced recently as well as some of the new template shortcuts just introduced today in 0.115! I was able to add a lot of functionality to my `notify_mobile` script and I created my first two actionable notifications.
`choose:` allowed me to do things like combine both the notification and the notification response trigger into one automation. Here is a link to the commit to my config.
https://github.com/brianhanifin/Home-Assistant-Config/commit/7be92c39231423505b78c0f69fa9050a6904253d
Great work Brian, you did a very good job. And 0.115 really change the game a bit, but in a nice way 🙂 Thanks for sharing this! For sure it will be useful to others.
Hey Kiril, Funny that like Brian I’m up to this only now, almost 8 month after it was introduced. Thanks for giving starting help here.
I’m using android phone though, it looks like companion app still is quite different for iphone and android. Do you have experiences with actionable notifications for android companion app and could go deeper into details as well. please?
Hey there, I don’t have decent android phone at the moment to perform the tests, but I will probably get one soon and I will make a video & article about this is in my TODO list!
Great! How to link to open ezviz app, for instante?
Thanks