
This will be a series of videos and article where I will install every Home Assistant Community Add-on on a Raspberry Pi device and I will try to explain what these add-ons are doing. It is interesting to me is the single board computer such as Raspberry Pi will handle all this load.
Table of Contents
Need More Home Assistant Community Add-on Guidance? Check Out My Video Tutorial
Looking for a more in-depth guide? My detailed video tutorial covers more add-ons (actually all of them). Check it out below:
AdGuard Home – Secure Your Online Experience
The first add-on that I will talk about is AdGuard Home.
What is AdGuard Home?
AdGuard Home is a network-wide ad and tracker blocker that operates at the DNS (Domain Name System) level. In simple terms, it filters out unwanted content before it even reaches your device, providing a seamless browsing experience free from annoying ads and harmful trackers.
Explore My Smart Home Glossary
Before we continue further, whether you’re a beginner or an experienced enthusiast, this comprehensive guide covers all the essential terms and concepts you need to know to get the most out of your smart home devices. From “Z-Wave” to “IoT,” our glossary demystifies the jargon and empowers you to make informed decisions about your smart home setup.
Download your free PDF copy today and take your smart home knowledge to the next level.
How Does AdGuard Home Work?
Instead of relying on browser extensions or software installed on individual devices, AdGuard Home is installed on your home network, acting as a gatekeeper for all incoming and outgoing traffic. When you access a website or online service, AdGuard Home intercepts DNS requests and checks them against a blacklist of known ad and tracker domains. If a match is found, the request is blocked, preventing the unwanted content from loading on your device.

Benefits of Using AdGuard Home
- Ad Blocking: Say goodbye to intrusive ads cluttering your web pages and slowing down your browsing experience. AdGuard Home blocks ads at the network level, ensuring a cleaner and faster browsing experience across all your devices.
- Enhanced Privacy: By blocking tracking scripts and cookies, AdGuard Home helps protect your online privacy by preventing third-party advertisers from monitoring your browsing habits and collecting personal data.
- Malware Protection: AdGuard Home also provides an additional layer of security by blocking access to known malware and phishing domains, reducing the risk of your devices becoming infected with malicious software.
- Customization Options: With AdGuard Home, you have full control over which types of content to block and whitelist. You can customize filter lists and settings to suit your preferences and browsing habits.
Setting Up AdGuard Home
Setting up AdGuard Home is straightforward and requires Home Assistant OS or Home Assistant Supervised installation. Of course, there are other ways to get it working, but that is out of scope of this Article. AdGuard Home is available in the Home Assistant Add-ons Store under the Community section. It is a one click installable and the hardest part here is to configure your router or single or group of devices to use your Home Assistant IP as a DNS server so you can activate AdGuard Home. But everything is well described in my dedicated article:
Block Ads with AdGuard Home and Home Assistant (How-To)
AppDaemon Add-on
Next add-on that I will write about is AppDaemon.
What is AppDaemon? AppDaemon is an add-on for Home Assistant that enables you to create and run custom automation scripts using Python. Unlike the built-in automation engine in Home Assistant, AppDaemon allows for more flexibility and advanced scripting capabilities.
How AppDaemon Work?
With AppDaemon, you can create automation scripts, or “apps,” that respond to events, triggers, and conditions within your smart home environment. These apps can perform a wide range of actions, such as controlling lights, thermostats, and smart switches, sending notifications, and even integrating with third-party services and APIs.
Python-based scripting?
With a familiar programming language like Python, you can create complex automation logic tailored to your specific needs.
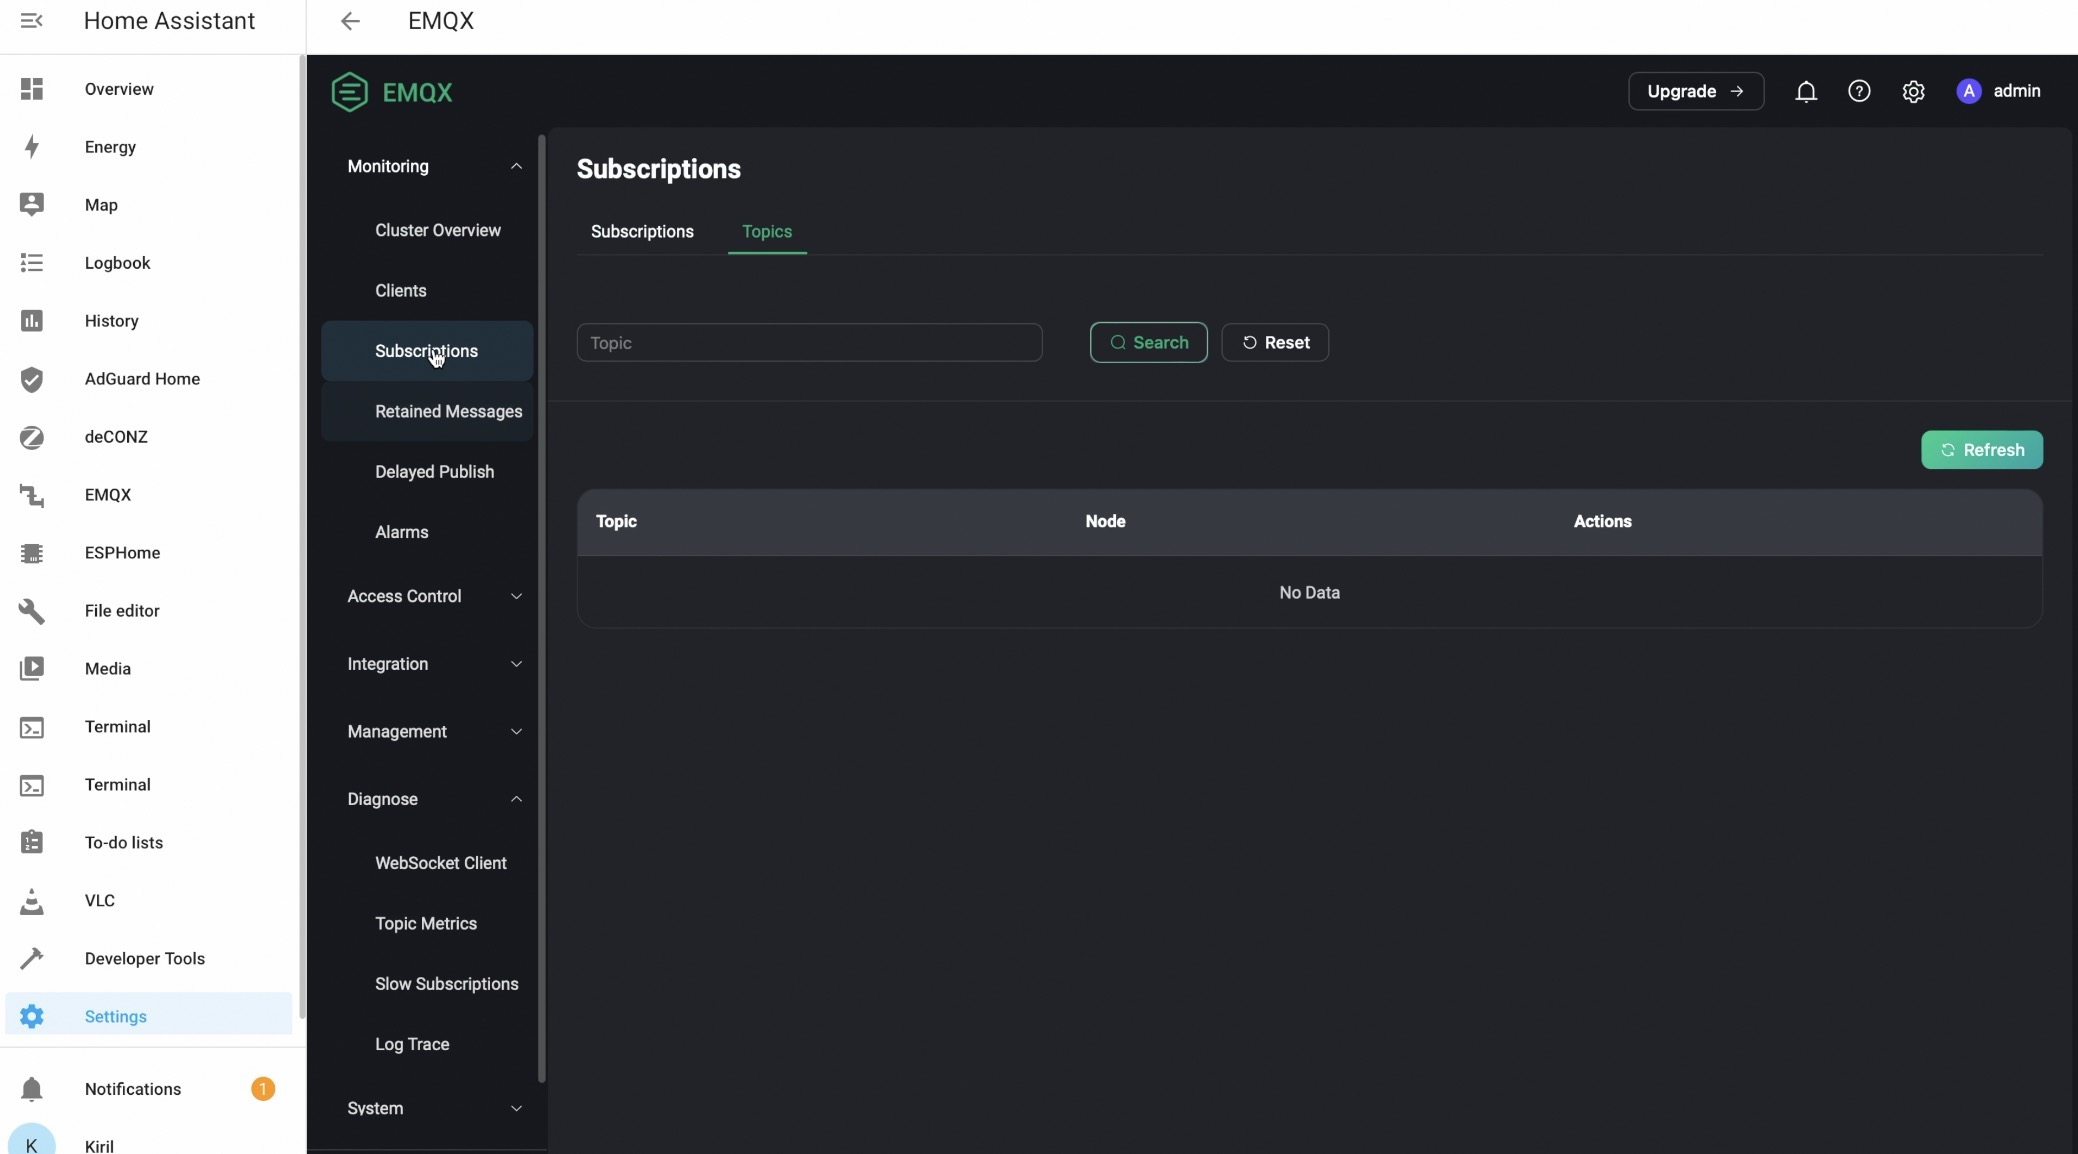
EMQX in Home Assistant
EMQX (formerly known as EMQTT) is a powerful MQTT broker that can supercharge your home automation setup in Home Assistant. EMQX is an open-source MQTT broker that facilitates communication between smart devices in your home automation network. MQTT (Message Queuing Telemetry Transport) is a lightweight messaging protocol commonly used in IoT (Internet of Things) applications to exchange data between devices.
How EMQX Work?
In the context of Home Assistant, EMQX acts as a central hub for managing and routing messages between your smart home devices. It allows devices such as sensors, switches, and thermostats to publish data (e.g., temperature readings, motion detection events) to specific topics, and other devices can subscribe to these topics to receive updates.
Key Features of EMQX:
- Scalability: EMQX is designed to handle thousands of concurrent connections and messages, making it suitable for both small-scale and large-scale home automation deployments.
- Reliability: With support for features like MQTT persistence and message queueing, EMQX ensures that messages are reliably delivered even in the event of network disruptions or device failures.
- Security: EMQX offers robust security features such as TLS encryption, client authentication, and access control lists (ACLs) to protect your home automation network from unauthorized access and data breaches.
- Integration with Home Assistant: EMQX seamlessly integrates with Home Assistant, allowing you to configure it as a MQTT broker within the Home Assistant interface and easily manage your MQTT devices and topics.
Getting Started with EMQX:
Setting up EMQ X in Home Assistant is straightforward. You can install it as an add-on using the Home Assistant Add-ons store. Once installed, you configure Home Assistant to connect to the EMQX broker by specifying its address and credentials.
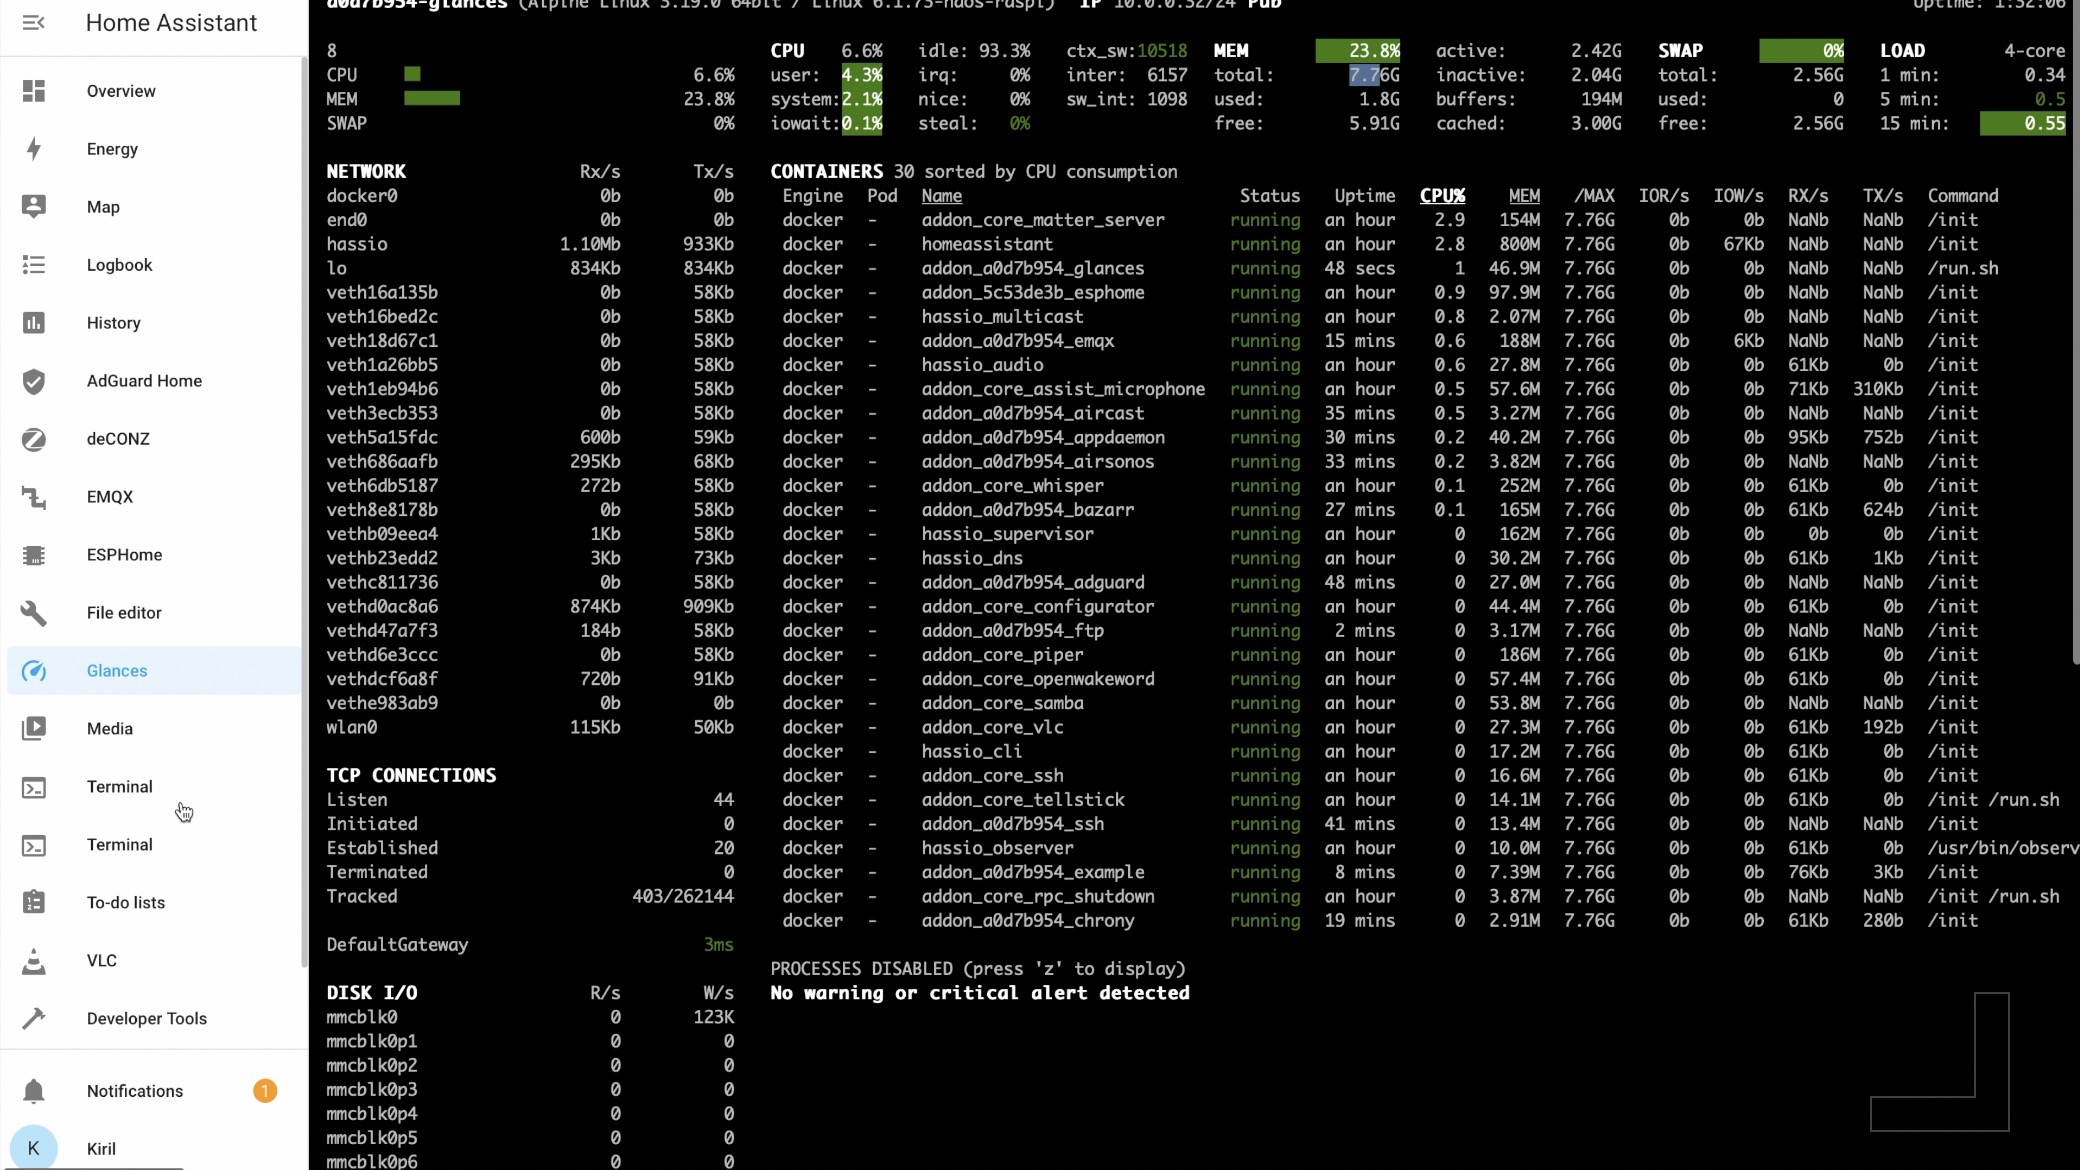
Monitor Your Home Assistant Setup with Glances
Glances is a valuable tool that allows you to keep a close eye on the performance and health of your Home Assistant system.
What is Glances?
Glances is an open-source system monitoring tool that provides real-time information about various aspects of your computer system, including CPU usage, memory usage, disk I/O, network activity, and more. It offers a comprehensive overview of system performance in a single, easy-to-understand interface.
How Glances Work?
In the context of Home Assistant, Glances can be installed as an add-on or integrated directly into the Home Assistant interface. Once installed, you can access Glances from within Home Assistant to monitor the vital statistics of your system in real-time.
Key Features of Glances
- Comprehensive Monitoring: Glances provides detailed insights into the performance and resource usage of your Home Assistant system, allowing you to identify potential bottlenecks or issues quickly.
- Customizable Alerts: You can set up custom alerts based on predefined thresholds for CPU usage, memory usage, disk space, and other parameters. This helps you stay informed about any anomalies or potential problems with your system.
- Historical Data Analysis: Glances allows you to view historical data and trends, enabling you to track changes in system performance over time and make informed decisions about optimizing your Home Assistant setup.
- Cross-Platform Compatibility: Glances is compatible with a wide range of operating systems, including Linux, macOS, and Windows, making it suitable for monitoring Home Assistant installations on different platforms.
Getting Started with Glances
Setting up Glances in Home Assistant is straightforward. You can install it as an add-on using the Home Assistant Add-on store and integrate it into the Home Assistant interface using the Glances integration. Once installed, you can access Glances from the Home Assistant menus and start monitoring your system’s performance right away.
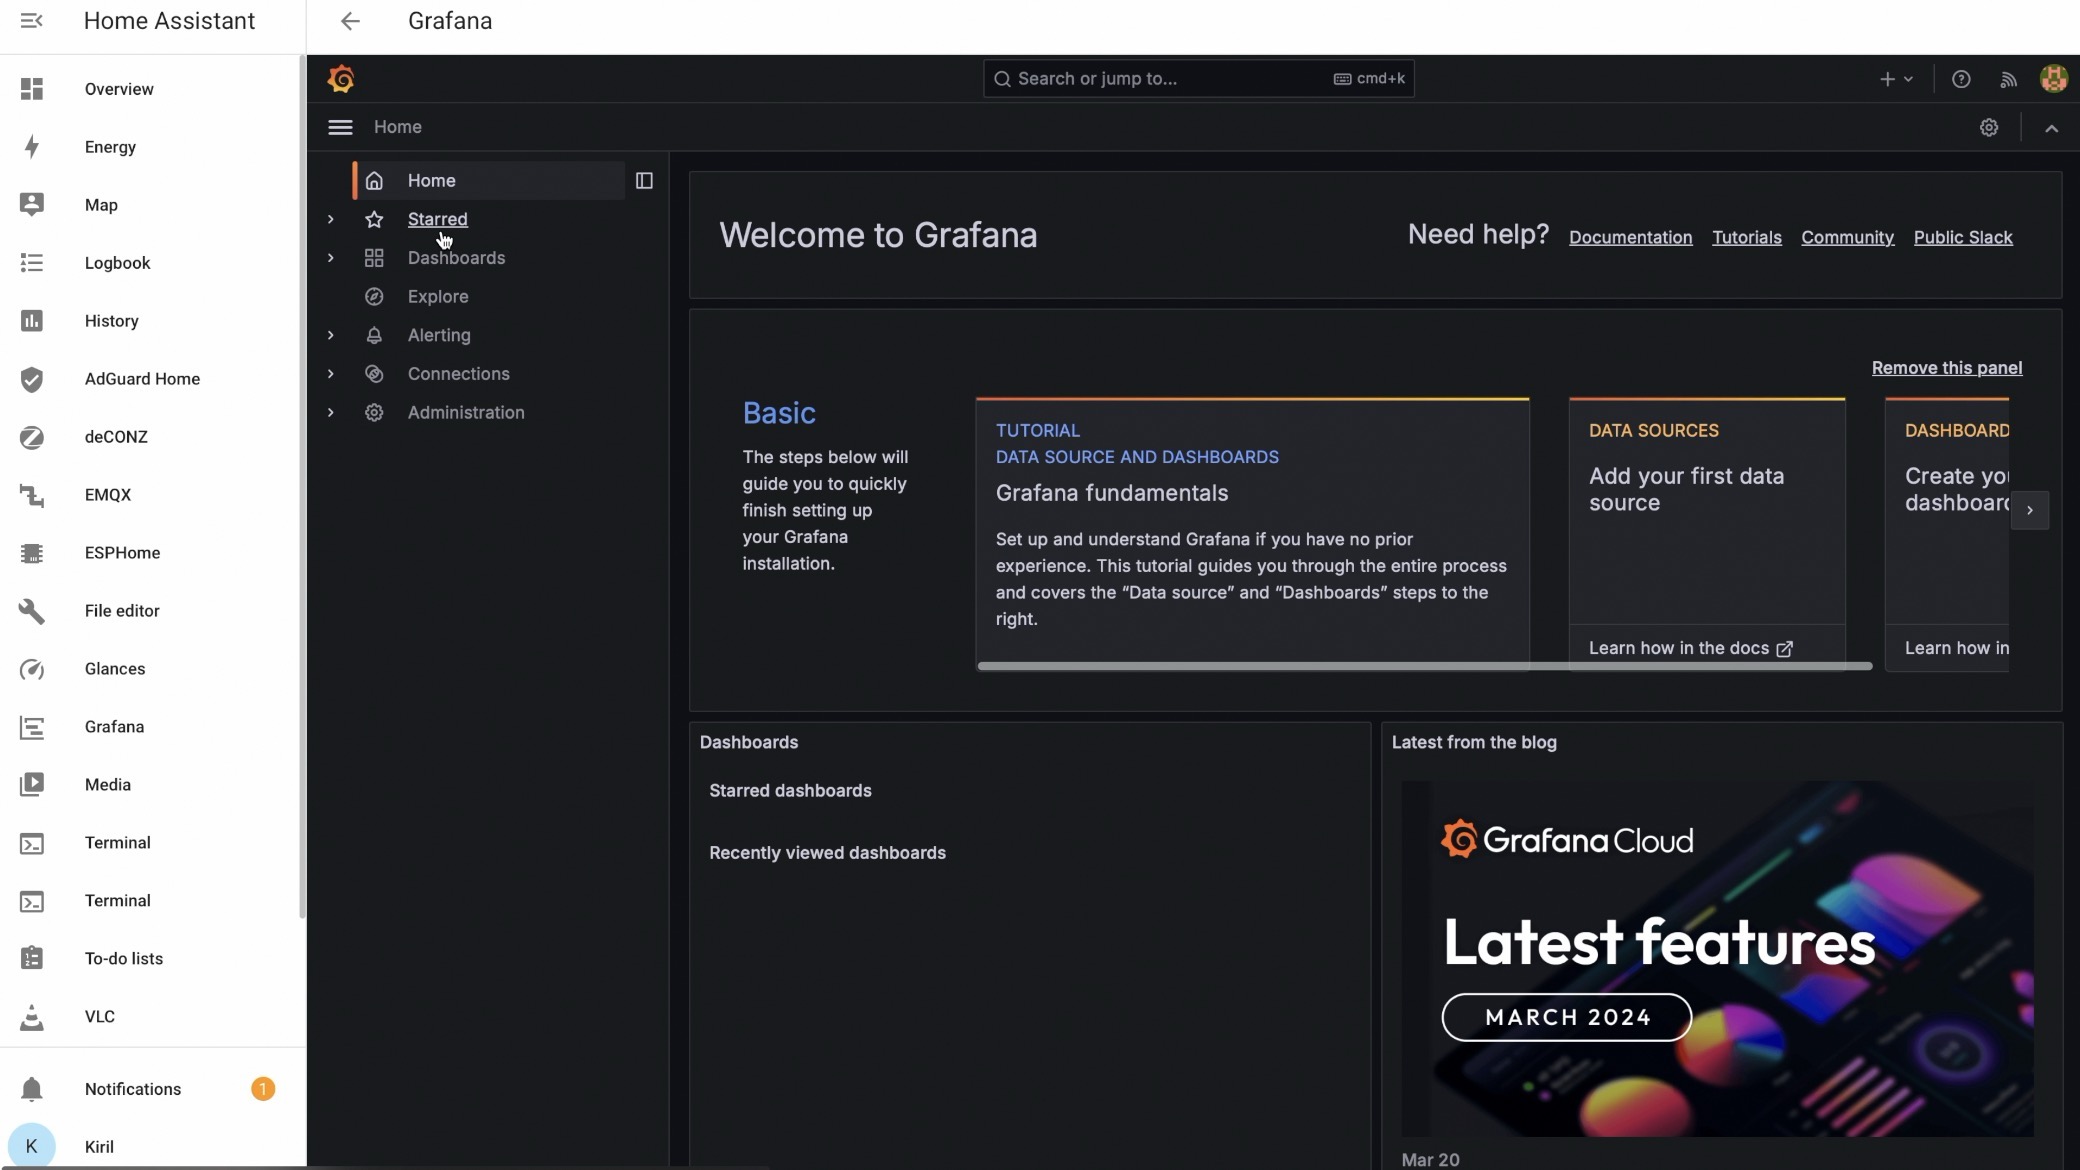
Grafana in Home Assistant – Visualize Your Smart Home Data
Grafana is a powerful visualization tool that allows you to create beautiful and interactive dashboards to monitor and analyze data from your Home Assistant setup.
What is Grafana?
Grafana is an open-source platform for creating customizable dashboards and visualizations. It supports a wide range of data sources, including databases, APIs, and IoT platforms like Home Assistant. With Grafana, you can easily create graphs, charts, and tables to visualize your smart home data in real-time.
How Grafana Work?
In the context of Home Assistant, Grafana can be integrated as an add-on or accessed through a separate installation. Once installed, you can connect Grafana to your Home Assistant database and configure dashboards to display data from your smart home devices and sensors.
Key Features of Grafana:
- Flexible Visualization: Grafana offers a variety of visualization options, including line charts, bar charts, gauges, and heatmaps, allowing you to choose the best representation for your data.
- Dashboard Customization: You can customize your dashboards with widgets, panels, and annotations to create informative and visually appealing displays tailored to your specific needs.
- Real-Time Monitoring: Grafana supports real-time data streaming, enabling you to monitor changes and updates to your smart home data as they occur.
- Alerting and Notification: You can set up alerts and notifications based on predefined thresholds or conditions, ensuring that you’re notified promptly of any anomalies or critical events in your smart home environment.
Getting Started with Grafana:
Setting up Grafana in Home Assistant is relatively straightforward. You can install it as an add-on using the Home Assistant Supervisor or set it up as a standalone instance on your preferred platform. Once installed, you configure Grafana to connect to your Home Assistant database and create dashboards to visualize your smart home data.
Example Use Cases of Grafana
- Temperature and Humidity Monitoring: Create a dashboard to monitor temperature and humidity levels in different rooms of your home using data from smart sensors.
- Energy Usage Tracking: Track and visualize energy consumption data from smart meters or energy monitoring devices to identify patterns and optimize energy usage.
- Home Security Analysis: Analyze data from motion sensors, door/window sensors, and surveillance cameras to monitor activity and security events in your home.
Join My Home Assistant Webinar
Are you ready to supercharge your home automation skills? Join me for a free Home Assistant webinar where we’ll dive into the essentials of setting up and optimizing your smart home with Home Assistant.
Don’t miss out on this opportunity to level up your smart home game. Register now for free!