
There are several ways to install Home Assistant from scratch and I will show you two different methods (Home Assistant Supervised & Home Assistant Container).
Table of Contents
What will you get from this article?
The first method – called Home Assistant Container is actually a Home Assistant running in Docker container and it is without Add-on store.
The second one is called Home Assistant Supervised with full Home Assistant experience and Add-on store.
Both methods that I’m about to show you have some Pros and Cons, so you better read the whole article and decide for yourself which one is better for you.
And before you even ask – YES, both methods can be also installed on a Raspberry Pi booting from USB drive.
⬆️ Read this if you want to know more about that topic.
Now Let’s start this:
Home Assistant Container Method
This method is officially supported and you can expect that it will work for a long time.
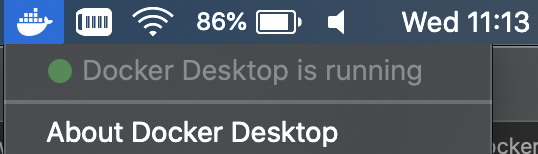
You will need a Docker client, just go to this official Docker page and download & install it.
For MacOS and Windows you will need the Docker Desktop from the link above.
For Linux, again from the link above choose your Linux distribution and follow the instruction.
When you are ready with the Docker client installation you will eventually need to create a free Docker user, which is an easy and straightforward task.
Next, you will need to create an empty folder on the host where the Docker is installed and where the Home Assistant will be running.
On MacOS and Linux you can use something like that, which will create a folder inside user folder. Please, adapt the folder path to your needs.
mkdir ~/EMPTY_FOLDER_ON_YOUR_HOSTIn that folder the Home Assistant configuration files will be stored when we execute the docker command.
To do so, just open a terminal/command prompt and enter the following:
docker run --init -d --restart=unless-stopped --name="home-assistant" -e "TZ=Europe/Sofia" -v ~/EMPTY_FOLDER_ON_YOUR_HOST:/config -p 8123:8123 homeassistant/home-assistant:latestThat command means:
- Download and run the latest Home Assistant Docker image as container named “home-assistant”.
- Expose port 8123 from the Docker container to the host
- Use Europe/Sofia as time zone
- Try to always restart this container if it’s stopped for any reason, unless it is manually stopped by you.
When you run this for the first time you will need Internet connection for the Home Assistant image download. This will take you some time depending of your Internet speed.
When all finish you can open a new browser/tab and enter the following URL:
http://YOUR_HOST_IP:8123
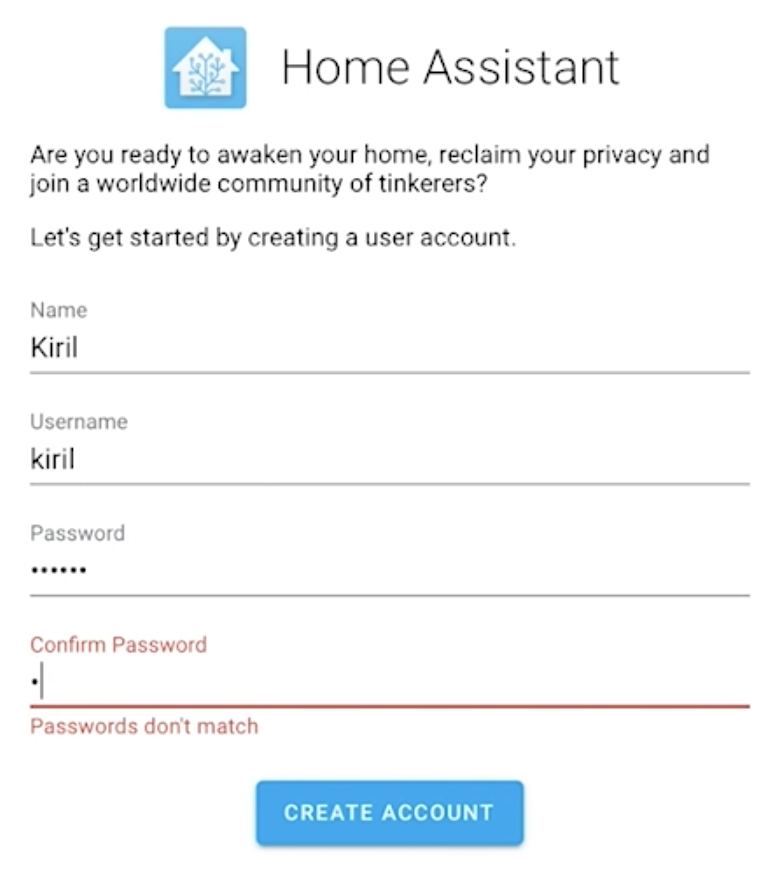
Replace YOUR_HOST_IP with your real host IP and you will be greeted by the Home Assistant welcome page where you can create a user.
Home Assistant Supervised Method
UPDATE: Feb 2021
This method described here will most probably still work, but the menu is a little bit different and it may require some troubleshooting. That is why I highly suggest you to use the method described in my new article 👇👇👇
Hey, have you read what I said about my new article above? If not go ahead and read it. If you read the update/warning and you still want to try the IOTstack – keep reading.
Please keep in mind that the Home Assistant Supervised method was deprecated, but shortly after was put back in support.
Nevertheless there is still no official Home Assistant Supervised installation guide until now. That means this method may stop working at some point in the future, but you don’t have to care too much.
If once successfully install your Home Assistant using the supervised method – you will be able to update your installation from within Home Assistant afterwards.
Final words if you are still in dilemma whether to use this – I just want to say that I used this method for several years in my home and I had some issues which I believe was due to SD card corruption in my Raspberry. Everything else was working flawlessly.
Enough sweet talks, let’s get to the action. Open a terminal and type the following command to update your package manager.
sudo apt-get updateAfter that you have to install some packages with the following command
sudo apt-get install network-manager apparmor-utils git -yChances are that you are already have it, so don’t be surprised if that is the case
Next we have to clone the IOTstack project to make our life easier with Home Assistant Supervised installation.
This project is superb and now it is hosted in the Andreas Spiess (The guy with Swiss accent) GitHub page. So I believe it’s in good hands.

Just clone the repo by executing this:
git clone https://github.com/SensorsIot/IOTstack.git ~/IOTstackTo start the Menu:
cd ~/IOTstack && bash ./menu.shSubscribe button still in support?
Hey, As far as I know the peyanski.com newsletter is still in support.
You can test it by smashing the SUBSCRIBE button.
[sibwp_form id=2]
If you receive a confirmation mail, and confirm your registration you should receive a bonus material from me (Smart Home Guide Article)
Thank you.
Let’s continue forward:
You will see Norton Commander style menu (OMG I’m getting older) where you can first install Docker if there is such need and then you can choose the “Install Hass.io (Requires Docker)” item from the menu.
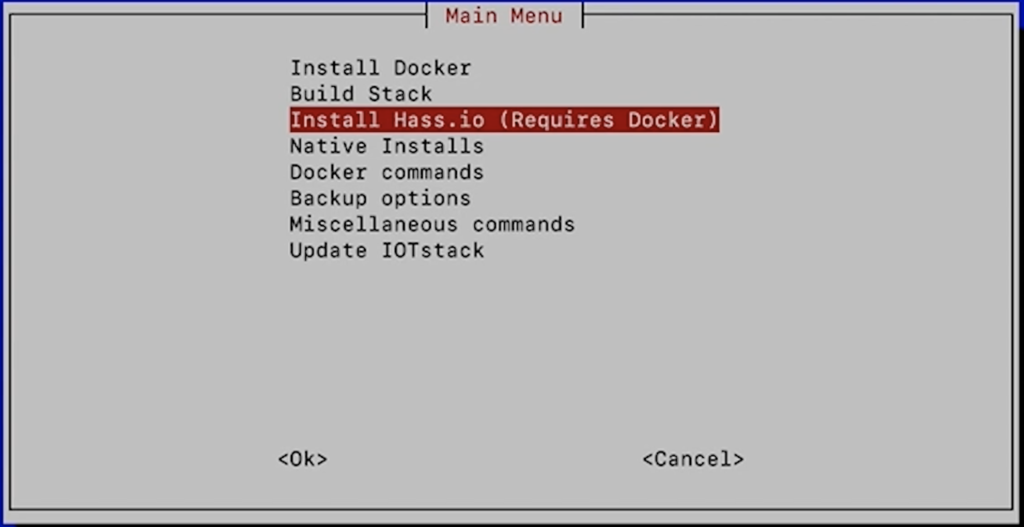
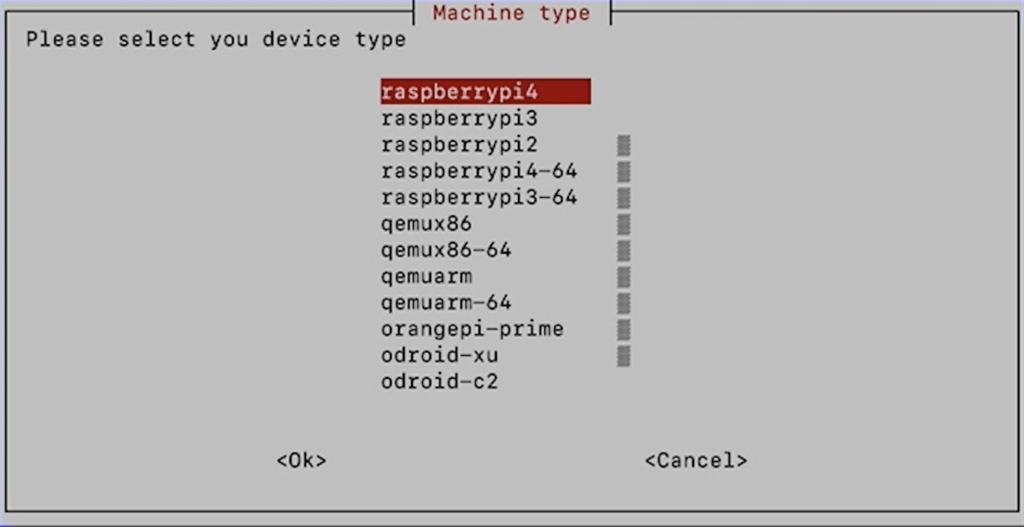
Just hit enter and at some point you will be asked to choose your device type.
For AMD/Intel based computers you can choose “qemux86” or “qemux86-64” for raspberries you have to choose… what do you think? 🤔
The respective raspberry model of course 😉
Next, you can open a new browser/tab and enter the following URL:
http://YOUR_HOST_IP:8123
Replace YOUR_HOST_IP with your real host IP and you will be greeted by similar page (see below) saying that you can wait up to 20 minutes for your Home Assistant supervised installation to finish.
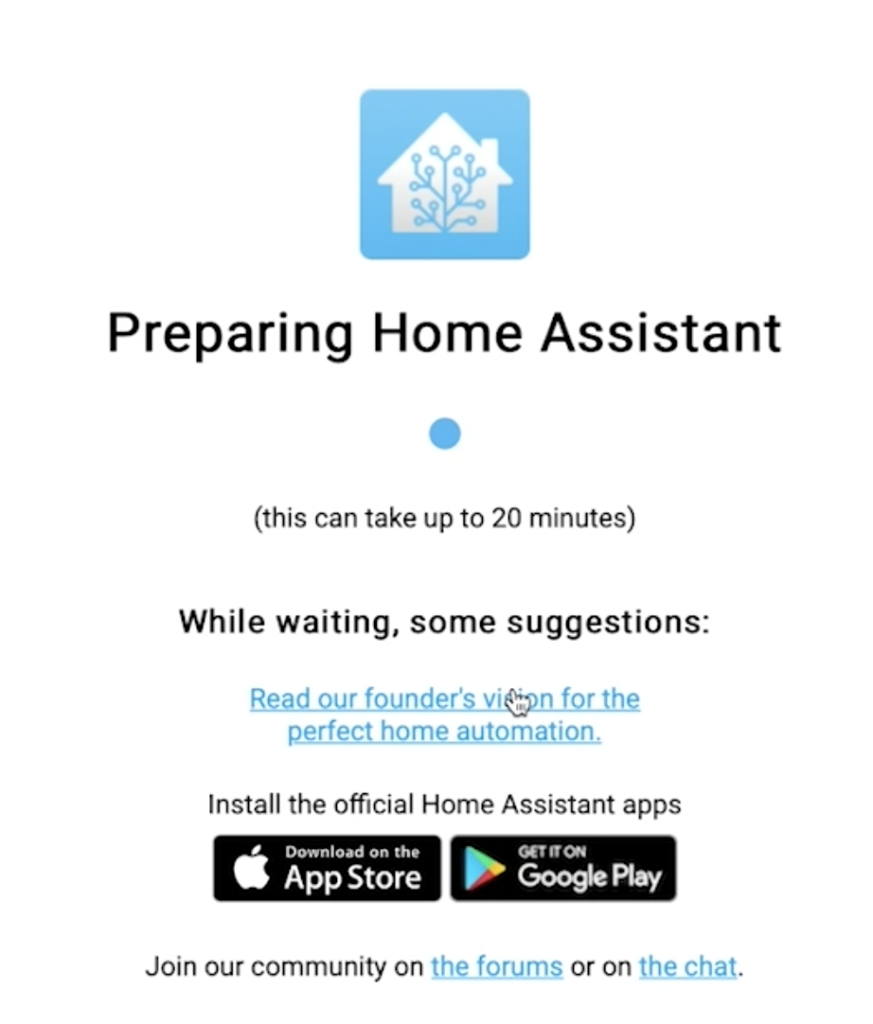
You can hit the refresh button from time to time or just relax and wait, but the best will be to watch some of my videos ➡️ https://youtube.com/kpeyanski
while you are waiting.
Home Assistant with Virtual Machine Method
There is also another supported installation method (third one) of Home Assistant with full functionalities.
This method was previously known as “Hass.io”, and includes the HA Operating System (HassOS). It can be run on various single-board computers like raspberry pi or in a virtual machine.
Check my detailed video article if you want to know more about this method.
Question of the Day
What Home Assistant installation method you like best?
Bonus points if you say why!
Let me know what you think in the comments below.
Support my Work
If you like what you see so far and you want more content like this you may want to become one of my supporters (actually the first one) check my support page.
Any other sort of engagement on this site and my YouTube channel does really help out a lot with the Google & YouTube algorithms, so make sure you hit the subscribe, as well as the Like and Bell buttons If you enjoy this Home Assistant Supervised and Container video article.
Also feel free to add me on Twitter by searching for @KPeyanski. You can find me on my Discord server as well.
I really hope that you find this information useful and you now know how to install Home Assistant from scratch using Home Assistant Container and Home Assistant Supervised methods.
Stay safe and don’t forget Home Smart, But Not Hard!
Thank you for reading, and see you next time.
Thank you for your work. After doing the 2nd method (Supervisor) install tonight, I got an error at “select device type”. I selected “raspberry pi4” and it errored “no network support on host”. It was a clean install, and I had just completed your instruction to boot raspi 4 from USB. Which works great. Is booting from USB messing up the Hass.io install?
Same thing happened to me. You just have to install two things, network-manager and apparmor-utils.
Thanks Scott for your comment! Hope Randy will report back if it is working now.
Dear Kiril;
Comments do not appear to be recorded or passed to your site.
Regards
Martin
Hmmm? They do with some delay.,OK!
Hi Martin, comments from new commenters needs to be approved at first to show. Regarding your questions. Did you successfully install network-manager apparmor-utils packages?
First of all this guide is really clear and helpful, so thank you for that.
I’ve hit a problem I don’t know how to get past. I’m trying to use a raspberry pi 4 for 3 functions.
1. a basic file server using samba share and mounted drives
2. a wifi extender using a bridged wireless access point
3. home assistant (supervised)
starting from a clean install of raspberry pi os lite I can get either 1 file server and 2 wifi extender working OR 3 home assistant BUT I can’t get all 3 working together.
I think that it’s the network stuff that’s the problem, but I’m working way beyond my technical ability here so I don’t know what to do to fix.
would you have any suggestions? or could you point me to other help?
I used this to set up 2. wifi extender
https://www.raspberrypi.org/documentation/configuration/wireless/access-point-bridged.md
and this to stet up 1. samba share
https://magpi.raspberrypi.org/articles/samba-file-server
with a few amendments
try installing 1 and 3 and check if it will working. Also try install home assistant (supervised) and install samba add-on from the add-on store.
Thanks for the reply. I have managed to get 1 and 3 working fine together, OR 1 and 2 working fine together. I just can’t get 2 the wifi extender running with 3. Home assistant.
CentOS 8 have not AppArmor 🙁
[error] missing: AppArmor jq
You have to check in the CentOS forums what can solve this or you can try installing HA in VM… Just check this article – https://peyanski.com/home-assistant-on-windows-using-virtualbox/
Dear Kiril; I am trying to carry out Home Assistant Supervised Method. on a Raspberry 3B+ with fresh 2020-08-20-raspios-buster-arm64-lite.img. Machine
As with other guides it halts at [info] Install supervisor Docker container.
Somewhere i am missing something because all methods freezes at what seems the same point. There are no reported errors and when restarted the log are wiped.
Any advice or suggestions are more than welcome.
Thanks in advance Martin
[info] Creating default docker daemon configuration /etc/docker/daemon.json
[info] Restarting docker service
[info] Creating NetworkManager configuration
[warn] Changes are needed to the /etc/network/interfaces file
[info] If you have modified the network on the host manualy, those can now be overwritten
[info] If you do not overwrite this now you need to manually adjust it later
[info] Do you want to proceed with that? [N/y]
y
[info] Replacing /etc/network/interfaces
[info] Restarting NetworkManager
[info] Install supervisor Docker container
Dear Kiril; First of all my compliments for your work and presentation, by far the best i came across in the last week. After trying various guides and scripts i finally stumbled over your site and guide. Unfortunately it stucks at [info] Install supervisor Docker container. The 3b+ just freezes and drops from Putty. Docker run hello-worl is ok and no errors or log is found on restart. I use a fresh install of 2020-08-20-raspios-buster-arm64-lite.img and followed your guide for Home Assistant Supervised Method. I would be grateful for any idea’s, suggestions or advice to get this up and running in SD and later on SSD to replace the current production Pi3B+ with Hassio incl. integrated OS on SD-card.now called HH OS (I believe).
Thanks in advance and regards
Martin
Hi, thanks for this great article, a question, in supervised mode can i have the gpio working?
I think so, but I’m not so sure. Never use them like that. What are you trying to accomplish if it’s not a secret?
Hi i have used your guid to set it up on an orangepilite, the only problem i get is afther everything is done and working and i log in to 192.168.178.234:8123 and i create a useraccount and log in, i download some apps frome the add on store and instal them all worked perfect, until i reboot the device homeassistant does not startup and i have to start manualy true docker, i get the firsttime starting up sequecse again afther i just configure it? does i need to setup something else?
thnx
Check your docker version and if it’s 20.10 downgrade it and try again. More info here – https://alerts.home-assistant.io/#docker_2010.markdown
Please help me
When installing Home Assistant Supervised, it returns an error:
[info] Install supervisor Docker container
invalid reference format
Tell me what made a mistake or where to look for information. I have already rummaged through everything that I could, I can not solve this problem (((
Hi, on what device and on what OS are you trying to install it?