
What is Home Assistant Container? What is needed and how to install one? How to properly update a Home Assistant Container installation after new Home Assistant release? I will try my best to address all these questions right now, starting with what is Home Assistant Container?
Table of Contents
What is Home Assistant Container?
Home Assistant Container is one of the official installation types and It is simply a Home Assistant running in your own container environment. That means if you managed to install Home Assistant using Docker software or some similar containerization software you will have a Home Assistant Container installation.
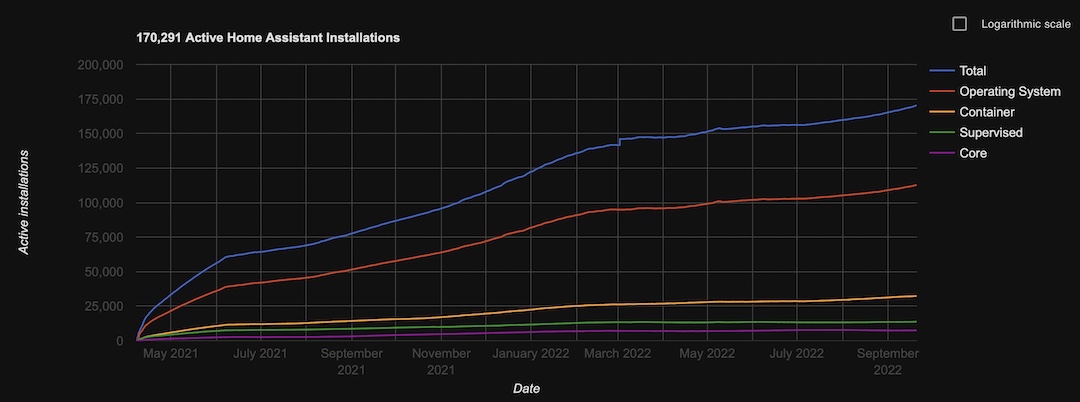
In general, there are 4 official and supported ways to get Home Assistant. All of the four installation types have some pros and cons and there is no right or wrong way here. I will not talk about the other 3 possible and supported Home Assistant installation methods in this article. I will just say that the Home Assistant Container is the second most popular type of installation according to the analytics.home-assistant.io website.
However, if you want to understand all of the pros and cons of the different Home Assistant Installation types I can suggest to register for my Webinar, which is exactly about this topic. After seeing my webinar you will know about the strengths and weaknesses of all four ways.
The webinar is completely free and this is the link to it – https://automatelike.pro/webinar
As summary, Home Assistant Container is a Home Assistant installed using Docker or other similar containerisation software. It is also one of the 4 official methods to get Home Assistant.
Home Assistant Container Prerequisites
Strangely enough, having Docker up & running is one of the prerequisites to start Home Assistant Container using Docker 😉
The other prerequisite is to have a folder where the Home Assistant configuration files will be stored. That means I just have to create one empty folder somewhere on my computer and to remember the full path to that folder.
That is it, noting unusual here.
It is also recommended to subscribe for my newsletter where you will receive articles like this one on a weekly basis. I won’t spam and you can unsubscribe at any time from the received messages. Of course, this part is optional (newsletter subscribing) and you can freely skip it. Which will make me sad… 🙁
How to install Home Assistant Container?
Next big question is: How to install Home Assistant Container?
I will try to answer this with a real life demo. I will use Docker which is a free and probably the most popular containerisation software available at the moment.
Docker can be installed on all major Operating Systems.

For Windows & macOS, the Docker installation is very easy and there is nothing special. You just have to download the installation package from the official Docker website (docker.com) and to install that package on your computer as usual.
There are some minor differences if you are using Linux. It all depends of your Linux distribution, but I believe the best approach will be to type in Google something like: “how to install Docker on Ubuntu”, or CentOS, or whatever your Linux distro is.
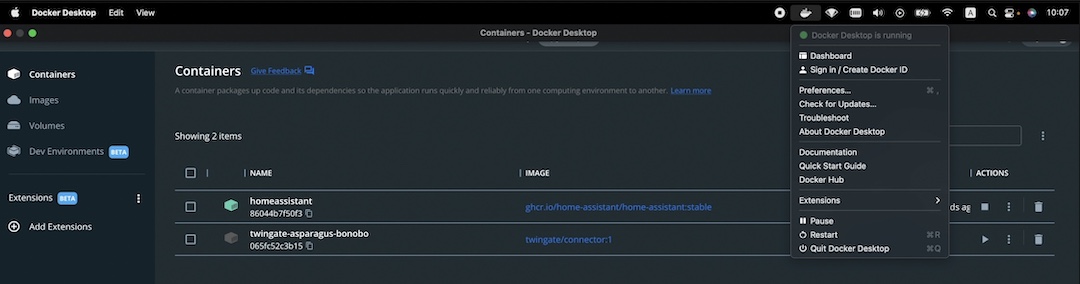
Anyways, I’m using Mac OS and below you can see how the Docker looks like after it is installed and it is up and running. I won’t show you the Docker installation itself, because as I said there is nothing complicated there.
Next thing, that I have to do is to execute one big and scary command that will do everything for me and I just have to sit back and relax. How cheeky is that?
BTW All the credits for the used commands goes to Home Assistant documentation – https://www.home-assistant.io/installation/linux#install-home-assistant-container
docker run -d \
  --name homeassistant \
  --privileged \
  --restart=unless-stopped \
  -e TZ=MY_TIME_ZONE \
  -v /PATH_TO_YOUR_CONFIG:/config \
  --network=host \
  ghcr.io/home-assistant/home-assistant:stable
The above command should be executed in Terminal or Command Prompt and it should work in most of the cases (Linux & Windows), but for the macOS a slight modification is needed. Instead of --network=host parameter, I had to add a port mapping -p 8123:8123. So, the full command looks like that:
docker run -d \
  --name homeassistant \
  --privileged \
  --restart=unless-stopped \
  -e TZ=MY_TIME_ZONE \
  -v /PATH_TO_YOUR_CONFIG:/config \
  -p 8123:8123 \
 ghcr.io/home-assistant/home-assistant:stable
In any of the cases above you should change the following:
- MY_TIME_ZONE – with your real Time Zone. You can find yours from here – https://en.wikipedia.org/wiki/List_of_tz_database_time_zones
- /PATH_TO_YOUR_CONFIG – create one empty folder somewhere on your computer and paste the full path to that folder instead.
This below is my final command that I used on my macOS:
docker run -d \
--name homeassistant \
--privileged \
--restart=unless-stopped \
-e TZ=Europe/Sofia \
-v /Users/kirilpeyanski/haconfig:/config \
-p 8123:8123 \
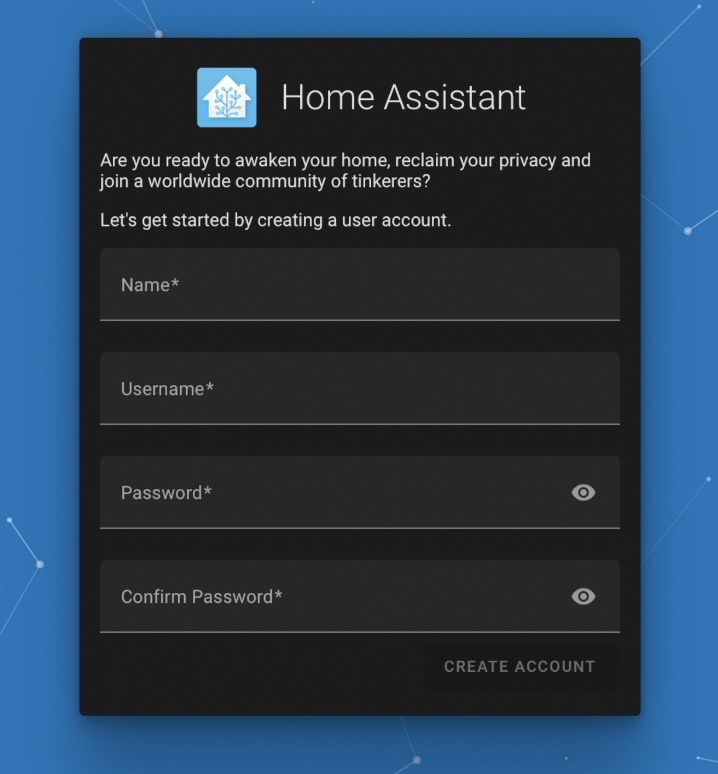
ghcr.io/home-assistant/home-assistant:stableThe above Docker run command will download the latest stable Home Assistant image from Internet and it will start it. I will have to do the heavy lifting, which is to open the Home Assistant web interface. I’m kidding here it is just the opposite.
To open the Home Assistant I just have to type the http://IP_OF_MY_DEVICE_WHERE_DOCKER_IS:8123 (as example: http://10.0.0.115:8123) in a new browser.
Alternatively, the following address can be used – http://homeassistant.local:8123
There is no guarantee that the above hostname based address will work, as this depends of the router and the router configuration.
No matter if IP or Hostnme is used, as end result the Home Assistant welcome screen should be seen.
How to upgrade Home Assistant Container Properly?
As you may know there is one major Home Assistant release in the beginning of every month and multiple minor releases during that period.
The above procedure is about installing the latest stable Home Assistant Container version, but next month there will be newer latest stable Home Assistant version and some of us may want to upgrade.
Here is how I can update my Home Assistant Container installation properly using several commands in Terminal/Command prompt:.
- Pull the latest stable Home Assistant image with the command below:
docker pull ghcr.io/home-assistant/home-assistant:stableQuick Tip: Check the name of the container either with the command: docker container ls -a
or from the Docker Dashboard and if it is different than homeassistant – replace it in the commands bellow:
- Stop the existing Home Assistant Container.
docker stop homeassistant- Remove the existing Home Assistant Container
docker rm homeassistant- Execute the Docker run command the same way as you did during the initial installation of Home Assistant Container
docker run -d \
  --name homeassistant \
  --privileged \
  --restart=unless-stopped \
  -e TZ=MY_TIME_ZONE \
  -v /PATH_TO_YOUR_CONFIG:/config \
  --network=host \
  ghcr.io/home-assistant/home-assistant:stable
If everything is fine with the above commands, you should have an updated to the latest stable release Home Assistant Container installation. Enjoy!
Outro
If some of the terms and abbreviations that I’m using are not so clear for you, don’t worry I’m here to help. I’ve put together a Smart Home Glossary and I want to give it to you for free. You can download that from my other website https://automatelike.pro/glossary
Thank you for reading. I’m Kiril and I’m done writing. Bye!
So, with this is installation, backups are not possible, right?
Oh, they are possible. You can backup & restore as usual!
Six months ago I installed homeassistant with supervisor according to your instructions (https://peyanski.com/how-to-install-home-assistant-supervised-official-way/). Now I wanted to update the docker according to your instructions here. Now all settings are gone. As a path I have specified the following where my yaml files are located. I couldn’t find another /config path on my rasp 4.
-v /usr/share/hassio/homeassistant \
docker run -d \
–name home assistant \
–privileged \
–restart=unless-stopped \
-e TZ=Europe/Berlin \
-v /usr/share/hassio/homeassistant \
-p8123:8123\
ghcr.io/home-assistant/home-assistant:stable
your -v switch is not correct it have to be in the following format -v /PATH_TO_YOUR_CONFIG:/config
where /PATH_TO_YOUR_CONFIG should be the path to the folder where your YAML files are and then :/config should be present as this is the path where config files are inside the Docker container. So if your YAML files are located in /usr/share/hassio/homeassistant then you should type: -v /usr/share/hassio/homeassistant:/config. Good luck
First of all, Im happy that I discovered your clips and website, great work. Second, would you consider doing short video or point me out to resources how to install addons on docker of HA? Maybe even with connection to raspberry 🙂
How To Properly Install and Update Home Assistant Container using Docker
This below is my final command that I used on my macOS:
docker run -d \
–name homeassistant \
–privileged \
–restart=unless-stopped \
-e TZ=Europe/Sofia \
-v /Users/kirilpeyanski/haconfig:/config \
-p 8123:8123 \
ghcr.io/home-assistant/home-assistant:stable
My result:
C:\WINDOWS\system32>docker run -d \
docker: invalid reference format.
See ‘docker run –help’.
Found Found some advice to manually retype the commands, but result is the same.
(https://ioflood.com/blog/solved-docker-invalid-reference-format-causes-and-solutions/#:~:text=The%20inclusion%20of%20special%20characters,name%20and%20throwing%20an%20error.)
Should this be different in Windows?
Thanks for your help
Kerry
Hi Kerry, try these instructions for windows – https://peyanski.com/home-assistant-container-on-windows-using-docker/