In this Vacos Cam Review we will test an outdoor security camera with:
- Full color night vision,
- Rechargeable battery and optional solar panel,
- Built-in 16 Gigabytes of fast storage,
- AI Human and PIR Detection,
- Two way audio.
Vacos Cam have it all plus some more! Let’s see it.
Table of Contents
Vacos Cam Review
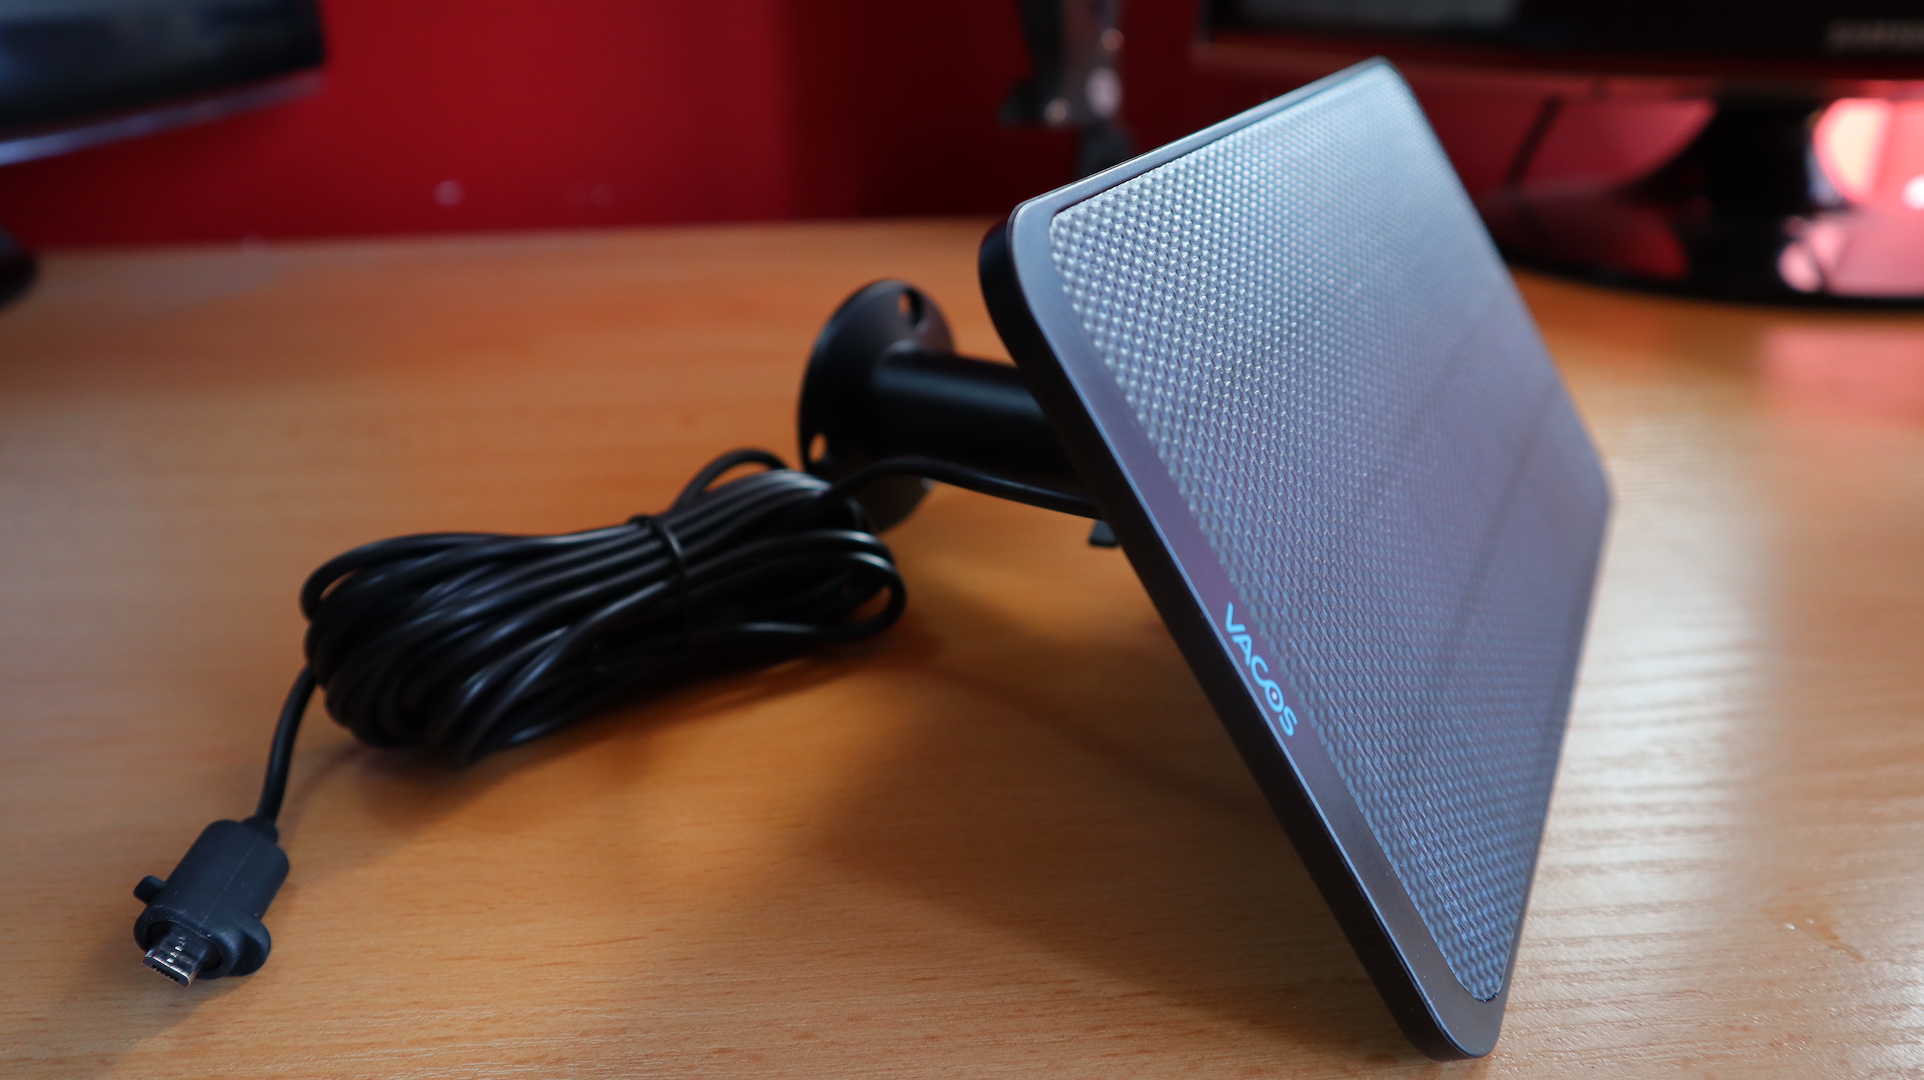
Vacos Cam is rated to last up to 6 months with one charge.
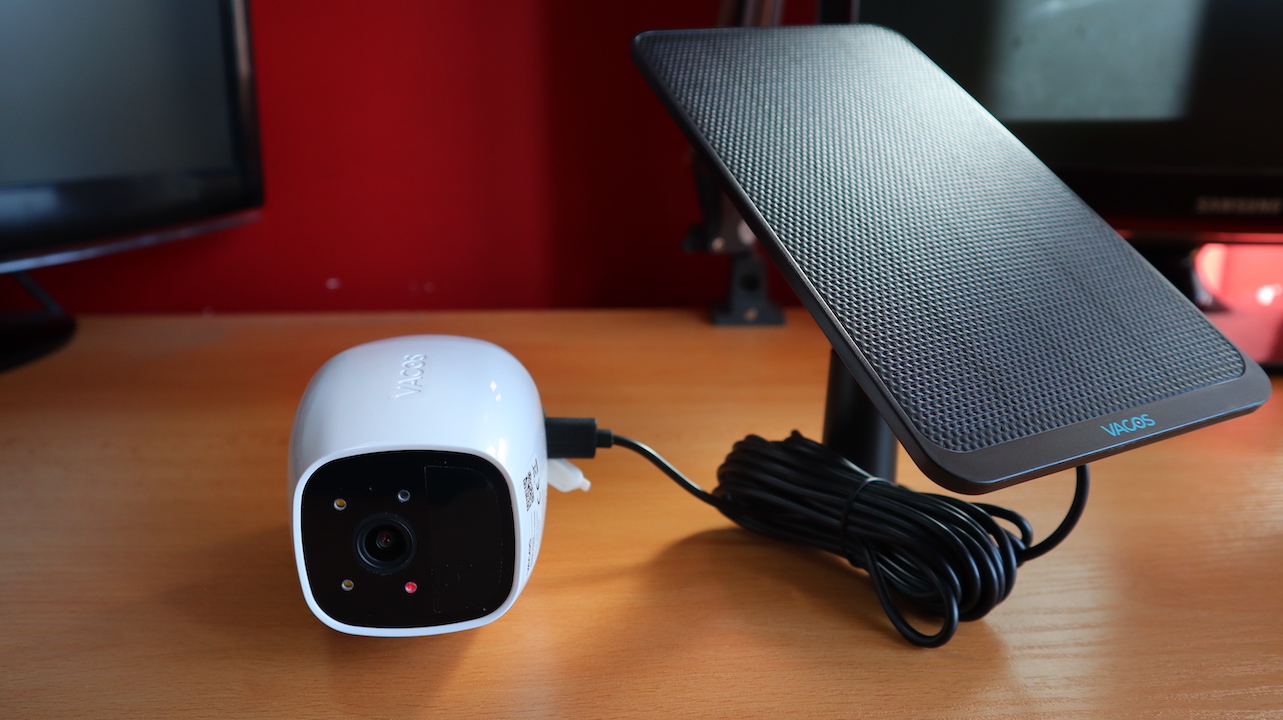
On top you can attach a solar panel for an eco-friendly & non-stop charging way. That means you can set and forget that camera.
And when we are talking about setting a camera up – until now I have never seen an easier to mount camera than the Vacos Cam with its magnetic back panel.
Be careful here because it is easy to unmount the camera as well and someone can steal it if there is a physical access to it.
If you want to steal something you can steal the grey color from the YouTube Like button, so it becomes blue!
Just kidding here, do not worry too much that someone can steal you camera as Vacos have also included a regular mount in the package.
Vacos Cam initial setup
To initially setup the camera you need to use the Vacos mobile app that can be downloaded from iOS App Store or Google Play.
I downloaded the Vacos mobile app, and I created a Vacos account. Then I tapped on the plus icon (upper right corner) to add a new device.
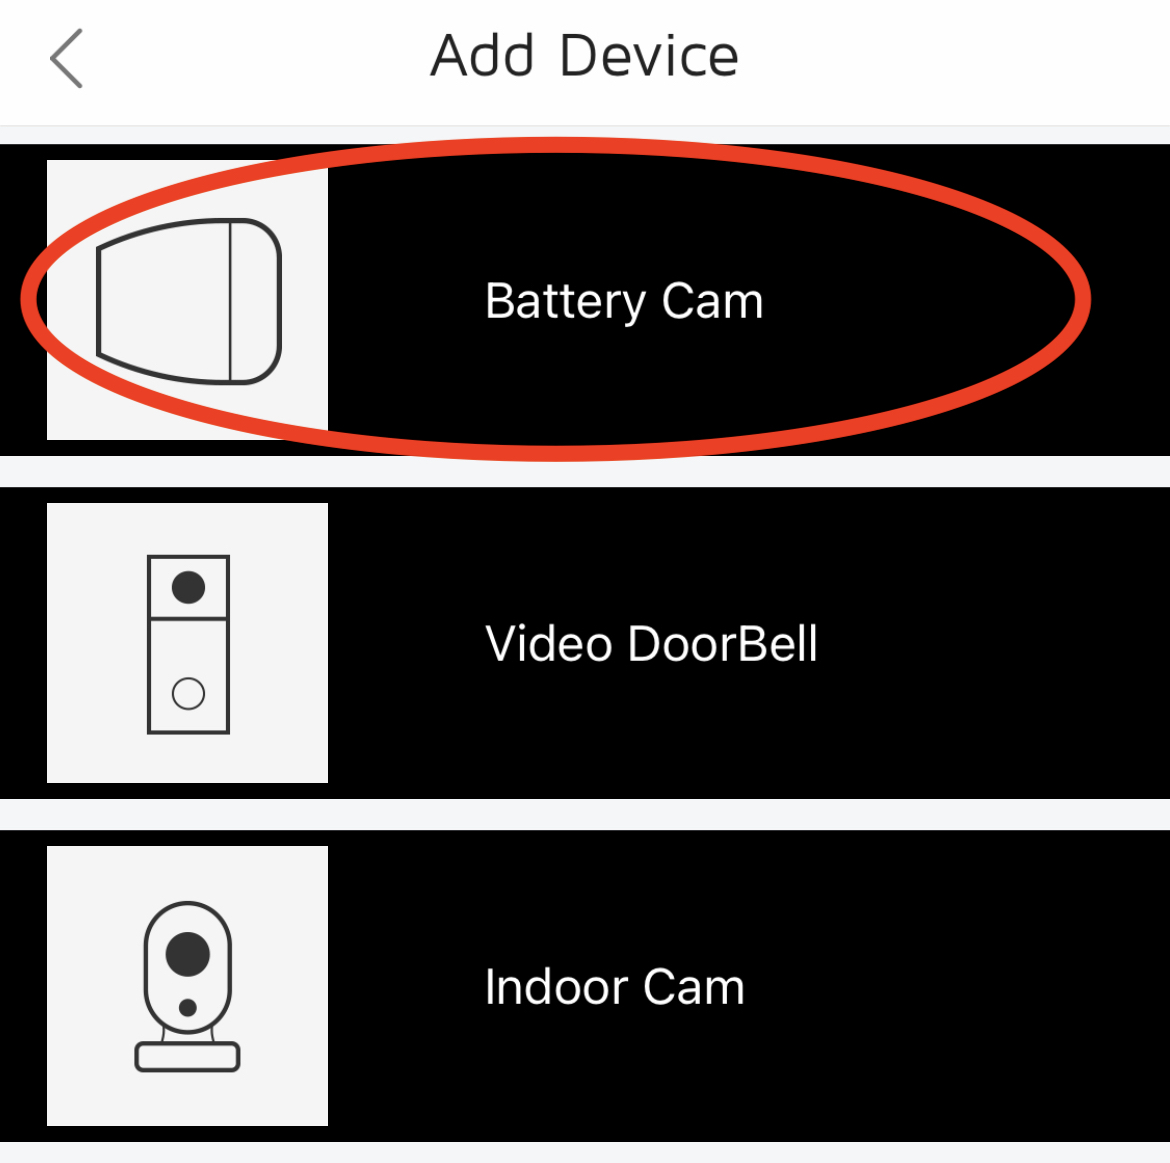
From the list I selected a Battery Cam.
And I followed the instructions, which are to hold the Reset button at the back of the Vacos Cam for 6 seconds.
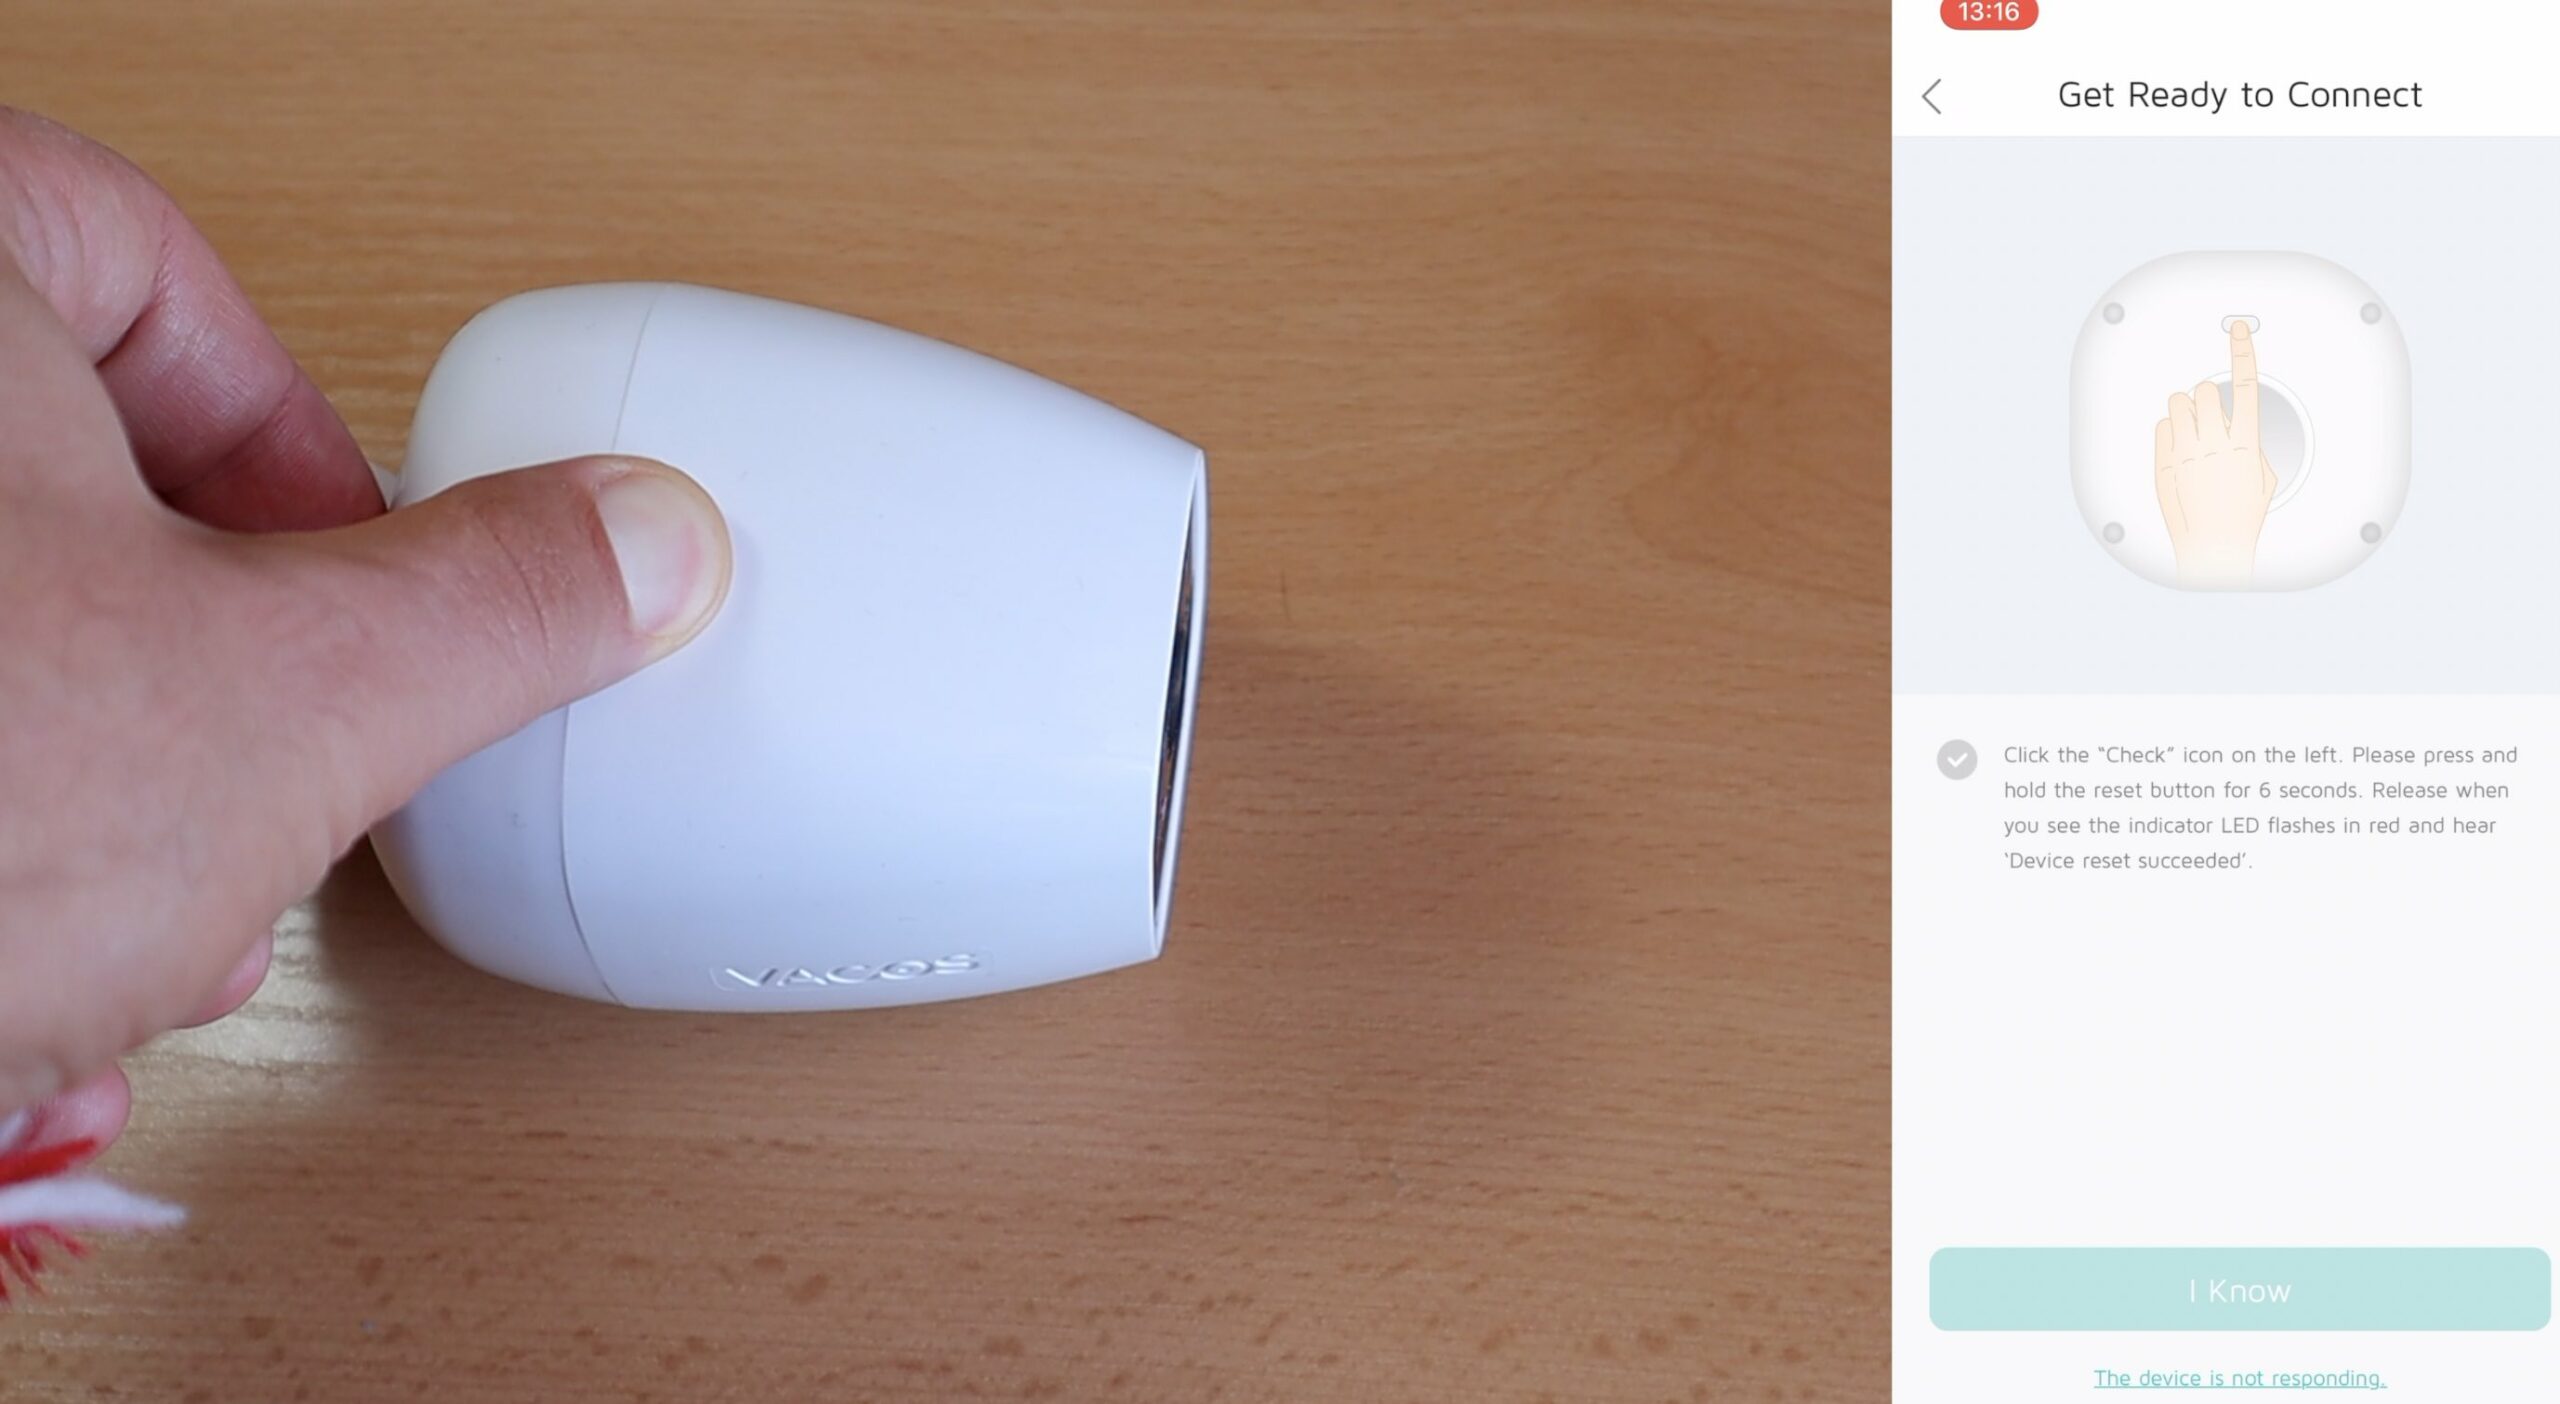
Then I tapped on the Next button and I selected my Wi-Fi SSID and I entered my Wi-Fi password.
A QR code appeared in the mobile app and that QR code should be hold in front of the camera.
And that is it – the Vacos Cam is now connected to my network and it is ready to be used.
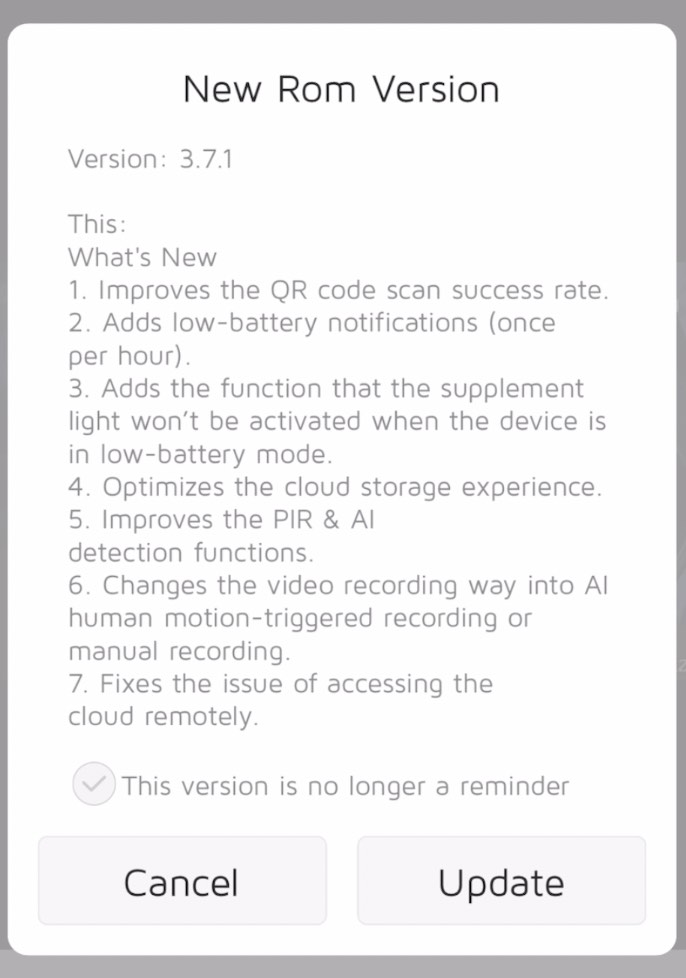
I can gave the Vacos Cam a name and I can update the firmware.
I like the fact that Vacos are actually telling you what is going to be updated with the new firmware. As this is not the case with a lot of Smart Home devices, but not here.
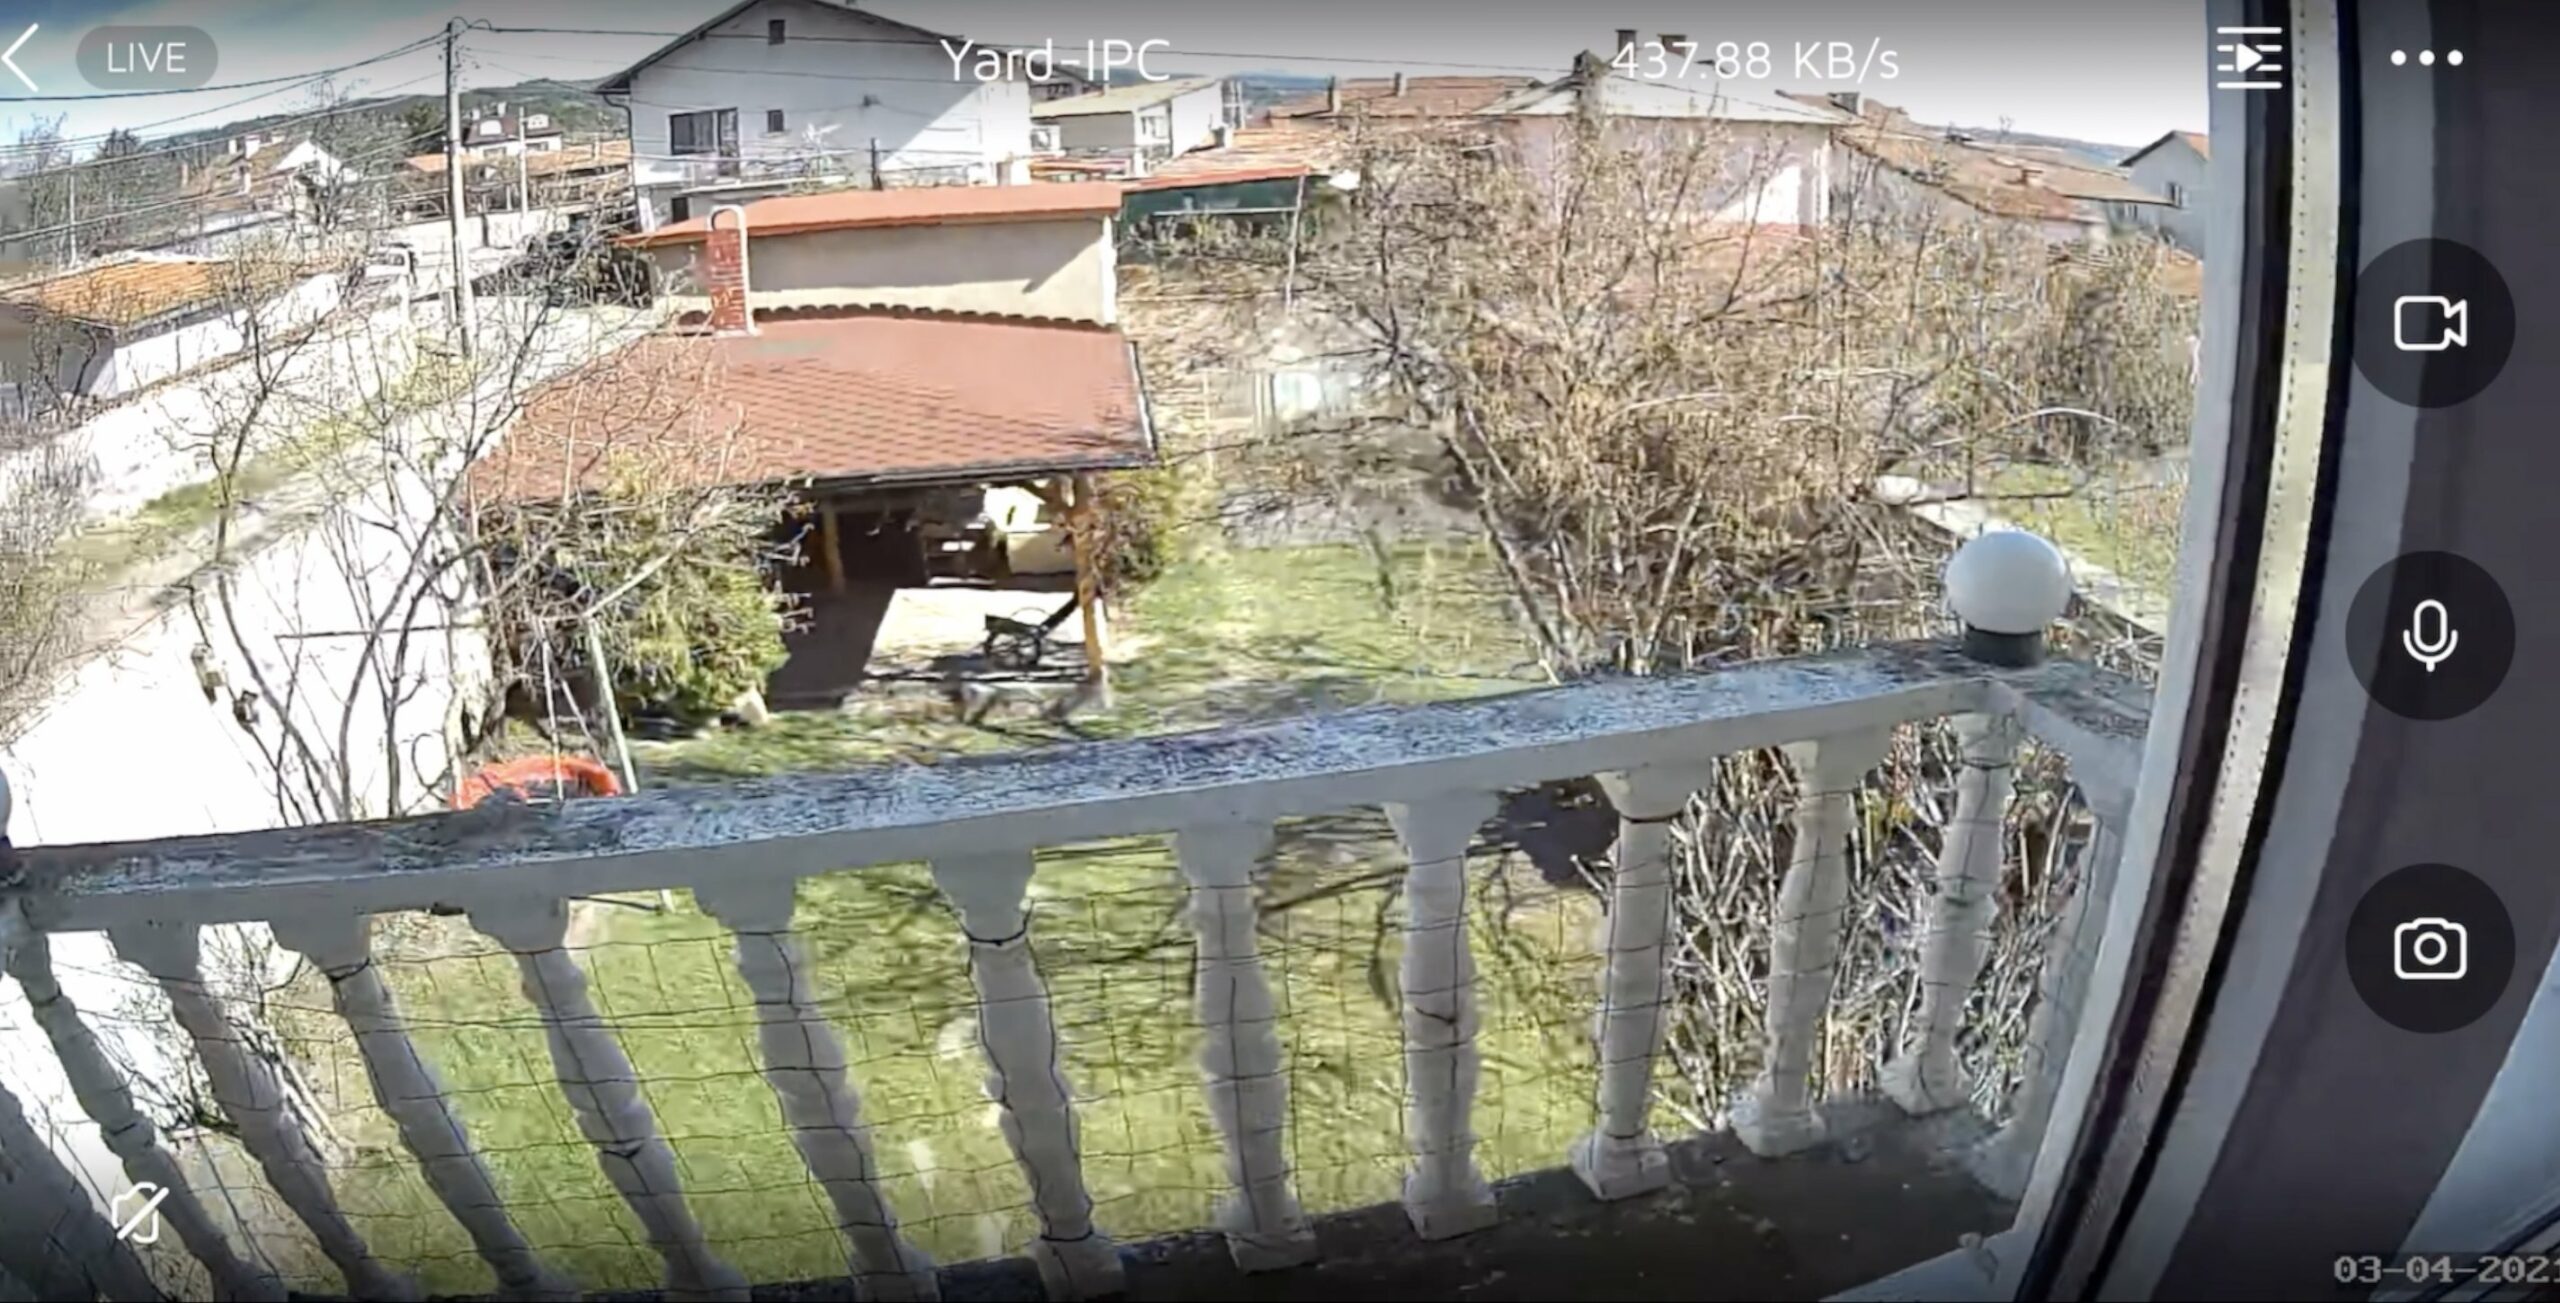
And this is the live view from the camera during the day and behind a glass.
Vacos Cam Settings
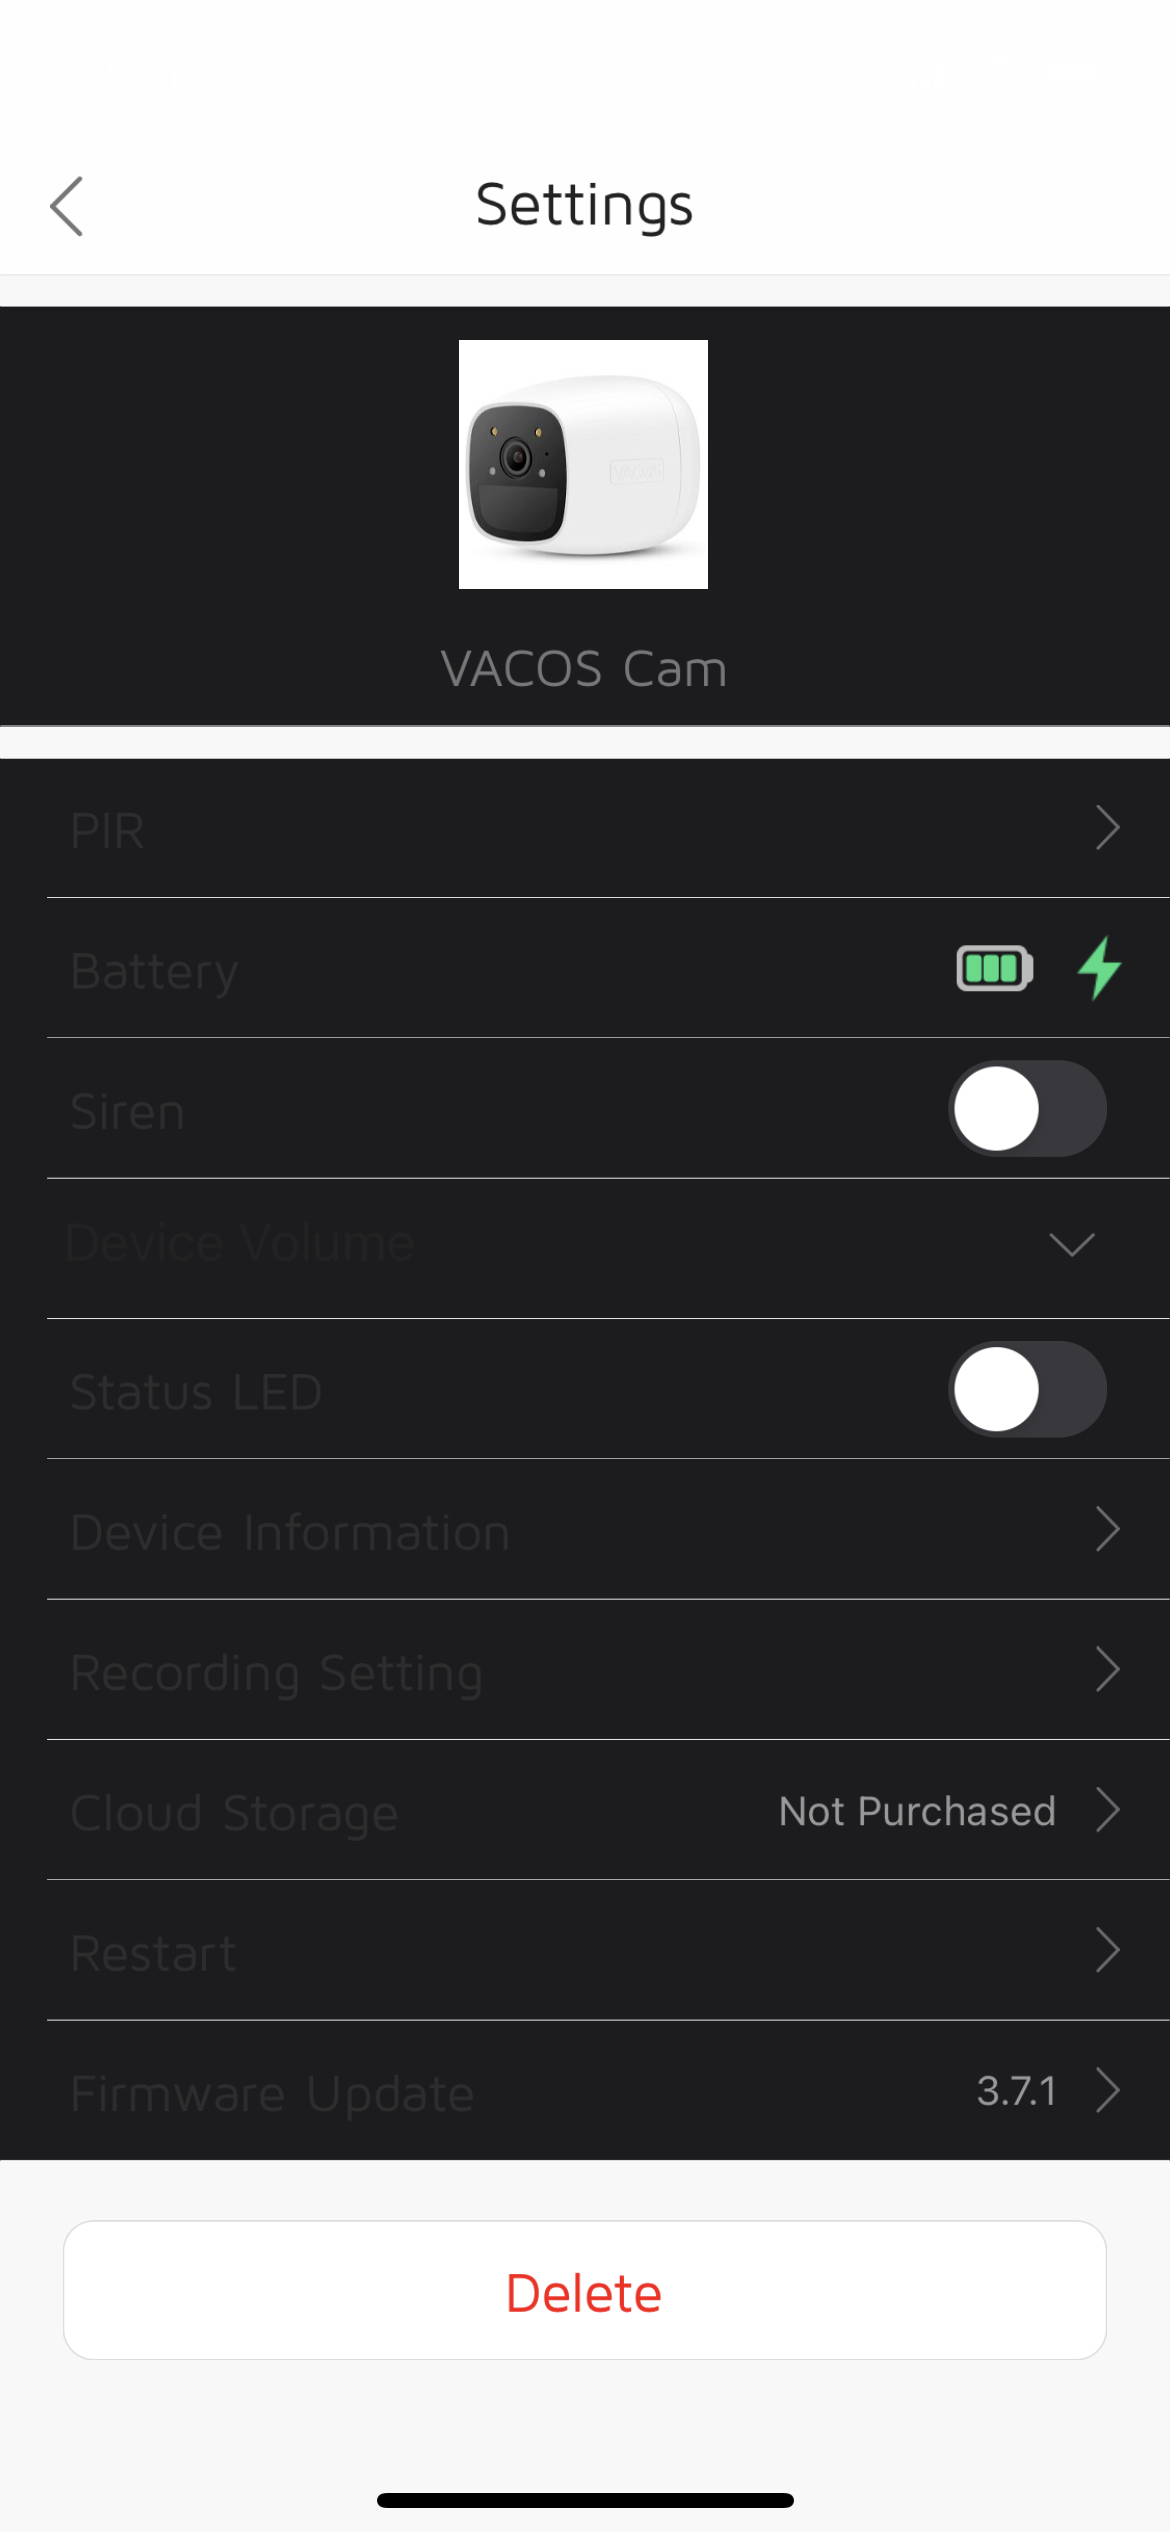
The gear icon in the upper right corner will open the Vacos Cam settings where you can:
- PIR motion sensitivity can be set to low, medium or high,
- you can check the camera’s battery level,
- adjust speaker volume,
- subscribe to the cloud service,
- and set a recording schedule.
Just to confirm – Cloud subscription is optional and you can decide by yourself whether to use it or not.
The Vacos Cam also offers:
- Intelligent motion detection that filters motion from bushes, cars and animals and can focus on human detection only.
- A siren that sounds when a person enters the motion zone. Of course, the siren could be disabled from the mobile app if you don’t want to use it.
- Full color night vision (more on that later)
Installing Vacos Cam and Vacos Solar Panel
Let’s mount the Vacos Cam along with the Vacos Solar panel and to see them in action.

Installing the Vacos Cam was quick and easy. I attached the Vacos Solar panel to the Camera and attached them to the siding of my house using the magnetic mount.
For best results the angle between the wall and the Vacos solar panel have to be 45˚
And When you connect the Solar Panel to the camera make sure that the panel is actually charging the camera.
Launch the Vacos App and check if the charging icon can be seen.
Vacos Cam Full Color Night Vision
I will just paste a real night picture from the Vacos Cam – 3 hours after the Sunset:
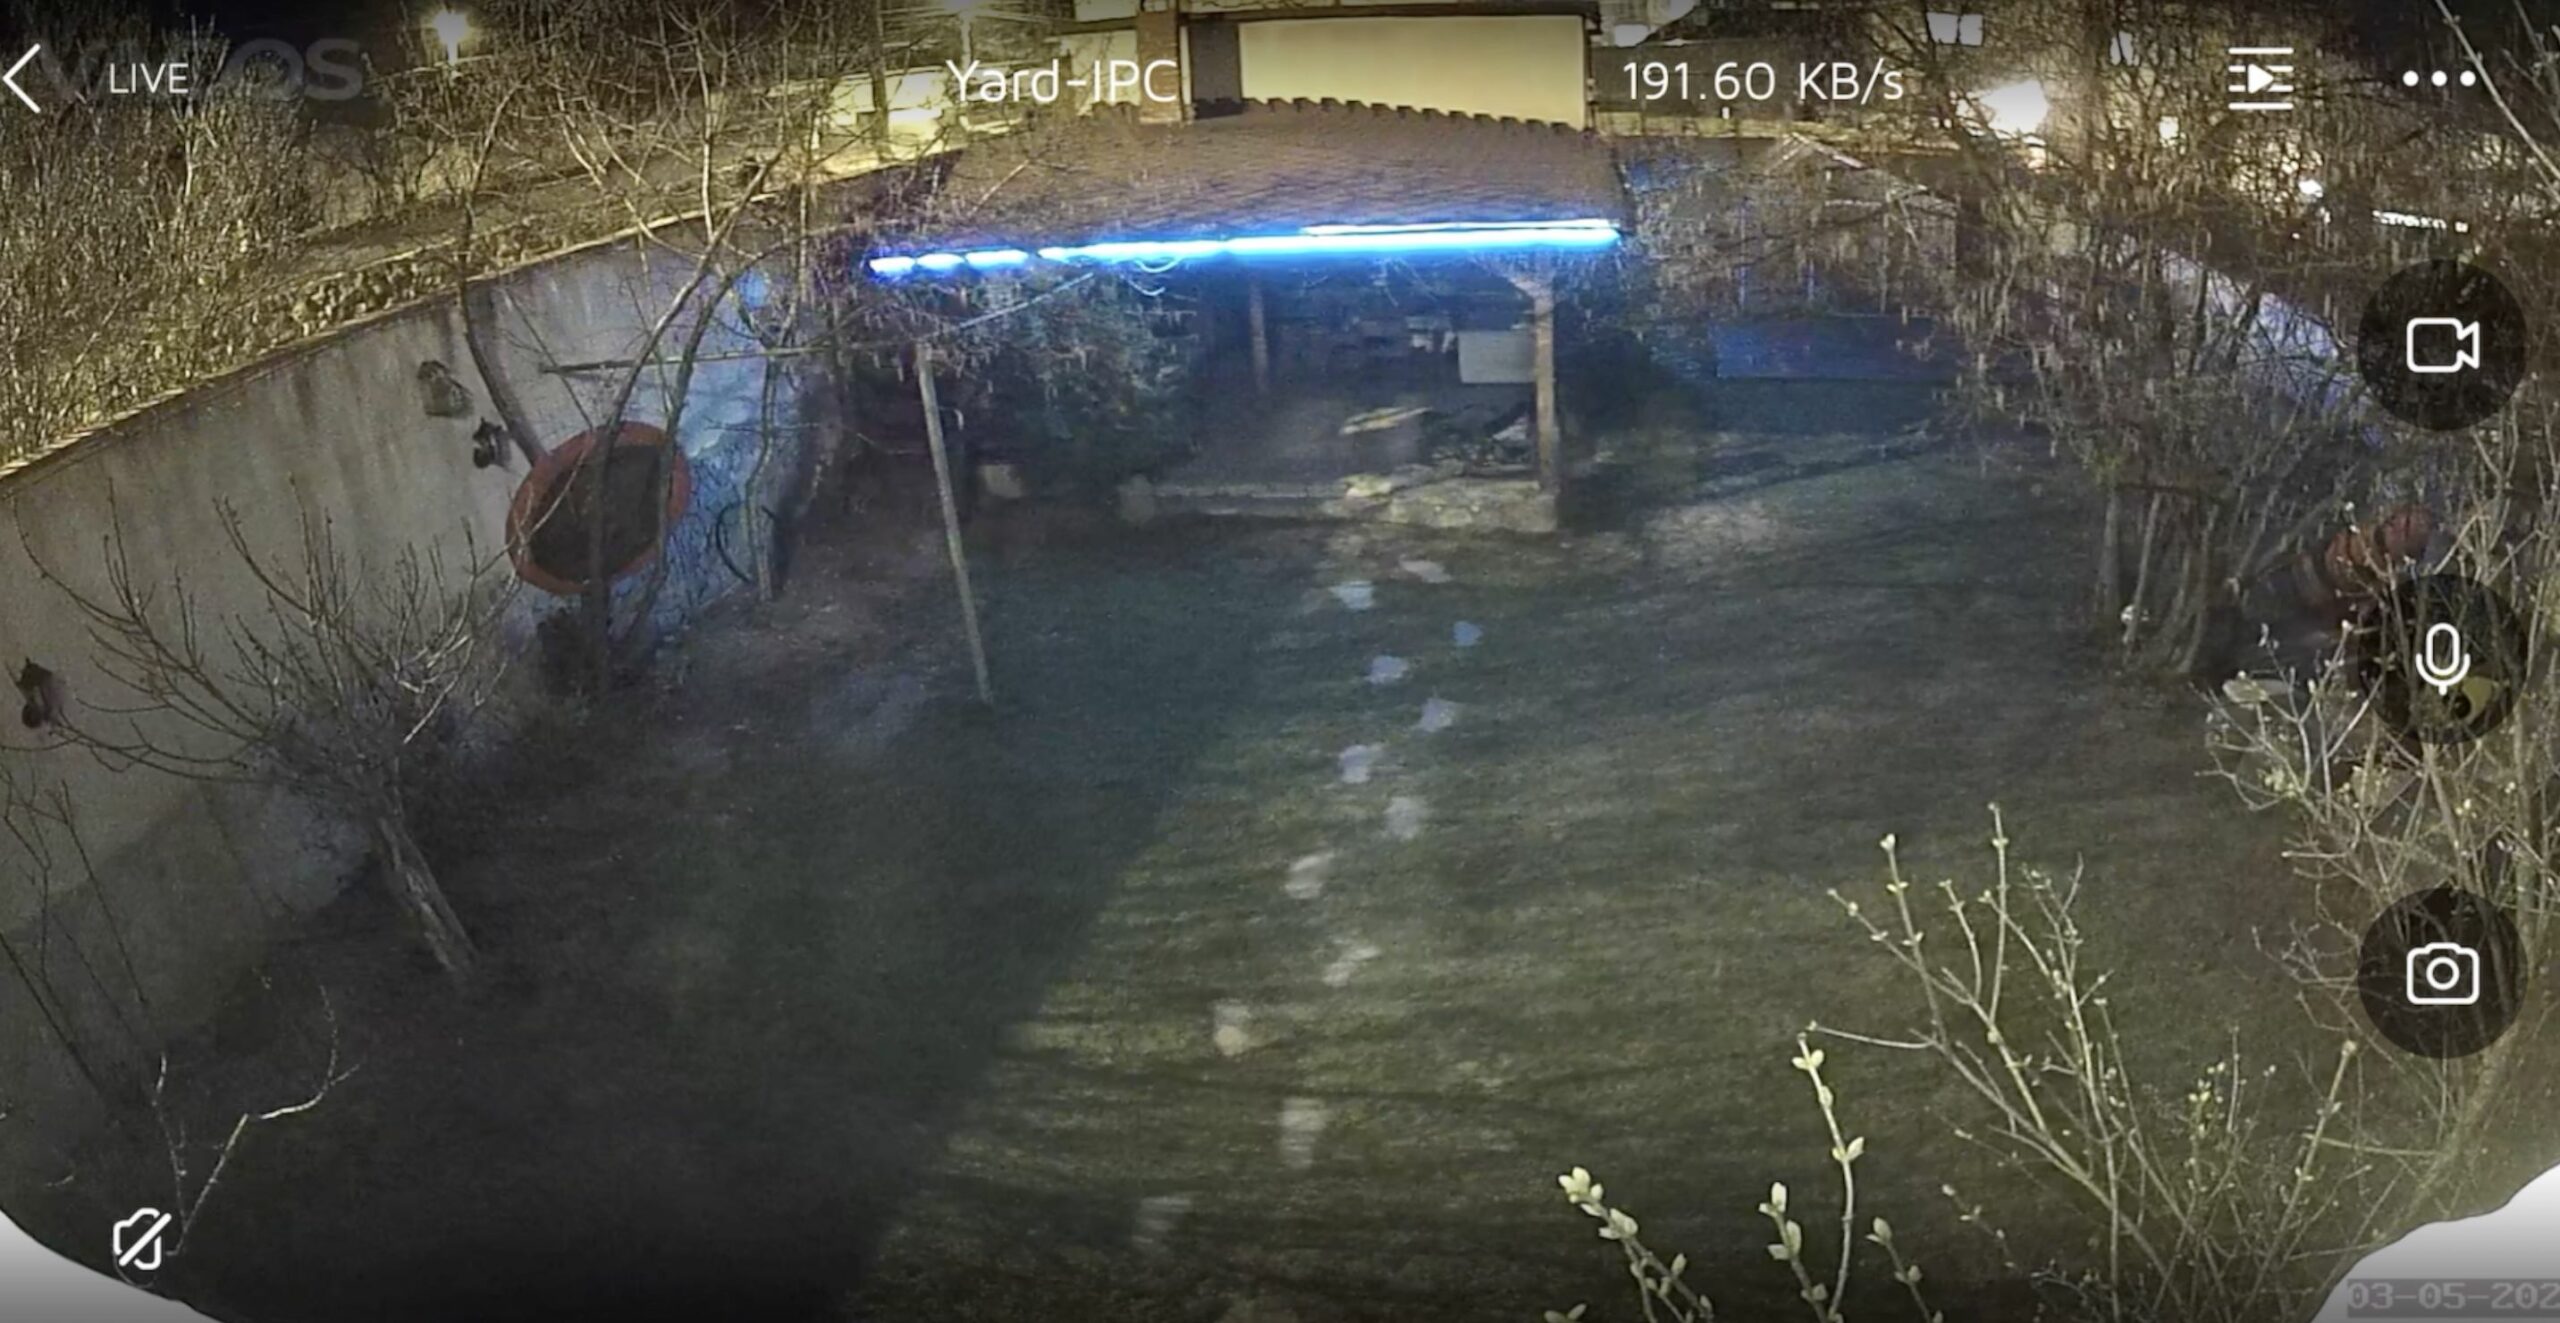
This is my yard, where I can see the green, blue (from the WLED), red and yellow colors.
What do you think do you like it or not? Let me know in the comments below!
Vacos Cam Pros and Cons
As always I want to share that the guys from Vacos sent me the Camera and the Solar Panel for test and honest review.
Vacos Cam Cons
And here are the things that I like and I didn’t like:
- There is no RTSP or ONVIF support available. That means you cannot connect the camera to Blue Iris or Home Assistant for example.
- No HomeKit support – The Vacos Cam Supports Amazon Echo Devices and Google Assistant is in coming soon state, but what I miss the most is a HomeKit support.
Vacos Cam Pros
And these are the things that I liked:
- The installation with the magnetic back panel and the initial setup with the Vacos mobile App was a breeze.
- True full colour night vision is also something that I appreciate a lot.
- AI detection is also very good feature that can save you from a lot of false positive alarms.
- And last, but not least for just $10 more you can get the Vacos Cam and the Solar Panel bundle where you can just set and forget the camera.
Vacos Cam Review summary
In general if Vacos decide to open the RTSP protocol and to add HomeKit support this will probably be the best wireless camera available out there.
And If you decide to buy the Vacos Cam you can use the Amazon affiliate link in the article 👉 LINK
That way you will support this blog with no additional cost for you!
If you enjoy this article – make sure that you hit the subscribe to my newsletter button and to confirm your subscription from the e-mail that I will send you (check Junk & Spam folders if you don’t see the confirmation mail).
You can find more of my security related articles ➡️ Security Category!
Stay safe and don’t forget – Home smart, but not hard!
Thank you for reading and I will see you in my next article.