
I’m going to flash a custom ZIgbee firmware on one very popular smart temperature and humidity sensor manufactured by Xiaomi.
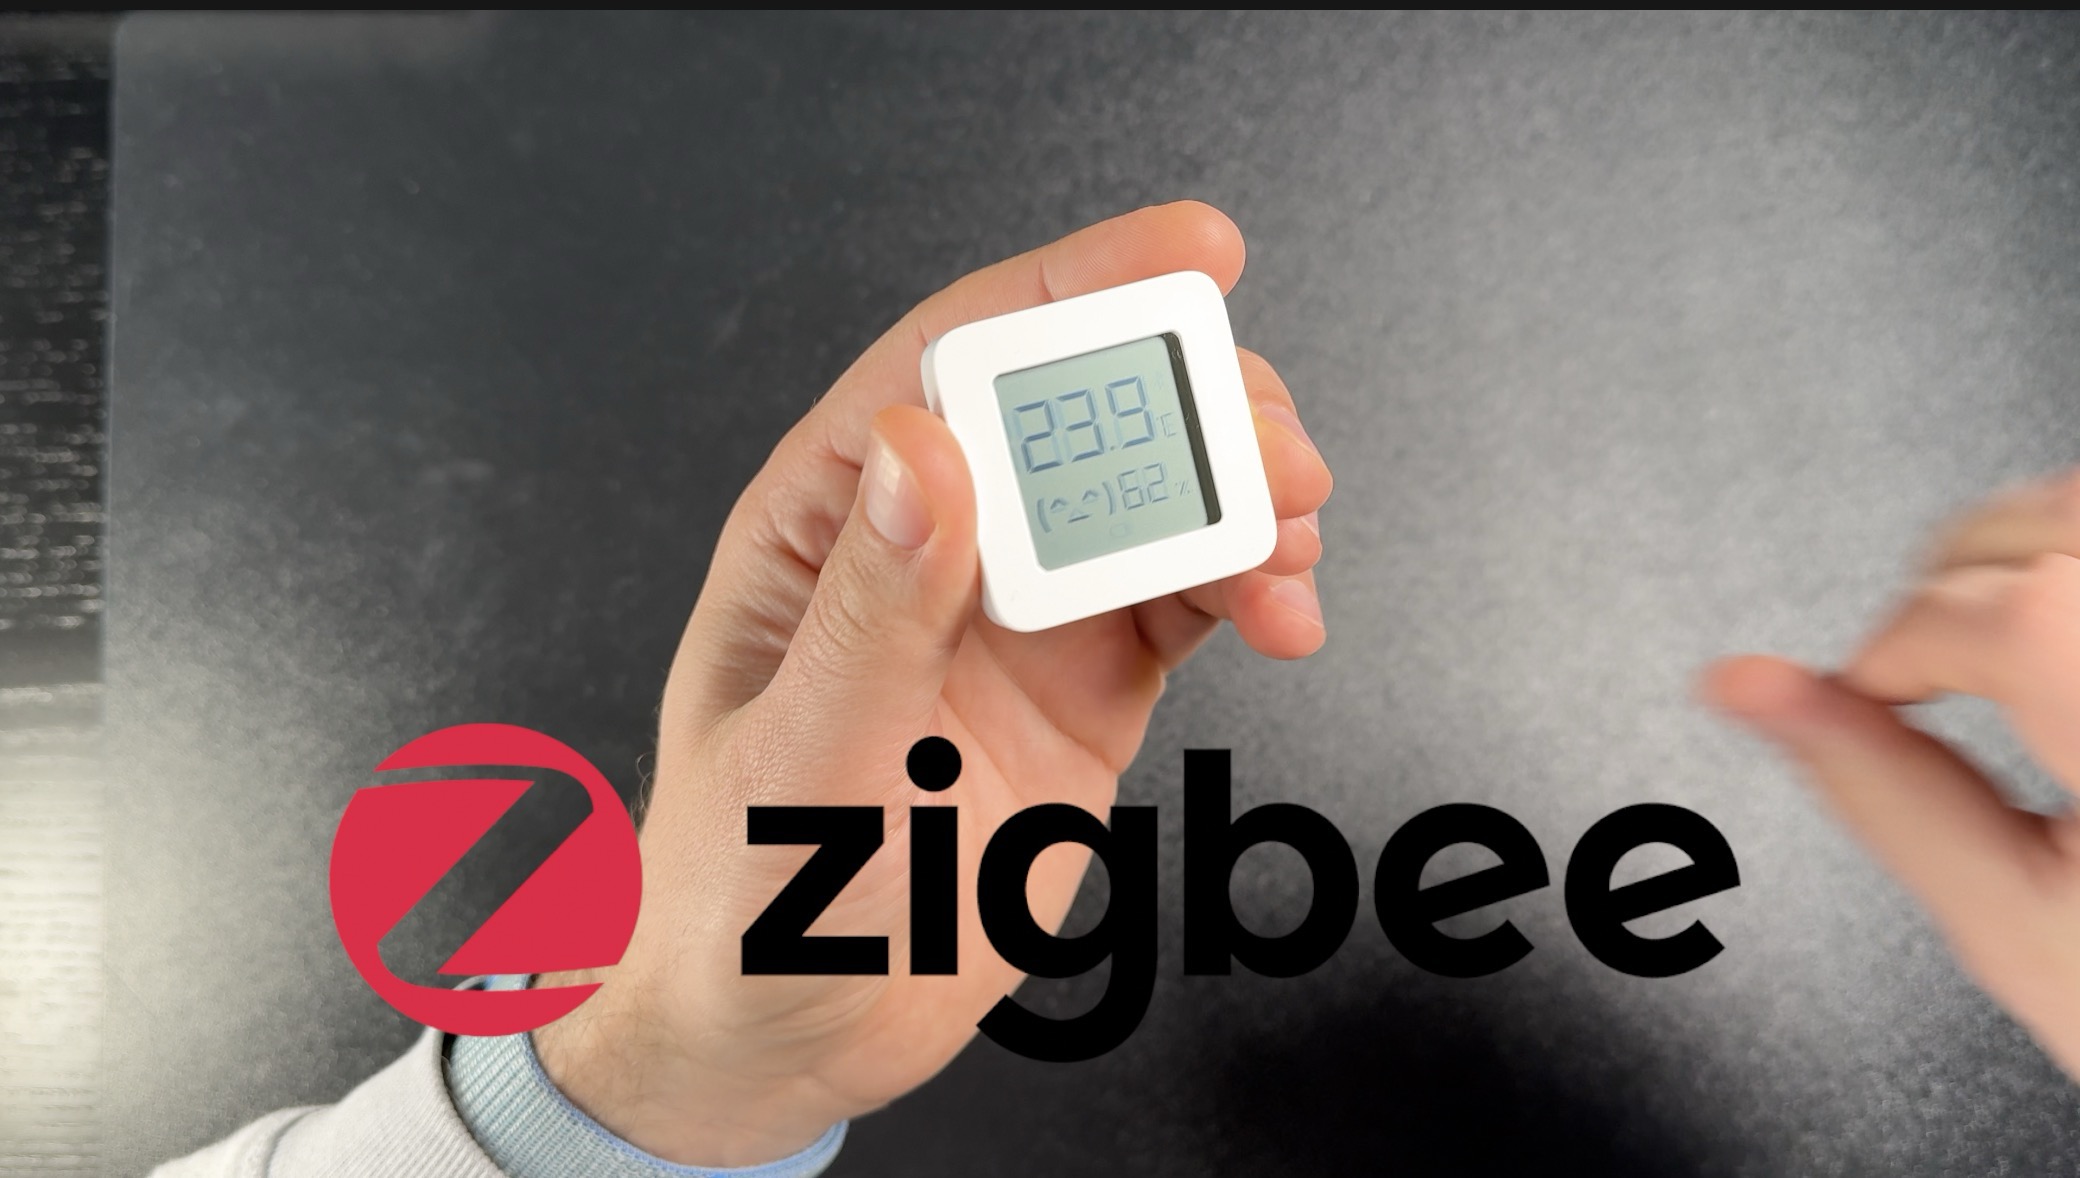
Table of Contents
The TH Sensor custom Zigbee firmware and available options:
This smart sensor cost around 5 dollars and by default it is using an encrypted Bluetooth to announce its readings remotely to the Xiaomi Mobile Phone App, which is boring.
Check the current price in AliExpress:
- Xiaomi smart TH sensor LYWSD03MMC (AliExpress Affiliate) – https://s.click.aliexpress.com/e/_De5BN3P
- Xiaomi smart TH sensor LYWSD03MMC (AliExpress affiliate) – https://s.click.aliexpress.com/e/_DE3qNSt
- Xiaomi smart TH sensor LYWSD03MMC (AliExpress affiliate) – https://s.click.aliexpress.com/e/_DnS6DGN
- Xiaomi smart TH sensor LYWSD03MMC (AliExpress affiliate) – https://s.click.aliexpress.com/e/_DmhrlQv
Method #1: Add it to Home Assistant and Staying with the original FW
The good thing is that there is an easy way to decrypt that BT communication and to use that Sensor inside Home Assistant, as I’ve described in this article of mine.
Unfortunately, the above process doesn’t work every time at least for me. It seems that it depends of the device firmware version and even if you make it work the device is going unavailable very often.
Method #2: Add it to Home Assistant by using custom Bluetooth FW
There is a second option which is to install a custom Bluetooth firmware on this little sensor and I described that in another article.
This option is slightly better in terms of reliability, but it is not working on all devices for some reason.
Method #3: Add it to Home Assistant by using custom Zigbee Firmware
Gladly, there is now a third and mind blowing option which makes this temperature sensor a Zigbee device. I’m not sure how this is even possible, but because it is so easy I tried it out and everything seems to work good, actually it is working great at least for now.
What is even better is that not only this Xiaomi device is supported and there are more (all of them are having TLSR825x chip inside). At the time of writing this article these are the devices that can use this new custom Zigbee firmware.
- Qingping Bluetooth Thermometer Hygrometer CGDK2 (AliExpress affiliate) – https://s.click.aliexpress.com/e/_DE6NKJj
- Qingping Bluetooth Thermometer Hygrometer CGDK2(AliExpress affiliate) – https://s.click.aliexpress.com/e/_DEyx461
- Qingping Bluetooth Thermometer Hygrometer CGDK2 (Amazon affiliate) – https://amzn.to/49tHLuv
- Intelligent Bluetooth Thermometer E-Ink Screen MHO-C401 – https://s.click.aliexpress.com/e/_DmxjSB3
- Intelligent Bluetooth Thermometer E-Ink Screen MHO-C401 – https://s.click.aliexpress.com/e/_DczObaN
- Tuya ZigBee/WiFi Temperature Humidity Sensor – https://s.click.aliexpress.com/e/_DktoyhX
That means, the same steps that you are about to see can be done on any of the above listed devices.
Zigbee Bridge/Hub/Controller
Along with the one or more of the supported Temperature & Humidity devices you will also need a Zigbee hub also known as Zigbee controller or Zigbee bridge which will allow you to connect to that new Zigbee Temperature and Humidity sensor remotely. Example of such ZigBee hub devices are:
- Home Assistant Yellow. My article about it – Home Assistant Yellow Pros & Cons
- SkyConnect USB dongle – https://www.home-assistant.io/skyconnect/
- Conbee stick –
- Conbee II (Amazon affiliate) – https://amzn.to/3Tdc96G
- Conbee III (Amazon affiliate) – https://amzn.to/3Tb4qG5
- Samsung SmartThings v3 and more (Amazon affiliate)
- Aeotec (Amazon affiliate) – https://amzn.to/3wC7Xog
- Samsung (Amazon affiliate) – https://amzn.to/48wXzv5
- Samsung renewed (Amazon affiliate) – https://amzn.to/49u0Qg8
What about Home Assistant?
For best in class experience you will need a working Home Assistant.
If you don’t have such yet then join my Home Assistant webinar for free and learn everything essential about it – https://automatelike.pro/webinar
Do you want to watch?
If you are tired of reading, no problem check my video tutorial below:
The Journey to Zigbee
Flashing custom Zigbee firmware onto the Xiaomi sensor opens up a possibilities. While previous methods faced reliability issues, a new option looks promising and I’m hoping seamless & issueless integration with my Zigbee network and Home Assistant.
Getting Started: To start this Smart Temperature and Humidity Sensor Bluetooth to custom Zigbee firmware journey, you’ll need the following:
- Supported Temperature and Humidity Sensor (a sensor having TLSR825x chip see the lists above)
- Zigbee Hub (e.g., Home Assistant, Samsung SmartThings & see the lists above)
- A computer with a Chrome, Edge or Opera Browsers with Internet connection (e.g., Telink Flasher)
Step-by-Step Guide:
- Prepare your Chrome, Edge or Opera browser. Ensure that experimental web platform features are enabled in your browser. To enable them:
- Open the following URL: https://pvvx.github.io/ATC_MiThermometer/TelinkMiFlasher.html
- Connect your Temperature & Humidity (TH for short) sensor device to the Telink flasher.
- Press
Connectbutton and the browser should open a popup with visible Bluetooth devices. Choose the target device (the TH Sensor of your choice e.g. LYWSD03MMC)
- Press
- Activate the device to obtain the token and bind key required for firmware flashing.
- Press the
Do Activationbutton to start the decryption key process.
- Press the
- Choose the Zigbee firmware option and initiate the flashing process.
- Click on the
Zigbee Firmwarebutton. - Then press the
Start Flashingbutton.
- Click on the
- Monitor the progress and ensure successful installation.
- Set up your Zigbee hub in pairing mode and integrate the newly flashed sensor into your Zigbee network.
How To Change From C To F And Vice Versa
To change the sensor from Celsius and Fahrenheit and vice versa do the following:
- In Home Assistant: Go to Settings > System > General > choose either C or F.
- On the device: Press the device button and hold it for 2 seconds (or connect “reset” to “gnd” they are above the battery for LYWSD03MMC): This Switches temperature between Celsius and Fahrenheit. The change will immediately appear on the screen.
Integrating the Zigbee Sensor in Home Assistant
Home Assistant offers a user-friendly interface for managing Zigbee devices. By adding the Zigbee integration, you can seamlessly incorporate your Temperature & Humidity (TH for short) sensor (or other sensor having TLSR825x chip) into your smart home ecosystem. Follow these steps:
- Access Home Assistant settings and navigate to Devices and Services.
- Add Zigbee Home Automation integration.
- Add a new Zigbee devices using the Zigbee Home Automation Integration
- Customize settings and create automations based on your preferences.
Battery Life Considerations
While the transition to Zigbee offers numerous benefits, it’s essential to monitor battery life, especially after firmware updates. Past issues regarding battery drain have been addressed, so it is recommended to keep an eye on performance.
Share Your Experience:
Join the community of smart home enthusiasts and share your experience with the Zigbee-enabled Xiaomi sensor. Whether it’s success story, tips, or troubleshooting advice, your input can help others make the most of their devices. So don’t hold these things only for yourself and share them in the comments bellow. Thanks!
Grab my Smart Home Glossary for free it is one big PDF file full of Smart Home wisdom.
I’m Kiril, Thanks for reading, and I’ll see you in the next one! Bye
Hello Kiril,
Thanks for the wonderful work that you are doing, I have followed many of your videos and they helped me build a better smart home, I’m having a problem with this Xiaomi Bluetooth humidity sensor I did everything as per your instruction, but every time I’m getting unsupported device when pairing it with Zigbee2mqtt also I have tried the instruction from this website “https://www.zigbee2mqtt.io/advanced/support-new-devices/01_support_new_devices.html” but i still can get it to work, I would appreciate your help, please.