
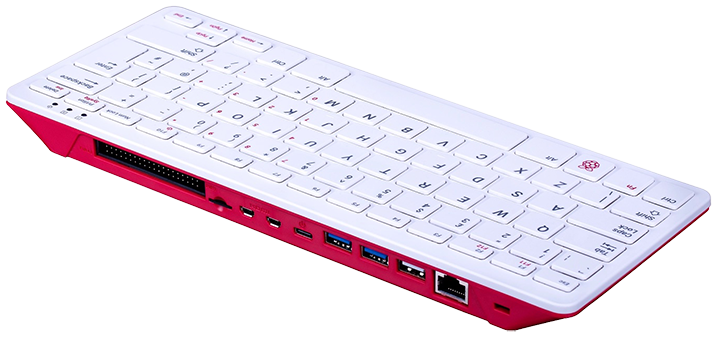
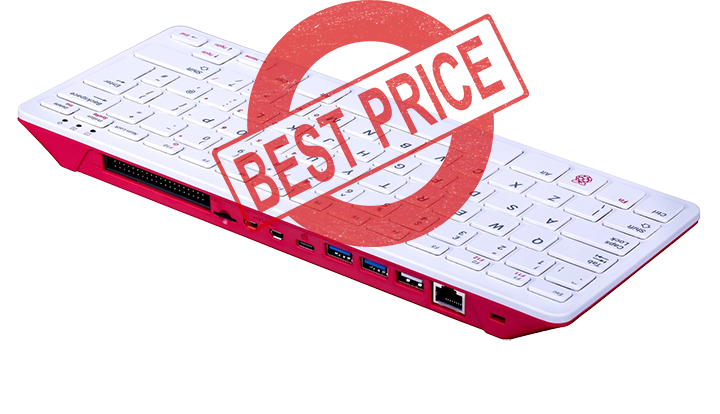
Raspberry pi 400 is a personal computer built into a keyboard. If you are wondering how it looks like, what are the Raspberry Pi 400 Pros and Cons and how to setup it – read this article first and decide by yourself is it worth buying it.
VIDEO
Table of Contents
What is Raspberry Pi 400?
Raspberry Pi 400 is a computer inside a keyboard. To use it you have to attach a Monitor and a Mouse, then you can boot into a fully functional linux based Operating System using SD card or USB drive.
It is great for education and Home Office, the cost of the device is low and it is portable enough to cary it around (of course without the Monitor). It is ideal for learning programming skills, IoT and networking, or just to use it for basic office tasks.
Raspberry Pi 400 vs Raspberry Pi 4
Raspberry Pi 400 is actually a Raspberry Pi 4 inserted into a white keyboard.
Hmm, yes and no!
We get the same Raspberry Pi experience, but with far fewer wires and slightly faster processor. Raspberry Pi 400 @ 1.8GHz and Raspberry Pi 4 @ 1.5GHz.
Raspberry Pi 400 is also having better cooling, but it lacks CSI connector for the Raspberry Pi camera.
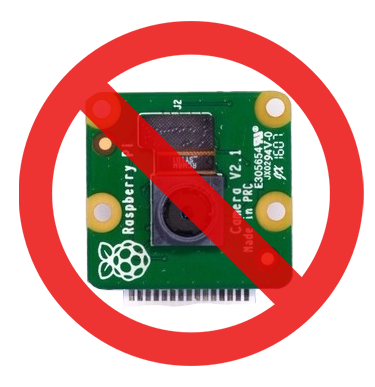
Raspberry Pi v2 Camera 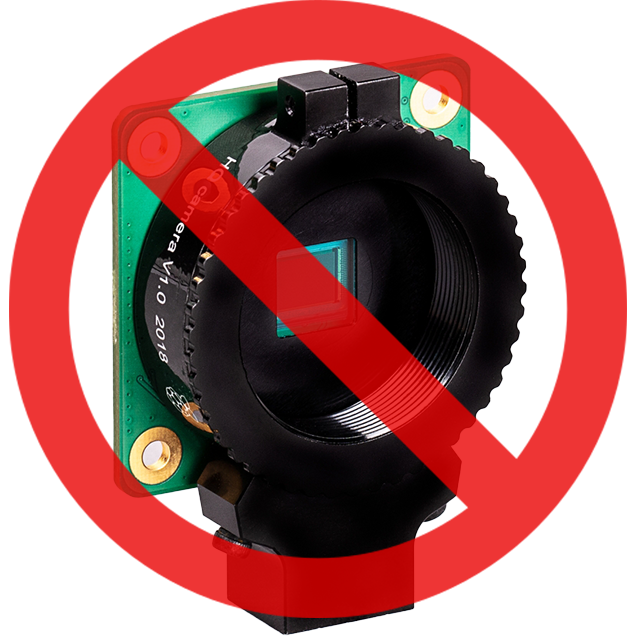
Raspberry Pi HQ Camera
Unlike Raspberry Pi 4 you can’t have the Pi 400 with 8Gigs of RAM, at least for now and there is no 3.5mm audio output in the Raspberry pi 400.
What you need for the Raspberry Pi 400
To start the Raspberry Pi 400 you need several things.
Here is a list:
- Monitor
- Mouse
- SD Card
- USB-C 5.1V 3A Power Supply
- HDMI to HDMI Micro cable
Chances are that you have some or all of the things above If you bought a Raspberry Pi 400 Kit like this one (AliExpress Affiliate link) 👉 LINK
If not, below are my recommendations and some best sellers.
ATTENTION: For your information and because I’m always trying to be as honest as possible. I want to say that I’m using affiliate links in the sections below. If you buy something from these links I will receive small commission with no added value for you.
Monitor
You can use everything that have HDMI input here, even a TV!
But if you are thinking to spend hours working or studying on the Raspberry Pi 400 – you better invest in a good (and big) monitor to protect your eyes as much as possible.
Here are some of the Amazon Best Sellers:
- Acer Monitor available from 21.5″ to 27″ with one of the best ratings in Amazon that I ever seen.
2. And frameless Philips Monitor 22″ – 27″ with 4 year advance replacement warranty.
SD card
Again you can use whatever SD card you wish and already own as long as it is at least 8GB. You can also boot from USB drive, where SSD drives are preferable, but not every SSD will work as expected.
You can find a list of tested and confirmed working USB devices with the Raspberry Pi in this article of mine.
If you want to go with SD cards, here are few examples:
USB-C Power Supply
The power supply is very important for the normal and stable operation of any Raspberry as well as for any computer as a whole. The best will be to use the original USB-C Power supply that Raspberry organisation sells.
Of course you can use any alternatives as long as they are providing 5.1V 3A as output. For example this one (Amazon Affiliate link) 👉 LINK
HDMI cable or adapter
HDMI cable is also needed, but if you are going to use a standard HDMI cable you have to use it with Micro HDMI adapter. Or you could buy a HDMI to Micro HDMI cable
To power up the Raspberry Pi 400 for the first time we have to write the Raspberry Pi OS image on a SD card.
Write Raspberry Pi OS on SD card
And before you even ask – yes, you can smash that Subscribe button for my Newsletter 🤣
Now let’s burn that Raspberry Pi OS.
Go to the download section of https://www.raspberrypi.org/software/ and get the Raspberry Pi Imager for your operating system.
Start it, insert a SD card in your computer SD card slot or SD card reader and choose Raspberry Pi OS (32-bit)

Then select your SD card and click on Write button.
After the writing and verification processes finished – just unplug and plug the SD card into the SD card slot in your Raspberry Pi 400. Connect all cables and power it on.
You will be welcomed by an initial wizard that will help you to setup the Wi-Fi, Screen resolution and some other things on your Pi 400. Follow the instructions and you will be ready in no time.
After that you can check my Raspberry Pi 400 Pros and Cons
Raspberry Pi 400 Pros and Cons
Raspberry Pi 400 is a great present for someone who loves plug and play devices and it doesn’t want too many cables and bare computer boards around. It is also great for a child, taking first steps into the computer world.
The price is fine – the standalone Raspberry Pi 400 retail for around $70 which is $15 more than a Raspberry Pi 4, but you will get an added keyboard and a CPU speed bump.
On the other side of the medal, the Raspberry Pi 400 is not as smooth as any modern laptop and it will hardly beat them in anything except the price.
If you want to use it for something other than browsing the web, edit documents, sending emails or checking the social media you may have to wait.
Support my Work!
I really hope that you find this information useful and you now know how to setup a Raspberry Pi 400 pros and cons and is it worth buying it.
If you want to secure this blog existence you can become one of my supporters. You can see exactly how in this section of my site.
I can’t thank enough to all wonderful guys that are supporting my work already – you are amazing!
Any other sort of engagement on this site and my YouTube channel does really help out a lot with the Google & YouTube algorithms, so make sure you hit the subscribe, as well as the Like and Bell buttons.
If you are just entering the Smart Home world you could also buy my digital product called: Smart Home – Getting Started Actionable Guide 👉 LINK
Also feel free to add me on Twitter by searching for @KPeyanski. You can find me on my Discord server as well.
Stay safe and don’t forget – Home Smart, But Not Hard!
Have you tried if the keyboard works as a standard USB device when attached to another machine, for example a standard Pi4?
No, I didn’t tried that, but I’m pretty sure that it will not work that way. It is interesting to me why do you want to use it as keyboard only? Can you please share?
Thanks. I didn’t think it would work… but wanted to check before I select a new Pi model.
If it *did* work, it would be useful for direct console access to devices that are not configured to use SSH or remote access or for initial setup without using extra hardware.
I guess I’d prefer to use a standard Pi4 with wireless keyboard, so there are less cables on the desk and the keyboard can be connected to other devices as well.
Yes, that sounds like a good plan. Good luck with whatever you choose.