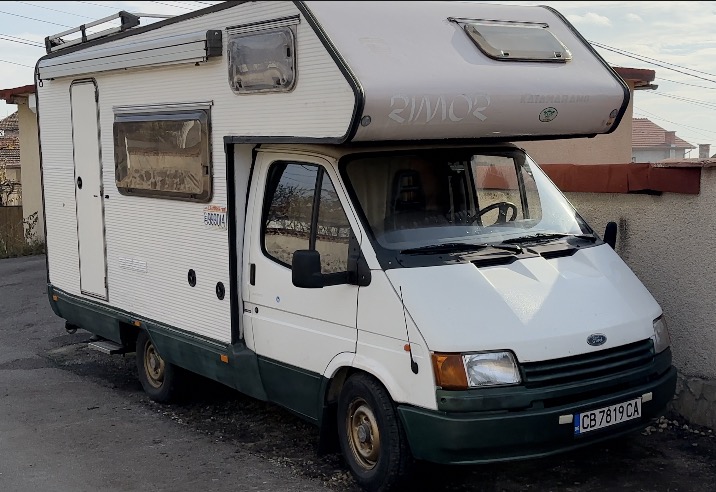
DIY Home Assistant Alarm System and several smart sensors is very easy and today I’m about to share my experience on how I did mine alarm in my RV. I will talk about Camper alarm here, but the principle and process is exactly the same if you wish to create a Home Assistant Alarm in a home, boat, office or whatever.
Table of Contents
What is the end goal of the Home Assistant Alarm System?
The end goal is the following:
- When I enter in my Camper (again this can be house, flat, etc…), a Smart motion sensor or a door/window contact sensor will detect this action and the Home Assistant Alarm will go into pending state.
- When the alarm is in this state, I’ll have to enter a secret predefined code within several seconds.
- If the code is correct the alarm will be disarmed and nothing more will happened until the alarm is armed again.
- Otherwise, if the code is not correct or the pending seconds passed without any code entered – the alarm will be triggered.
Depending of the preferences and the devices that someone have: a sound, lights, phone notifications and calls can be automatically started to inform that there is a potential intruder.
What software and devices are needed for the Home Assistant Alarm System?
All of the above was the general idea on a high level. Here is what software and devices are needed this to become reality.
- First thing is a working Home Assistant. If you don’t have such yet, you can register for my Webinar where I will talk in details about the official ways to run Home Assistant + 1 stupid easy way to get started on a PC in under 5 minutes.
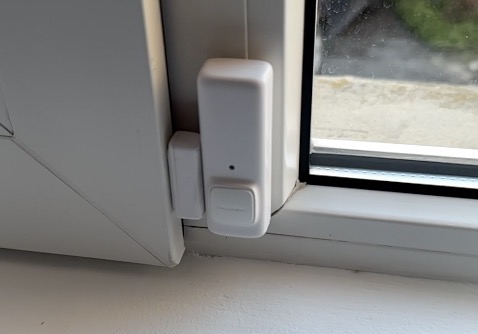
- Next thing needed is one or more Smart Security Sensors. These could be: motion sensor(s), door/window contact sensor(s), vibration sensor(s) or something similar. The only condition is this sensor to be able to work with Home Assistant.
What security sensor will I use for todays project?
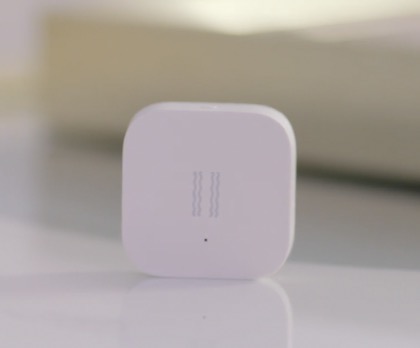
I will use Shelly Motion 2 sensor for today’s article.
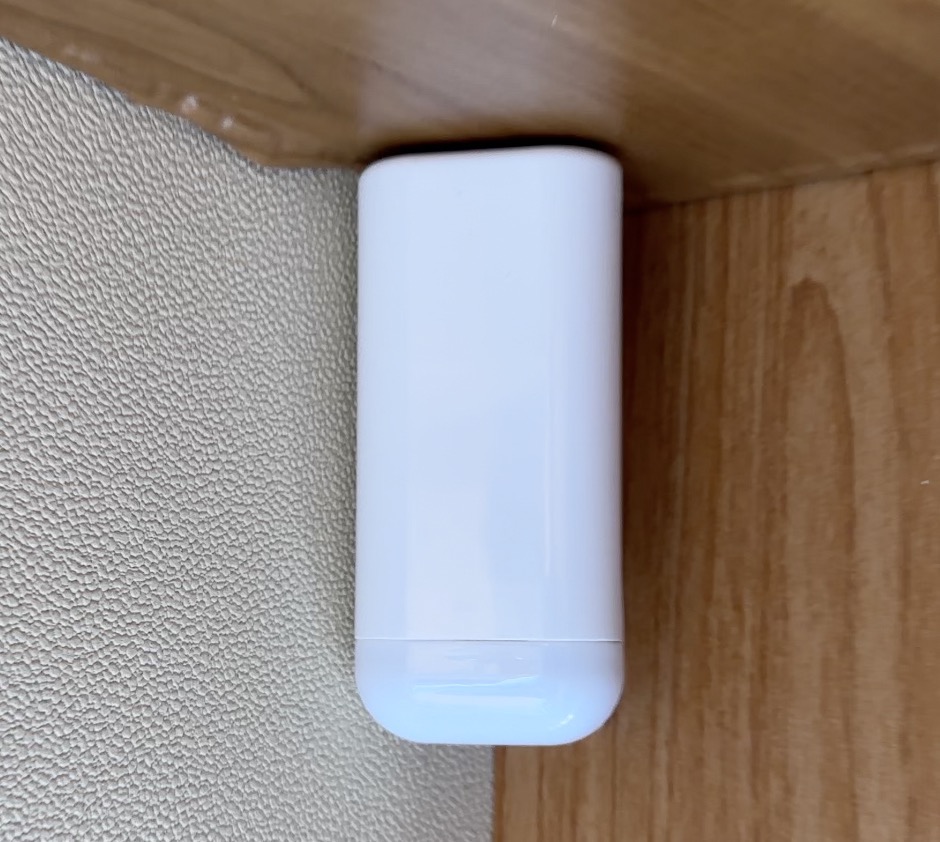
Shelly Motion 2 (in the official Shelly Store) – https://amzn.to/34d88VR
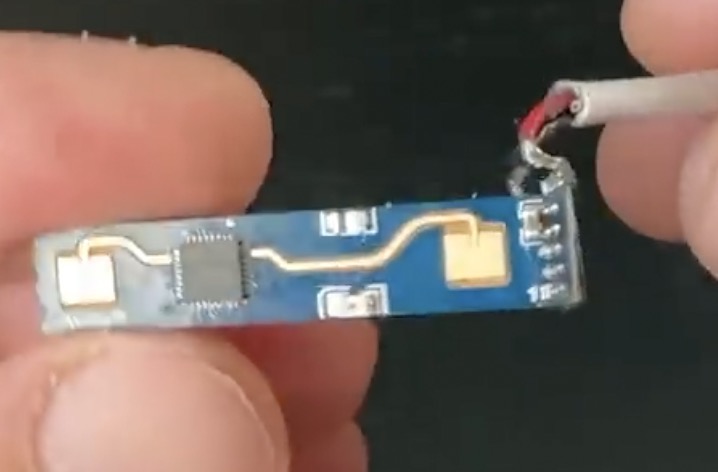
You can also use other sensors like the one that I’m showing in my DIY Human Presence sensor tutorial. It is a great motion sensor that cost under $5 – How to detect human presence with LD2410B sensor and Home Assistant
Other Optional Sensors
All other things from now on that I will write about are optional or nice to have.
Control Panel
A control panel, which will be an always on device with ready to use software on it that allow disabling/enabling the alarm (and not only that).
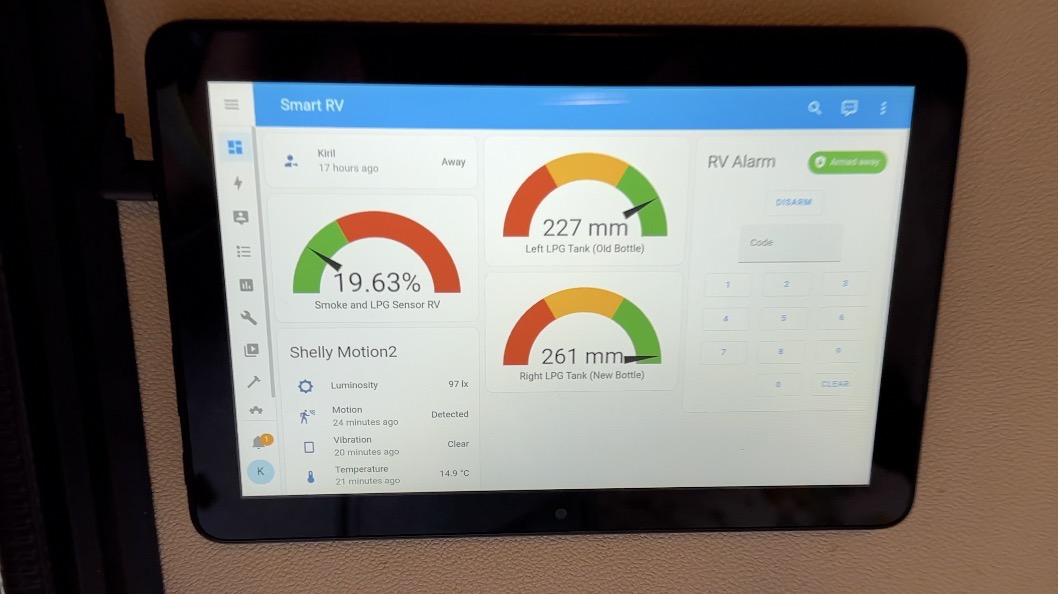
It will be good to have such a control panel mounted near the entrance(s), but it is not a must. You can always use your phone to dial the alarm code.
This is how the Home Assistant Alarm card is looking like on a mobile phone. In my case it is an iPhone, but Android look is exactly the same.
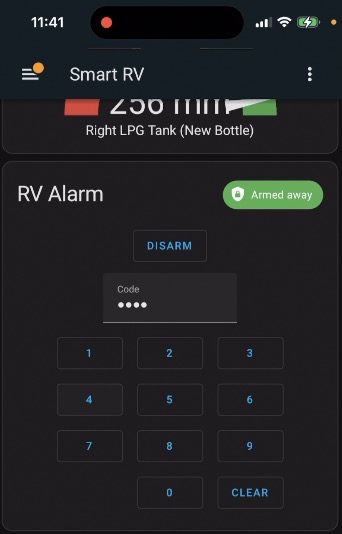
Using a control panel is just more convenient, because if you forget your phone you will not be able to enter inside your place without activating the alarm.
If you want more information about how to make your own Smart Home Control Panel check my article from last week where I’m explaining how I did mine – How to Create Your Own Budget-Friendly Smart Home Control Panel
Smart Speakers, Sirens & Lights
Next optional things are a smart speakers, smart sirens, and smart lights.

These are needed if you want to start playing some alarm sounds, Text-To-Speech messages or lights effects when the alarm is triggered.
If you don’t want such additional special effects, you can always send some notifications to your phone silently without informing the intruder in any way.
I will leave some affiliate links to several compatible smart speakers, sirens and lights if you want to check them out.
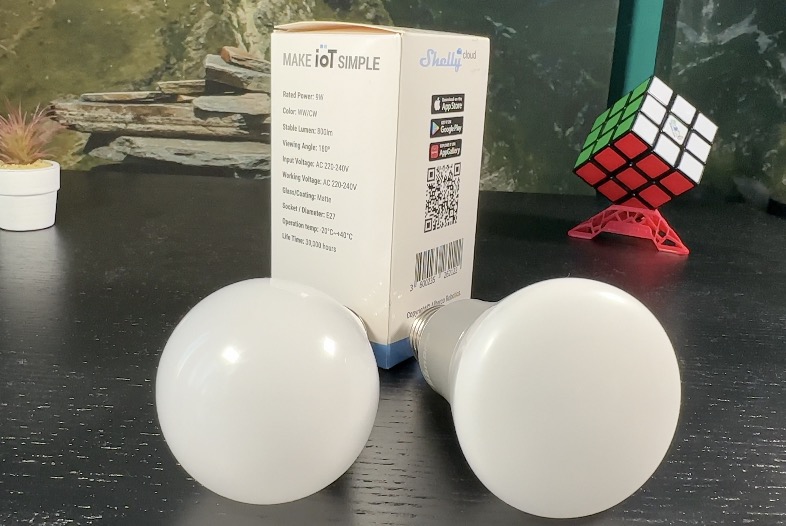
► COMPATIBLE SMART LIGHTS
- Shelly Bulb DUO – https://amzn.to/34d88VR
- Shelly Bulb RGBW – https://amzn.to/34d88VR
- Shelly Bulb RGBW GU10 – https://amzn.to/34d88VR
- SwitchBot Color Bulb – https://bit.ly/3GBDnh9
- Shelly RGBW2 – https://amzn.to/34d88VR
- Sonoff RGB Bulb – https://amzn.to/3tO5P8f
► COMPATIBLE SMART SPEAKERS & SIRENS
- Amazon Alexa Echo Dot (5th Gen, 2022 release) – https://amzn.to/3JFIYUN
- ESP Muse Luxe – https://amzn.to/3ILr6WN
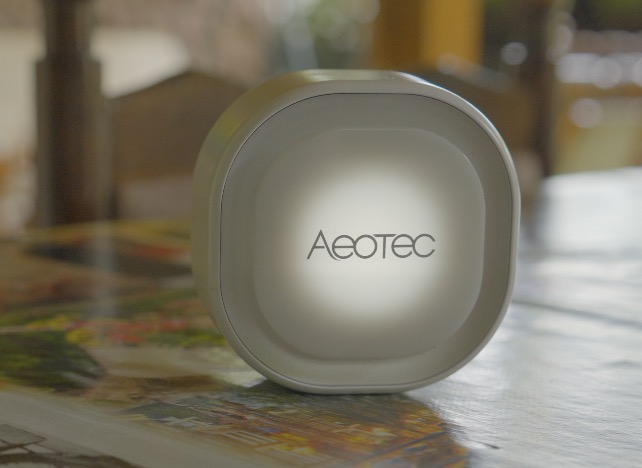
- Aeotec Siren 6, Z-Wave Plus S2 Enabled – https://amzn.to/3xipHmc my article about it – LINK
More Security Sensors
Next, and final optional thing, before I move on to the implementation are more Security Sensors.

Using more Smart security sensors depends entirely of your preference and the level of security that you want to achieve, and of course, of the premise that needs to be guarded. It is totally different if you want to guard an entire house with several floors compared to a single room or as it is in my case a Motor Home.

It is your choice whether to add just one motion sensor for example, or dozen, as whether to add contact and vibration sensors on every window and door that you have.
Here are some ideas for Smart Security Sensors that you can use for your Alarm system.
► COMPATIBLE MOTION SENSORS
- Shelly Motion 2 – https://amzn.to/34d88VR
- LD2410B motion sensor (AliExpress) – https://s.click.aliexpress.com/e/_DFFkfSx my article – LINK
- LD2410 motion sensor (Amazon) – https://amzn.to/3YtAu81 my article about it – LINK
- SwitchBot Motion Sensor – https://bit.ly/42enTbp
- SwitchBot Motion Sensor Combo – https://bit.ly/3JFdkXx
- Aqara Motion Sensor P1 (Zigbee) – https://amzn.to/3LoE144
► COMPATIBLE DOOR/WINDOW SENSORS
- Shelly Door Window – https://amzn.to/34d88VR
- SwitchBot Contact Sensor – https://bit.ly/3TiYGIT
- Aqara Door and Window Sensor (Zigbee) – https://amzn.to/3lgQtZ8
How to create a Home Assistant Alarm System?
Now, here comes the good part – the actual implementation.
These are the steps that I did:
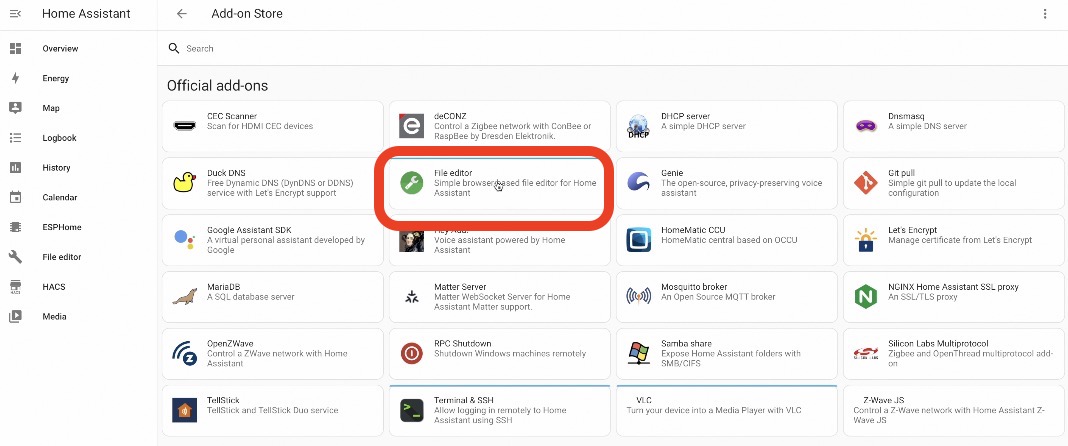
- Inside Home Assistant I will open the File Editor add-on which is available as one-click install in the Home Assistant Add-on store.
- Using the File Editor, I opened my
configuration.yamlfile. Inside it I pasted the following code.
# Example configuration.yaml entry
alarm_control_panel:
  - platform: manual
    name: Home Alarm
    code: "1234"
    code_arm_required: false    # code is not needed for alarm to be armed
    disarm_after_trigger: false # the alarm will not disarm after it has been triggered
    arming_time: 20           # Time to leave the RV after arming
    delay_time: 20            # Time to enter the code after entering the RV
    trigger_time: 300           # The time in seconds in which the alarm is firing.
    disarmed:
      trigger_time: 0           # Alarm can't be triggered when disarmed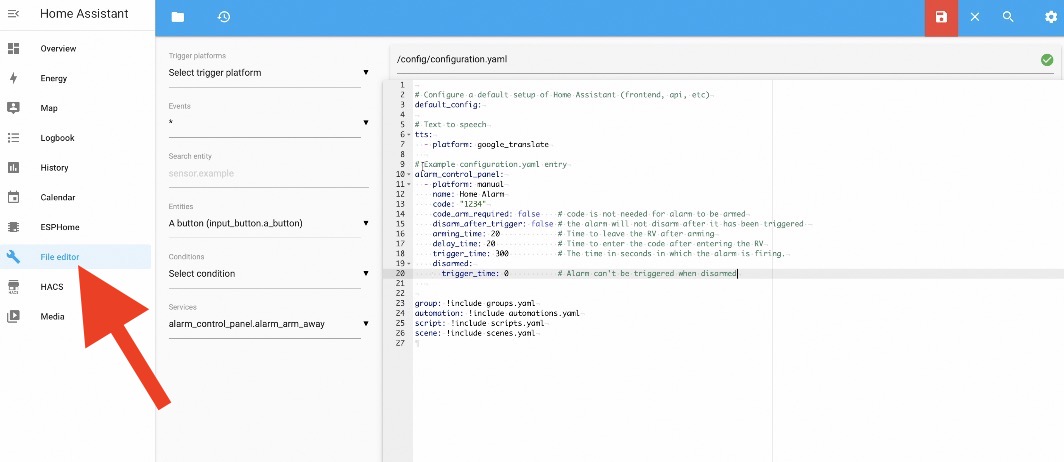
This YAML code is actually adding the manual alarm control panel platform, which will allow me to create the alarm system in Home Assistant and to add the Alarm Card on the Home Assistant dashboard, as you’ll see later.
Most of the rows are well described with the comments, but here is a link to the Home Assistant documentation where you can see what every row is doing – https://www.home-assistant.io/integrations/manual/
As summary, the above code will:
- set a security code of 1234 that can be used to disarm the alarm –
code: "1234" - set the alarm to not ask for a code when alarm is armed –
code_arm_required: false - set the enter and leave time to 20 seconds –
arming_time: 20&delay_time: 20
After I’m ready with the above YAML code, I will save the changes and I will restart my Home Assistant.
How to add the Alarm Panel in Home Assistant?
When Home Assistant has started, I will add the Alarm card on my dashboard, so I can arm and disarm the alarm from the provided alarm card that have a keypad for the code and arm and disarm buttons.
And with that I’m almost ready, I just have to add few Home Assistant automations, let me explain:
Adding some Home Assistant Alarm System automations
The first automation will be triggered from the security sensors, in my case the one and only Shelly Motion 2 sensor.
alias: Trigger alarm while armed away
description: ""
trigger:
- platform: state
entity_id:
- binary_sensor.shellymotion2_84fd271be41e_motion
to: "on"
condition:
- condition: state
entity_id: alarm_control_panel.home_alarm
state: armed_away
action:
- service: alarm_control_panel.alarm_trigger
target:
entity_id: alarm_control_panel.home_alarm
data: {}
- service: notify.mobile_app_kiril
data:
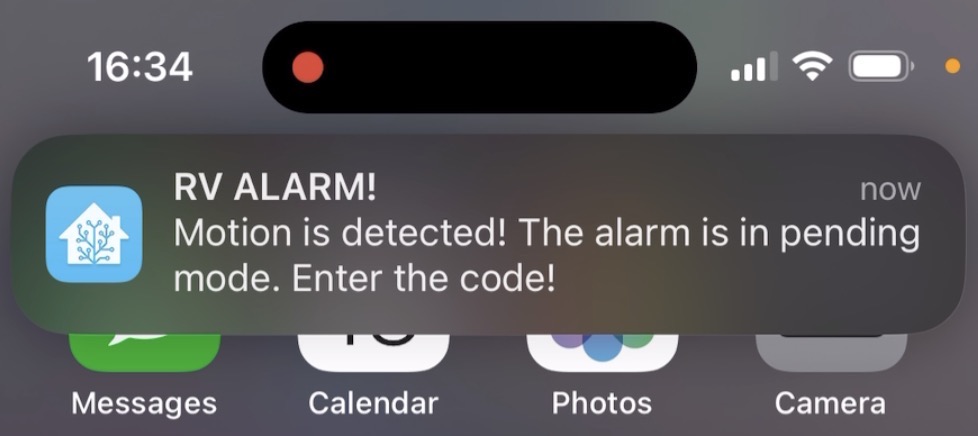
message: Motion is detected! The alarm is in pending mode. Enter the code!
title: RV ALARM!
- service: persistent_notification.create
data:
message: Motion is detected! The alarm is in pending mode. Enter the code!There will be one condition checking if the alarm current state is armed_away. If that is the case, the automation will execute the action, which is to put the alarm system in pending mode (alarm_trigger). That means, the Home Assistant alarm will expect the correct code to be entered, so that it can be disarmed. The automation will also send a notification to my phone and a persistent notification to remind me that the alarm is expecting to be disarmed.
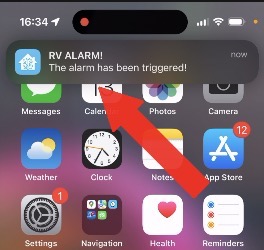
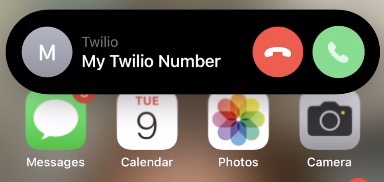
The second automation will send notifications to my phone and will call me when the alarm is actually activated. In other words if the entered code is wrong or no code is entered at all within the predefined pending time. I’m using Twilio Home Assistant integration for the calls.
alias: Send notifications when alarm triggered
description: ""
trigger:
- platform: state
entity_id:
- alarm_control_panel.home_alarm
to: triggered
condition: []
action:
- service: notify.mobile_app_kiril
data:
message: The alarm has been triggered!
title: RV ALARM!
- service: notify.twilio_calls
data:
message: ALARM! The alarm has been triggered
target: MY_PHONE_NUMBER
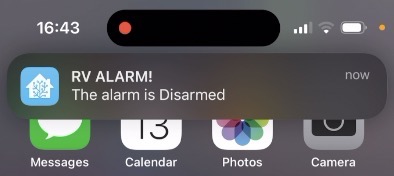
mode: singleThe third and final automation will be activated when the alarm is successfully disarmed, because the correct security code was entered. And the automation will just send notification to my phone that the alarm is disarmed.
alias: Send notification when alarm is Disarmed
description: ""
trigger:
  - platform: state
    entity_id:
      - alarm_control_panel.home_alarm
    to: disarmed
condition: []
action:
  - service: notify.mobile_app_kiril
    data:
      message: The alarm is Disarmed
      title: RV ALARM!
  - service: persistent_notification.create
    data:
      message: The alarm is Disarmed
mode: single
The YAML code of these automations can be modified as you wish. You can copy and paste the automations code in your Home Assistant and you can freely modify them to your preferences.
Testing the Home Assistant Alarm System
But there is more, I have to test everything. So, I pretended that I’m a burglar.
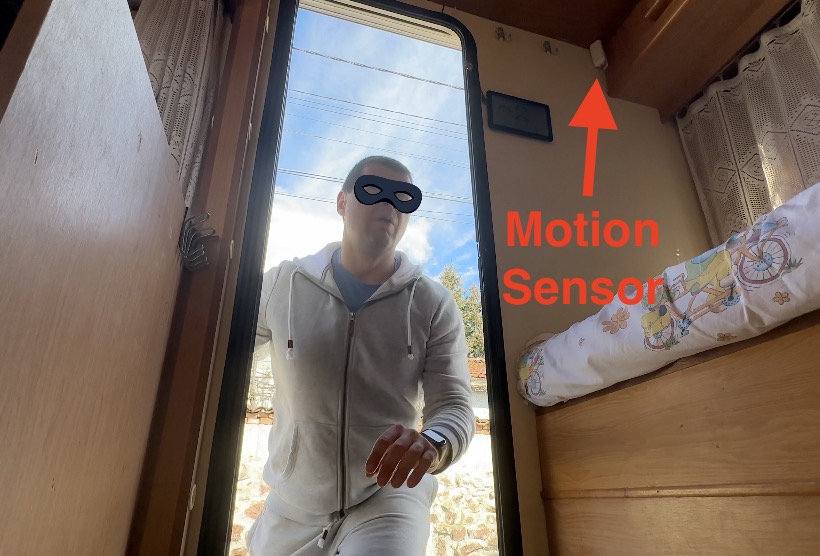
I entered in my Camper and I “started to look” for valuable items. Immediately, I (not burglar me) received a message saying that motion is detected and security code have to be entered.
After 20 seconds, as I predefined using the delay_time option in my Home Assistant alarm settings. I received another message and a call saying that the alarm is activated exactly as expected. So I can freely go and kick out the intruder.
Thankfully, the intruder is me, but I can’t kick myself out don’t I?

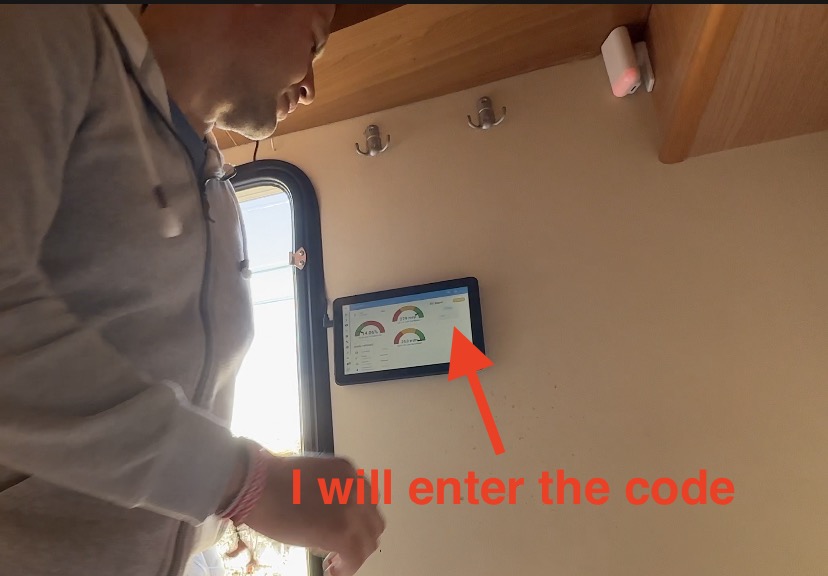
Anyways, in the next test case I entered in the camper again, but this time I dialled the correct security code and everything was fine and no violence is needed. I received a message on my phone saying that the alarm is disarmed.
Smart Home Glossary?
And just like that I have a working smart Home Assistant Alarm System in my Camper, using one motion sensors and 10minutes of my time.
Download my Smart Home Glossary from my website for free and use it whenever you face an unknown Smart Home word or acronym.
Thank you for reading, I’m Kiril see you next week. Bye!