
Do you ever wanted to see in real time how much propane have left in your gas tanks? Well, I do and I managed to do that thanks to some smart sensors and Home Assistant. Today, I will show you which sensors I used and how I added them in my Home Assistant.
Table of Contents
Smart RV conversion series
For the newcomers, this is part 3 of my Smart RV conversion, until now I showed the current state of my camper in the first episode as well as it’s price and what I’m planning to do.
Then, I installed 4G Wireless Router, Home Assistant on a Raspberry Pi and a backup camera in episode two and now I will gradually start adding smart sensors in my RV and integrating them with my Home Assistant.
What Home Assistant compatible Sensors will I use to monitor the LPG tanks?
The first sensors that I’m going to add in the RV and the Home Assistant running inside the RV are coming from a company called Mopeka and the exact model of the sensors is Mopeka Pro Check
Is this applicable only for Motor Homes?
As summary – No! But read the full paragraph below to understand why!
The Mopeka sensors that I’m going to use are small, battery powered, they are using Bluetooth for communication and can be placed on any Steel or Aluminium propane tank in a matter of seconds. That makes the method that I’m going to show applicable not only for Motor Homes, but pretty much for any propane tanks that are available. So, if you have some gas bottles around and you want to accurately measure their capacity of propane – stick till the end.
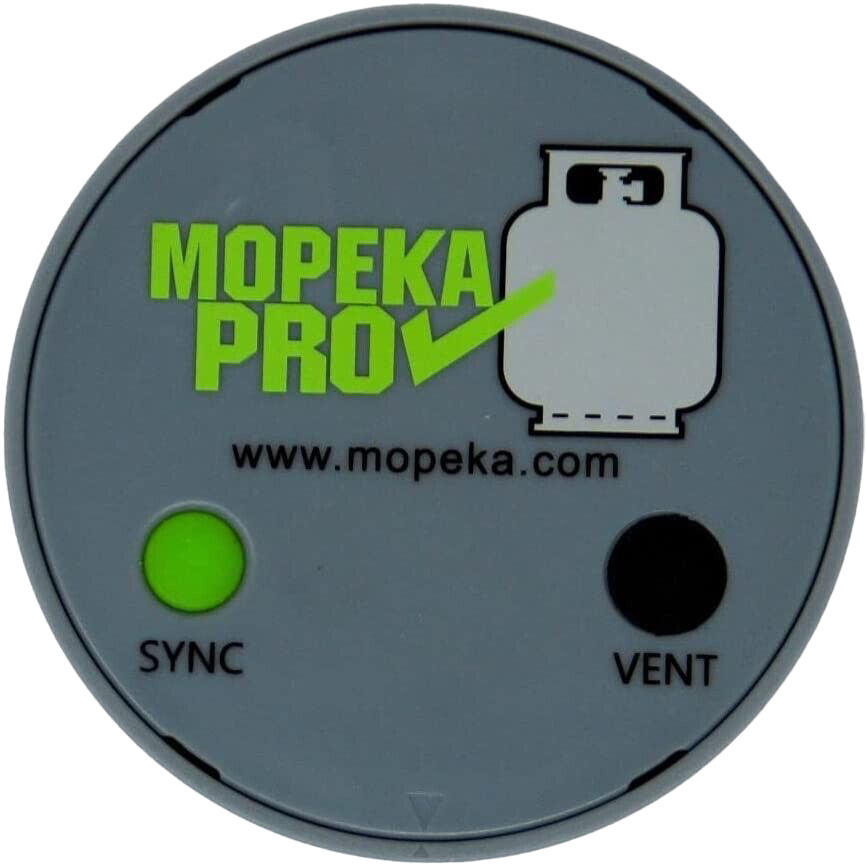
What is The Mopeka PRO Check sensor?
The Mopeka PRO Check Sensor is an ultrasonic sensor that can be used to monitor the level of propane and other pressurized tank commodities. It is compatible with all steel and aluminium LPG tanks up to 1000 gallons, both horizontal and vertical cylinders.
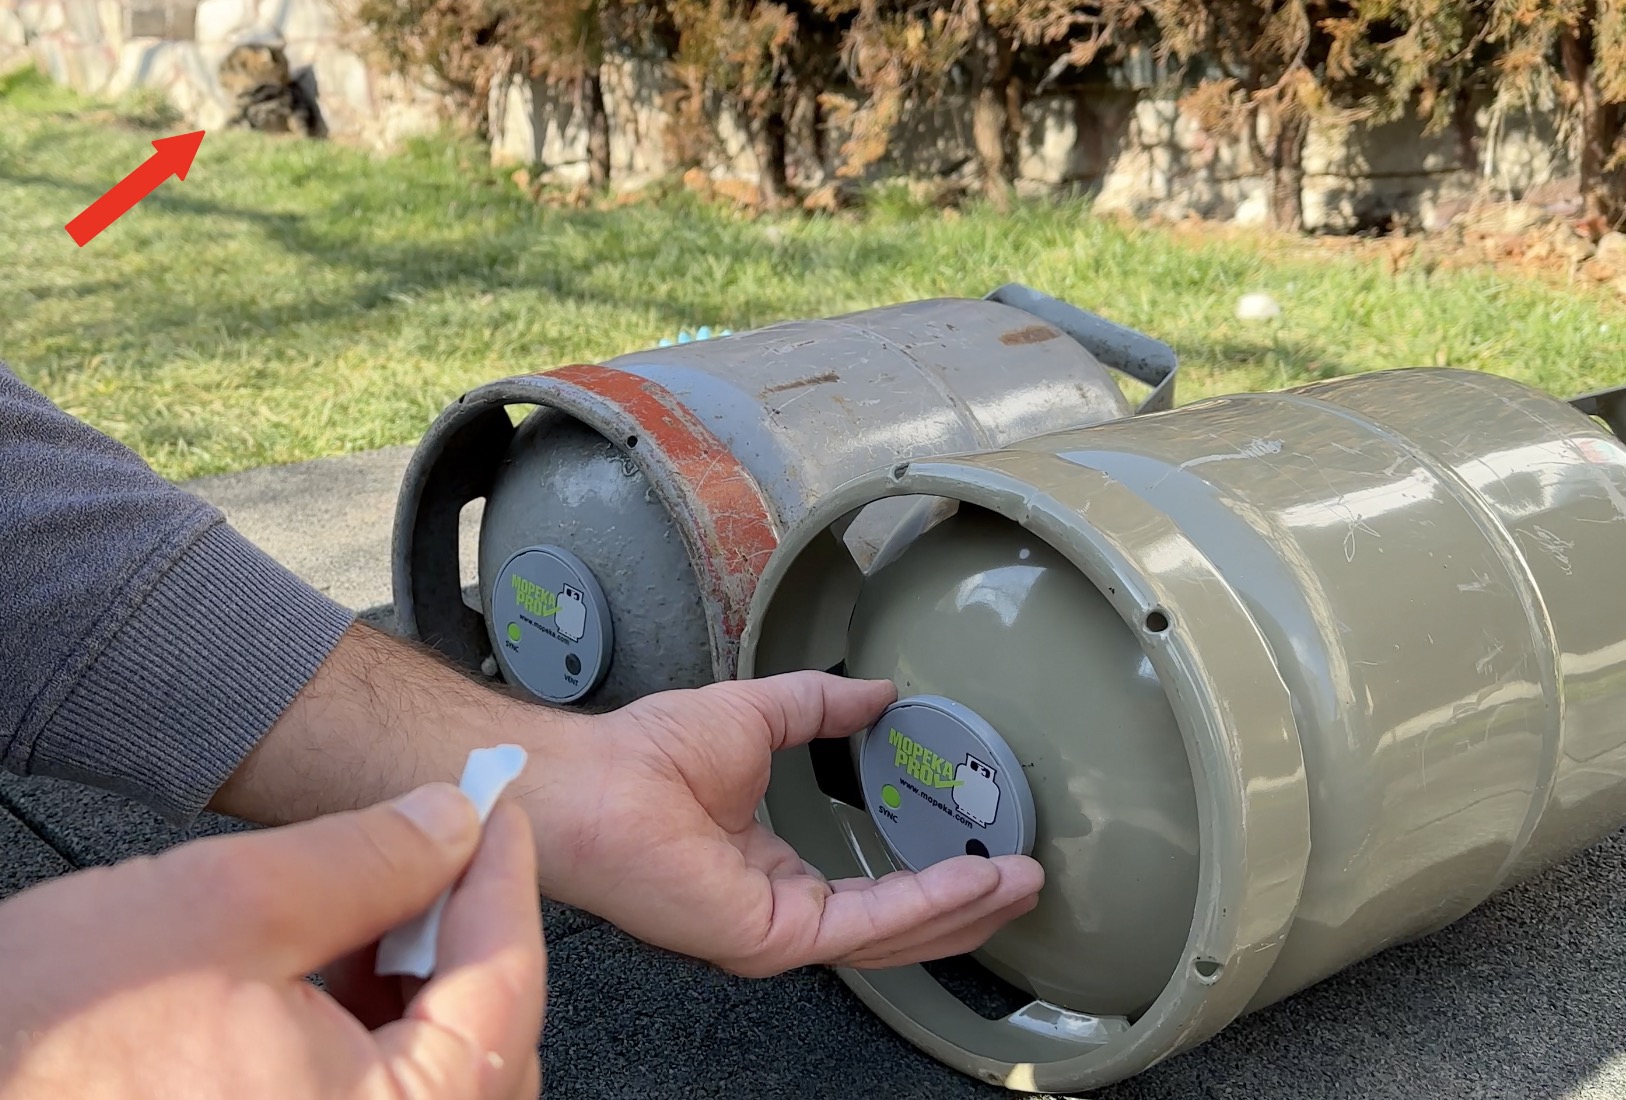
The sensor have to be mounted on the bottom of the tank with its magnets and a little sonic grease which is included in the package have to be applied for better measurements.
The readings of the sensor can be seen using the Mopeka Check mobile APP on a mobile device or as you’ll see in few moments with Home Assistant.
You can check the current price of the Mopeka Sensors here – https://amzn.to/3kh42a5
How To not Run out of Propane Again (Double Bottle LPG System)
Before I begin, I have to say that I added one more LPG bottle in my camper.
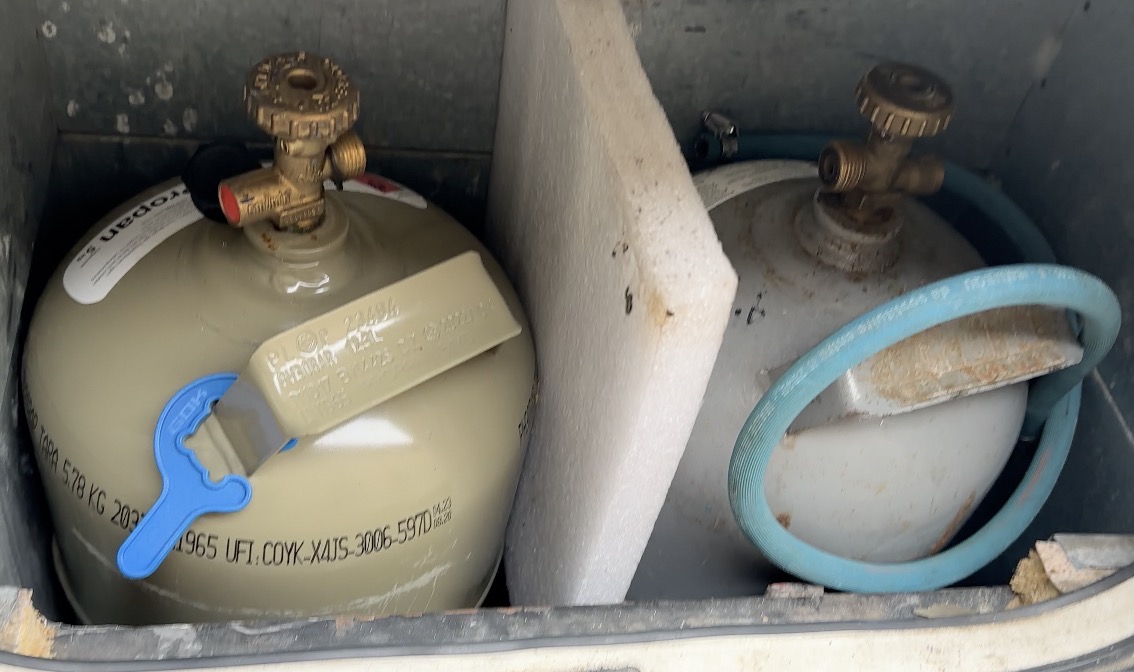
And I added one very clever double bottle LPG system that will allow me to drain one of the LPG tanks first and then the system will automatically switch to the second tank showing me that the first one is empty with a red indicator.
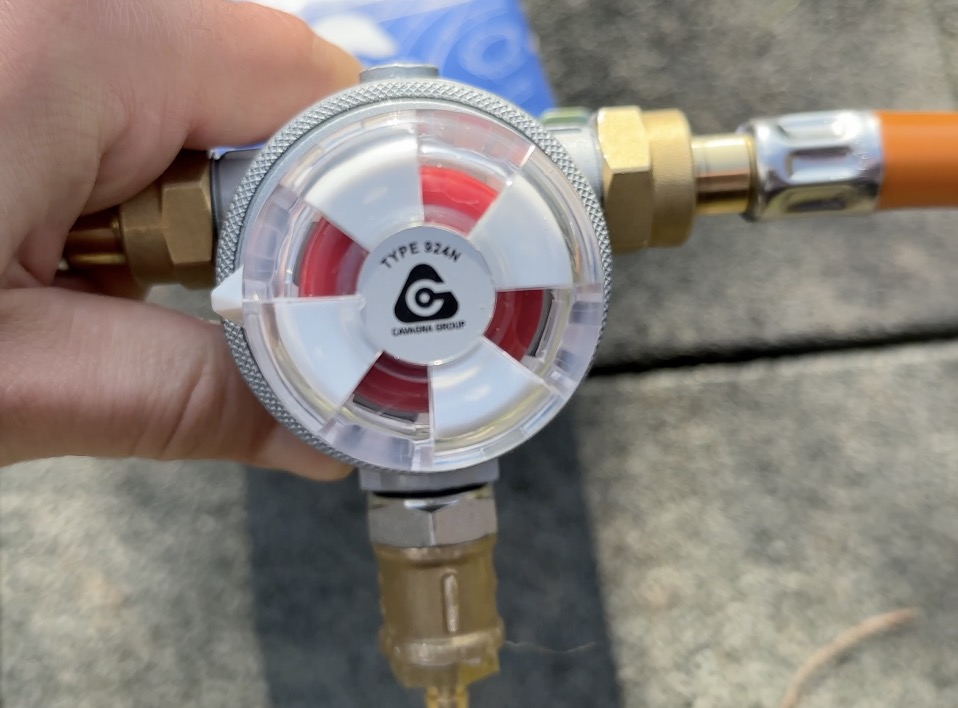
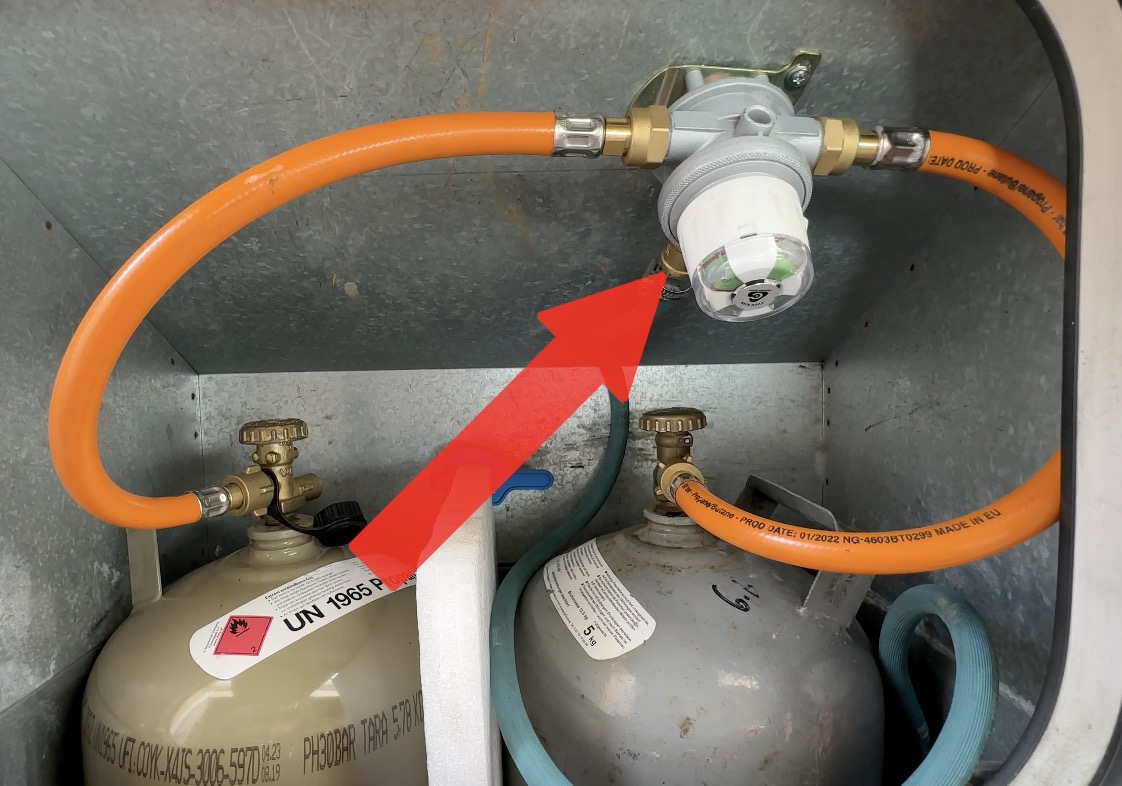
This is a nice and automatic way to have a backup and never run out of LPG/propane. That is because while one of the tanks is in use I can take out and refill the other one.
You can use this link, If you want to check it out as well – https://amzn.to/3Ha8aSc
However, what I wanted to say is that now I have two LPG tanks in my RV and that I want to monitor them both in Home Assistant.
To accomplish this I will simply have to use two Mopeka Pro Check sensors.
What is needed to monitor the propane tank level from Home Assistant?
Here is a complete list of what is needed for this project:
- First, one or more Aluminium or Steel LPG Tanks
- Second, one or more Mopeka Pro Check sensors
- And finally, one or more Home Assistant systems.
I’m kidding for the last one! You need only one Home Assistant, but it needs to allow installation of add-ons. In other words the installation type needs to be Home Assistant OS or Supervised.
If you got confused here, do not worry I have few simple solutions that will help:
- First one is my upcoming free Home Assistant Webinar where I’m explaining everything important about the different installation types of Home Assistant and which one you should choose if you want to have add-ons.
You can reserve your spot on my other website https://automatelike.pro/webinar absolutely for free.
- Second, check my episode 2 of my Smart RV conversion series where I’m showing how exactly I installed my Home Assistant in my Camper and you can use the same method.
If you do these two things, the fog if there is any will be permanently lifted and you will be more than capable to do the next steps by your own.
Of course, you can always ask for help in the comments section below if there is such need.
Manual Installation of Mopeka Pro custom component for Home Assistant
Anyways, apart from the LPG tanks, the smart Mopeka sensors and running Home Assistant, here is what more needs to be done.
First, I have to install the Mopeka Pro Check Custom Component which will allow me to monitor the Mopeka Pro Check sensors in my Home Assistant.
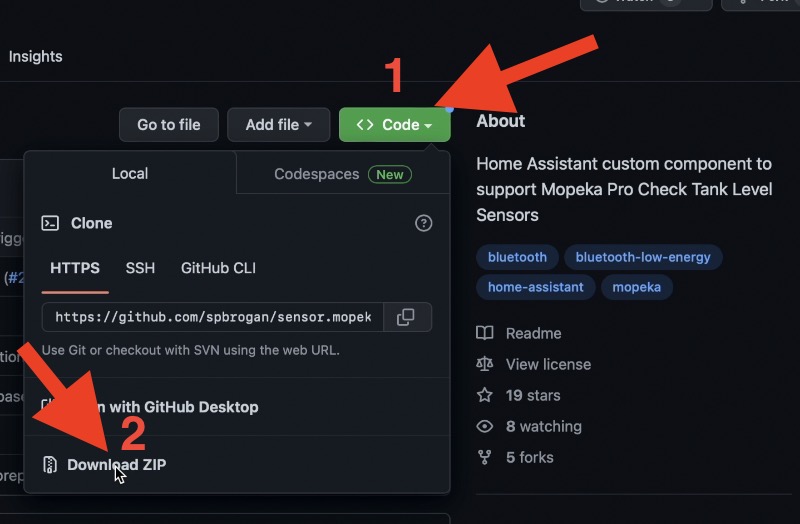
I will install it manually by copying and pasting some files downloaded from the GitHub repo of the Mopeka Pro Check custom components. All the credits here are going to Sean Brogan and his contributors which made this project possible.
- To copy the files from the GitHub to my Home Assistant I will download the files as ZIP archive.
- Then, I will install the Samba Add-on available in the Home Assistant Add-on store.
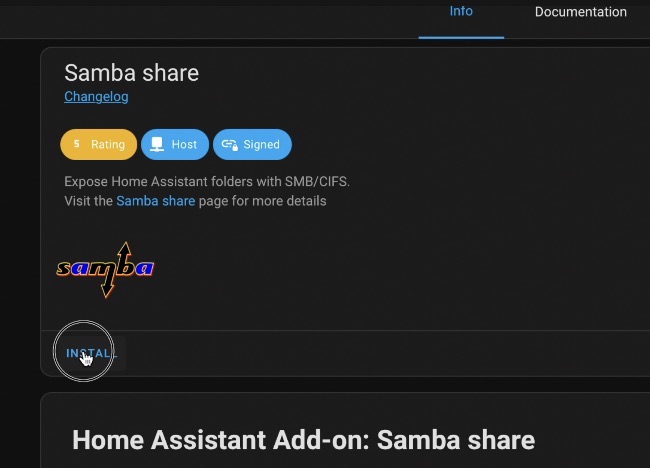
- After that I will connect to the shared folder that the Samba add-on will expose.

- Then, I will unzip the downloaded archive & I’ll paste the mopeka_pro_check/custom_components folder in my Home Assistant config folder. So at the end I will have custom_components/mopeka_pro_check folders and some python files inside my Home Assistant config folder.
Using HACS to install Mopeka Pro custom component
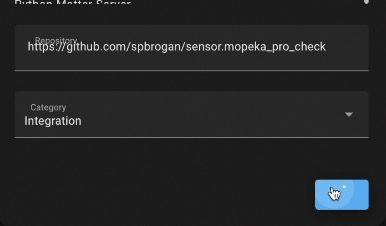
There is another method to install the Mopeka custom component and that is to use HACS or Home Assistant Community Store.
If you wish to know more about HACS, you can check my article How to install & use Home Assistant Community Store (HACS) | TUTORIAL, where I’m explaining everyтhing about it.
Once HACS is installed, you can add the Mopeka custom repository and then simply download it from the integrations section in HACS.
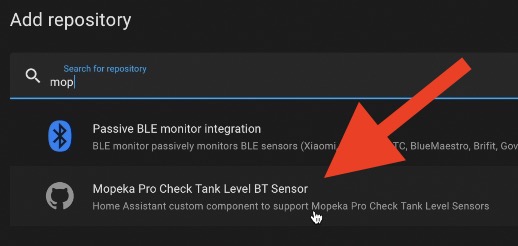
Both manual and HACS methods are fine and you can use either of them with the same success and the steps from now on are the same no matter how you managed to install the Mopeka Custom Component.
Adding the default Mopeka configuration in Home Assistant
Now I will add the default Mopeka configuration in my home assistant configuration.yaml file for that I will use one more Home Assistant add-on called File Editor.
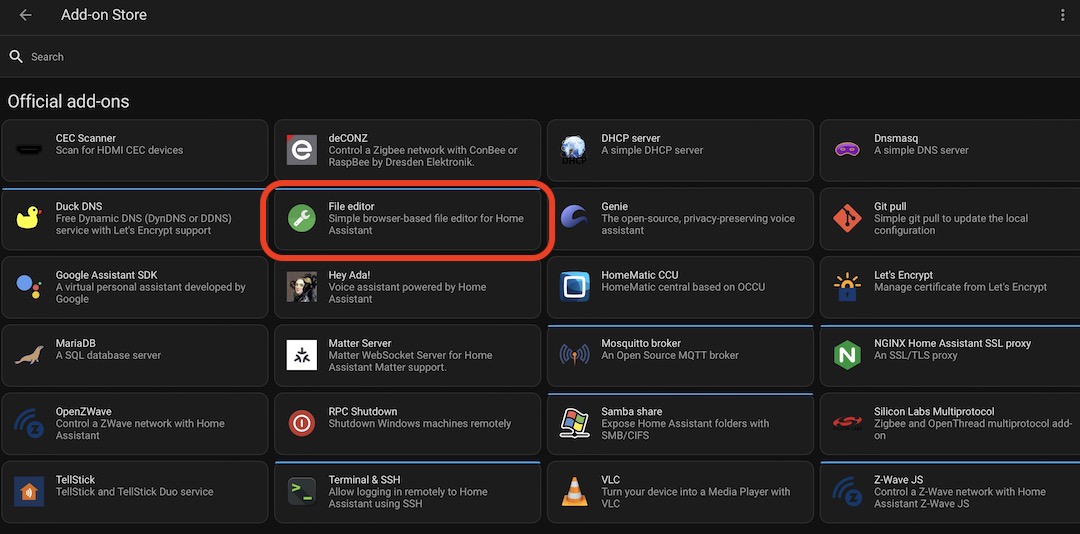
File Editor can be installed the same way as the Samba add-on from the Home Assistant Add-on store.
- Using the File Editor I will open the
configuration.yamlfile located in /config folder in Home Assistant. - I will get the default Mopeka configuration from the GitHub repo of the project (but you can get it from the snippet bellow) and I will paste it inside my
configuration.yamlfile
sensor:
  - platform: mopeka_pro_check
    mopeka_devices:
      # Just use default tank type
      - mac: "A1:B2:C3:D4:E5:F6"
        name: RV Right Tank
      # Set the tank type to a standard 20lbs vertical tank
      - mac: "A6:B5:C4:D3:E2:F1"
        name: RV Left Tank
        tank_type: "standard"
        tank: "20lb_v"
      # Set the max height in MM using custom tank
      - mac: "A0:B0:C0:D0:E0:F0"
        name: BBQ
        tank_type: "custom"
        max_height: 452.10
min_height: 23- When I’m ready I will save the changes and I will restart my Home Assistant.
I’m doing all of that because I need one Home Assistant service that is coming with the custom components to become available and this is the way the service to pop in Home Assistant. Using that service I will be able to find the MAC address of my Mopeka sensors.
Using a Home Assistant service to get the Mopeka Pro Check MAC address
The Home Assistant Mopeka Pro Check Custom Component service is designed for convenience. When called, it will pause scanning for 5 seconds and search for any Mopeka sensor that has its green “sync” button pressed. The service will then report the MAC address in the Mopeka Pro Check.discovered state. To use this feature in the Home Assistant UI, follow these steps:
- Open “Developer Tools” in Home Assistant.
- Go to the “Service” tab.
- Press the green button on your Mopeka sensor quickly 10 times to take it out of manufacturing mode
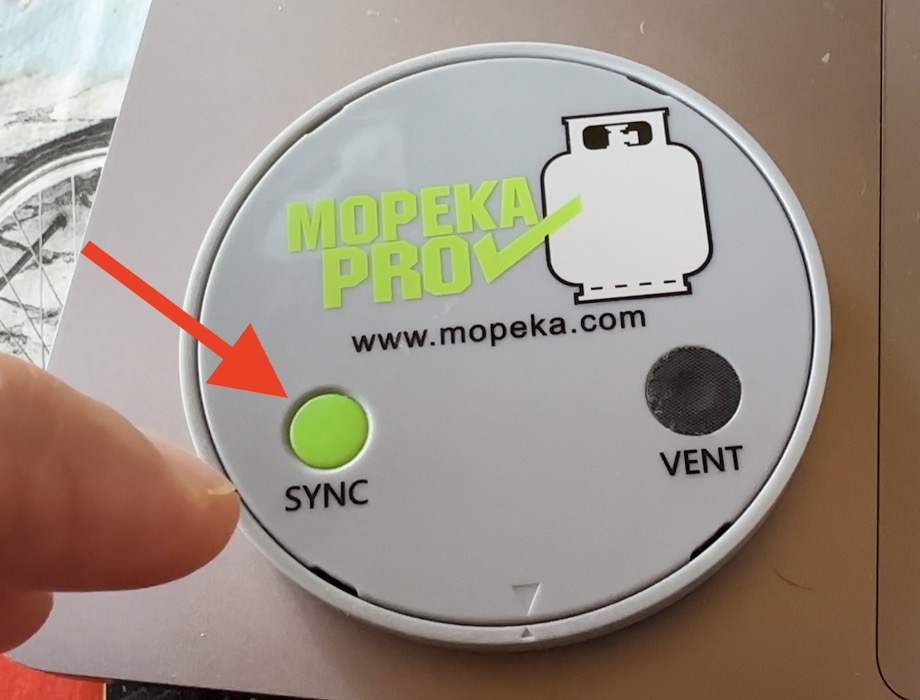
- Press the “Call Service” button in Home Assistant and then press and hold the green button on your Mopeka sensor.
- After 5 seconds, go to the “States” tab.
- Access the state of the entity “mopeka_pro_check.discovered”.
- Look at the “State” and you will see the MAC address for the Mopeka sensor that the SYNC button was pressed.
- Now you can go to your
configuration.yamland add the real MAC address of your sensor - Reboot and the new entity should show up.
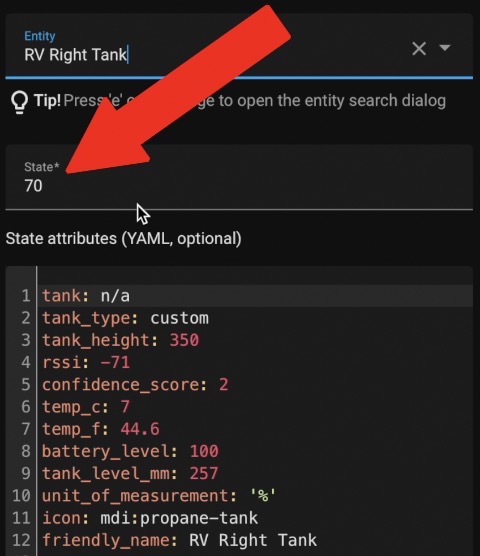
How to check the state of the Mopeka Pro Check Sensor in Home Assistant?
After changing the MAC address and after one more Home Assistant restart, If I go to Developer tools and if I check the state of my sensor I will see that the state is 0 no matter how much propane I have in the tank.
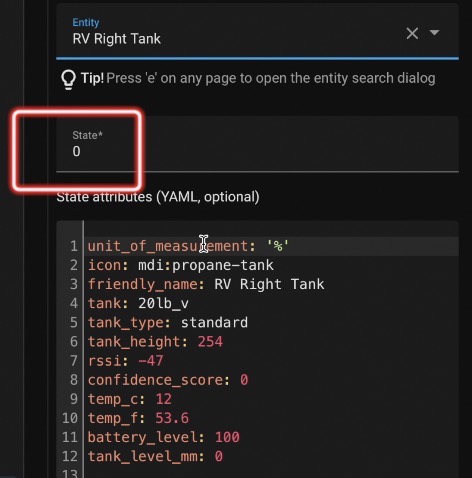
That is because I’m using a 5kg bottles that are not among the predefined ones in the Mopeka Pro Check custom component for Home Assistant.
How to define LPG custom tank in Home Assistant?
To fix the above described 0% problem, I had to use tank_type: “custom” and to manually measure the tank height and to enter the max height in millimetres.
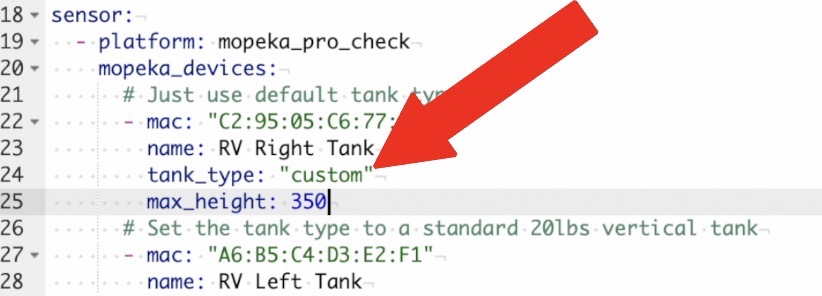
After I did that and after one more Home Assistant restart, the state of the Mopeka Sensor is now showing the percentage of fulness of the bottle correctly and it is almost identical with the value I got from the official Mopeka Check Mobile App. I guess a little fine tuning is needed to make it perfect (probably I should also ad min_height), but that is fine as it is for now.
How to add Home Assistant Card with the value of the Mopeka Pro check sensor?
I can add the value that my Mopeka Pro Check Sensor is showing on my Home Assistant dashboard using one of the included cards. Namely the Gauge card.

How to create a Home Assistant Automation that will warn if the tank goes below a threshold?
I also want to create a Home Assistant Automation that will warn me when the level of the propane tanks goes below some threshold. Here is my example automation in YAML code.
alias: Right RV tank goes below 5%
description: ""
trigger:
  - platform: numeric_state
    entity_id: sensor.rv_right_tank_2
    below: 5
condition: []
action:
  - service: persistent_notification.create
    data:
      message: The right RV tank goes below 5%
mode: single
If you want to test the above automation you should replace the entity_id with yours.
My Smart Home Glossary
By the way If some of the terms and abbreviations are not so clear for you – do not worry and just download my Smart Home Glossary that I created just for cases like this.
It is free of charge!
And it is instantly downloadable from my other website – https://automatelike.pro/glossary
Next episode?
In the next part of my Smart RV conversion series, I will add more smart sensors. Just to tease you a bit, I bought a Victron MPPT for my RV Solar Panels that I plan to add in Home Assistant and I’m looking for a suitable inverter that can help me stay off the grid.
If you have ideas and recommendations share them in the comments.
My Mopeka Story
I want to share that Mopeka was so kind to send me the Mopeka Pro Check sensors for free. It is a fun story, because I did a quick research about what sensors should I get for my RV LPG tanks and I selected the Mopeka ones, due to the Home Assistant support. I was just about to buy them, when I decided to write them first.
So, I shoot Mopeka an email where I introduced myself and my Smart RV conversion project and I asked are they willing to send me some sample sensors. They happily agree to do that and here it is I managed to save some bucks that I now will invest smartly on poker. (Just kidding I don’t gamble in anyway)
Thanks for reading! I’m Kiril and I’m done writing for this week. Bye!
Hi, Thanks for this review. I have a 1,410 Litre LPG tank for my home. What Bluetooth adapter are you using with Home Assistant? ESP32 or something else? Thanks, Steve
In my RV I’m using the embedded BT adapter in the Raspberry Pi 4. In my home I’m using Bluetooth Proxy on ESP32 and one Shelly Plus 1 device
‘
Will it work on underground tank?
No access to bottom of the tank.
I’m not sure, but I guess it won’t work unless it is mounted to the bottom of the tank