
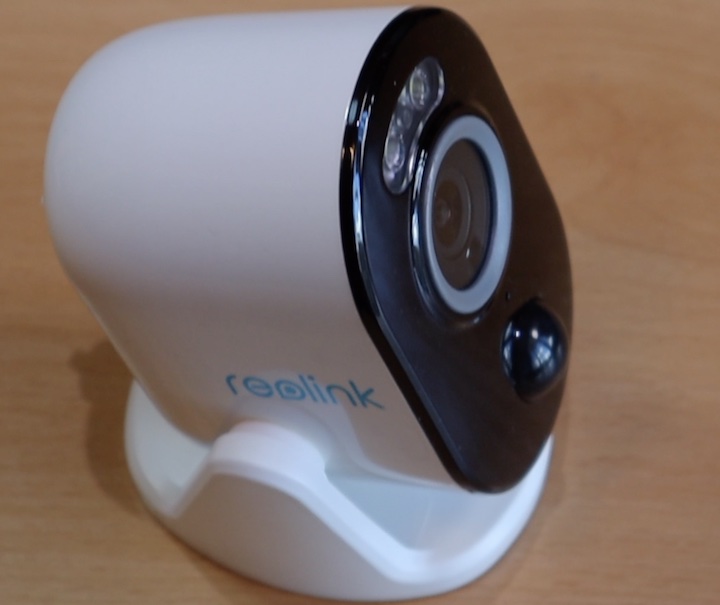
Time to make a Reolink Argus 3 Pro review! This is one of the latest a battery powered fully equipped smart camera that will give you person & vehicle detection, color night vision, spotlight and more. But is it really a Pro camera ? Let’s find out.
Table of Contents
Why Reolink become so popular?
The Argus 3 Pro comes from one of the most popular security cameras vendors lately called Reolink. Reolink become so popular, because until now they managed to produce very competitive products in terms of quality, features and price. Their support is above average and their mobile app and web interface is way above average.
But are they managed to continue this momentum with their latest wireless Argus 3 Pro camera? To find the answer I will show you the the Pairing Process & Physical Installation of the camera and then we will discuss Video & Audio quality, Motion Detection and some Pros & Cons, so let’s start this!
Argus 3 Pro Specs
If you are into details, below you can find the full camera specifications.
| Video & Audio | ||
| Image Sensor | 1/3″ CMOS Sensor | |
| Video Resolution | 2560 x 1440 (4.0 Megapixels) at 15 frames/sec | |
| Video Format | H.265; H.264 | |
| Field of View | Fixed lens, 122° (diagonal) | |
| Infrared Night Vision | Up to 10 meters (33ft) (LED: 6pcs/14mil/850nm) | |
| Color Night Vision | Up to 10 meters (spotlight: 2pcs/2W/6500K/230 Lumens) | |
| Digital Zoom | 16X digital zoom | |
| Audio | Two-Way audio | |
| Detection & Alerts | ||
| Smart Alarm | Person detection/vehicle detection + PIR detection | |
| PIR Detecting Distance | Adjustable, up to 10 m (33 ft) | |
| PIR Detecting Angle | 100° (horizontal) | |
| Audio Alert | Siren + customized verbal alerts | |
| Recording | Motion triggered recording | |
| Other Alerts | Instant email alerts and push notifications | |
| Wireless | ||
| Operating Frequency | 2.4GHz/5GHz | |
| Wireless Standard | IEEE 802.11b/g/n | |
| Wireless Security | WEP/WPA-PSK/WPA2-PSK | |
| Power | ||
| Battery | 6500mAh rechargeable battery (Battery life varies based on settings, usage & temperature) | |
| Solar | Reolink Solar Panel | |
| DC Power | 5V/2A USB power adaptor | |
| Storage | ||
| Local Storage | Supports up to 128GB micro SD card | |
| Cloud Storage | Supports Reolink Cloud | |
| Working Environment | ||
| Operating Temperature | -10 to 55°C (14° to 131°F) | |
| Weather Resistance | IP65 weatherproof | |
| Size & Weight | ||
| Size | 121 x 90 x 56 mm (4.76 x 3.54 x 2.2 in) | |
| Weight (battery included) | 330g (11.6 oz) | |
| Warranty | ||
| Limited Warranty | 2-year limited warranty. |
Reolink Solar Panel
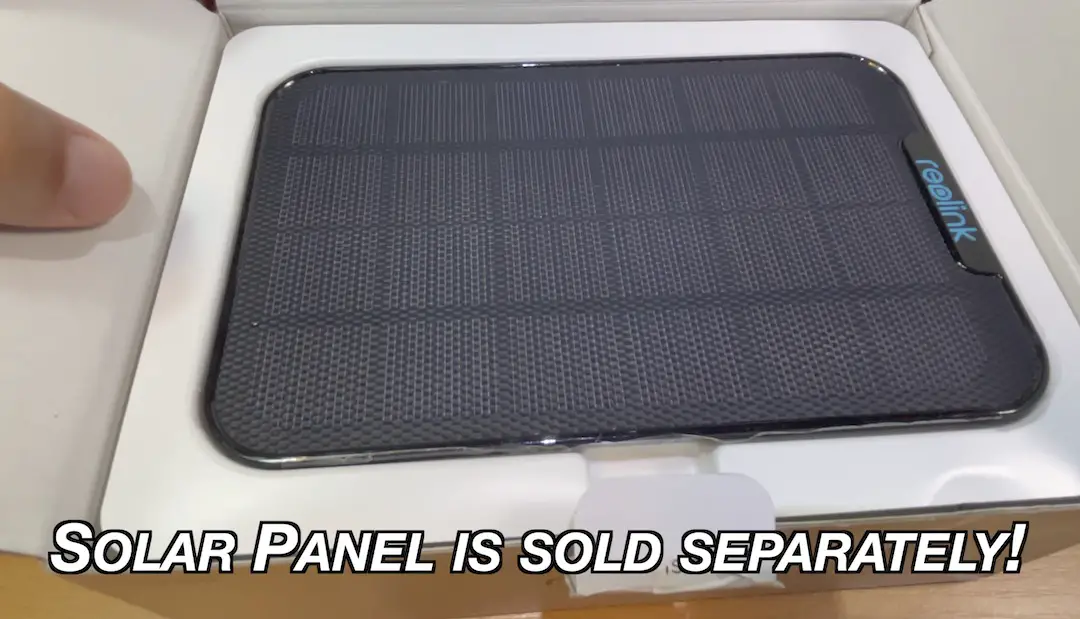
The camera’s battery is rated to last anywhere from one to four weeks before requiring a recharge. However, you can attach a Reolink Solar Panel to the camera that will constantly charges it and you will have completely maintenance free wireless camera that is using green energy.
This Is how the solar panel looks like:
Reolink Argus 3 Pro & Solar Panel Prices
At the time of writing this article the price of the Argus 3 Pro is $101.99 US dollars. And the price of the Solar Panel is $24.99.
I will suggest to check the current prices of the camera and solar panel from the links below as these prices vary by large margin depending of the time of the year, current promotions and your location.
- Reolink Argus 3 Pro (Official Reolink Store) 👉 LINK
- Reolink Solar Panel (Official Reolink Store) 👉 LINK
- Reolink Flash Deals (Official Reolink Store) 👉 LINK
Have in mind that I’m using affiliate links where I will receive small commission if you buy something from the above links with no additional cost for you. And this is a great way to support my work!
Reolink Argus 3 Pro review – pairing process
The pairing process of the camera is as smooth and easy as with any other Reolink products that I test until now. Here is a list if you are interested.
- AI Camera + NVR from Reolink and Home Assistant (HOW-TO)
- Reolink cameras & NVR or Blue Iris and Home Assistant
- RTSP Reolink Camera + motionEye + Blue Iris + Node-RED + Home Assistant
Just download the Reolink app from Apple AppStore or Google Play. The Reolink app will guide you through the process of joining the Argus 3 Pro to your Wi-Fi network. In essence I did the following:
- Within Reolink app I tapped on the plus icon in the upper right corner to add a new device.
- I scanned the QR code on the back of the camera with my phone.
- I flipped the power switch and I followed the instructions to configure the Wi-Fi.
- When the QR code appeared on my phone, I put it in front of the camera until I heard a voice prompt informing me that the camera was connected.
- I created a login password (that is used to share the camera later if you wish) I typed a camera name, and the pairing of Argus 3 Pro was complete.
Reolink Argus 3 Pro review – physical installation
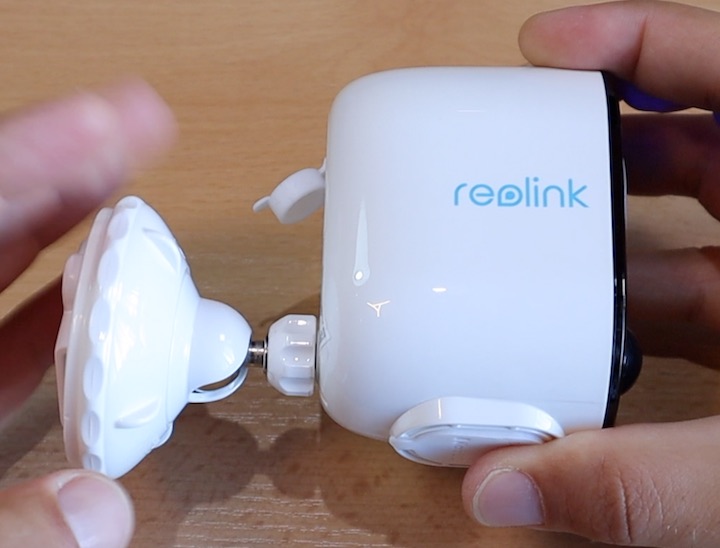
The physical installation was also smooth and easy, actually very smooth and very easy as there are no wires or power cords to deal with.
You just have to screw the security bracket on a place of your choice and to attach the camera onto the bracket. Optionally you can use the loop strap to use the included loop strap along with security bracket if you wish to attach the camera on a tree, pipe or something like that.
The other option is to use the stand bracket which is perfect for indoors. With this bracket you don’t have to screw anything and a 5 years old can do it.
Security Bracket 
Security Bracket + loop strap 
Stand Bracket
Reolink Argus 3 Pro Review – video quality & audio
First, few words about the audio – the Argus 3 Pro support two way audio, but have in mind that the speaker is on the backside of the camera and this can cause issues if you use it outdoors in a noisy environment.
The video quality of the Argus 3 Pro is no disappointment. The camera support 2K video at 15 frames per second. This is two times lower than a 4K camera, but it is also twice better than the Full HD resolution. You also get color night vision and a spotlight.
Daytime video showed very good image details and rich colors. Black & white night video is very nice and evenly illuminated. Color night video was also sharp and clear.
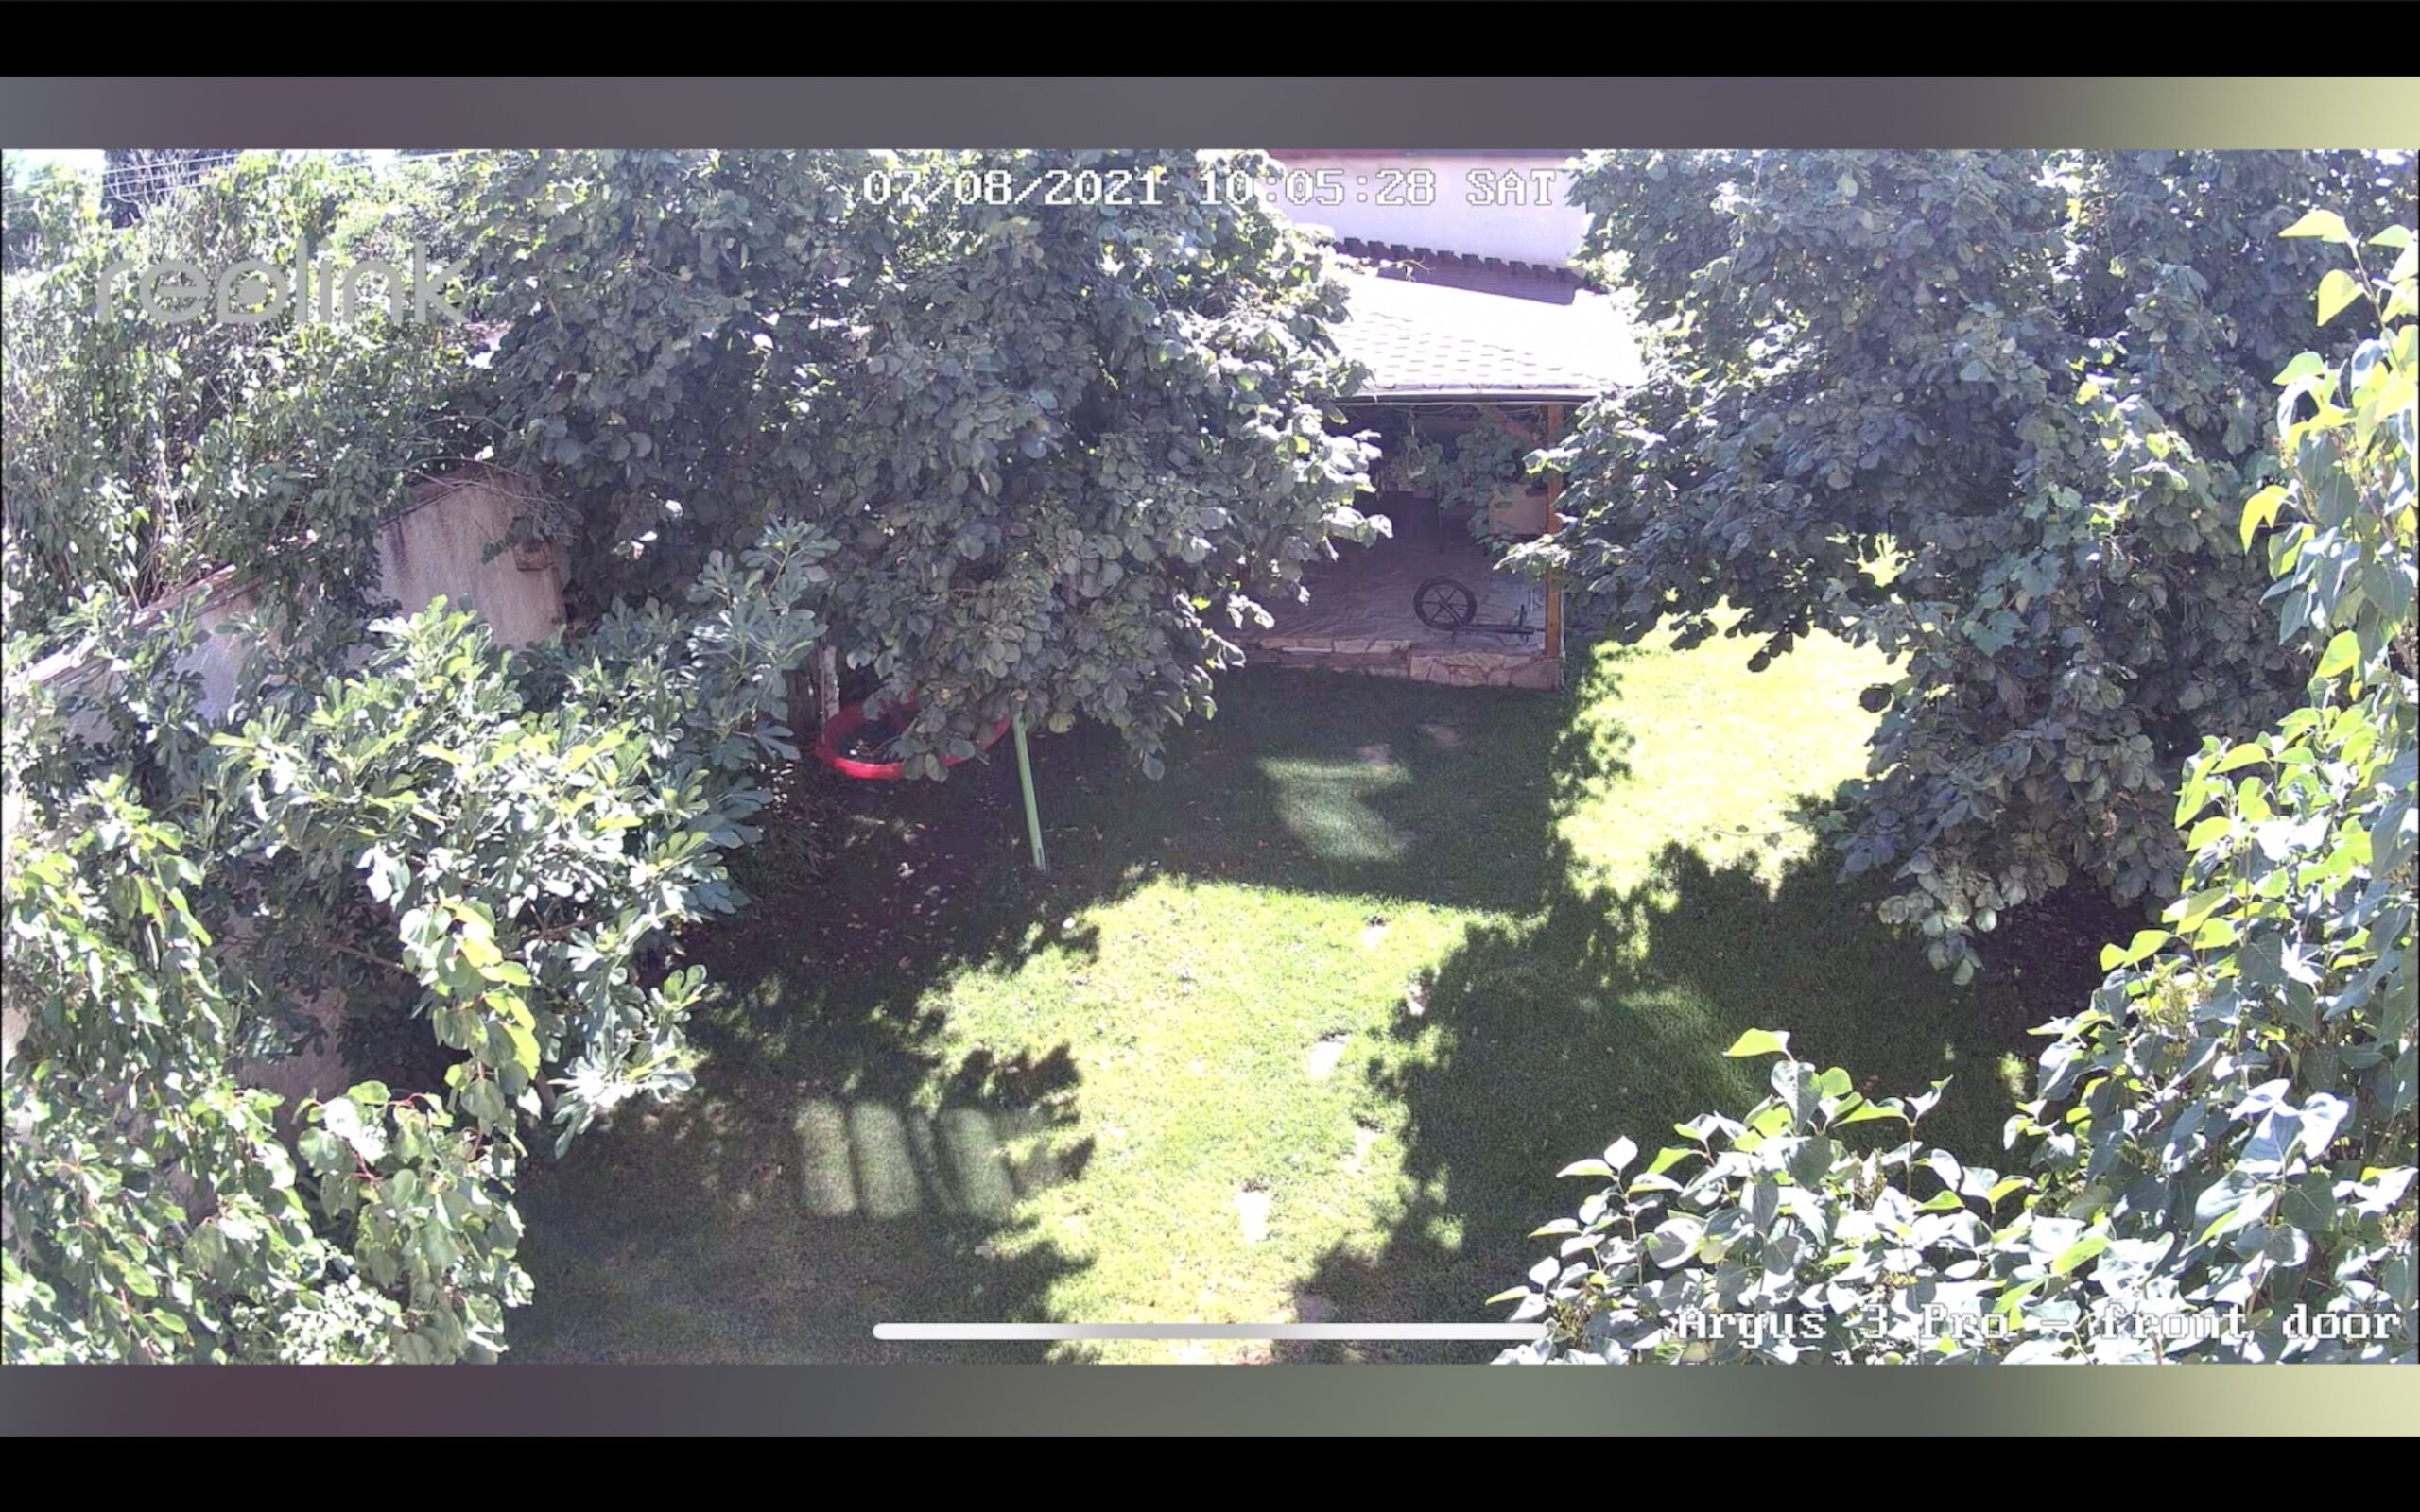
Argus 3 Pro Daylight 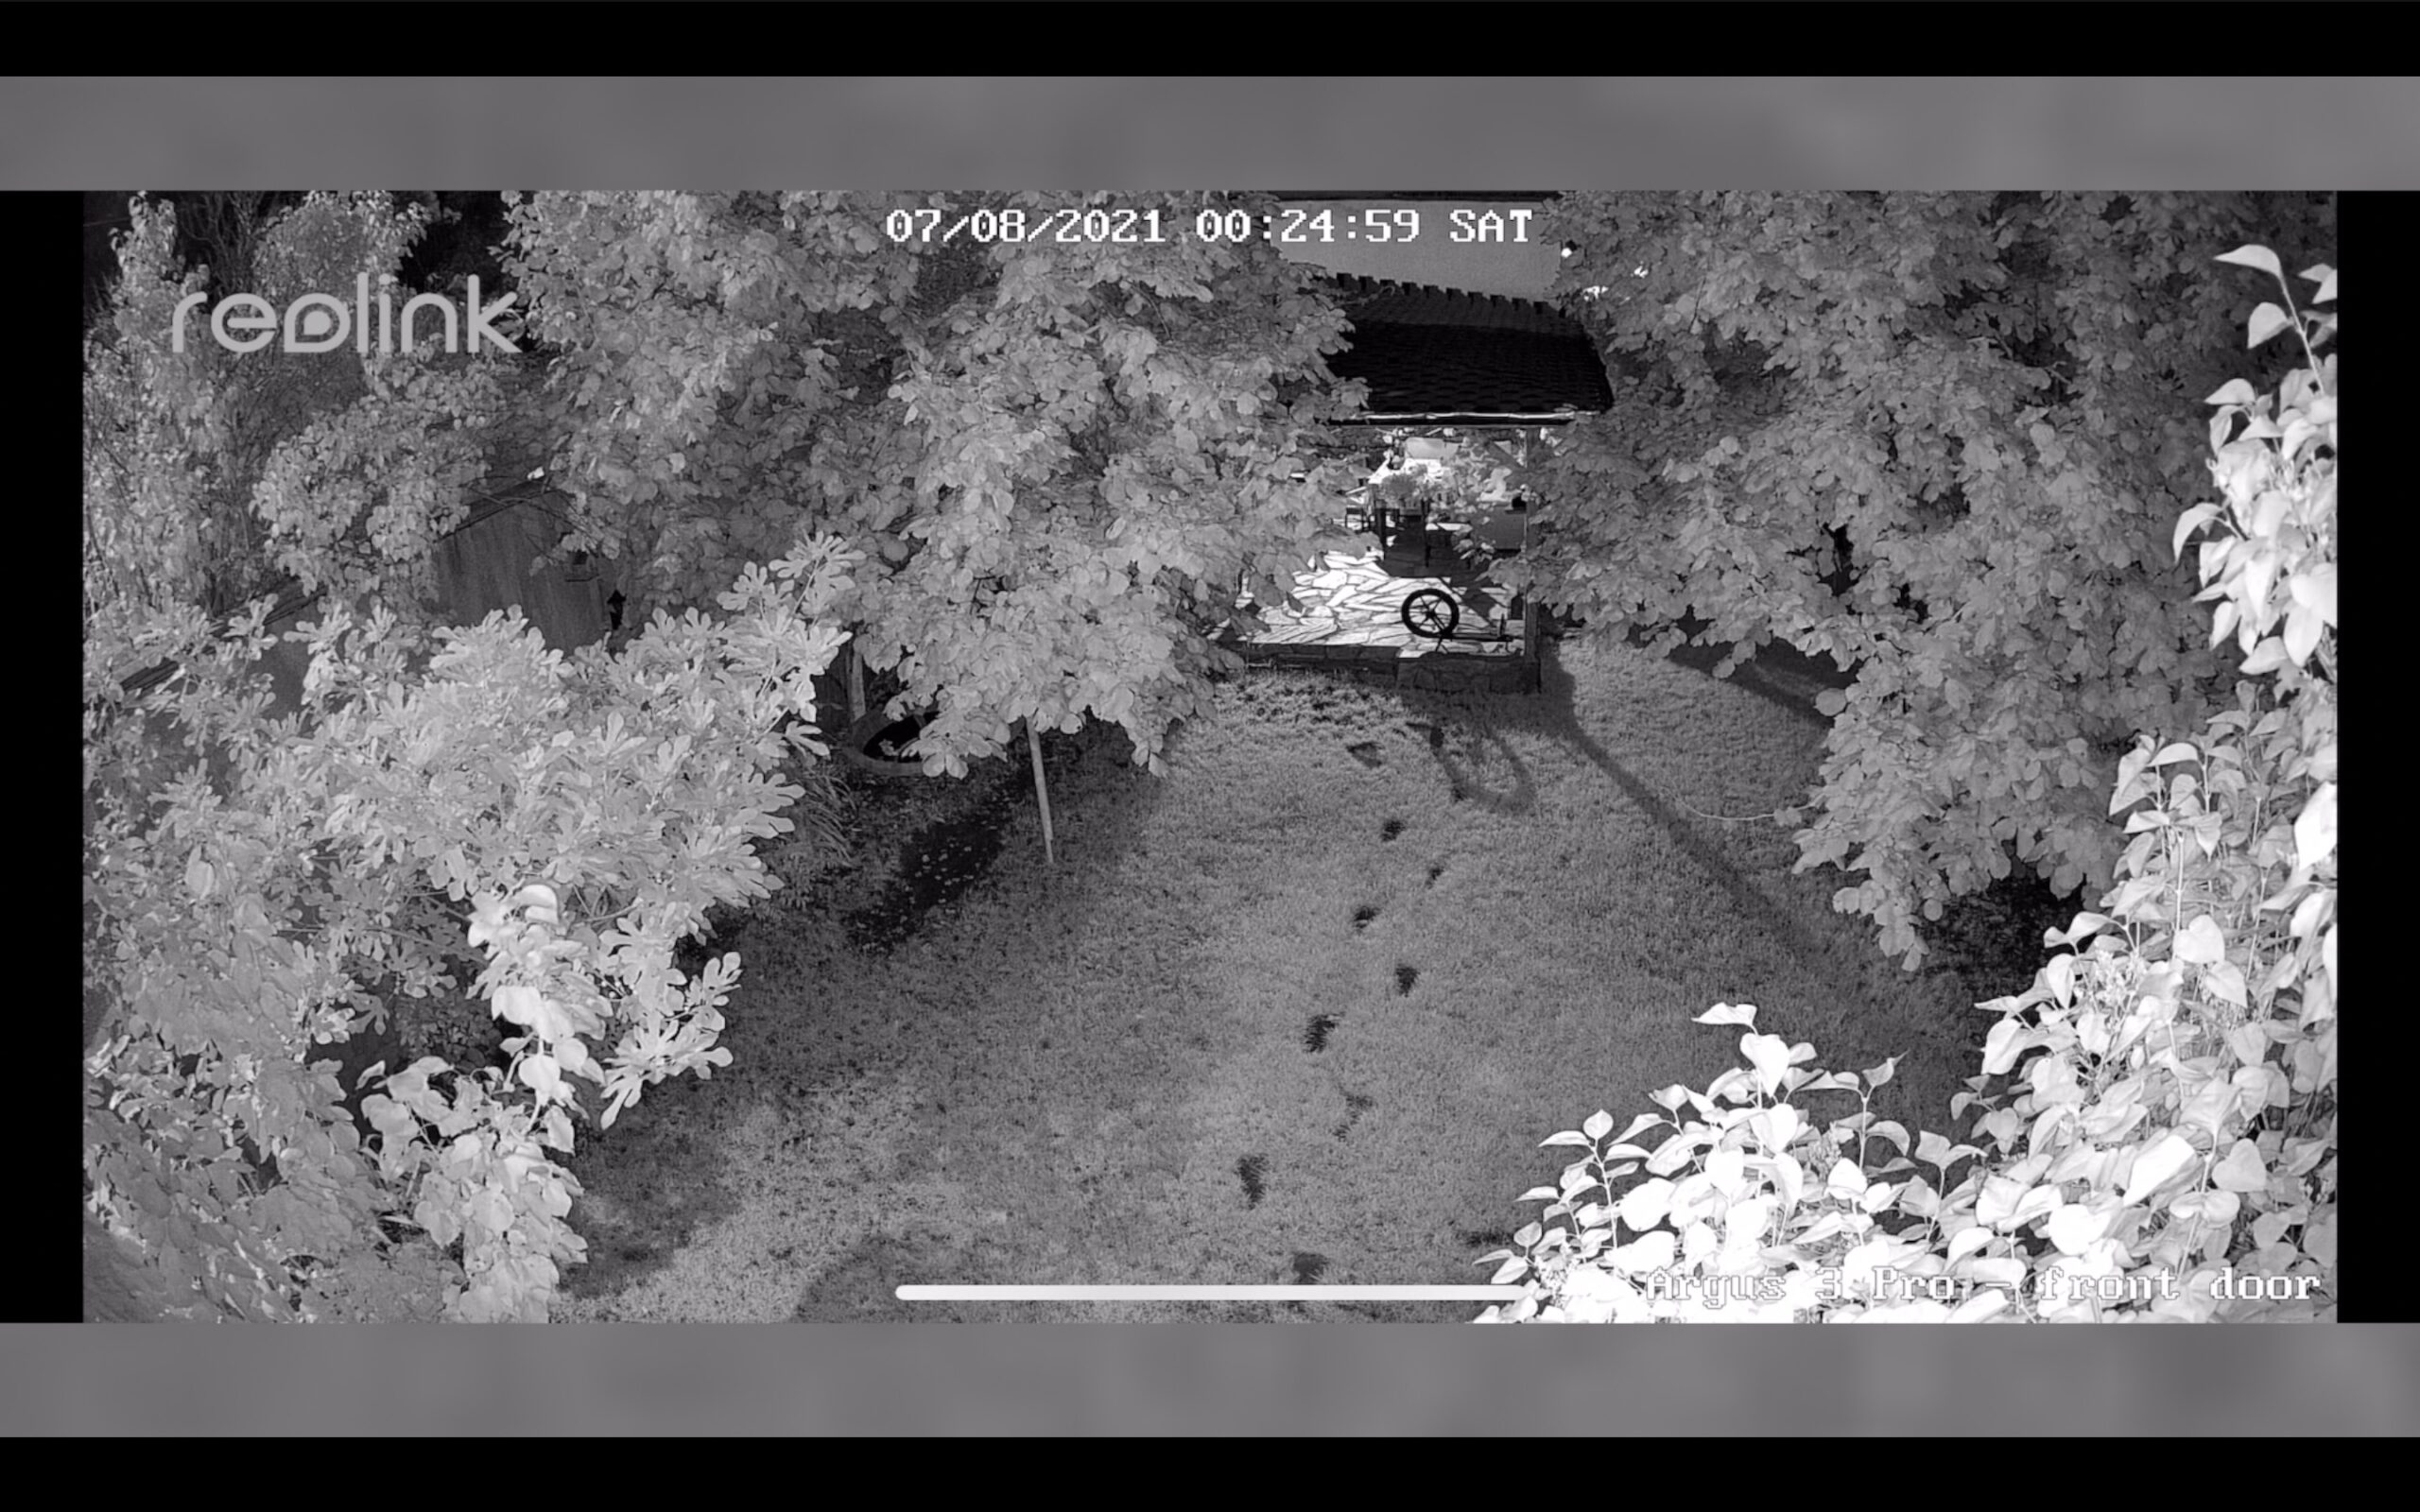
Argus 3 Pro Night 
Argus 3 Pro Color Night
As a remark – fast moving objects are kind of choppy, due to available 15 frames per second.
Time Lapse
Argus 3 Pro support Time Lapse feature that lets you view video in fast motion.
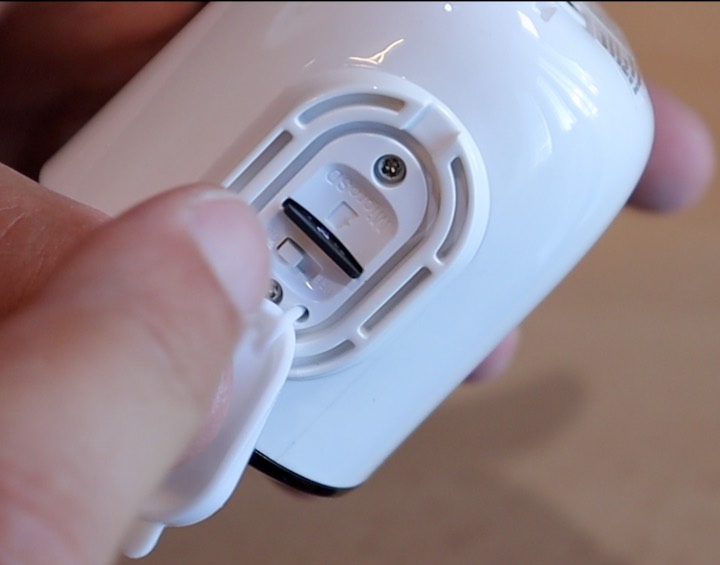
You need to install a microSD card to use this feature.
To create a new Time-lapse video do the following:
- Adjust firmly the camera towards the scene that you wish to Time Lapse and don’t move it during shooting.
- In Reolink App, open your camera & tap on the gear button in the upper right corner.
- Scroll down until you see Time Lapse menu and tap on it.
- Tap on Try Now button.
- Select one of the predefined scenes (ex. Moving Clouds)
- Tap Start (by default your Time Lapse will be ready after one hour and you can download the video to your phone).
You can find my full, uncut, unedited Time Lapse video from my Argus 3 Pro 👉 DropBox link
Argus 3 Pro Person & Vehicle Motion detection
Reolink Argus 3 pro comes with Intelligent motion detection and it can distinct motion caused by persons & vehicles versus motion caused by the wind for example. That gives you less false alarms in theory, but in reality I experienced multiple vehicle detection alarms in my yard where no vehicle is ever entered.
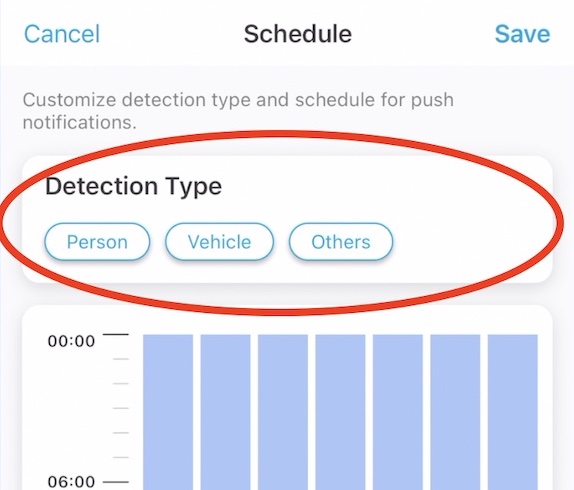
Customize detection type and schedule for push notifications 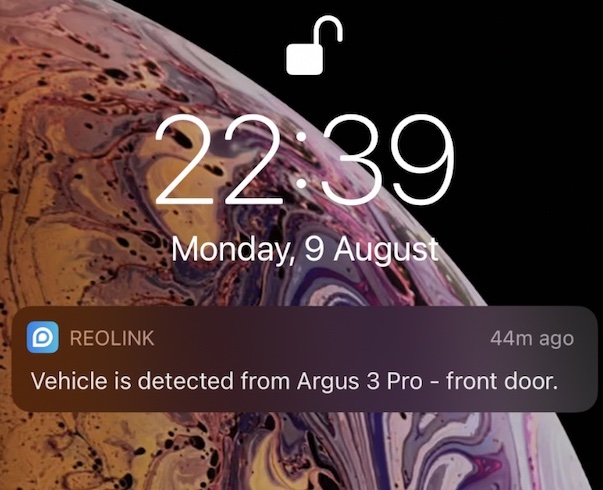
Push Notifcation that Vehicle is detected by Argus 3 Pro
I managed to fix that by enabling the Reduce false alarms option and decreasing the PIR motion sensor sensitivity within the Reolink App.
Argus 3 Pro Cloud vs Local features
The camera comes with a free Basic cloud plan that gives you 1GB of recorded video storage with a seven-day history for a single camera. If that is not enough for you of course you can pay for better plan where plans are staring from $4.99 per month.
If you need more info visit the cloud section of the Reolink website – https://cloud.reolink.com
On the other side you can omit the cloud storage and go local with a microSD card that will store your footage when motion is detected.
Other features of Argus 3 Pro
Siren & Verbal Alerts
There is also a Siren + customized verbal alerts that for me are kind of useless, not because they are not working, but because I’m not sure why and when I have to use it. I never seen burglar scared by a camera siren. But that is me, yours opinion may differ, so please tell me in the comments do you use the siren or verbal alerts of your cameras if you have that feature and most importantly how you use it.
Dual-band Wi-Fi
The next very nice feature of the Reolink Argus 3 pro is the dual-band Wi-Fi radio support that allows you to connect the camera to both 2.4Ghz or 5GHz home networks. That is giving you faster speed and better options to avoid congestion and degradation of your Wi-Fi performance.
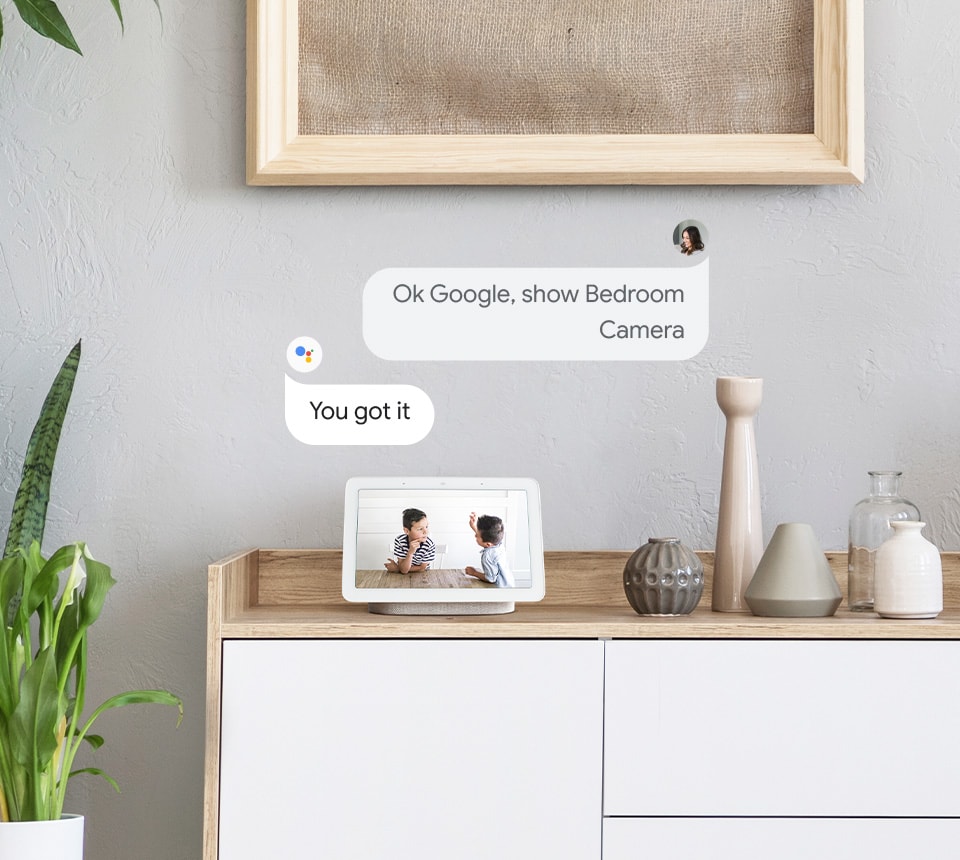
Alexa & Google Assistant Support
The Camera also works with Alexa and Google Assistant. If you have such devices but with screens, you can tell them to show the Reolink Argus camera image. Which is kind of cool.
Argus 3 Pro Cons
All I said and show until now was mainly pros! Time to see some cons, here are they:
- Argus 3 Pro support Alexa and Google Assistant, but HomeKit support is missing. I wonder why this is always the case with most of the Smart Home and security products? I’m sure that not the hardware is the reason, probably some licenses from Apple or something. If you happen to know the reason share it in the comments.
- All battery powered Reolink cameras don’t support ONVIF protocol or RTSP streams that many third party software requires. Argus 3 Pro camera is no exception of that rule. I wanted so badly to add the camera to my Home Assistant (check this article if you want to know more about Home Assistant), but maybe I will have more luck with the next camera version. So, lack of ONVIF & RTSP for third party integration is my next and final cons of the Argus 3 Pro camera.
Regardless the few cons, I think that the Argus 3 Pro camera from Reolink is one great camera with reasonable price and a lot of nice features. It will be very hard to find better combo than the Argus 3 Pro and the solar panel combo if you want a plug & play solution.
I will happily use the camera outdoors and if any issues arise I will let you know in my YT video description and of course here in this article.
Outro
If you want to secure this site existence – check my support section for the available methods to support my work or get my Smart Home Getting Started Actionable Guide.
Make sure that you subscribe to my YouTube channel and hit that notification bell. It is quick, easy and free and I will be thankful forever.
Follow me on Twitter and join my Discord server, stay safe and don’t forget – Home Smart, but not Hard!
Thank you for reading and I will see you next Wednesday.