Raspberry Pi Home Office is possible. Using Raspberry Pi 4 or Raspberry Pi 400 to work or learn from home is not hard and I will show you how to do it. You can expect detailed instructions about how to:
- Connect to your office network,
- How you can Backup,
- How to prepare everything for conference calls and meetings,
- How to install the needed Office tools.
Make sure that you read the entire article till the end as there will be a lot of Raspberry Pi Home Office hints that you can incorporate absolutely for free.
Now let’s start this.
Table of Contents
Working From Home?
For good or for bad working or learning from home these days is becoming the new norm. To work from home you need a reliable computer and optionally a remote network connection to your office space.
If you are tight on a budget or space or both or you just want to test if it’s working you can get one of the latest computers from Raspberry Org either (Amazon Affiliate Link) Raspberry Pi 4 or the (Amazon Affiliate Link) Raspberry Pi 400.
They are both pretty identical except that the Raspberry Pi 400 is having a slightly faster CPU and it is coming in a form of a good looking white keyboard.
What will you see in this article?
This article will show you several ways to remotely connect to your office network, setting a webcam and mic for meetings and installing mail and office programs.
I’m use a Raspberry Pi 400 in my video and this article, but everything you’ll see here is exactly the same for Raspberry Pi 4 without any modifications. You can even try that on Raspberry Pi 3.
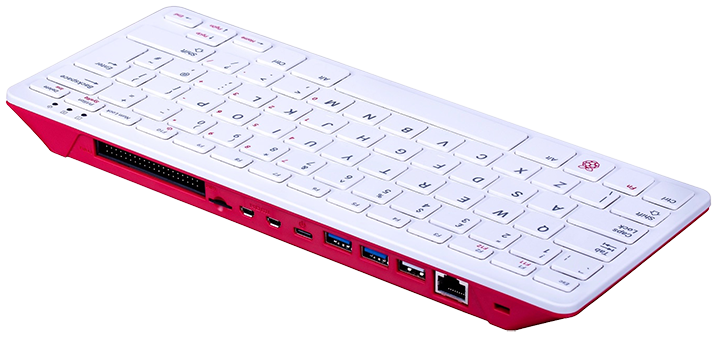
Raspberry Pi 400 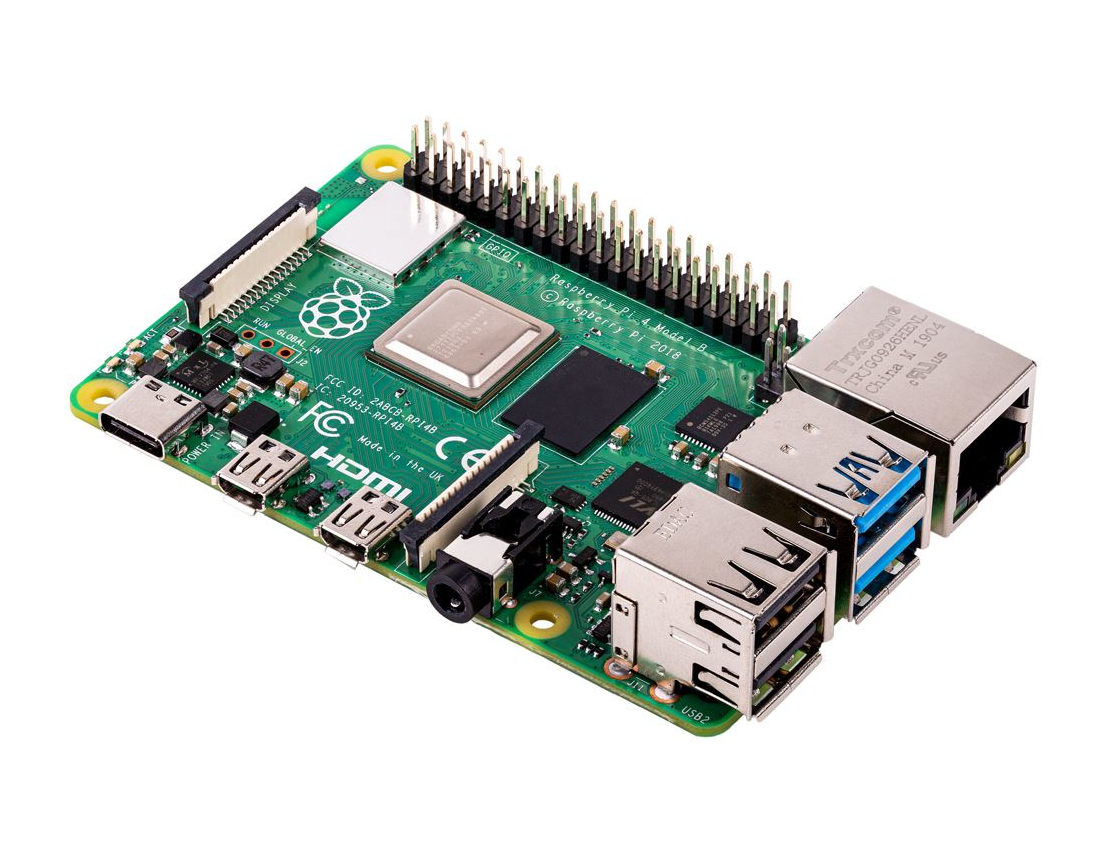
Raspberry Pi 4
What’s needed for Raspberry Pi Home Office?
To complete your Raspberry Pi home office setup along with the Raspberry Pi 4 or Pi 400, you will also need a Monitor (with HDMI and sound is preferable), a mouse, an SD card or SSD and an USB webcam.
If you are going to use a Raspberry Pi 4 for your Home Office computer you will also need a keyboard.
Of course you will need an Operating System! For sure, you can try with other Linux Distributions, but I cannot recommend more the Raspberry Pi Os for this task as it is best optimized for Raspberry Pi devices.
If you don’t know how to install it don’t worry there is an app for that, actually it’s not an app, but a tutorial in a from of video and article where I show everything. Just watch the video or read the article, follow the instructions and then come back here.
Connect USB Web Camera
Okay, we have Raspberry Pi OS installed and we are ready to start communicating with our colleagues, teachers or school mates. Let’s connect an USB web camera, so we will be ready for any video calls and meetings no matter are they coming from Microsoft Teams, Zoom, Google Meet, Skype or something else. Just plug your camera in any USB port of the Raspberry and check if it is working.
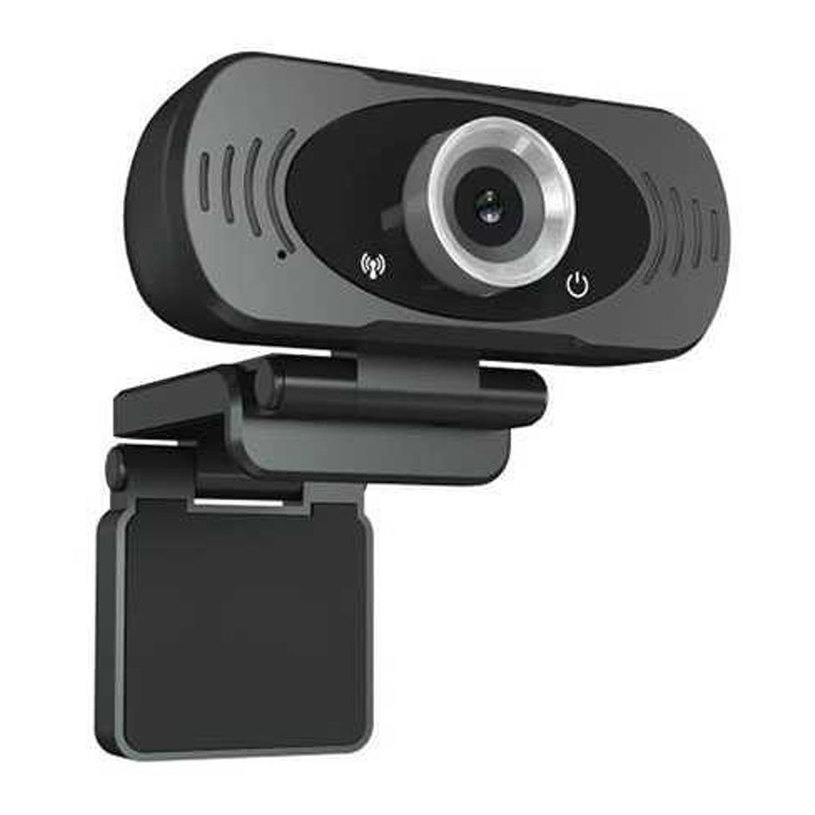
The video camera that I’m using is a full HD Xiaomi something with built in mic. The camera and the Mic worked with the Raspberry Pi right away and I didn’t have to do anything else than just connect it. The exact model is XIAOMI CMSXJ22A / 1080P and you can buy the same from AliExpress – LINK
Be careful here, there is a chance that some cameras may not work with Raspberry Pi and under Linux OS as a whole. I first tried with one very old Logitech webcam that was not detected at all.
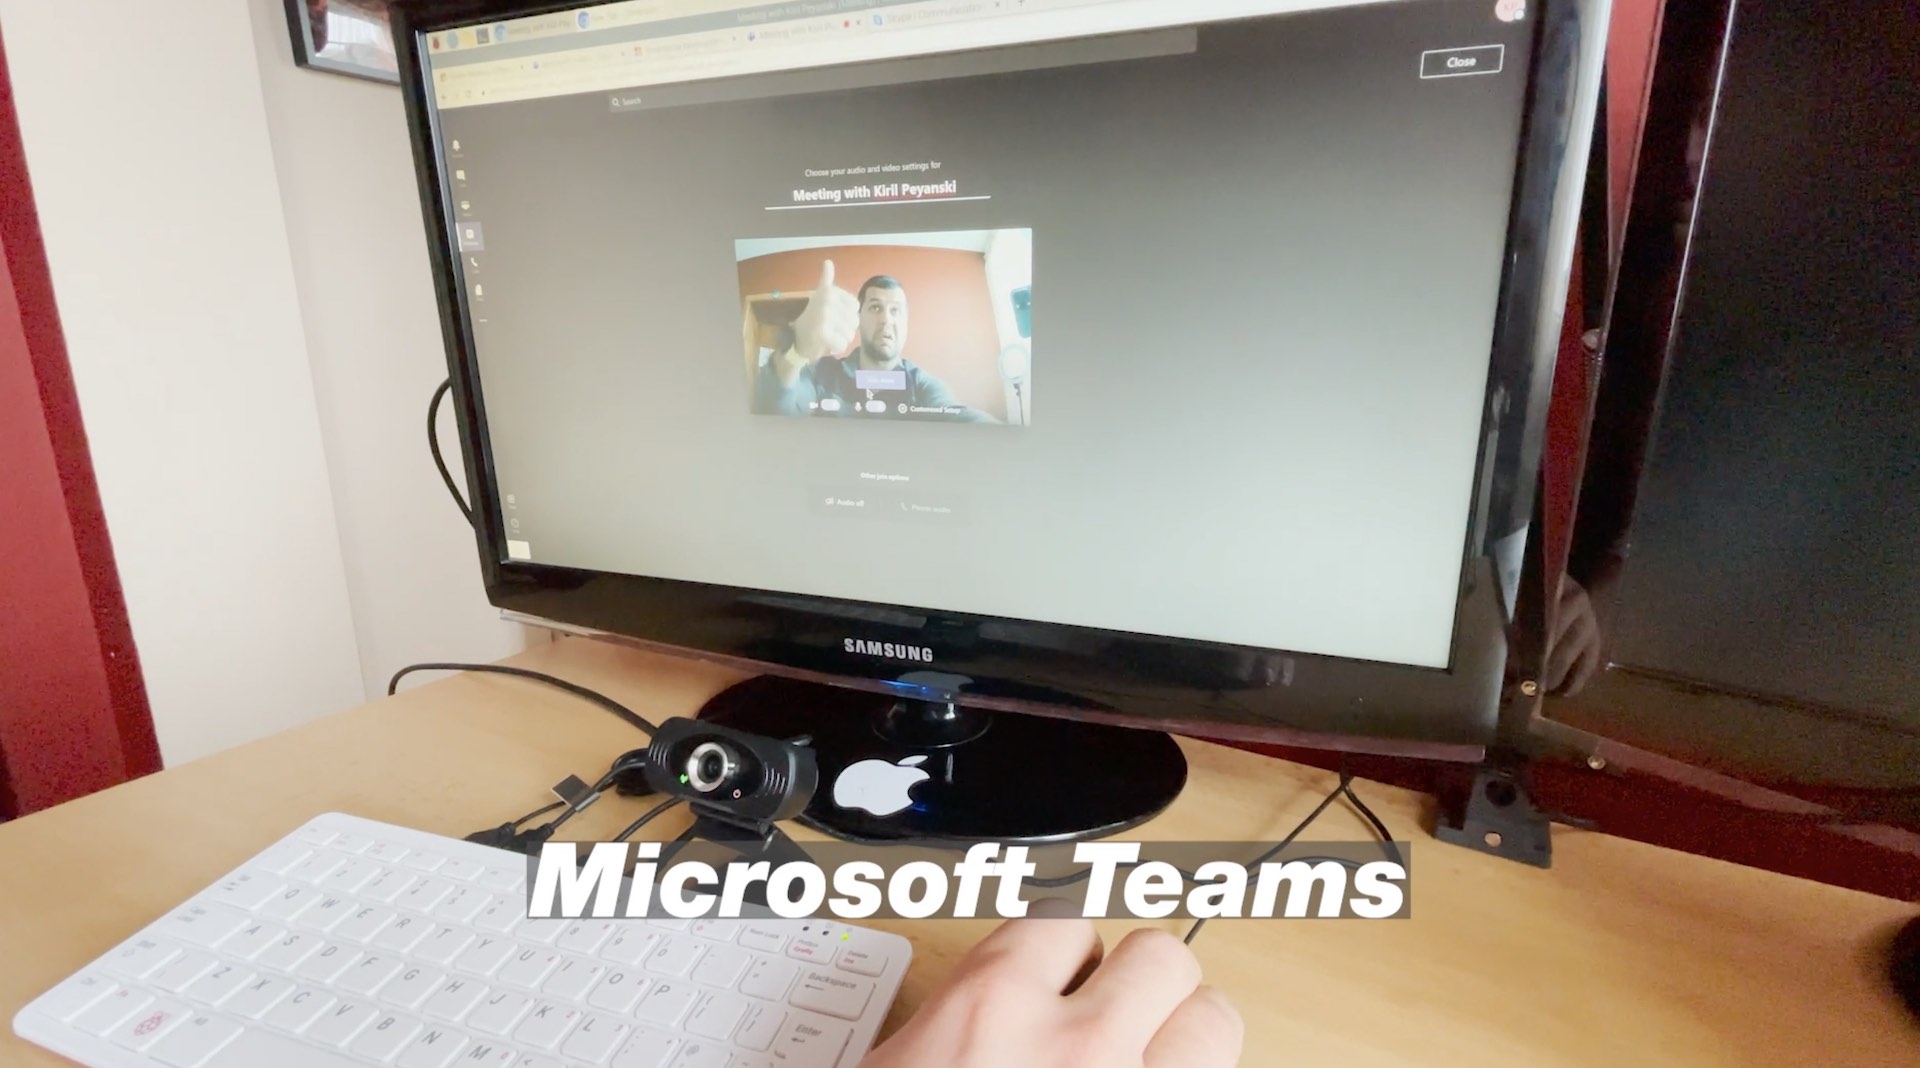
Anyway, I did some tests with with Zoom, Microsoft Teams & Google Meet and they all worked perfectly on the Raspberry Pi with the embedded browser. Let’s quickly see that.
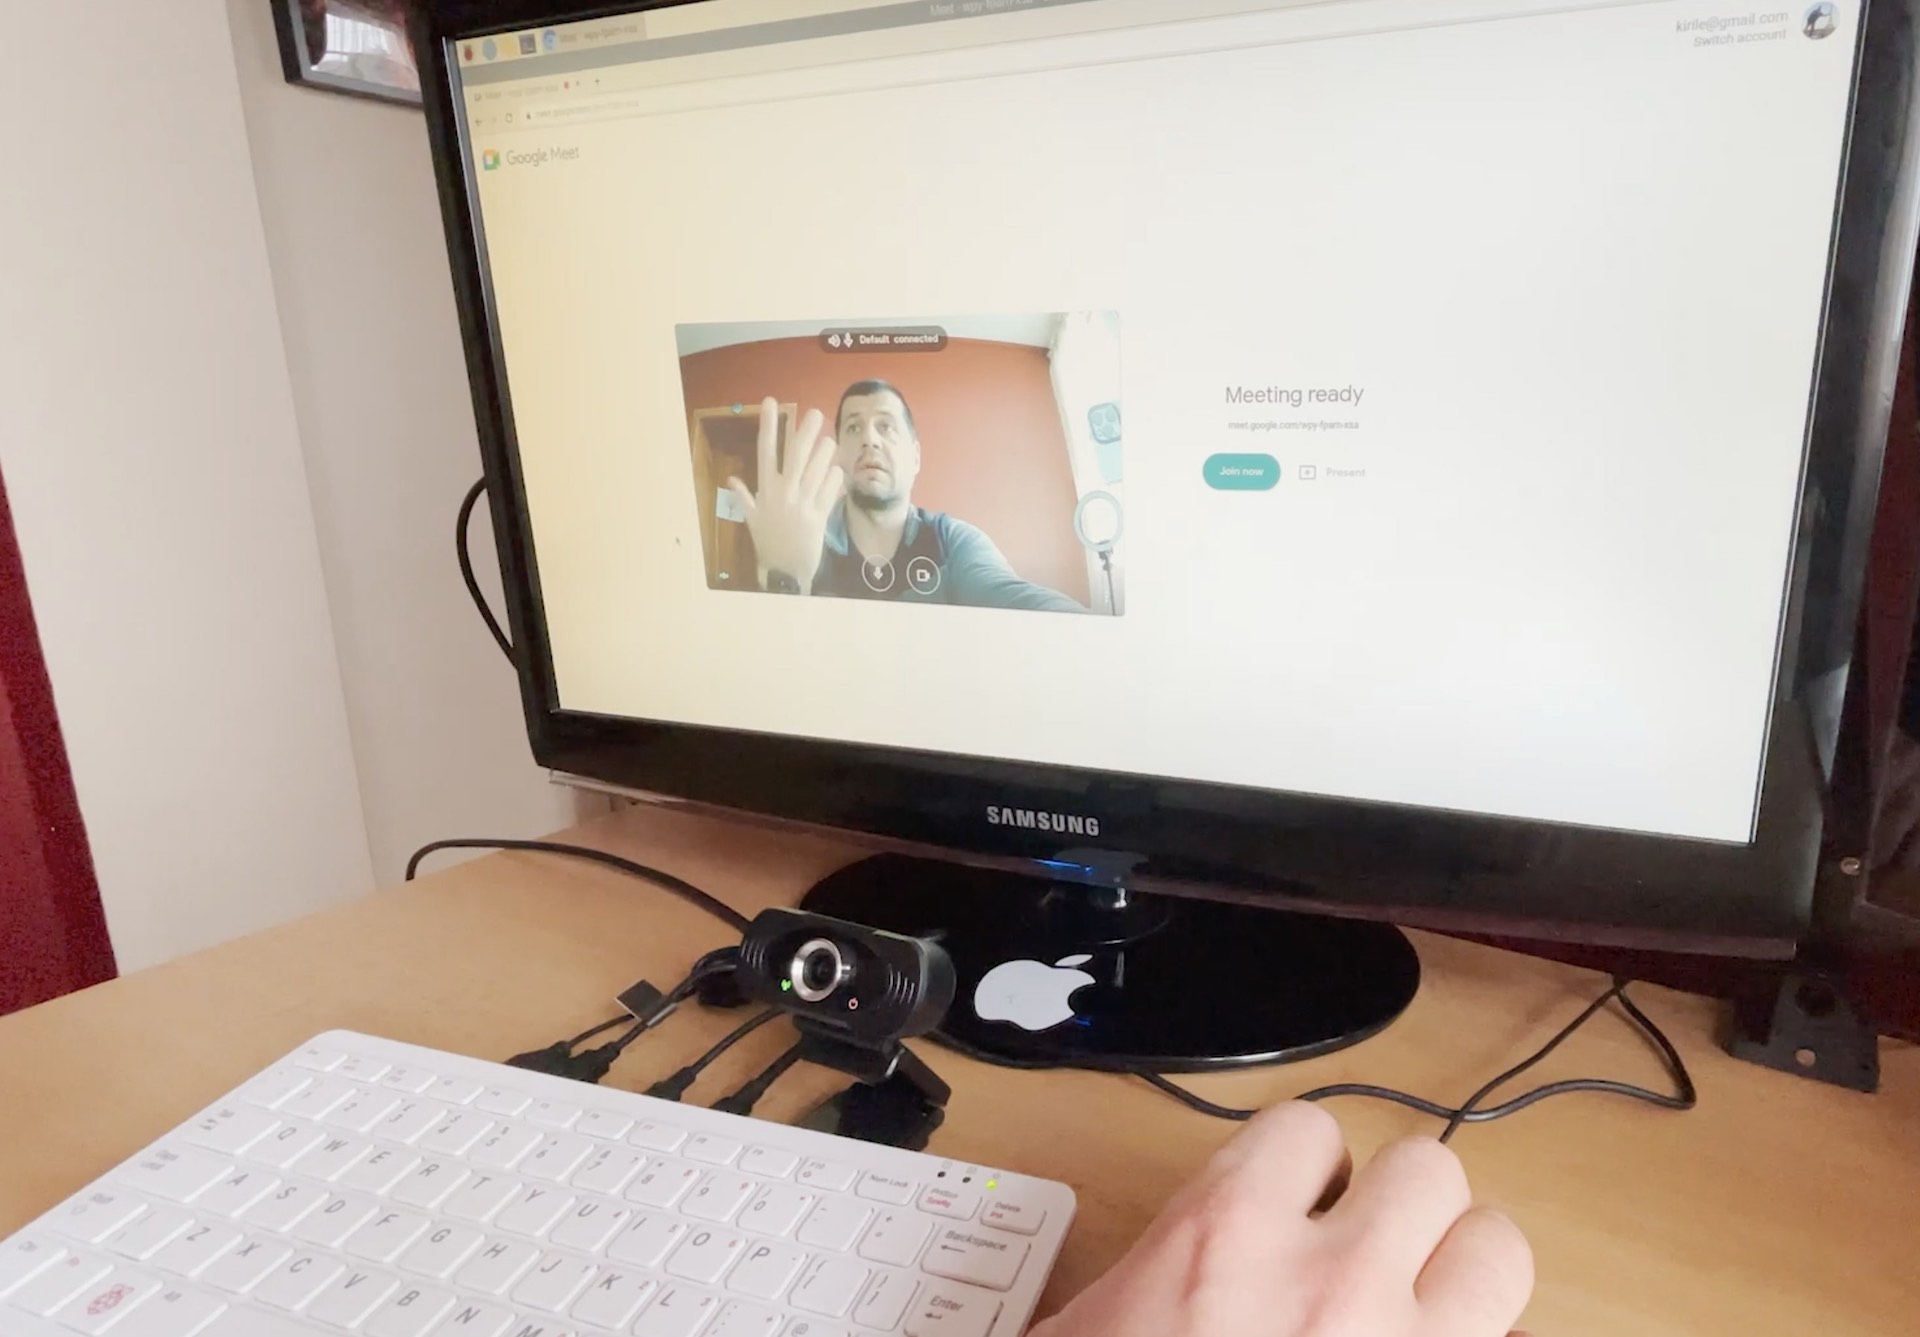
Google Meet 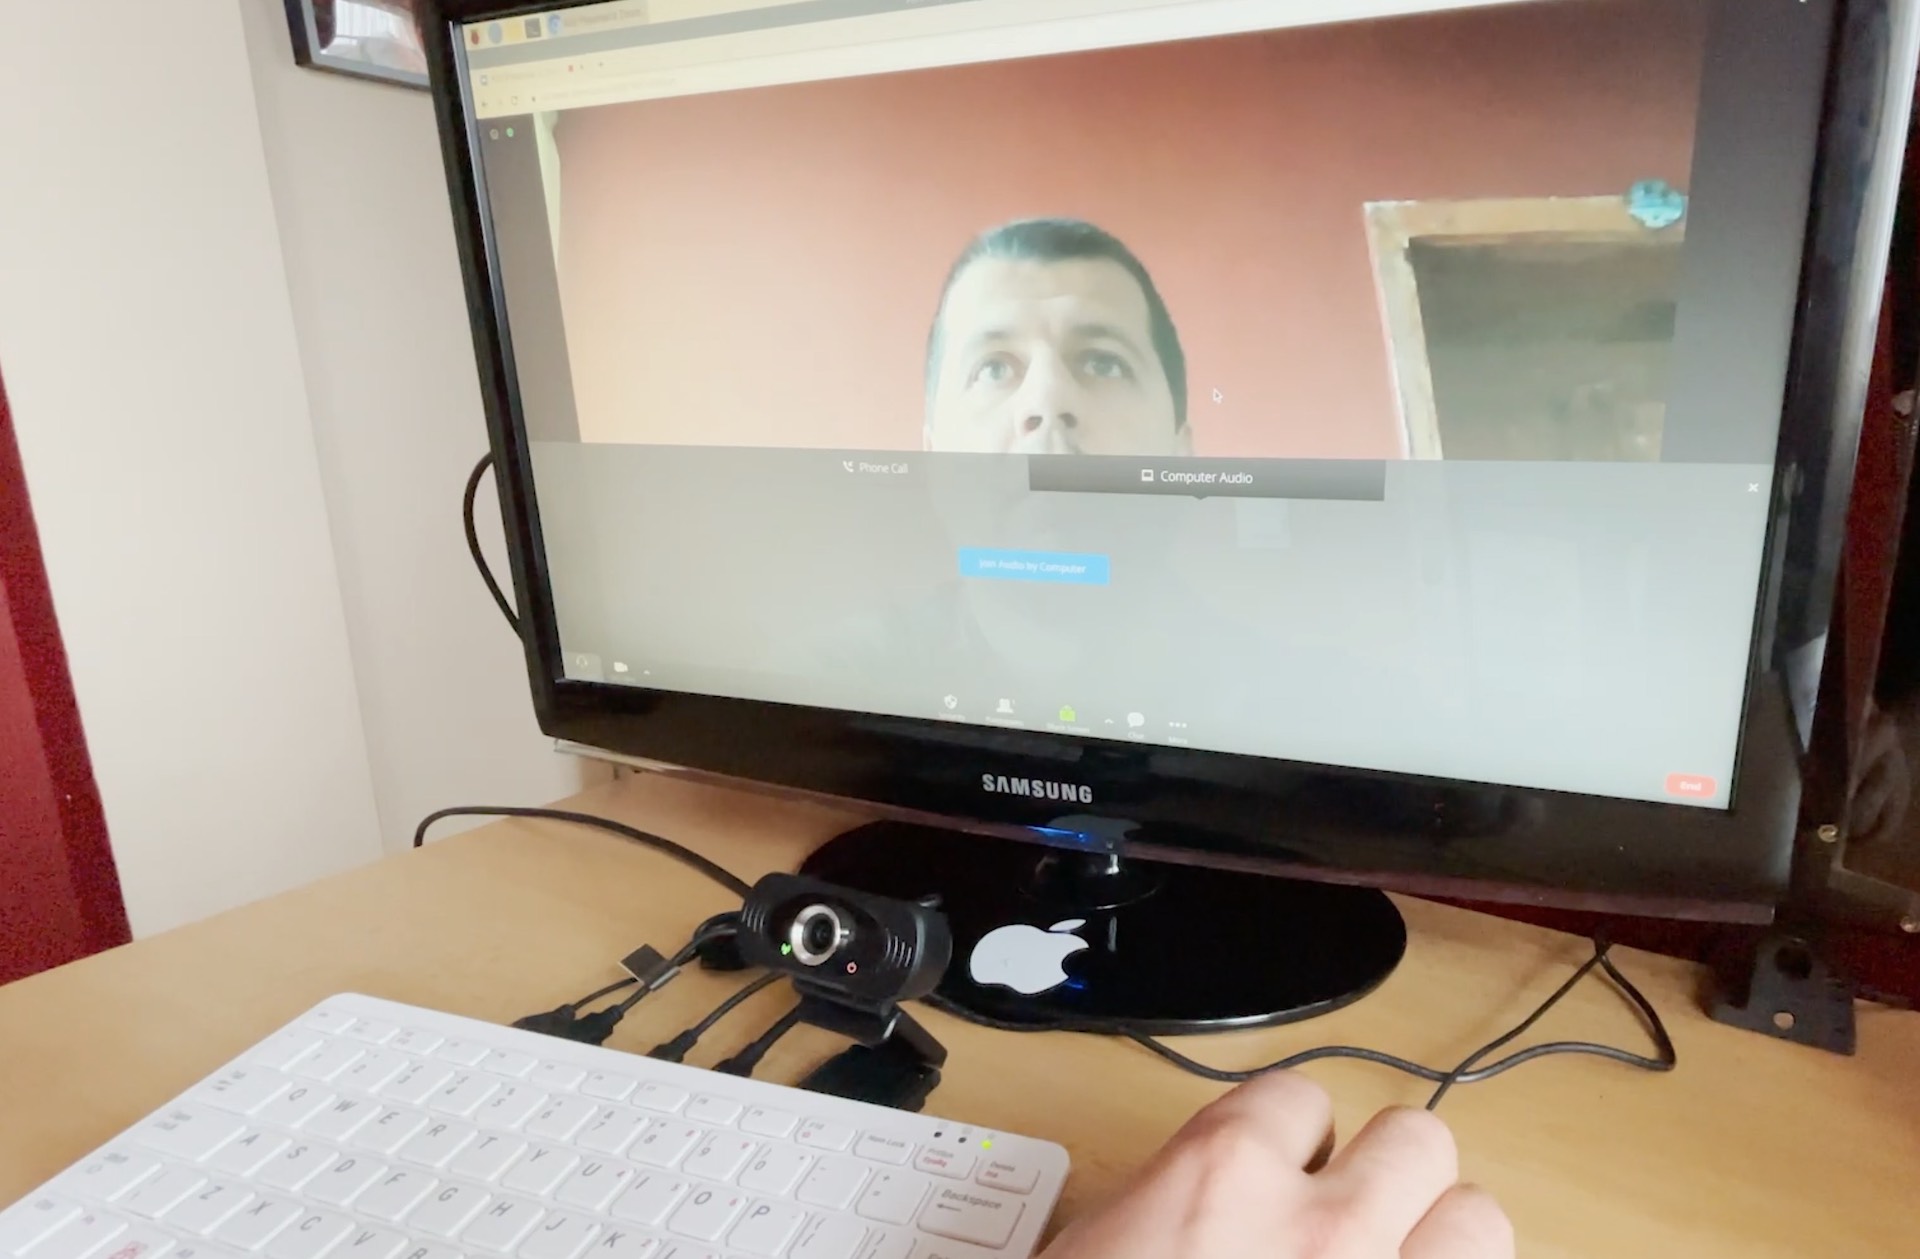
Zoom
Connect Raspberry Pi to any remote network
The USB Web Camera is now working and we are half ready with our Raspberry Pi based Home Office setup. Let’s see what options do we have to connect the Raspberry Pi to any remote network. I will just say AnyDesk and ZeroTier VPN then I will show you these things.
ZeroTier VPN
For the ZeroTier VPN I have a whole video and article that you can watch/read and implement on your Raspberry Pi 4 or Raspberry Pi 400. Go and check it if you are interested 👉 LINK.
AnyDesk
AnyDesk is just like TeamViewer, LogMeIn and all other similar software. The difference here is that AnyDesk is free for private use. If you want to use it within an organisation – you have to pay, otherwise it is free.
In general you have to install AnyDesk client on your Raspberry Pi and on the Remote Machine(s) that you want to connect to.
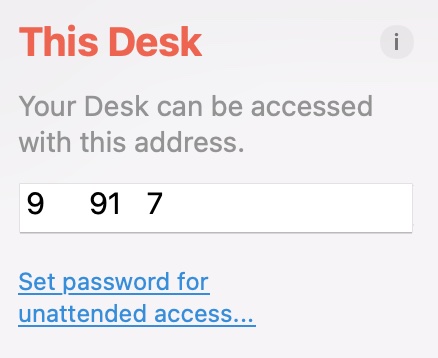
Then you have to enable the unattended access to your Remote machine, by set an AnyDesk password.
And finally you can connect to your Remote Machine(s) from anywhere in the World using AnyDesk client, your remote machine address and the password that you set.
There is one big problem about AnyDesk and Raspberry Pi at the time of writing this article – AnyDesk was not working as expected when I did some tests. It is probably a bug that I hope it is going to be fixed soon.
Meanwhile, If you know how to make it work – let us know in the comments below. We will be very thankful and I will give you credits and I can share your Twitter, IG, etc handler here in the article.
Mail Clients for Raspberry Pi
At this point we are more than 90% ready with our Raspberry Pi Home Office. Stick around as later in the article I will show you how you can Backup, so you don’t have to do everything again if something bad happens.
For now will continue with the available Mail clients and then with software for editing Word, Excel or PowerPoint documents.
Claws Mail
To install Claws Mail open a Terminal in your Raspberry Pi and type:
sudo apt-get update
sudo apt-get install claws-mail
Then go to Start (Raspberry) Menu > Internet > Claws Mail and start it.
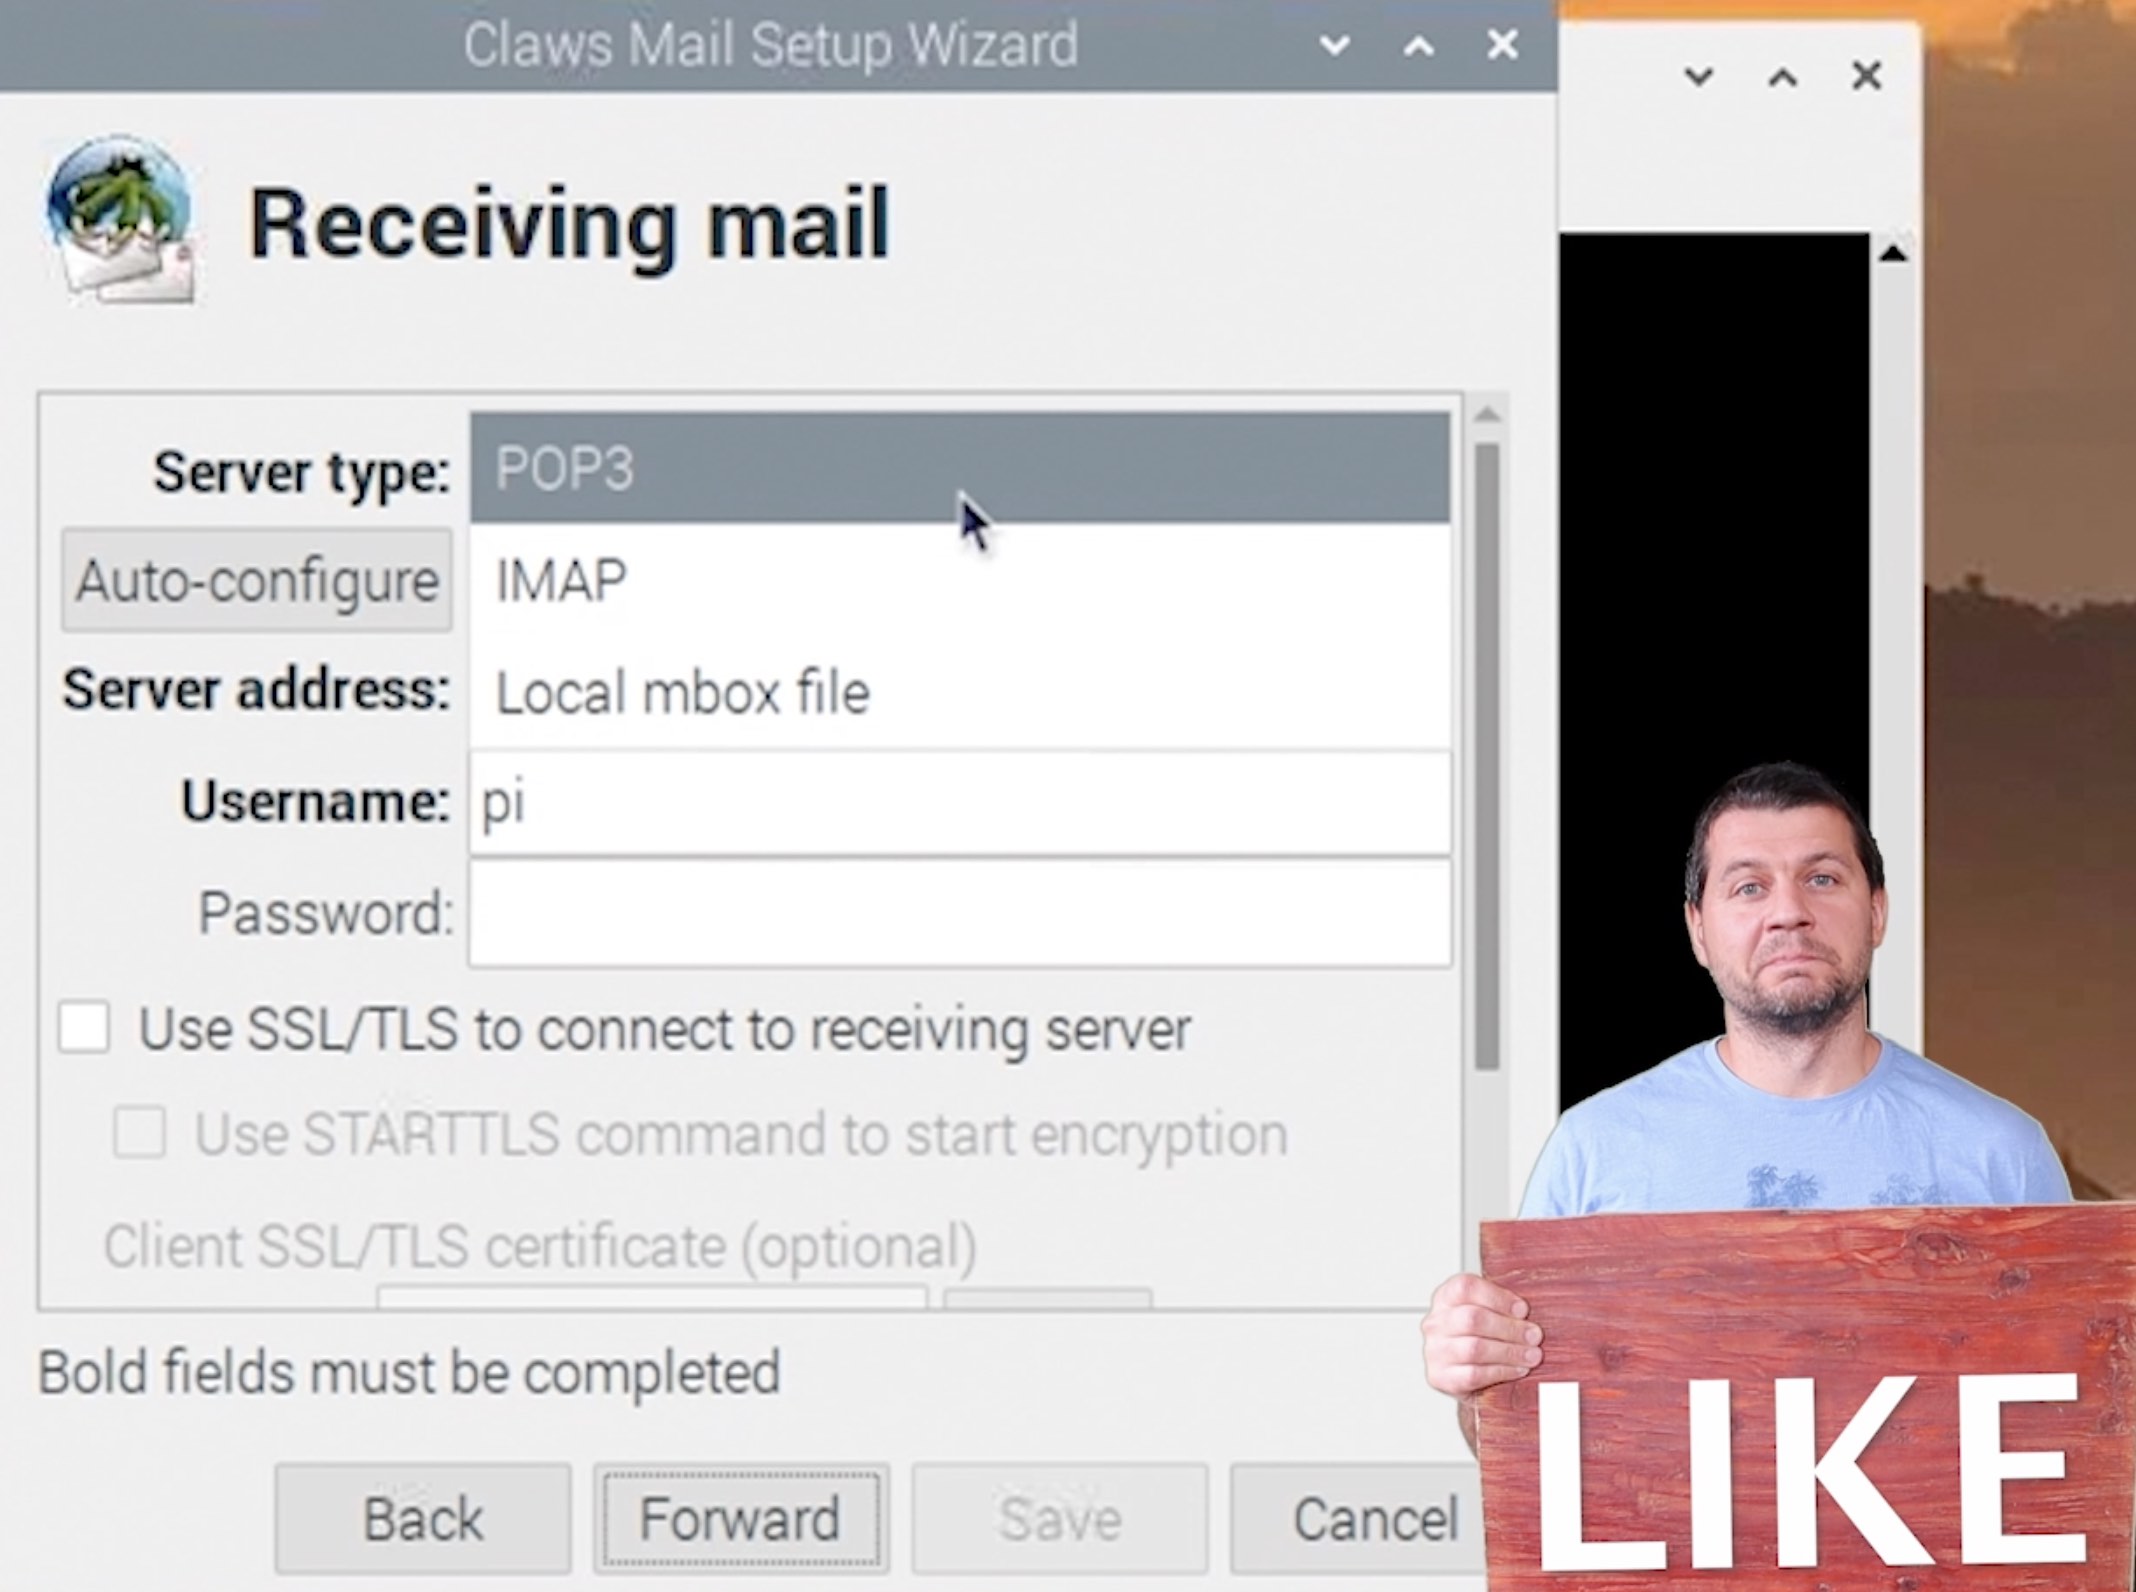
Claws mail client support POP3 and IMAP servers, so you can connect to most of the office mail servers including Gmail.
Thunderbird Mail
To install Thunderbird Mail open a Terminal in your Raspberry Pi and type:
sudo apt install thunderbirdThen go to Start (Raspberry) Menu > Internet > Trunderbird and start it.
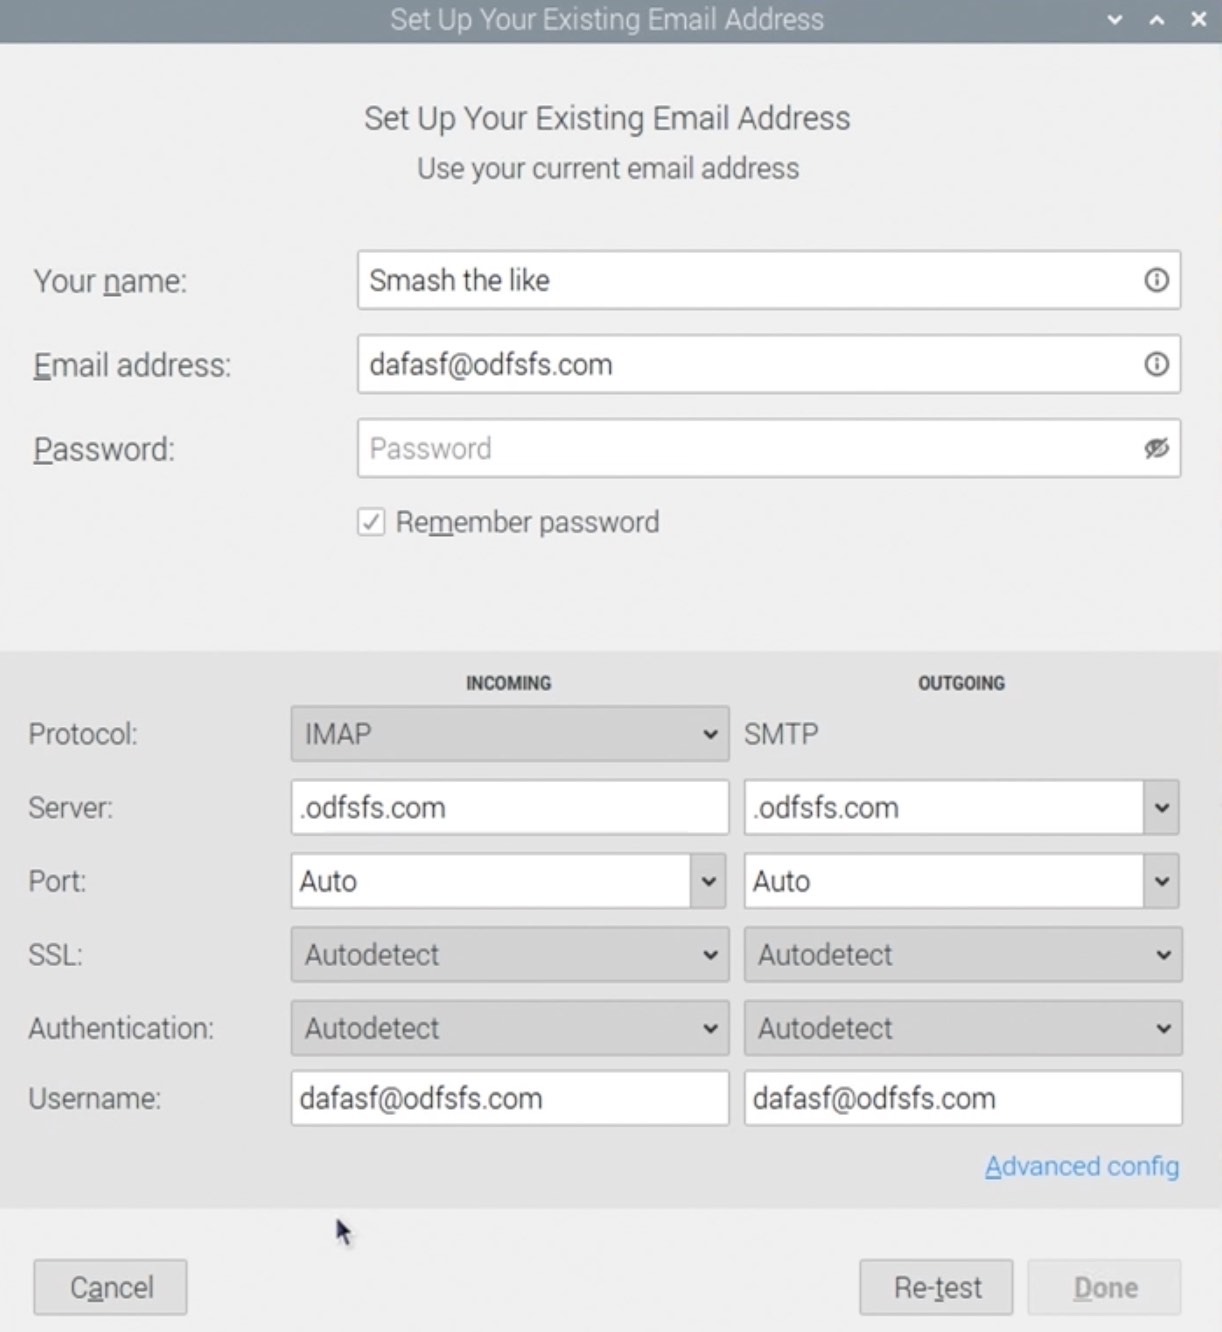
Just like the Claws Mail, you will be greeted by a setup wizard that will help you configure your Mail account. Again POP3 and IMAP protocols are supported.
LibreOffice best free office suite for Raspberry?
One of the best and free office suits that you can use on the Raspberry Pi OS is called LibreOffice and it is compatible with Microsoft Office documents.
To install it open a Terminal again and type:
sudo apt install libreofficeAfter the installation is complete, a new sub-menu called Office will be created in your Start (Raspberry) Menu with several programs.
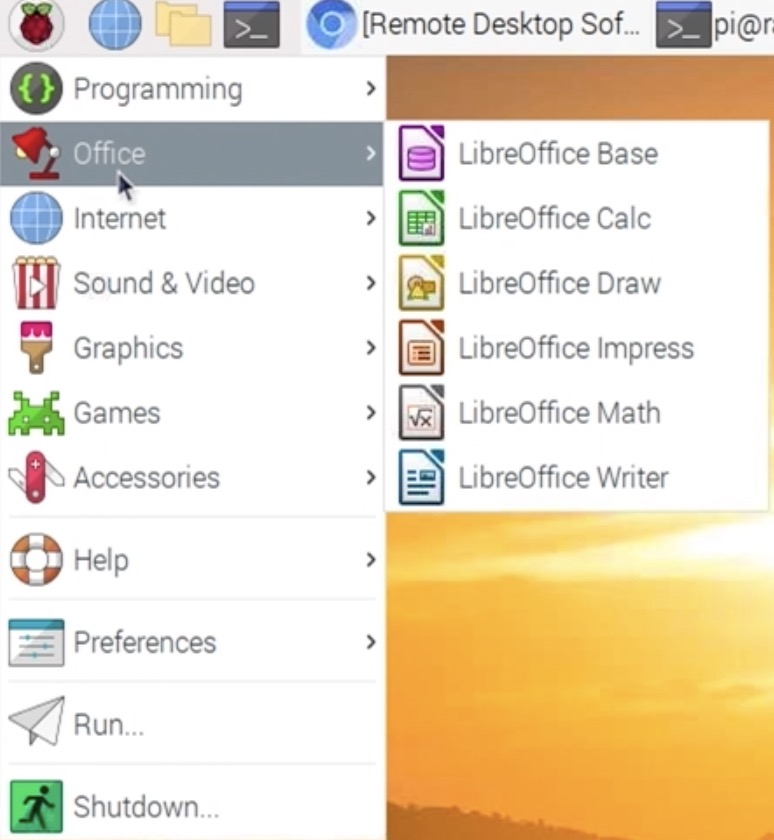
I will just say Calc is like MS Excel, Writer is like MS Word and Impress is like MS Powerpoint.
Of course if you have Microsoft Office 365 subscription you can use it with the Raspberry Pi without any issues.
Raspberry Pi Home Office Printing
Like most things in Linux-based operating systems such as Raspberry Pi OS, not every printer is supported yet. Most networked printers work fine, while USB printers are depending of user contributions and popularity of the printer brand and/or model. The best thing to do is to try it by yourself or to ask in the raspberry forums for a particular printer before you buy it.
Anyways, you can go to Start (Raspberry) Menu > Preferences > Print Settings.
This shows the system-config-printer dialog window, where you can do the usual things you’re familiar with from other operating systems: add new printers, remove old ones, set a printer as the default, and access the print queue for each printer.
Good luck with your printer 🤞
Raspberry Pi Home Office Backup
By default Raspberry Pi 4 and Raspberry Pi 400 are using a SD card to boot the Raspberry Pi OS. You can also use a SSD instead and this is how you can do it 👉 LINK.
But what if your SD card or SSD got corrupted? I will show you few best practices that you can follow to easily restore your Raspberry Pi Home Office Setup in a matter of minutes.
- Always store your important documents on external drive, the best option would be a NAS drive like the Amber Plus, Nextcloud or any cloud storage like OneDrive or Google drive. That way if something happens with your boot drive you will not loose your work. And you will just have to re-install the Raspberry Pi OS in the worst case.
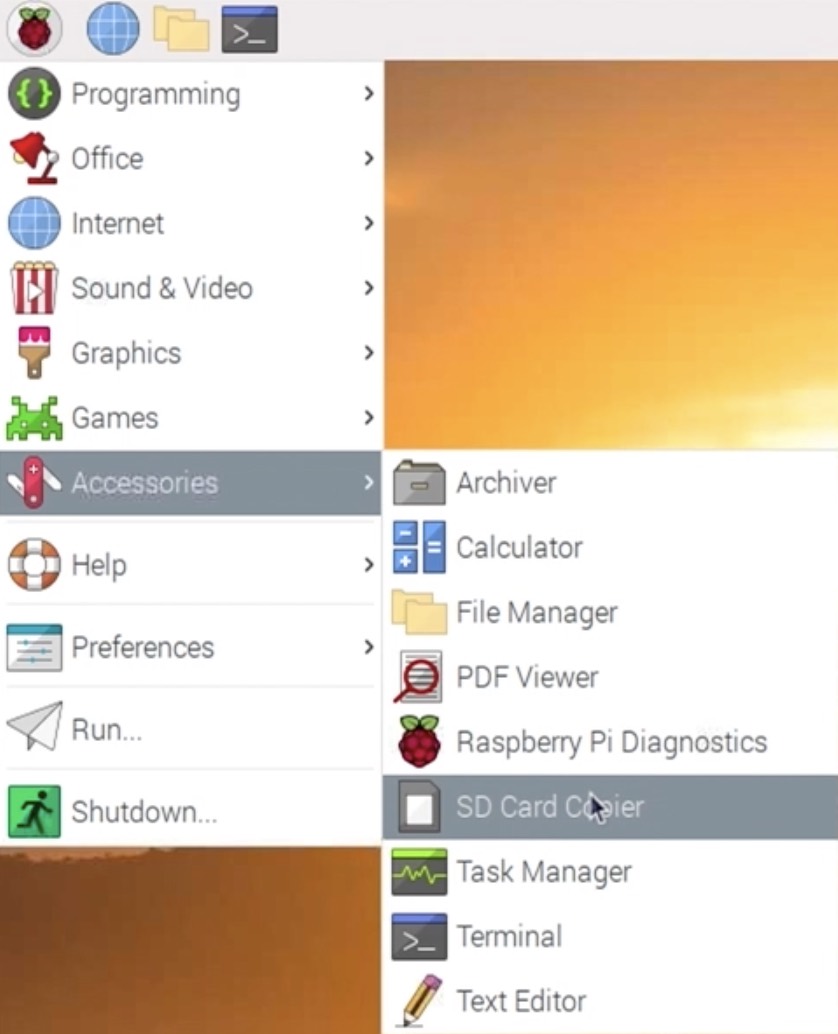
- If you are using a SD card you better clone your SD card regularly on external media.
- You can use the embedded in raspberry pi os tool called SD card Copier, just plug a spare SD card in your raspberry pi and start the tool. Then follow the instructions
Question for You!
Let me know which is your favorite home office software in the comments section below!
It will become very useful discussion if more people share such info.
Support my Work!
I really hope that you find this information useful and you now know how to use Raspberry Pi 4 or Raspberry Pi 400 as Home Office computer, how to connect to your office network, and how to setup your webcam, mail client and office suite.
If you want to secure this blog existence you can become one of my supporters. You can see exactly how in this section of my site.
I can’t thank enough to all wonderful guys that are supporting my work already – you are amazing!
Any other sort of engagement on this site and my YouTube channel does really help out a lot with the Google & YouTube algorithms, so make sure you:
- Hit the subscribe for my weekly newsletter 🗞
- As well as the Like and Bell buttons 👍🔔
If you are just entering the Smart Home world you could also buy my digital product called: Smart Home – Getting Started Actionable Guide 👉 LINK
Also feel free to add me on Twitter by searching for @KPeyanski. You can find me on my Discord server as well.
Stay safe and don’t forget – Home Smart, But Not Hard!